

One of the lesser known features brought along by the roll-out of Android 4.4 KitKat is the ability to screen record from within the device. This features isn't overtly obvious, nor is its implementation the most streamlined, but if you were ever looking for a way to capture video of what's happening on your screen, this is now the best way to do it.
NOTE: There is now an easier way to screen record without using a computer to initiate the process. You can see that guide here.
Step 1: Make Sure You Have Android SDK Tools on Your Windows PC
Unfortunately, at the moment, if you want to get a screen record going, you're going to have to do it with an ADB command. That means connecting your phone to your computer using your micro USB cable and opening up a command prompt.
If you don't have the Android SDK (or aren't sure) take a look at this guide and follow Steps 1 through 5 then come on back here.
Step 2: Enable USB Debugging on Your Nexus
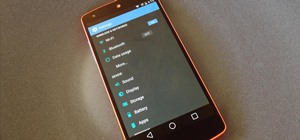
Remember, for your device and your PC to be able to communicate with one another, you're going to have to have the Enable USB Debugging box checked under Settings -> Developer Options.
Step 3: Enter the 'Screenrecord' Command
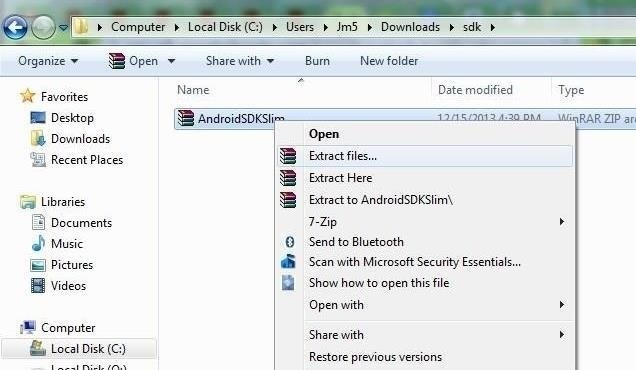
- With your device connected to your PC with a micro USB cable, navigate file explorer to wherever you installed the SDK, and browse to \android-sdk-windows\platform-tools\ (If you can't remember where you installed the SDK, just do a search on your C:\ drive for "android-sdk-windows").
- Open a command prompt window there by holding in the shift key, right clicking, and selecting "Open Command Window Here".
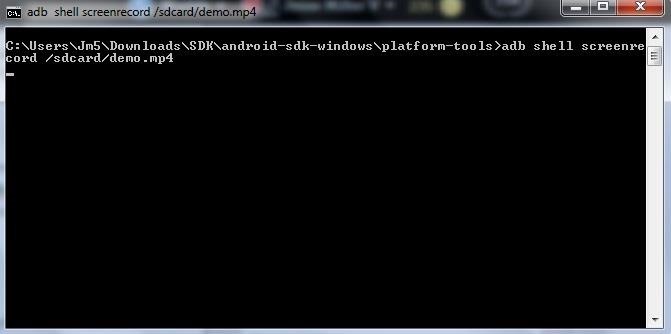
- In the window type in the following command using whatever file name you want:
- adb shell screenrecord /sdcard/(file name).mp4
Note: If you don't have an SD Card, you'll need to change the path to save the screen recording somewhere else.
Video will immediately begin to capture from your device's screen. Whatever is happening on the screen of your Nexus will be recorded.
Step 4: To Stop Recording
With the command prompt window still active, simply press Ctrl+C when you're ready to stop recording.
Step 5: Changing Recording Options
You can alter recording settings by adding certain flags to the command you enter in the command prompt.
For example, the default recording time is three minutes, but you can change that by adding the time-limit flag:
- --time-limit (number of seconds)
The last part of the command can be changed to set the name the video will be saved under. Above it reads demo.mp4 which means the file name will be as such. You can make it whatever you like.
To rotate the output 90 degrees, just add the --rotate flag. For example:
- adb shell screenrecord --rotate /sdcard/demo.mp4
For a fully updated list of commands, check the official Android developer documentation page for this command.

Hopefully in the near future there will be a more streamlined way to do screen recordings directly from our devices. In the meantime, this method is relatively quick and produces excellent results.
Just updated your iPhone? You'll find new emoji, enhanced security, podcast transcripts, Apple Cash virtual numbers, and other useful features. There are even new additions hidden within Safari. Find out what's new and changed on your iPhone with the iOS 17.4 update.


2 Comments
I tried running this and I got the error
/system/bin/sh: screenrecord: not found
Any ideas on how to solve this?
Did you run the command from within the platform tools folder in Android SDK?
Share Your Thoughts