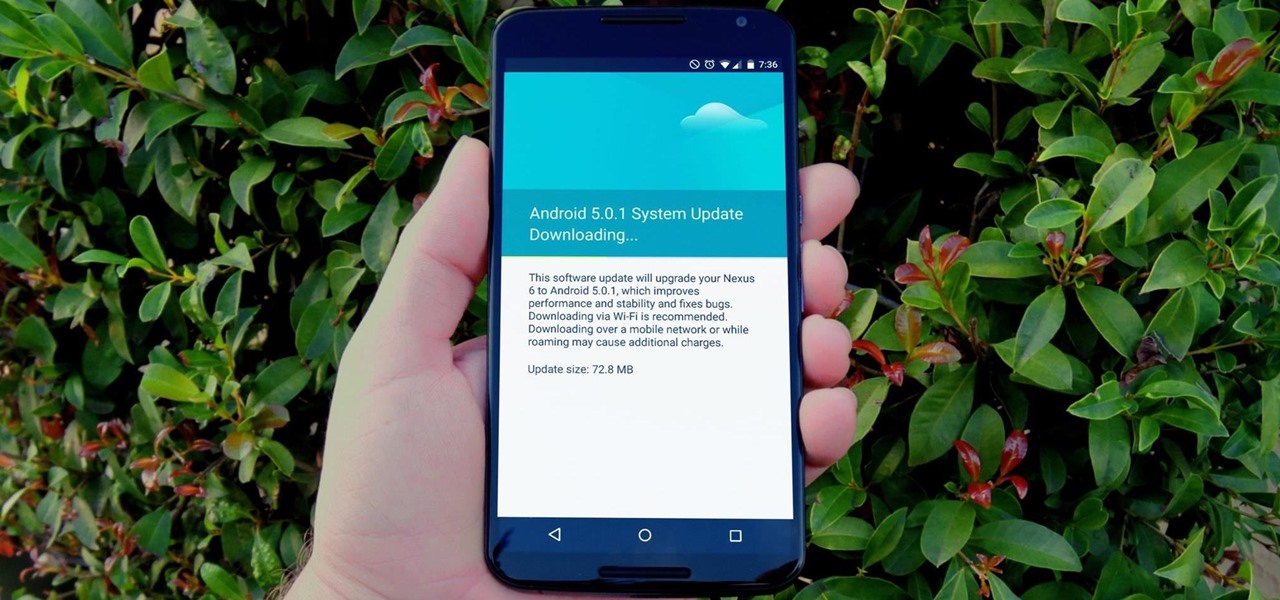

One of the main reasons to buy a Nexus device is the fact that they're always the first to get new Android updates. Another great selling point for the Nexus series is that the devices are amongst the easiest to root and mod. Unfortunately, though, these two features are somewhat mutually exclusive.
Over-the-air (OTA) updates now check to see if your device is rooted or modified in any way at the system level—and if it is, installation fails. This is also true if you've disabled forced encryption on your Nexus 6 to improve read and write speeds.
But if you're one who likes to have their cake and eat it too, manually installing an update on a rooted or modified Nexus is about as simple as it was to root and modify in the first place. I'll outline the process below for users of Windows, Mac, and Linux computers alike.
What You'll Need
- Windows, Mac, or Linux computer
- USB data cable
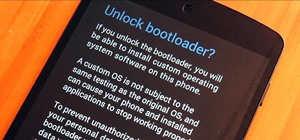
- Unlocked bootloader (if you've rooted, installed a custom recovery, or disabled encryption in the past, your bootloader is unlocked, unless you actively relocked it)
Step 1: Put Your Phone into Bootloader Mode
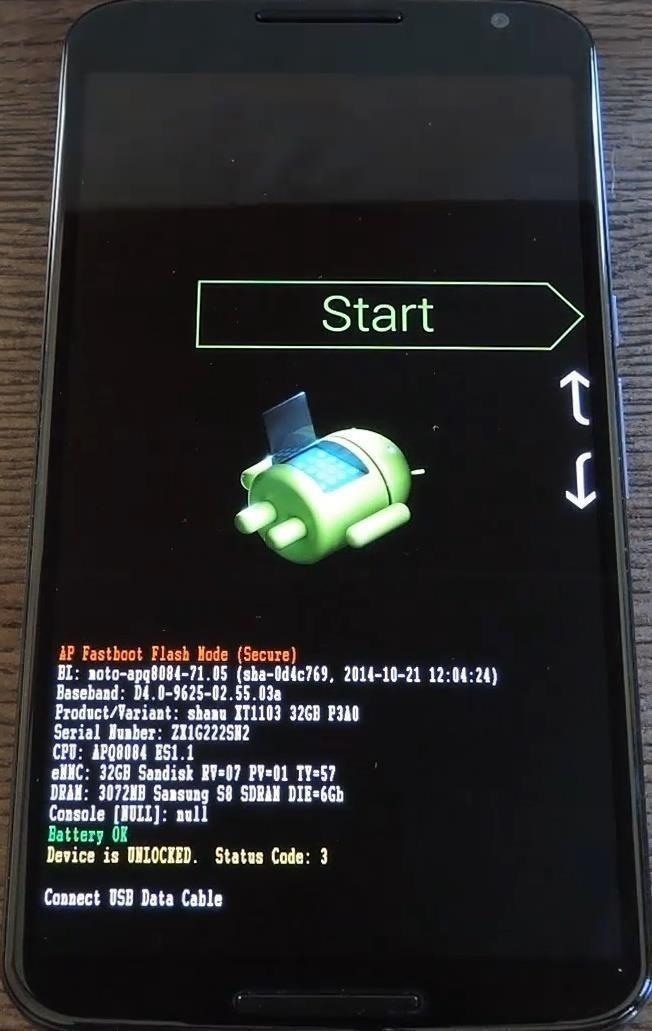
We'll essentially be cherry-picking the individual system update images that fit our needs, then installing them with Fastboot commands. In order for your phone to accept Fastboot commands, you'll need to put it in Bootloader mode.
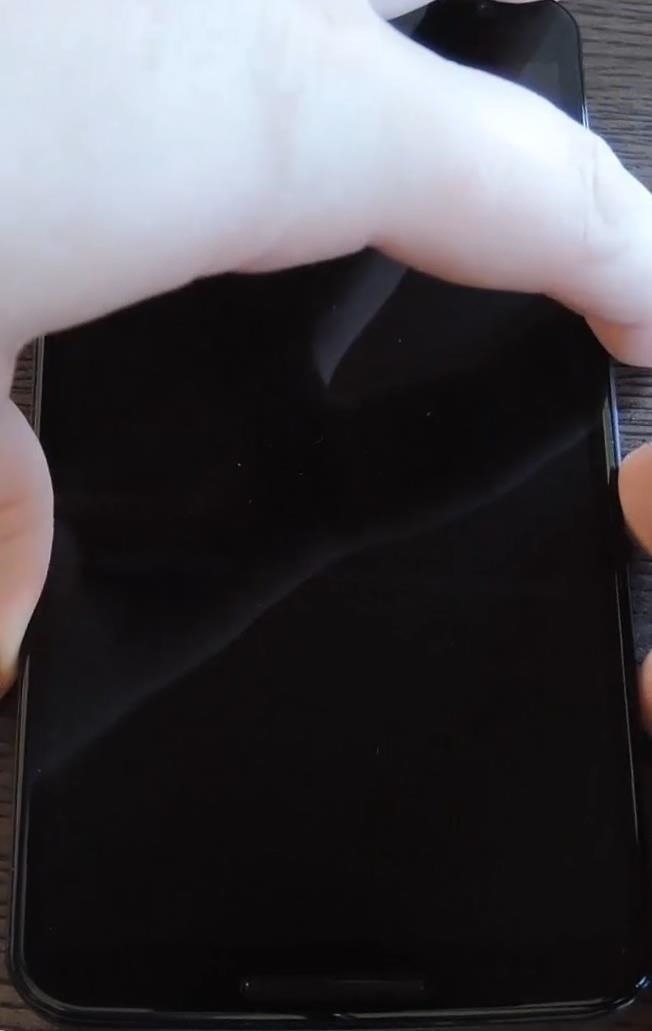
To do that, start by powering your Nexus 6 completely off. When the screen goes black, press and hold the volume down and power buttons simultaneously. After about a second, the bootloader menu will appear—go ahead and connect your phone to your computer using a good quality USB cable at this point.
Step 2: Ensure That You Have the Proper Drivers Installed
For your computer to be able to fully interact with your Nexus, you'll have to make sure you have the ADB and Fastboot drivers installed on your system.
If you own a Windows PC, you can download the drivers at this link. Just run the file, then follow the prompts, and you'll be good to go.
If you're a Linux user, download and extract this ZIP file, then run the script with Terminal.
For Mac users, the process of installing the proper drivers is a bit more involved. Please see our guide on the topic for more information.
Step 3: Install ADB & Fastboot on Your Computer
Now that your phone and your computer can communicate with one another, you'll just need an interface to use for sending commands. Android Debug Bridge (ADB) and its companion, Fastboot, are all you need to get this done.
If you're a Windows user, Minimal ADB and Fastboot will do the trick. You can download the installer file here—just run it and follow the prompts to get the command interface installed.
For Linux machines, simply open a Terminal window and paste in the following command:
Mac users can find a more detailed guide on installing ADB and Fastboot at this link.
Optional Windows Method: Nexus Root Toolkit
For Windows users, there is a great utility available that will essentially give ADB and Fastboot a nice graphical user interface. It's called Nexus Root Toolkit, and the installer file can be downloaded at this link.
Just run the file and follow the prompts to get NRT installed on your system, making sure to allow the toolkit to download all any additional files that it wants. When prompted, select "Nexus 6" as your device and "5.0.0 - LRX210" as your Android Version Number. The rest of the tutorial will still apply with this method, but I'll outline the actual update process for NRT users at the bottom of Step 6 below.
Step 4: Download & Extract the Factory Images
Google releases updates for Nexus devices in the form of a compressed archive on its developer website. To download the latest set of Nexus 6-specific image files, click this link.
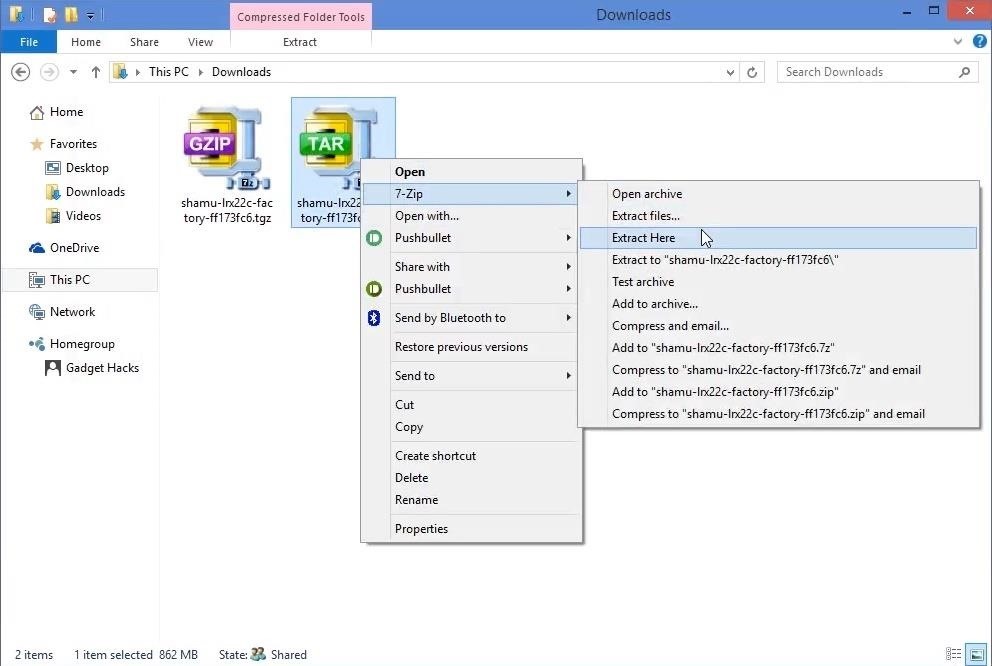
Once the shamu-lrx22c-factory-ff173fc6.tgz file has finished downloading, extract its contents to a folder you can access easily using a program like 7-Zip or WinRAR.

This will expose a second archive named shamu-lrx22c-factory-ff173fc6.tar—extract its contents as well.
Open the shamu-lrx22c folder that this creates, then locate the image-shamu-lrx22c.zip file inside of it. Extract this archive, too.
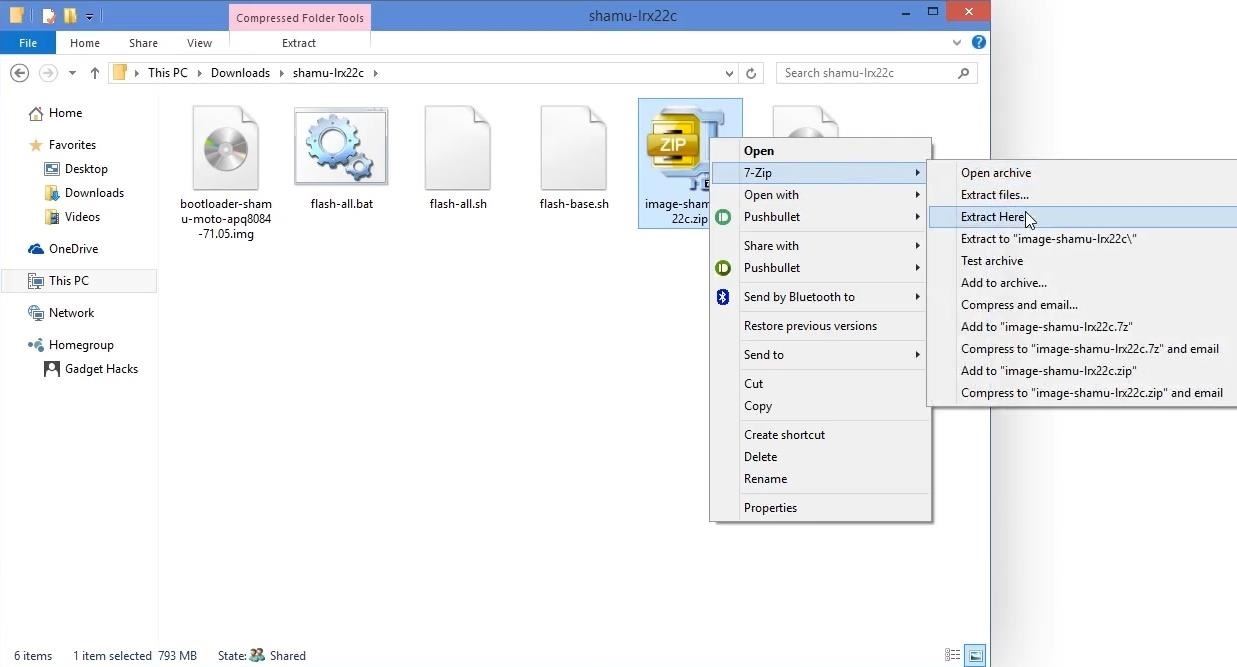
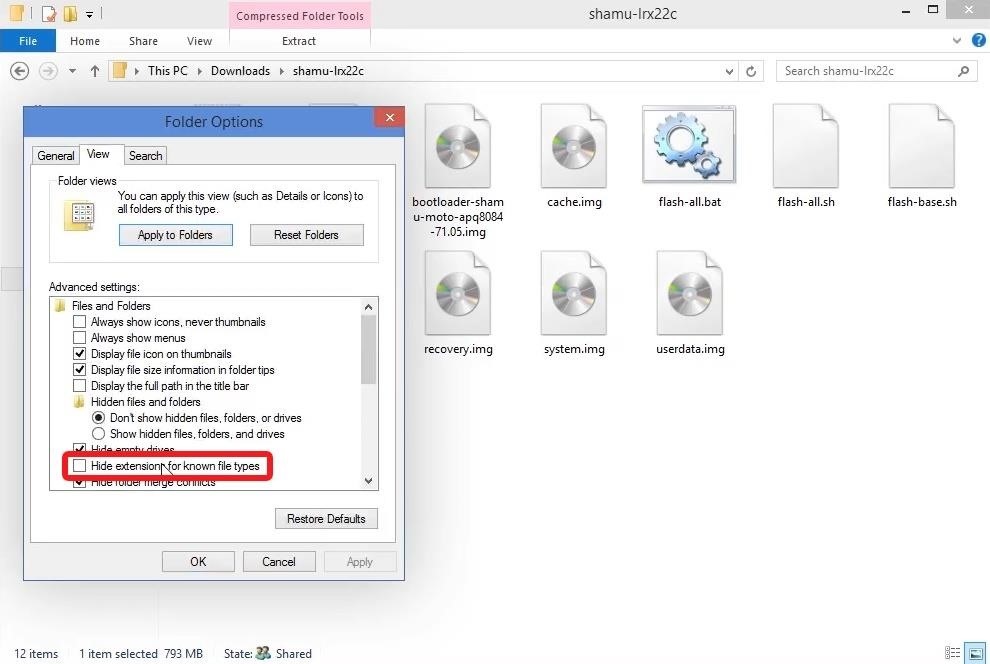
The shamu-lrx22c folder should now contain 12 files. To keep from getting things mixed up, make sure that your computer is set to show file extensions. On Windows, this can be done by going to "View," then "Options," and selecting "Change Folder and Search Options." From here, click the "View" tab, then make sure the "Hide extensions for known file types" option is disabled.
Next, tidy things up a bit. Any file in the shamu-lrx22c folder that does not end in .img can be deleted.
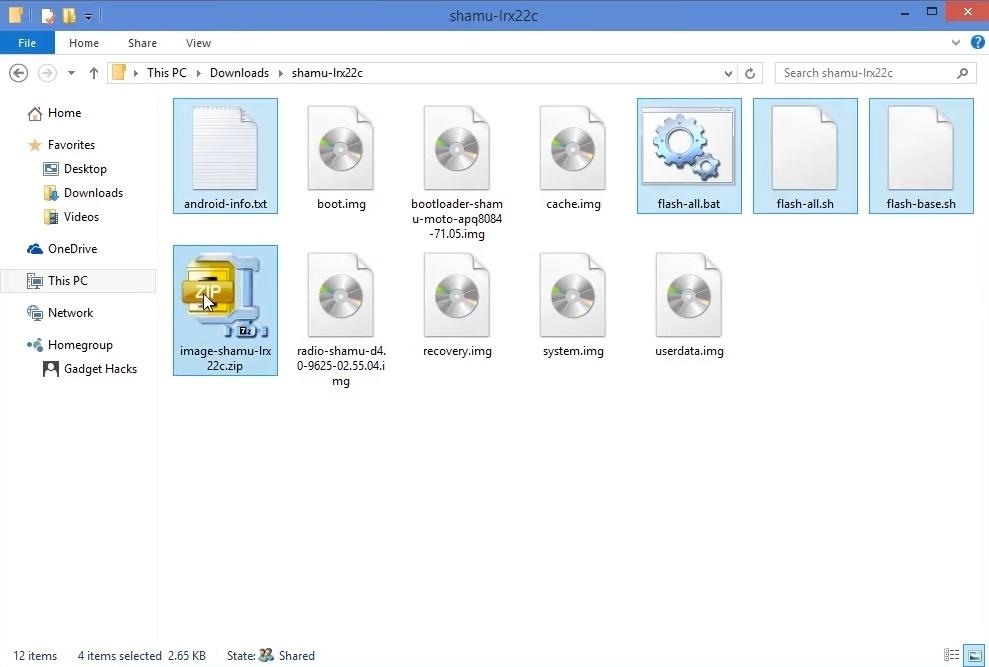
You should be left with 7 .img files now—these are the core images that make up the latest Android update. But, since our goal today is to update while keeping some of our phone's existing modifications intact, several of these files will not be needed.
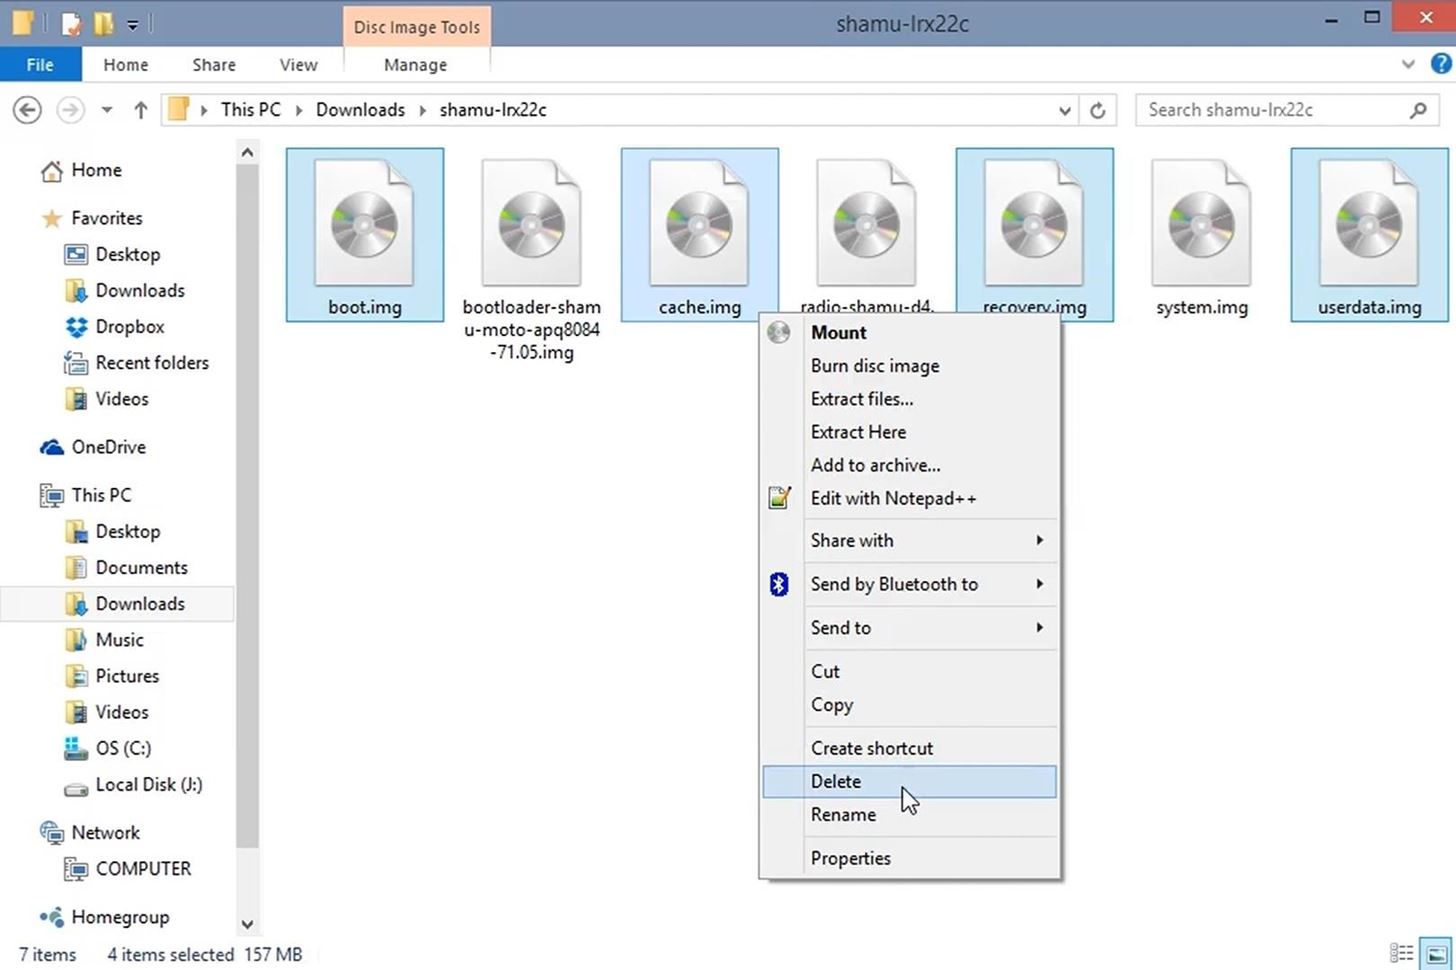
Start by deleting the "boot.img" file—this is the image that forces encryption on the Nexus 6. After that, delete the "cache.img" and "userdata.img" files since these will overwrite your existing data. Finally, if you're using a Custom Recovery, delete the stock "recovery.img" file.
You should now be left with only 3 image files. To simplify, rename the bootloader-shamu-moto-apq8084-71.05.img file to "bootloader.img." After that, rename the radio-shamu-d4.0-9625-02.55.04.img file to "radio.img."
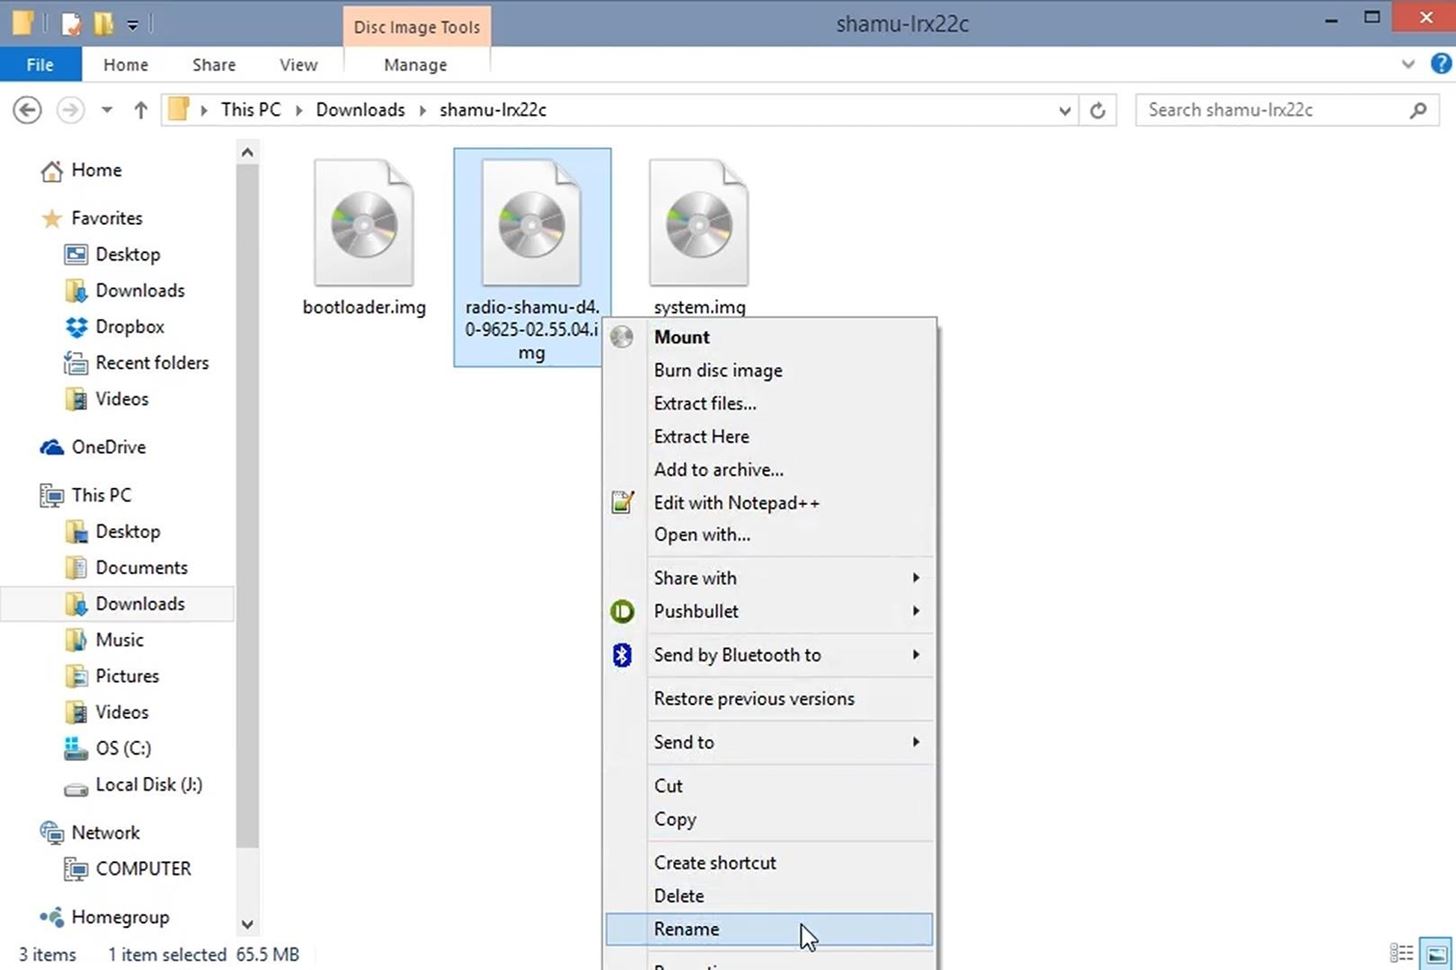
In the end, there should only be 3 files—bootloader.img, radio.img, and system.img.

Step 5: Download the Modified 'boot.img' File
The three image files that are sitting in your shamu-lrx22c folder right now make up the core of the Android update. But the updated kernel and other hardware-level coding were contained in the "boot.img" file—we couldn't use the stock version, though, because it is what forces encryption on the Nexus 6.
Instead, we'll use a modified version of the stock "boot.img" file that is set to not enforce encryption. Download the file from this link, then place it in your shamu-lrx22c folder.
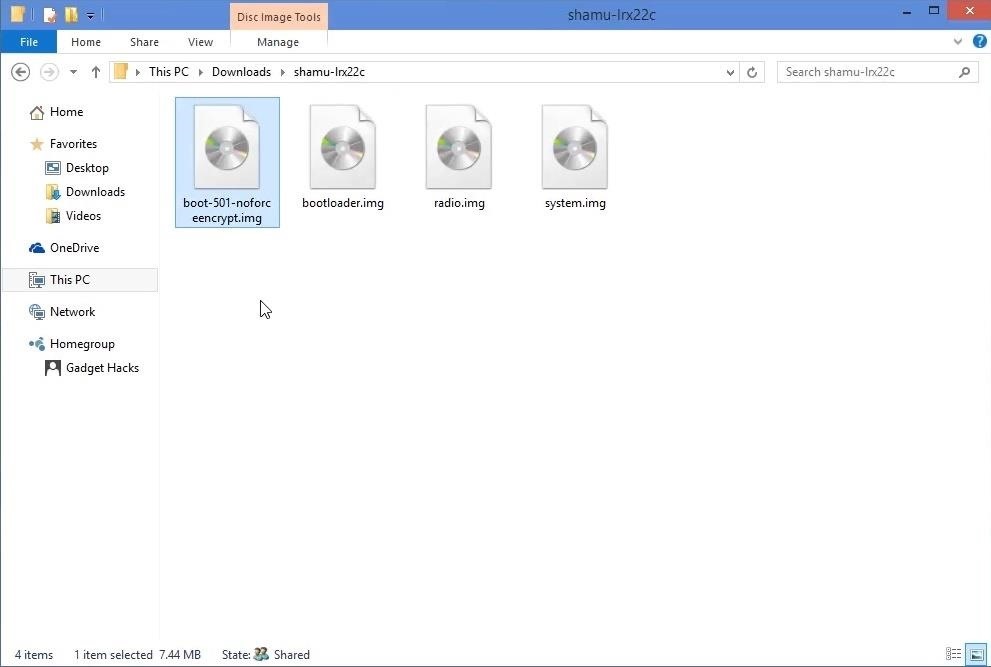
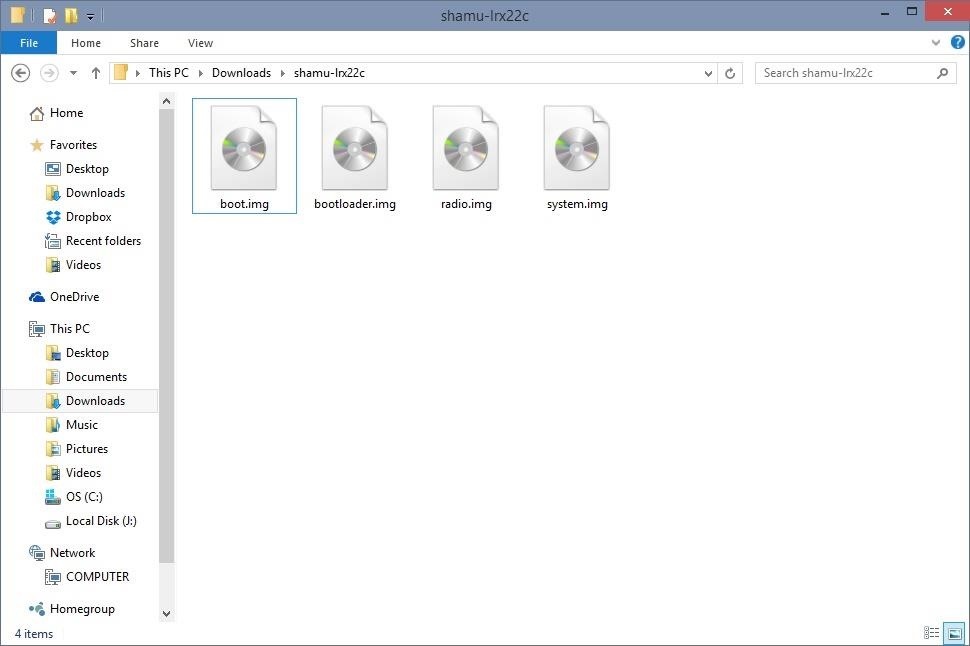
Next, rename this file to simply "boot.img." You should now have 4 image files—boot.img, bootloader.img, radio.img, and system.img.
Step 6: Flash the Images in Fastboot
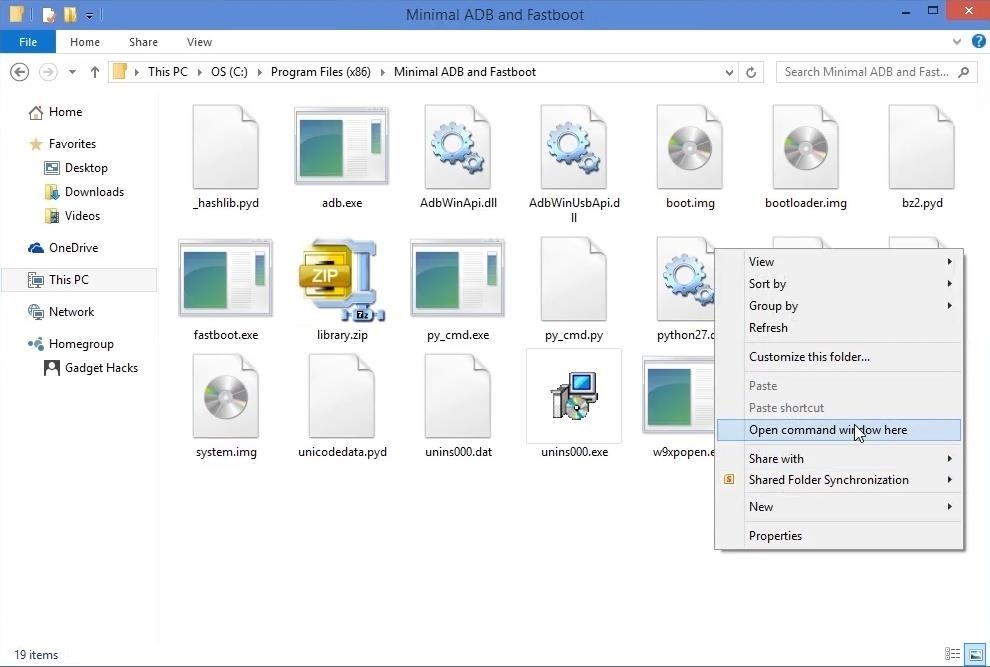
Next, locate the folder on your computer where ADB and Fastboot are installed. For Windows users, this will be C:\Program Files (x86)\Minimal ADB and Fastboot. Move the 4 image files to this location.

After that, open a command prompt window and navigate to this same folder. With Windows, this is simple—just hold down the Shift key on your keyboard, then right-click any empty space in the folder that contains the images and select "Open Command Window Here."
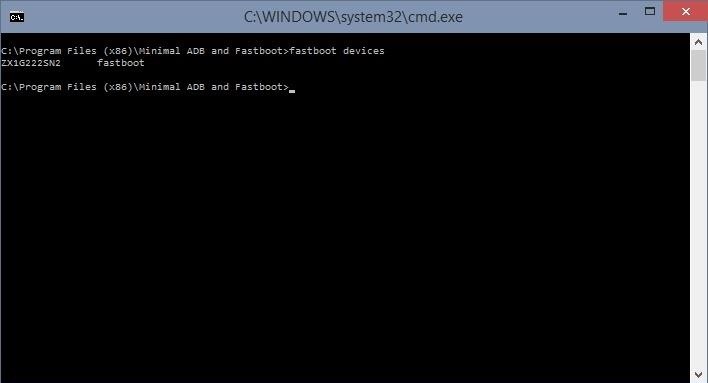
From the command prompt window, type:
- fastboot devices
Then hit Enter. If your phone and computer are properly connected, you'll see a series of letters and numbers followed by the word fastboot.
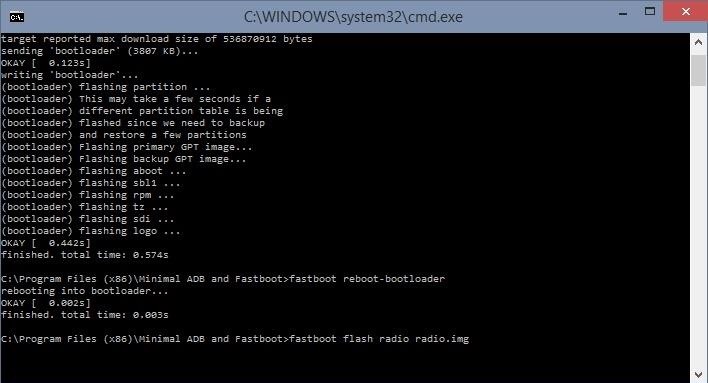
Next, install the updated bootloader image. To do that, type:
- fastboot flash bootloader bootloader.img
Followed by the Enter key.

Now that the new bootloader is installed, let's use that one from here out. Type:
- fastboot reboot-bootloader
Then hit Enter to reboot into the new bootloader.

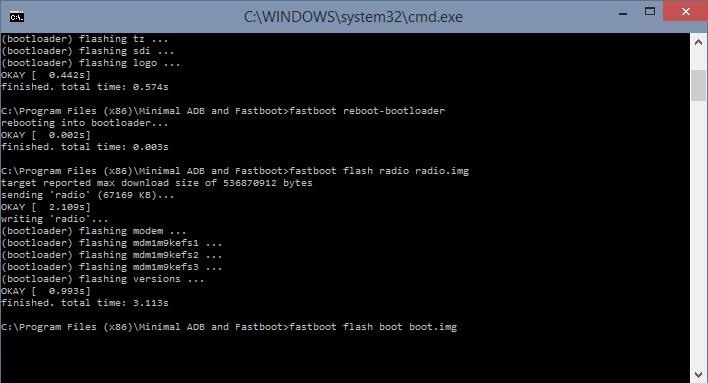
Next, flash the new radio image:
- fastboot flash radio radio.img
Followed by Enter will update your connectivity binaries.
To flash the new boot image, complete with the updated kernel and encryption disabled, type:
- fastboot flash boot boot.img
And hit Enter.
Finally, install the system image to update all core Android files:
- fastboot flash system system.img
With the usual Enter key press following it up.
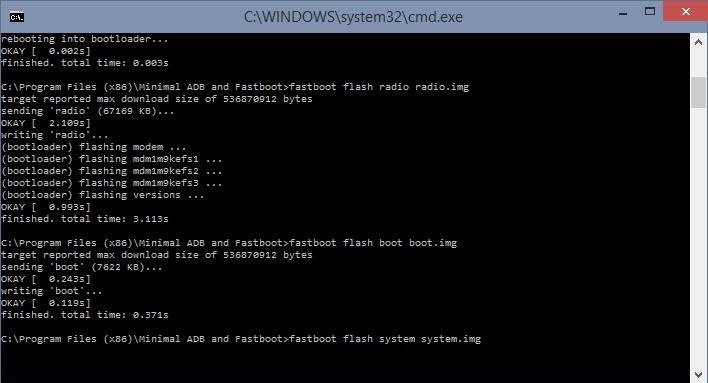
The system.img file is the largest of the bunch, so it will take longer to install than the rest. Wait until it's finished before moving on to the next step.
Nexus Root Toolkit Method (Optional for Windows Users)
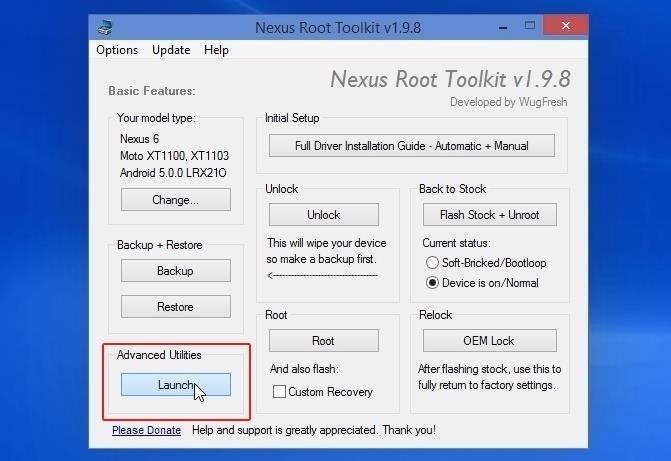
These same files can be installed with the Nexus Root Toolkit if you're more comfortable with a mouse than a keyboard. From NRT's main menu, click the "Launch" button under the Advanced Utilities section to begin.
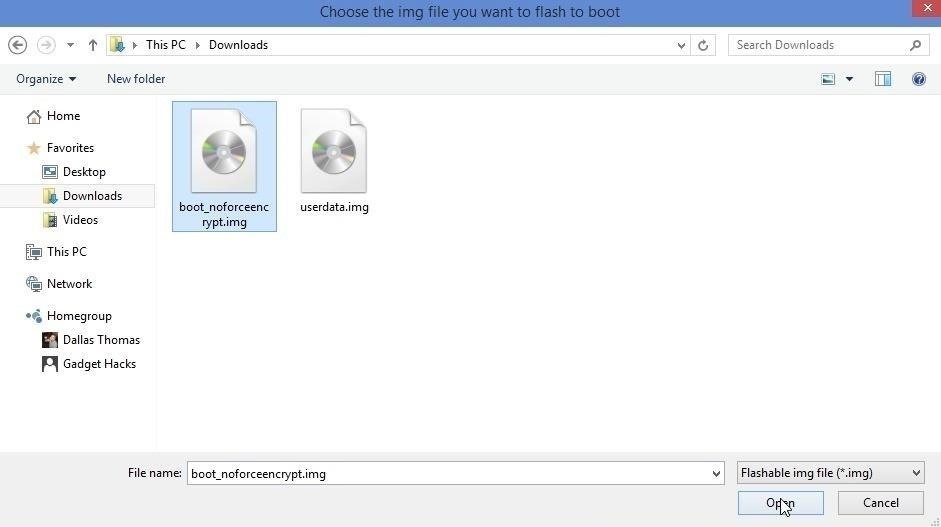
In the middle column of the Advanced Utilities menu, make sure that "Flash - Permanent" is selected. After that, click the "Boot" option to install the new boot.img file.

This will open a file browser window, so select the boot.img file that you downloaded earlier, then click "Open."
After that, repeat this process for the new Bootloader, Radio, and System images, and your phone will be updated to the latest version of Android.
Step 7: Re-Root Your Nexus 6
After installing the updated system.img file, the root binaries on your phone have been overwritten. Getting root access back is incredibly easy, though.
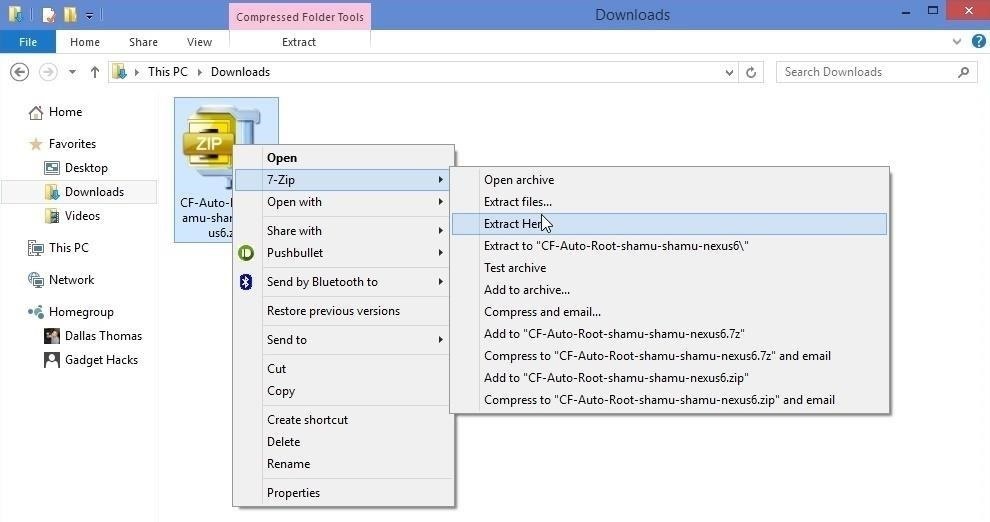
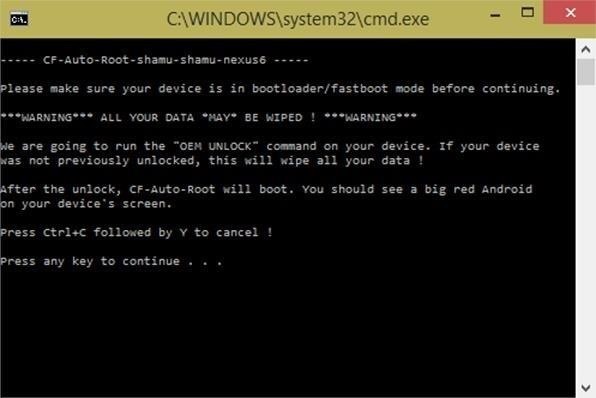
Start by downloading CF Auto Root at this link. After that, extract the contents of the archive to any folder on your computer.
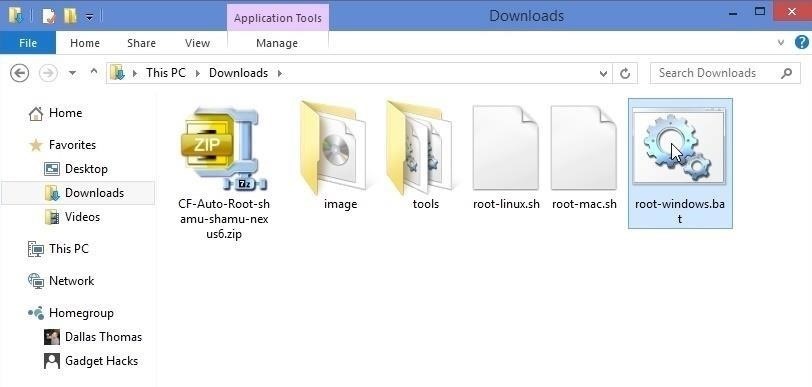
With the ZIP extracted, you'll find 2 folders and 3 files—root-linux.sh, root-mac.sh, and root-windows.bat. Double-click the file that corresponds to your computer's operating system to begin.
Since your phone is still in fastboot mode and connected to your computer, all you have to do is press any key on your keyboard to get root access back.
When the script finishes the rooting procedure, your device will automatically reboot. Once you get back up, you'll be running the latest version of Android, encryption will still be disabled, and your phone will still be rooted with its custom recovery in place.
In the future, now that you have ADB and Fastboot installed on your computer and the necessary drivers are configured, updating again will be even easier. Simply put your phone into bootloader mode and connect it to the computer, then pick back up at Step 4 of this tutorial to install the newer factory images.
For Windows users, did you use the Fastboot commands or do you prefer the Nexus Root Toolkit method? Let us know in the comment section below, or drop us a line on our Facebook or Twitter feeds.
Just updated your iPhone? You'll find new emoji, enhanced security, podcast transcripts, Apple Cash virtual numbers, and other useful features. There are even new additions hidden within Safari. Find out what's new and changed on your iPhone with the iOS 17.4 update.


8 Comments
Is this method same for Nexus 5?
It would be a tiny bit different. Mainly because instead of downloading the modified boot.img, you can use the stock version.
So download the factory images package for the Nexus 5, which is here, then extract the contents. Then, delete the non-essential stuff and rename everything until you're left with boot.img, bootloader.img, radio.img, and system.img, then copy those 4 into the folder with ADB and Fastboot. From there, everything else would be the same, including the Fastboot commands. Then to re-root, get the Nexus 5 version of CF Auto Root here.
I'm having trouble extracting the files on Windows 7, is it a different process then windows 8?
No, it should be the same. What program are you using to extract them? The built-in Windows extractor might not be able to handle the archives.
Thank you very much for the work put in. questions: 1) the version of NRT available at the link provided is updated and doesn't have the "Flash - Permanent" option. Is it possible my flashing was only temporary? 2) Is there a way (besides running speed tests) to see if Encryption is still enabled? I followed the instructions exactly and under "About this phone" it still reads as data encrypted. Also, the Android version still lists as 5.0.0. I can't tell if I accomplished anything.
Oops. Just read the prior comments addressing some of that. I'll try to figure the rest out.
Will this wipe my data though? I know I read somewhere on other sites where you can flash system images and stuff but still keep your data by removing some "-w" code? Does this tutorial already do that?
Hi,
Thanks for all the information. With NRT, after step 6, what is to be followed? Stuck in the loading screen for an hour. Thanks
Share Your Thoughts