
Multitasking has always been one of Android's strengths relative to other mobile operating systems. As the first cell phone OS with "true" multitasking, Android's been ahead of the game in this department for quite some time.
To stay on top of the heap, though, further innovation will be required. Custom ROMs have often given Google inspiration for new features (see: Cyanogenmod's CRT screen-off effect that's now in stock Android), and today's mod could be one such feature.
OmniSwitch is a new multitasking feature of the increasingly-popular OmniROM. It allows you to completely customize the look and feel of your task-switching UI, and adds functionality to an aspect of Android that's beginning to feel a bit dated. Normally, this feature is exclusive to Omni's own custom ROM, but thanks to some work by XDA user Venlor, we can now enjoy this great multitasking tool on stock Android.
Prerequisites
Step 1: Download the OmniSwitch Flashable ZIP File
To get started, use your Nexus to browse to this link. The download should begin automatically. Updated links can be found on the XDA thread.
Step 2: Install Lucky Patcher
For OmniSwitch to be granted all of the system-level access that it needs to fully function, we'll need to make a tiny modification to Android itself. Developer ChelpuS has created a feature-rich root tool that can help us accomplish this step.
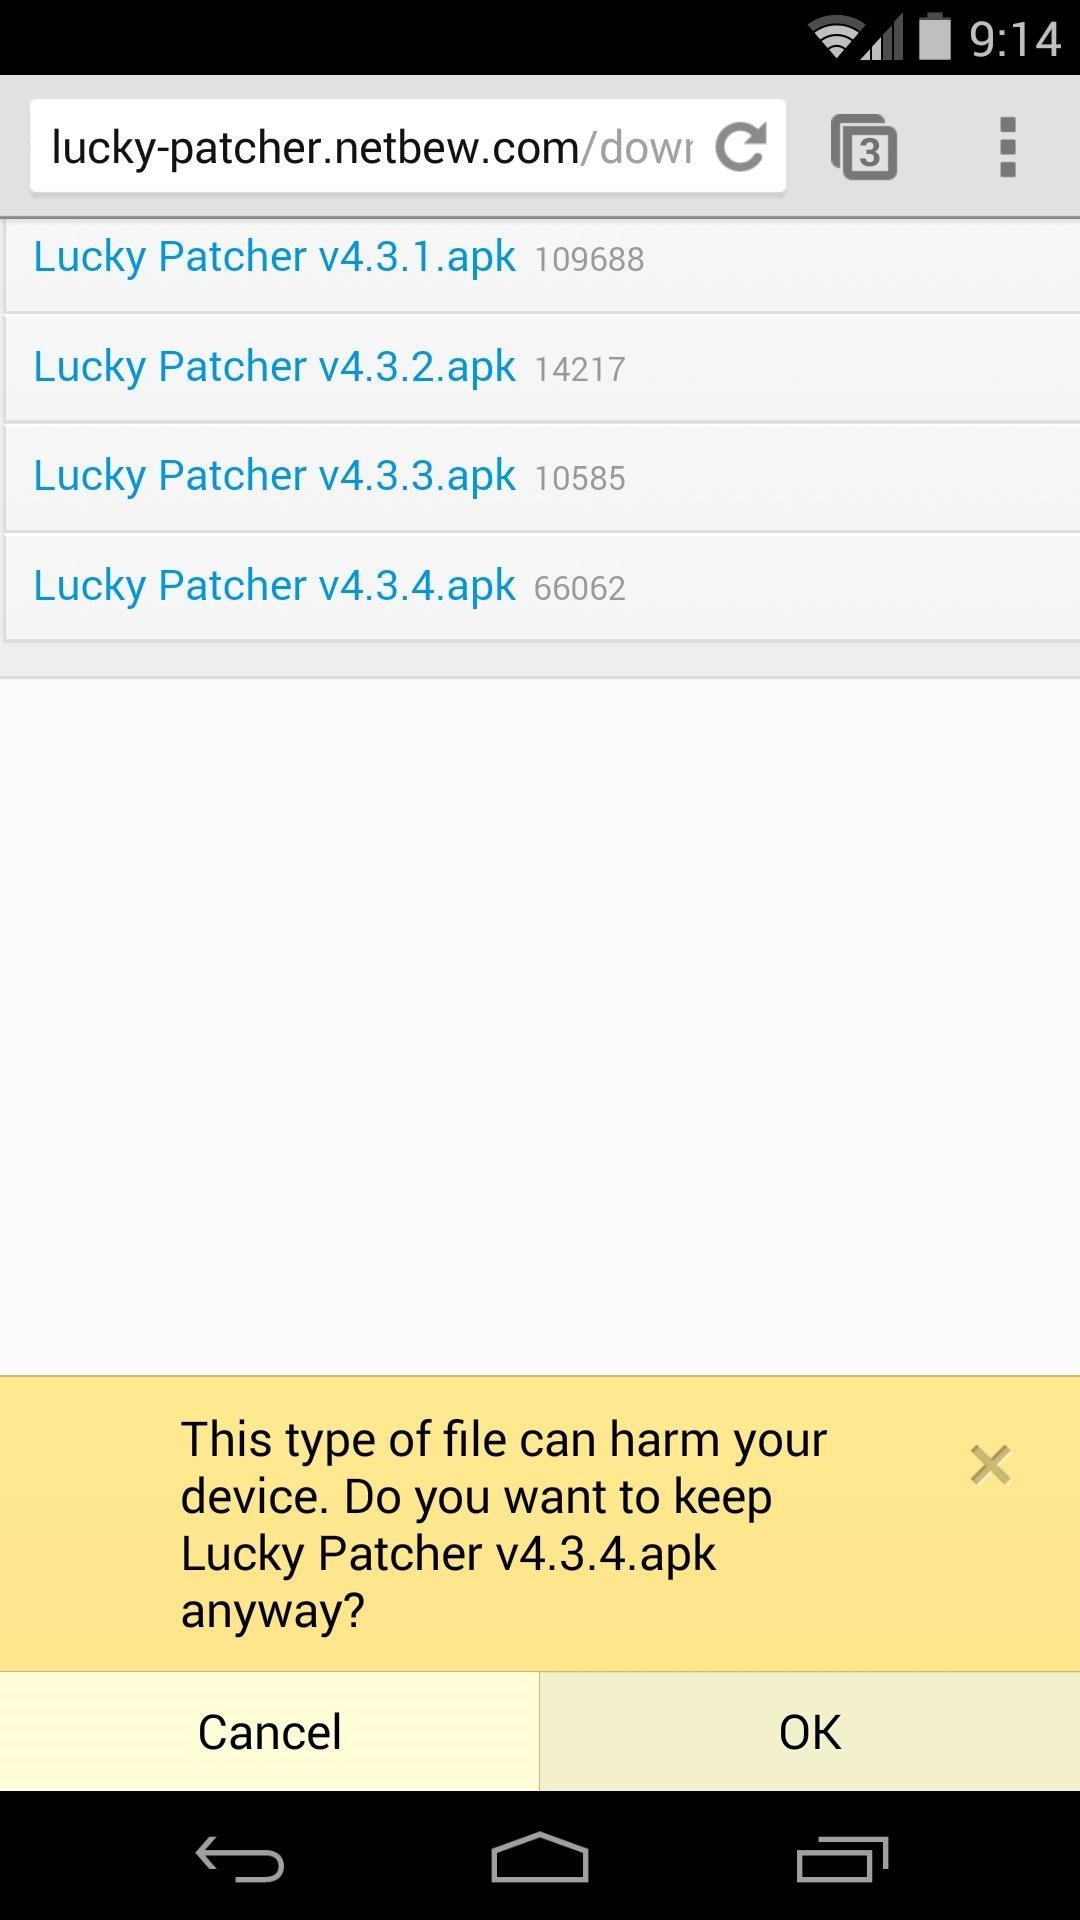
From your Nexus, head over to this link to grab a copy of ChelpuS's Lucky Patcher. Tap the last entry in this list of links to download the latest version.

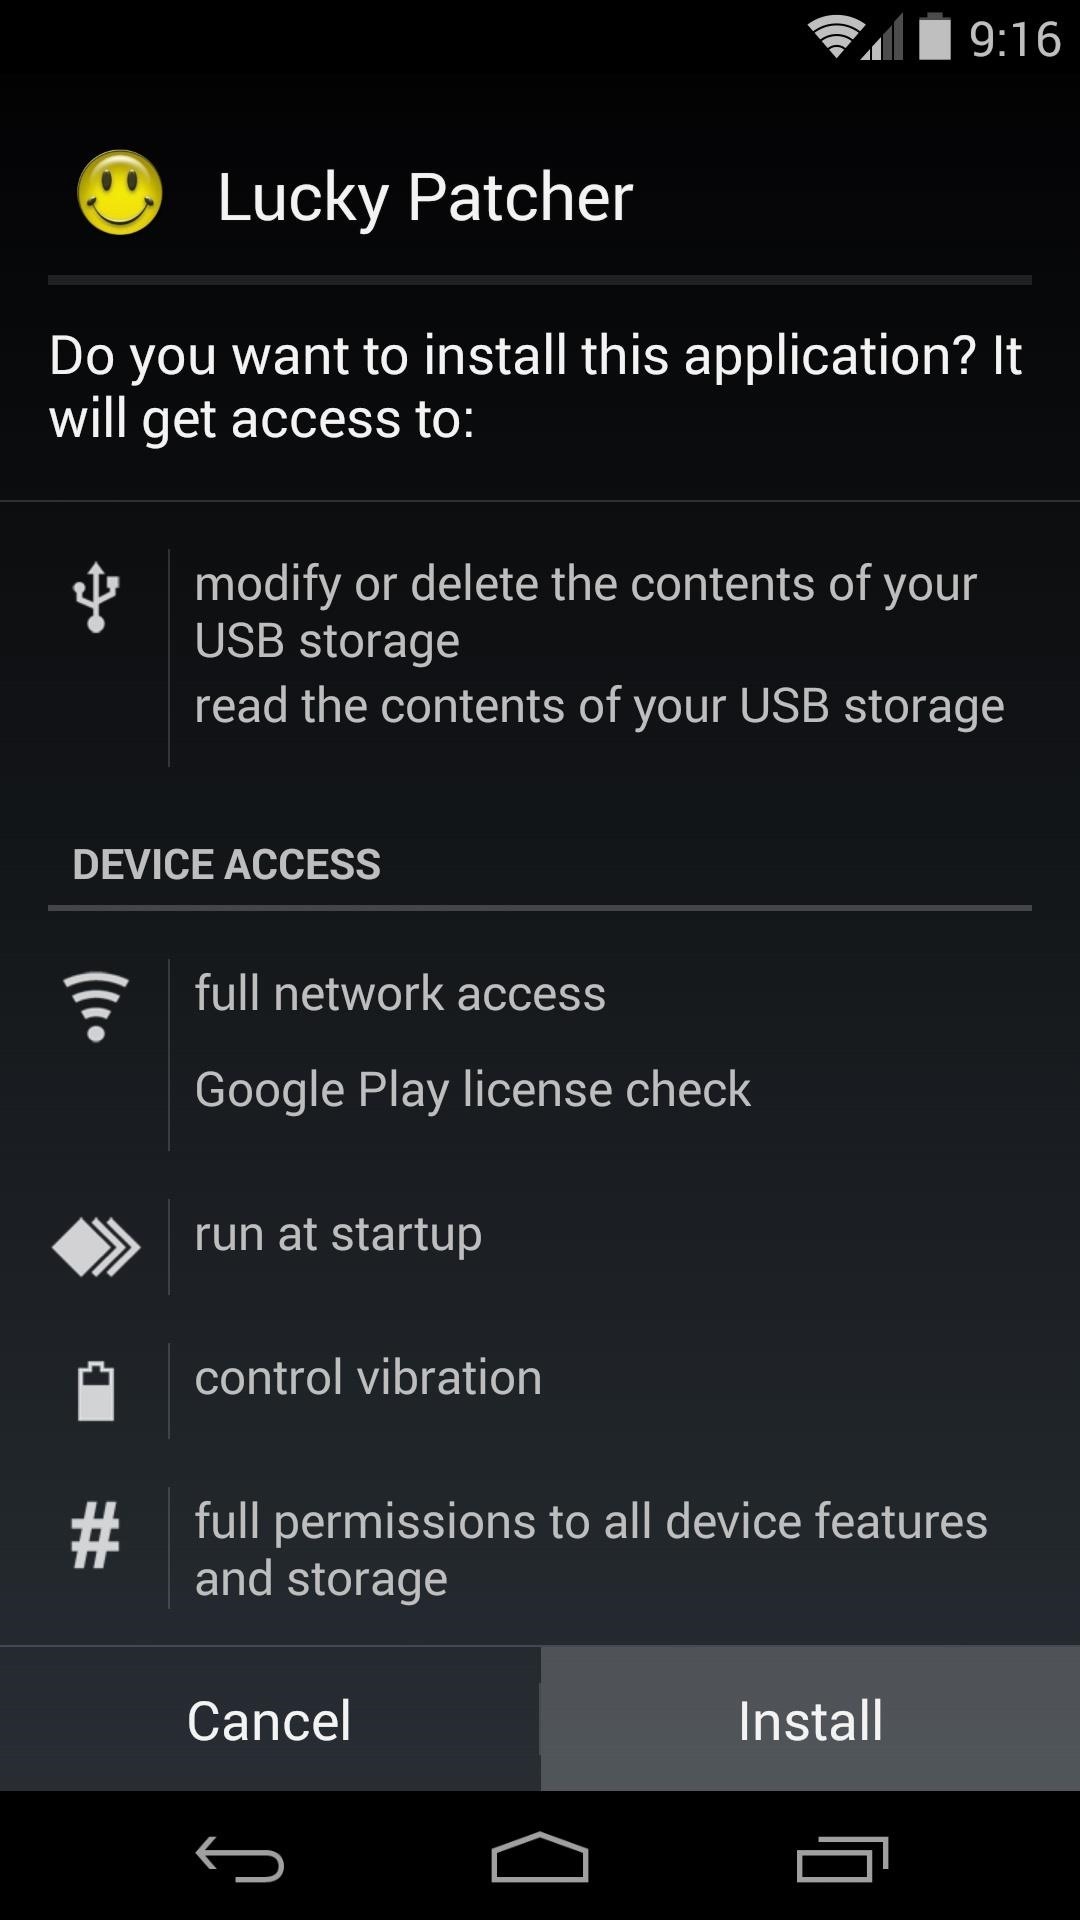
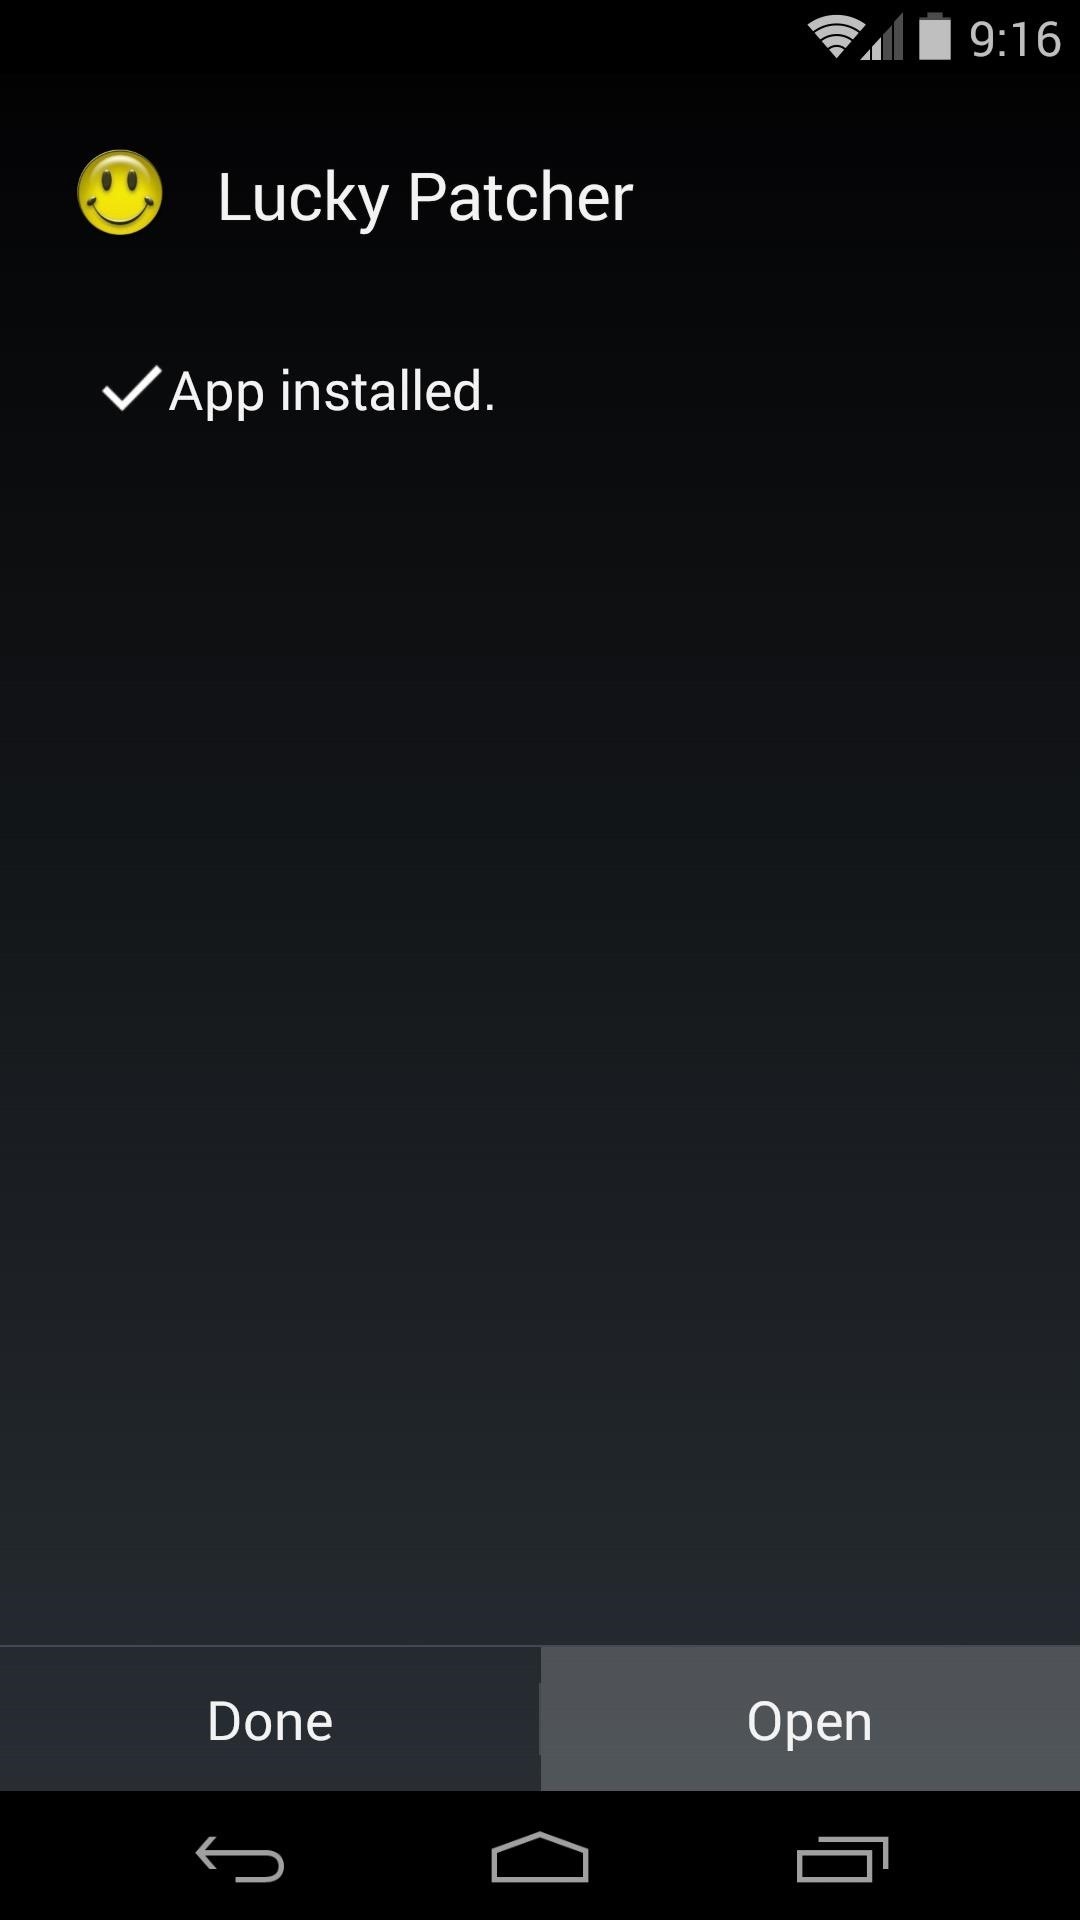
When the download finishes, tap the notification to launch the install process. From here, hit Install, then Open.
Step 3: Patch Android & Boot into Recovery
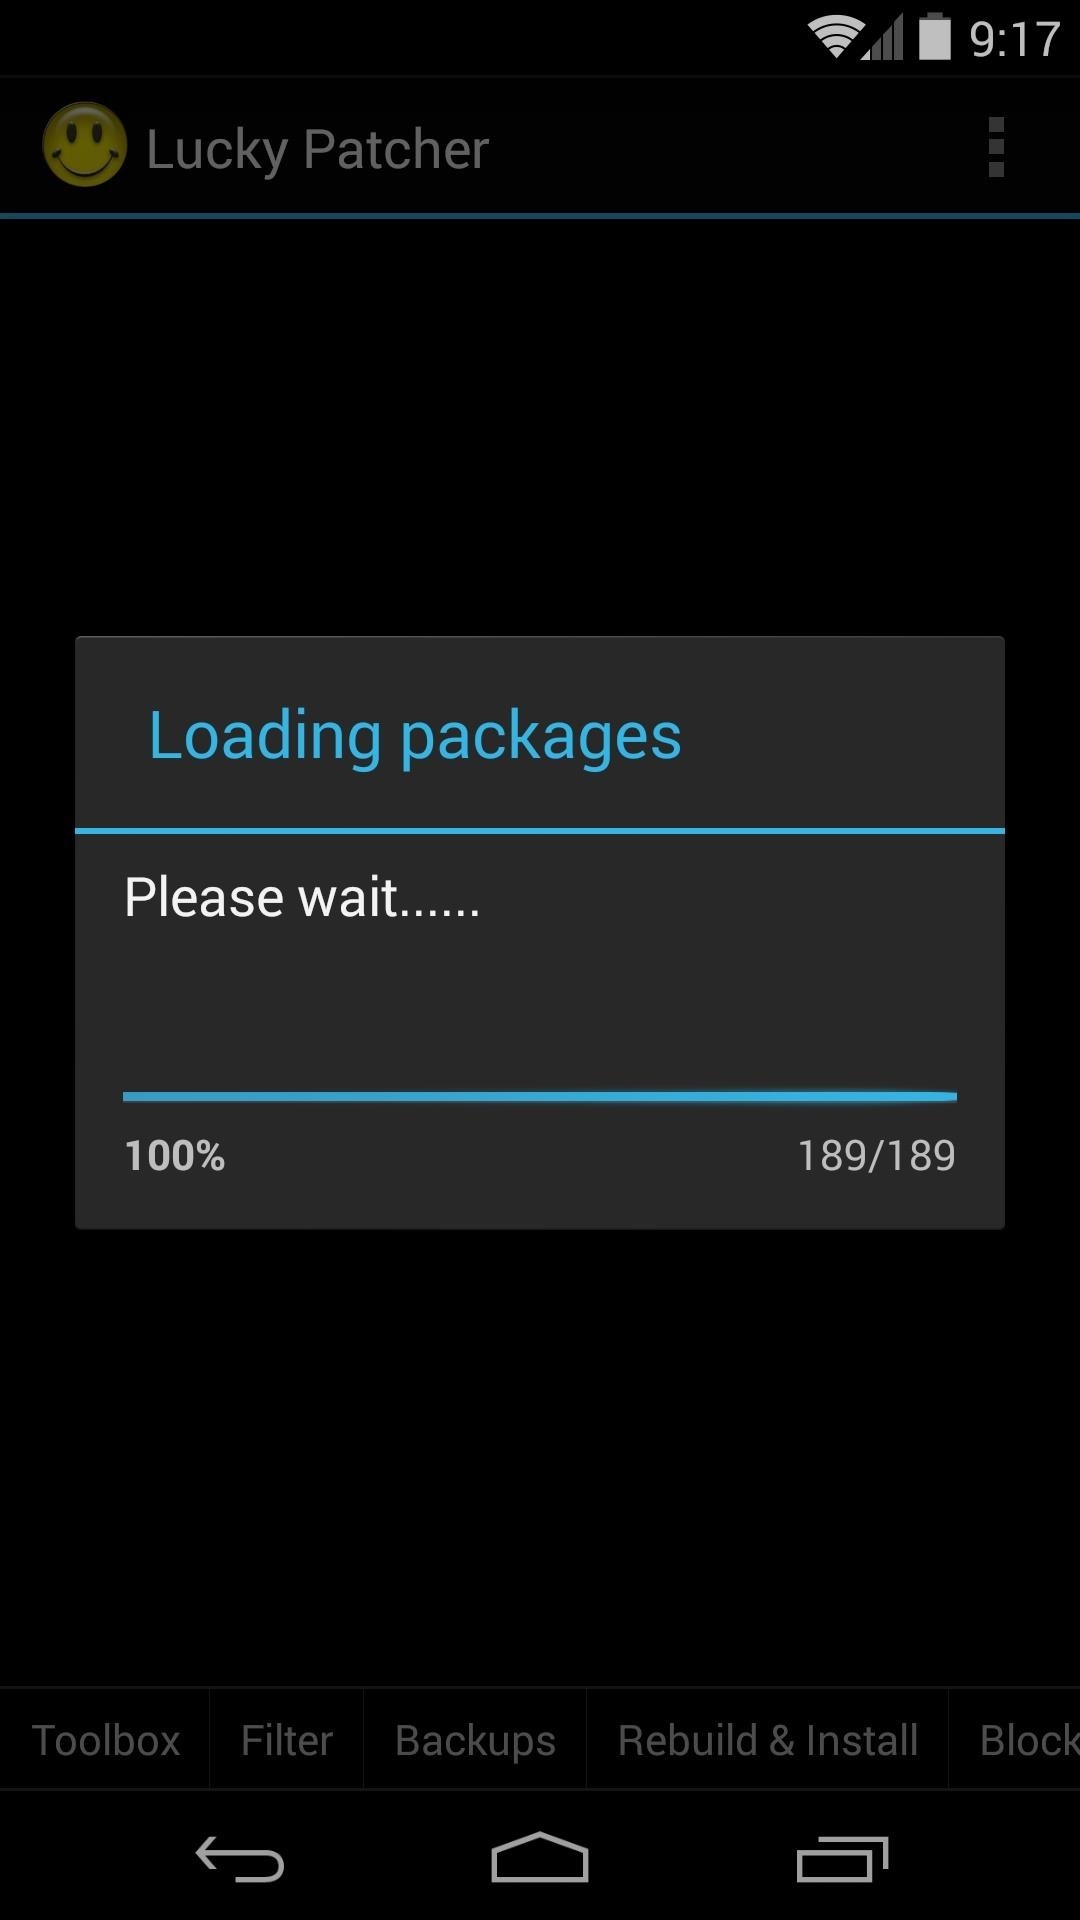
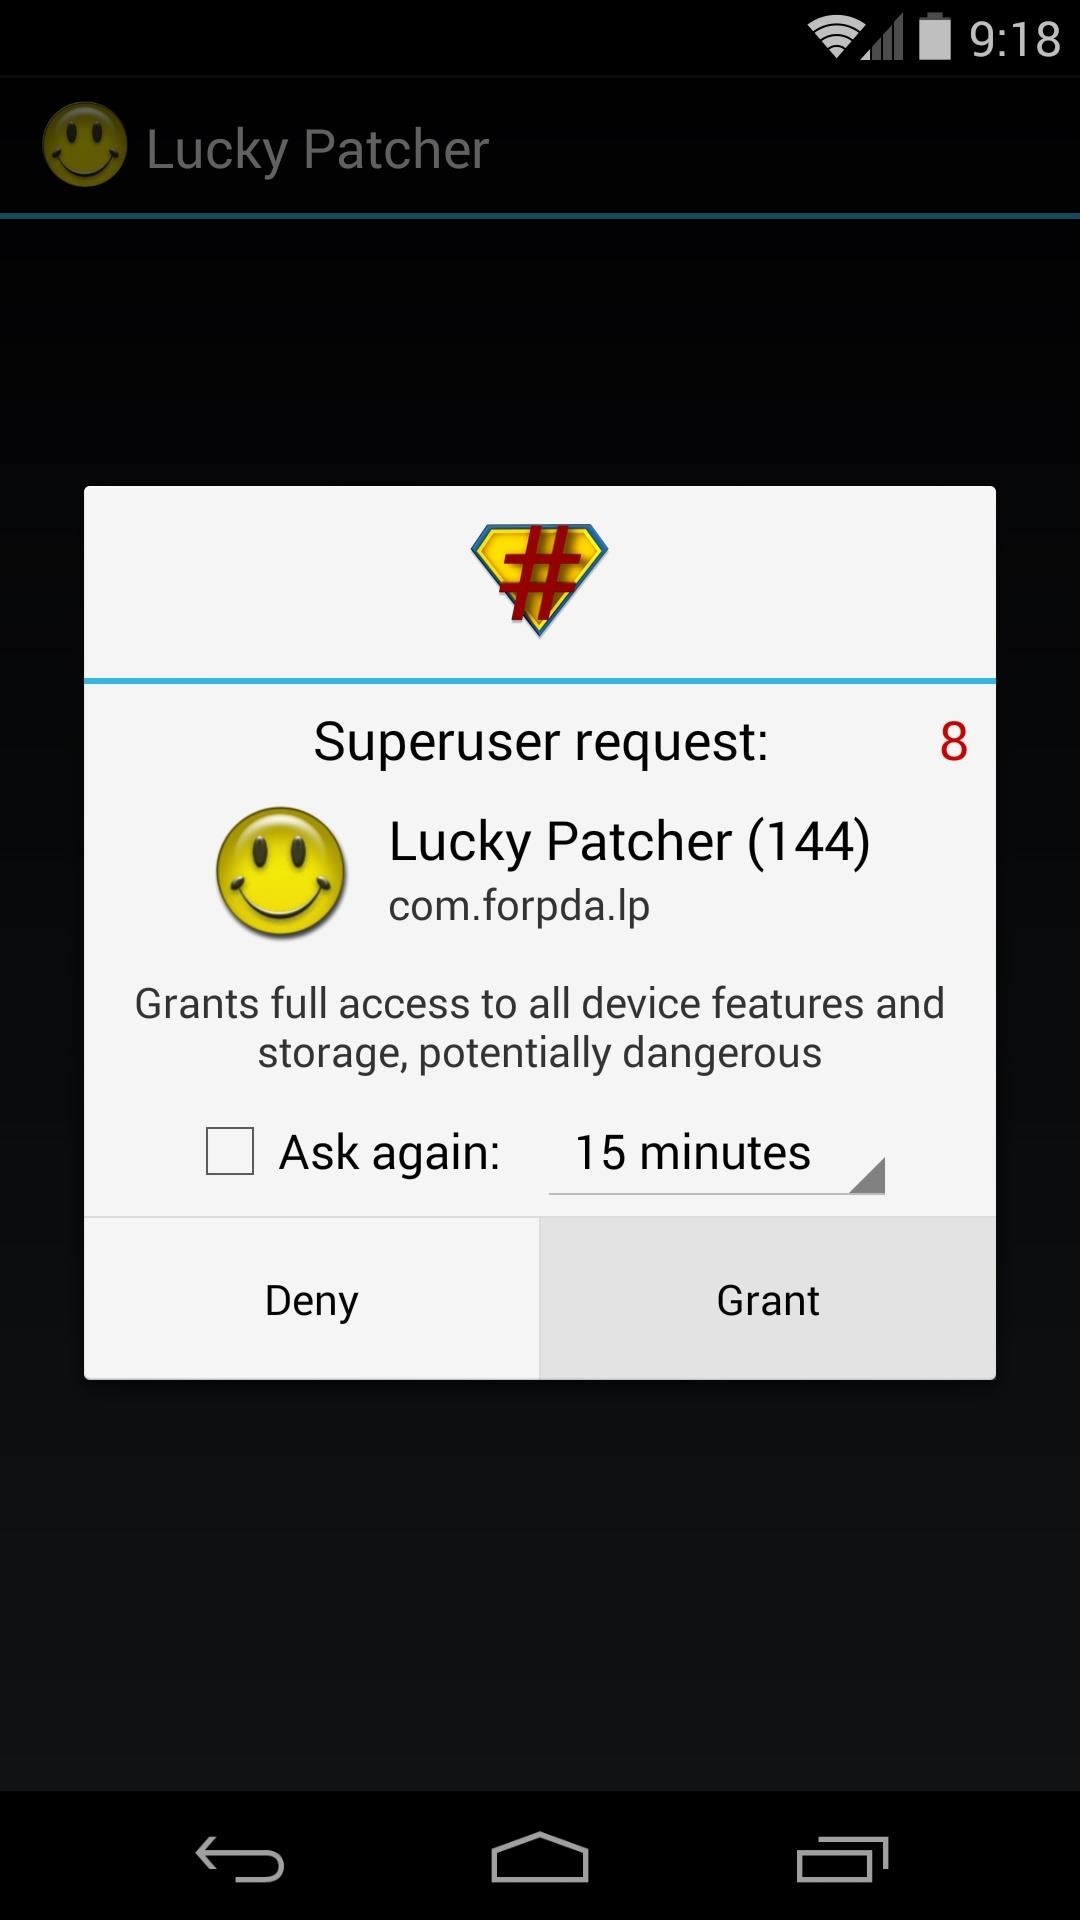
Lucky Patcher will automatically load up all of the necessary packages as soon as you open it. Next, grant the app Superuser privileges when asked.
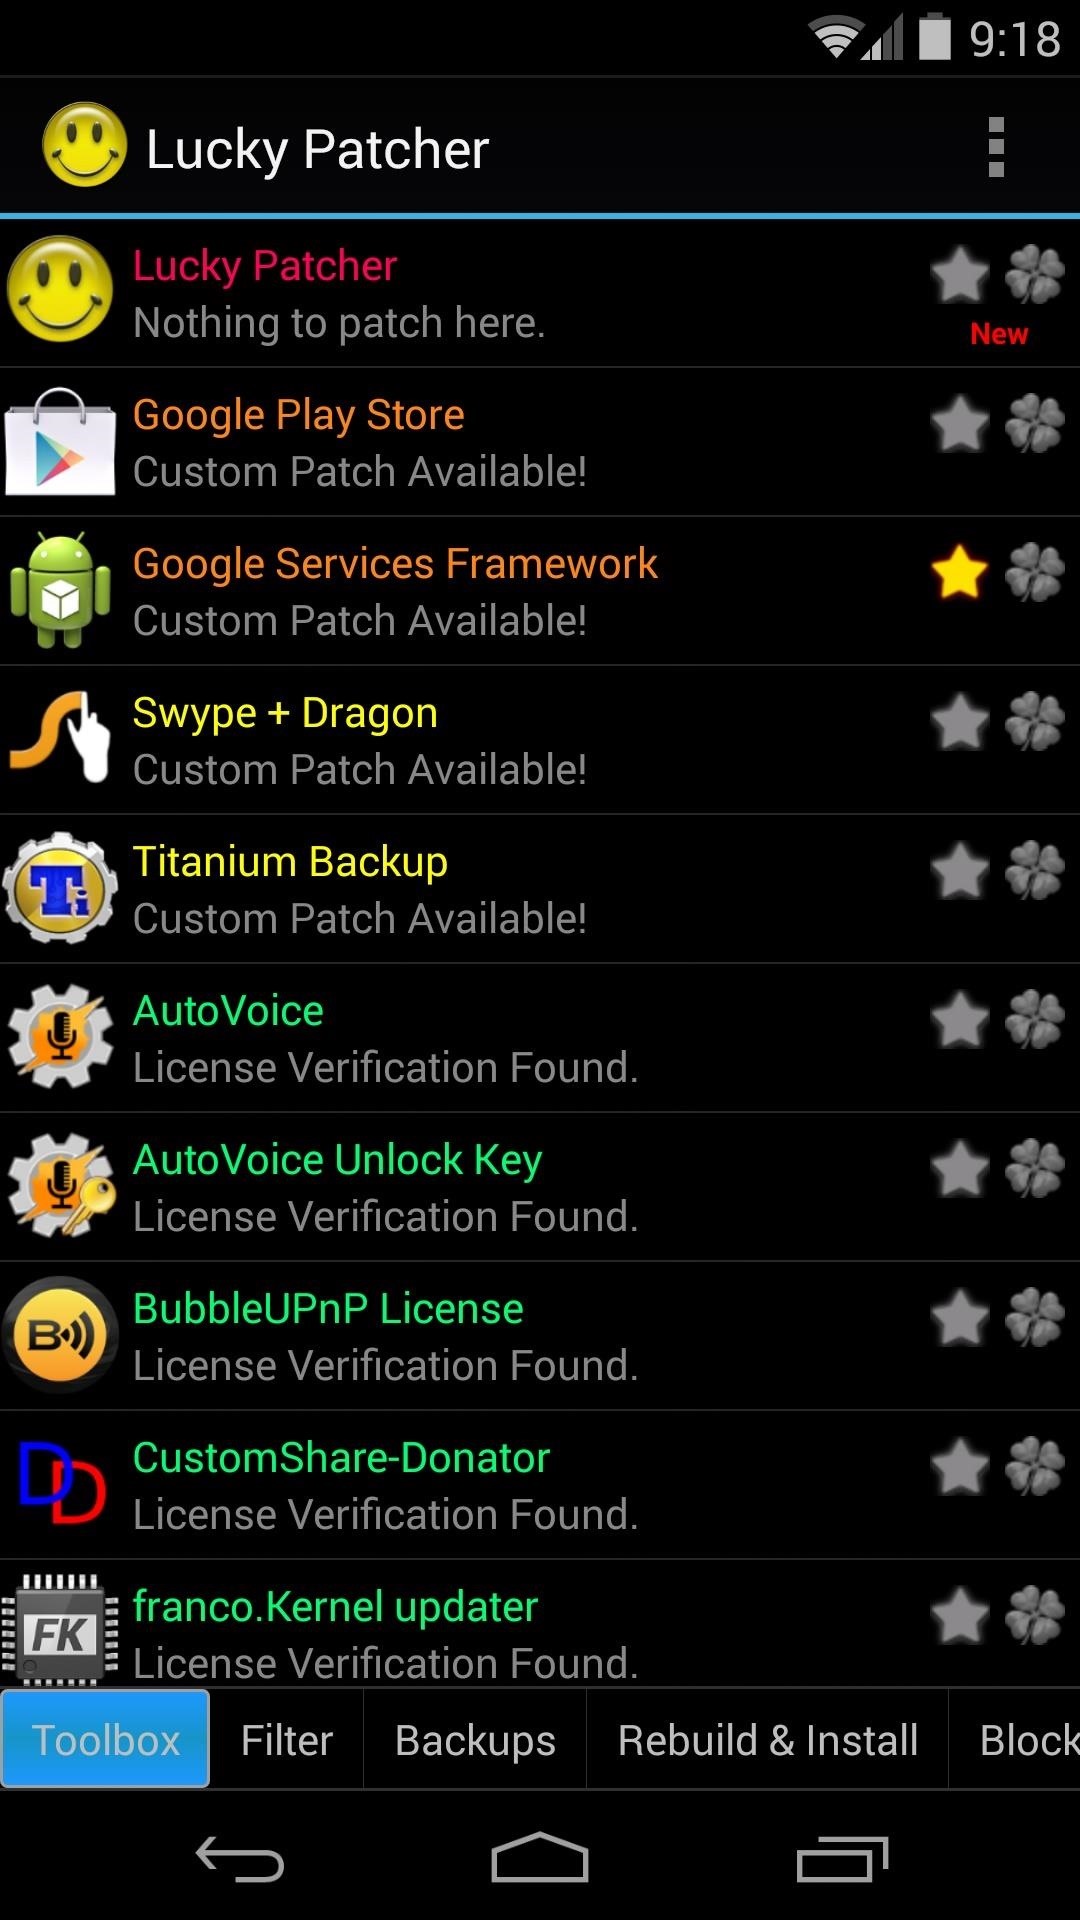
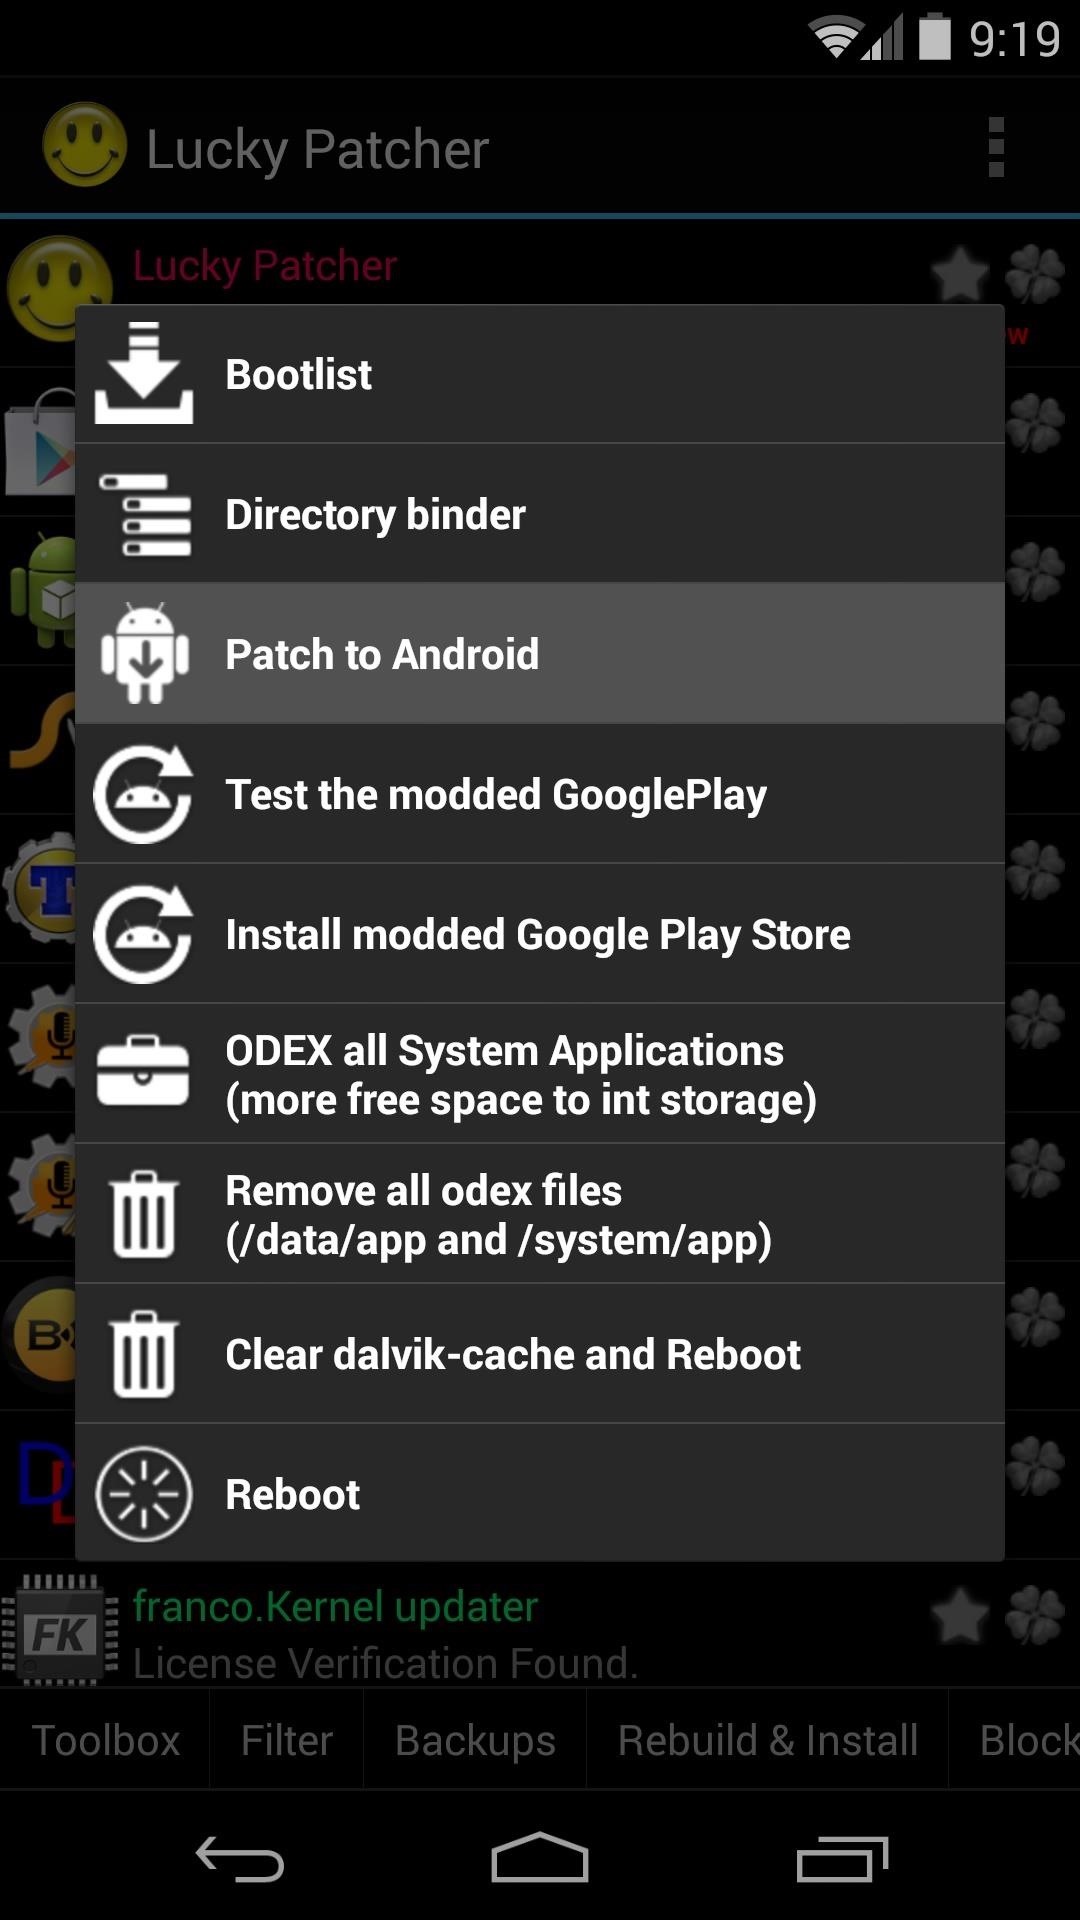
From the main screen of Lucky Patcher, tap Toolbox at the bottom-left. Choose Patch to Android from the next menu.
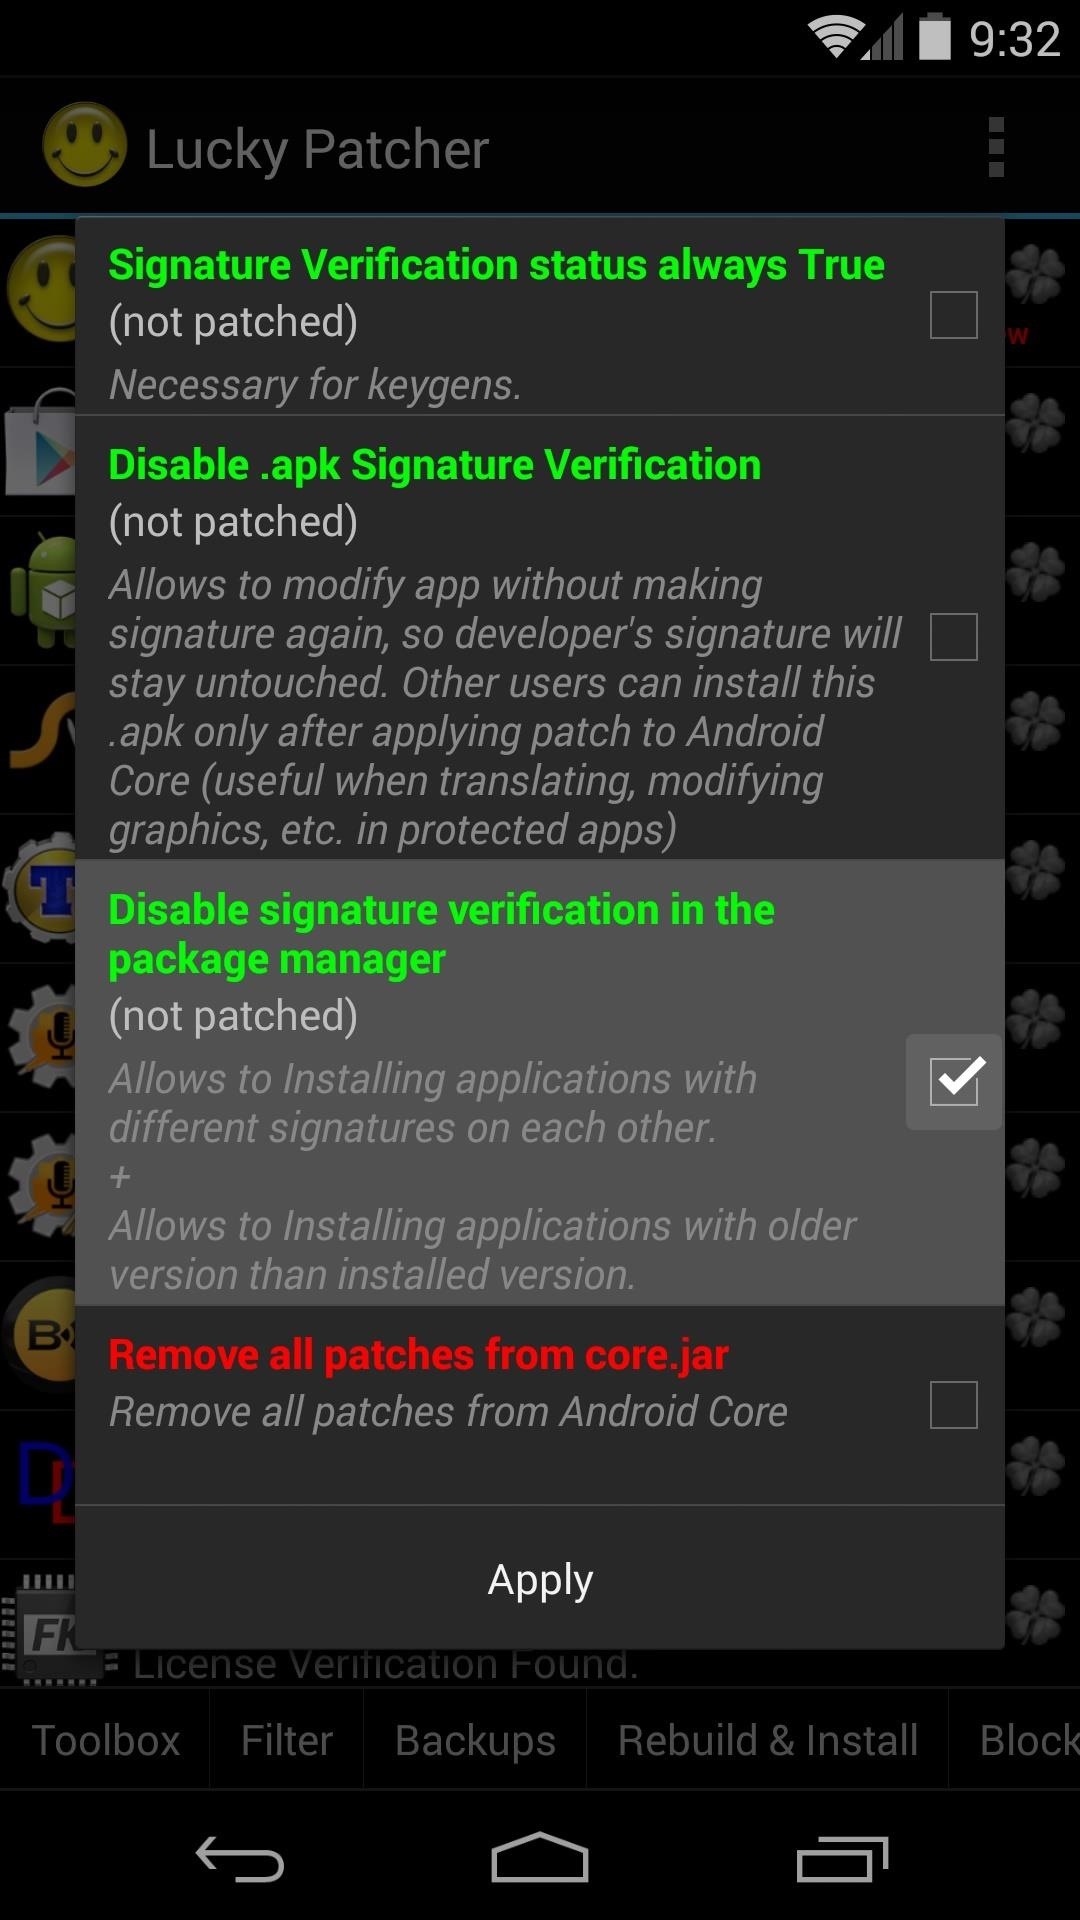
While Lucky Patcher is a great tool with many functions, the only one we'll be using today is Disable Signature Verification in the Package Manager. Tick the box next to that entry, but before you hit Apply, let me jump ahead for a second.
The ZIP file you downloaded earlier is meant to be flashed in custom recovery, which you would normally have to access through a reboot. Lucky Patcher will automatically reboot your phone as soon as you hit apply, so we have an opportunity to save a step here.

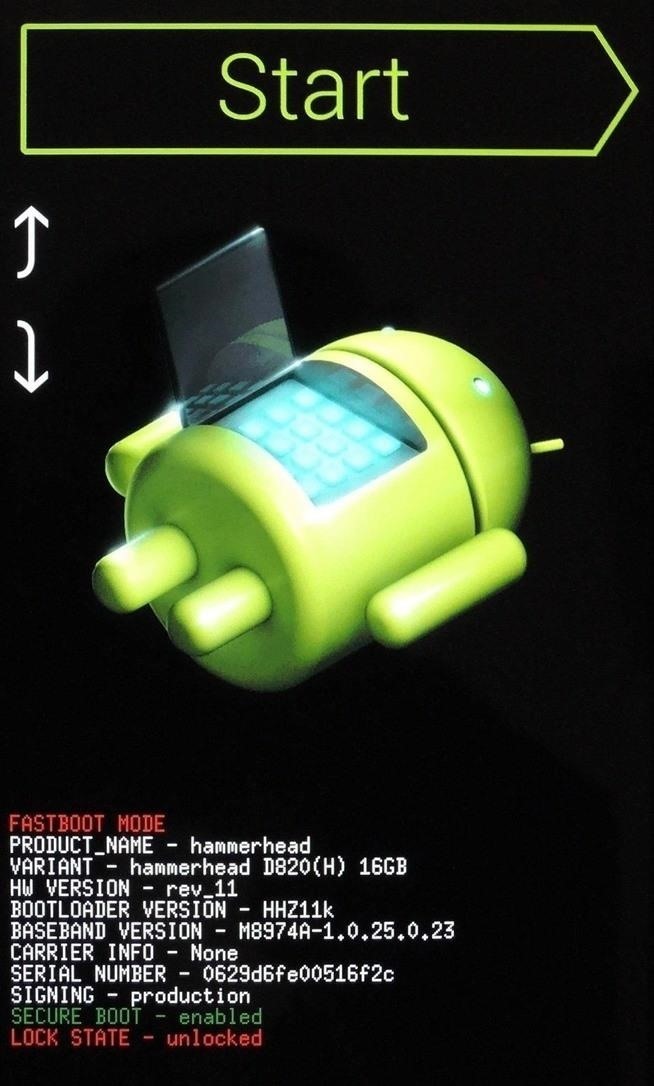
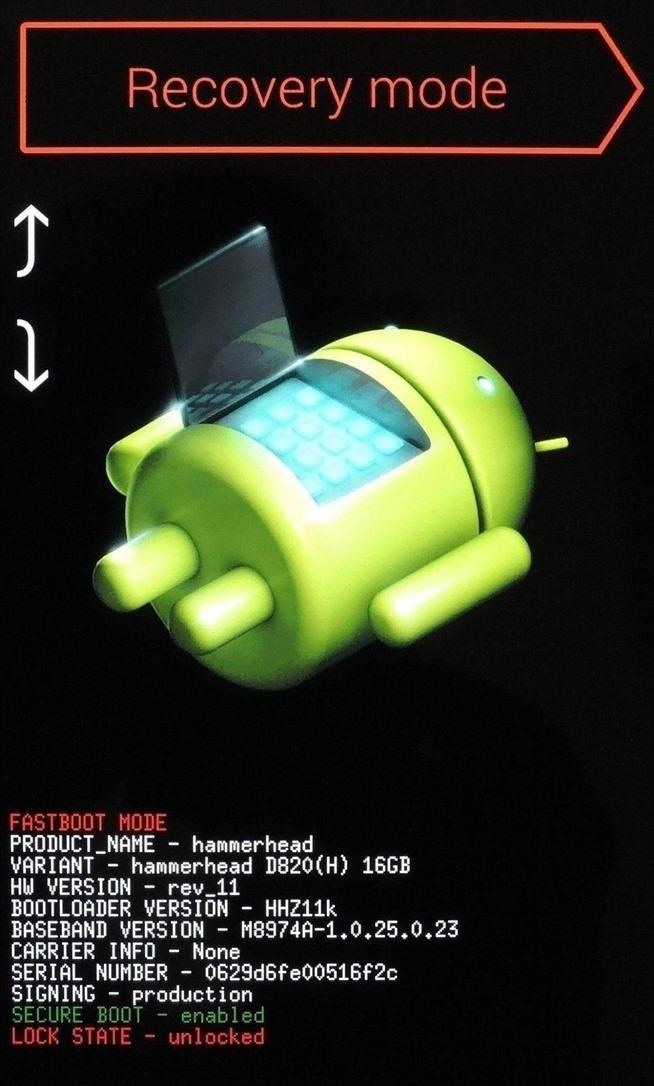
As soon as you hit Apply, just hold down the Volume Down button on your phone. After a few seconds, Android's bootloader menu will come up. From here, just tap the Volume Down button twice to highlight Recovery Mode, then press the Power button to select it.
Step 4: Flash the OmniSwitch ZIP File
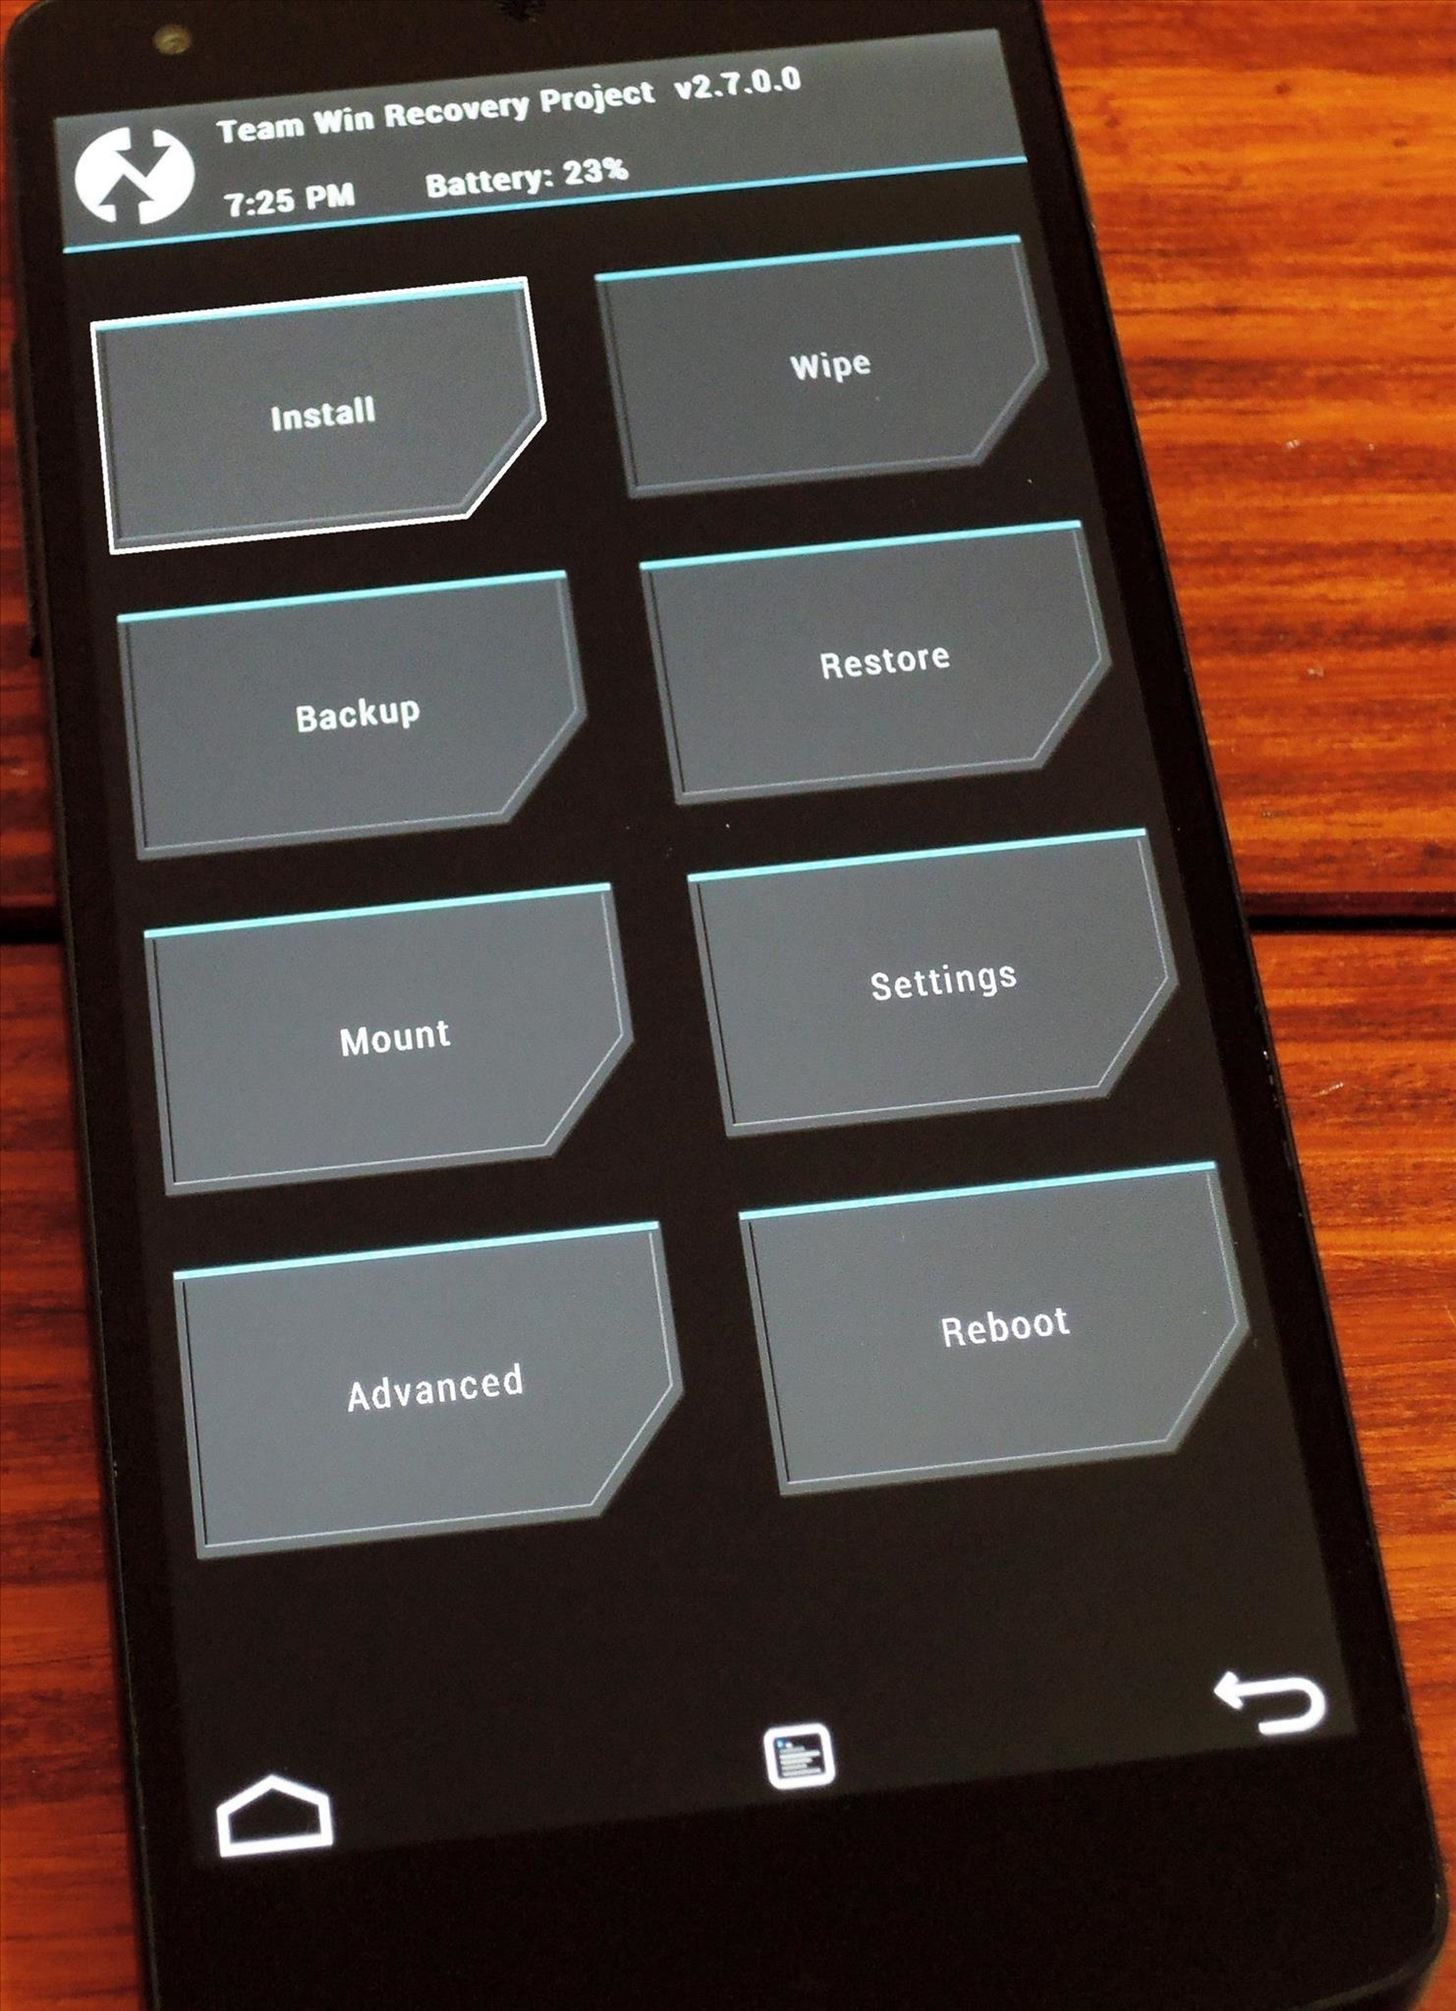
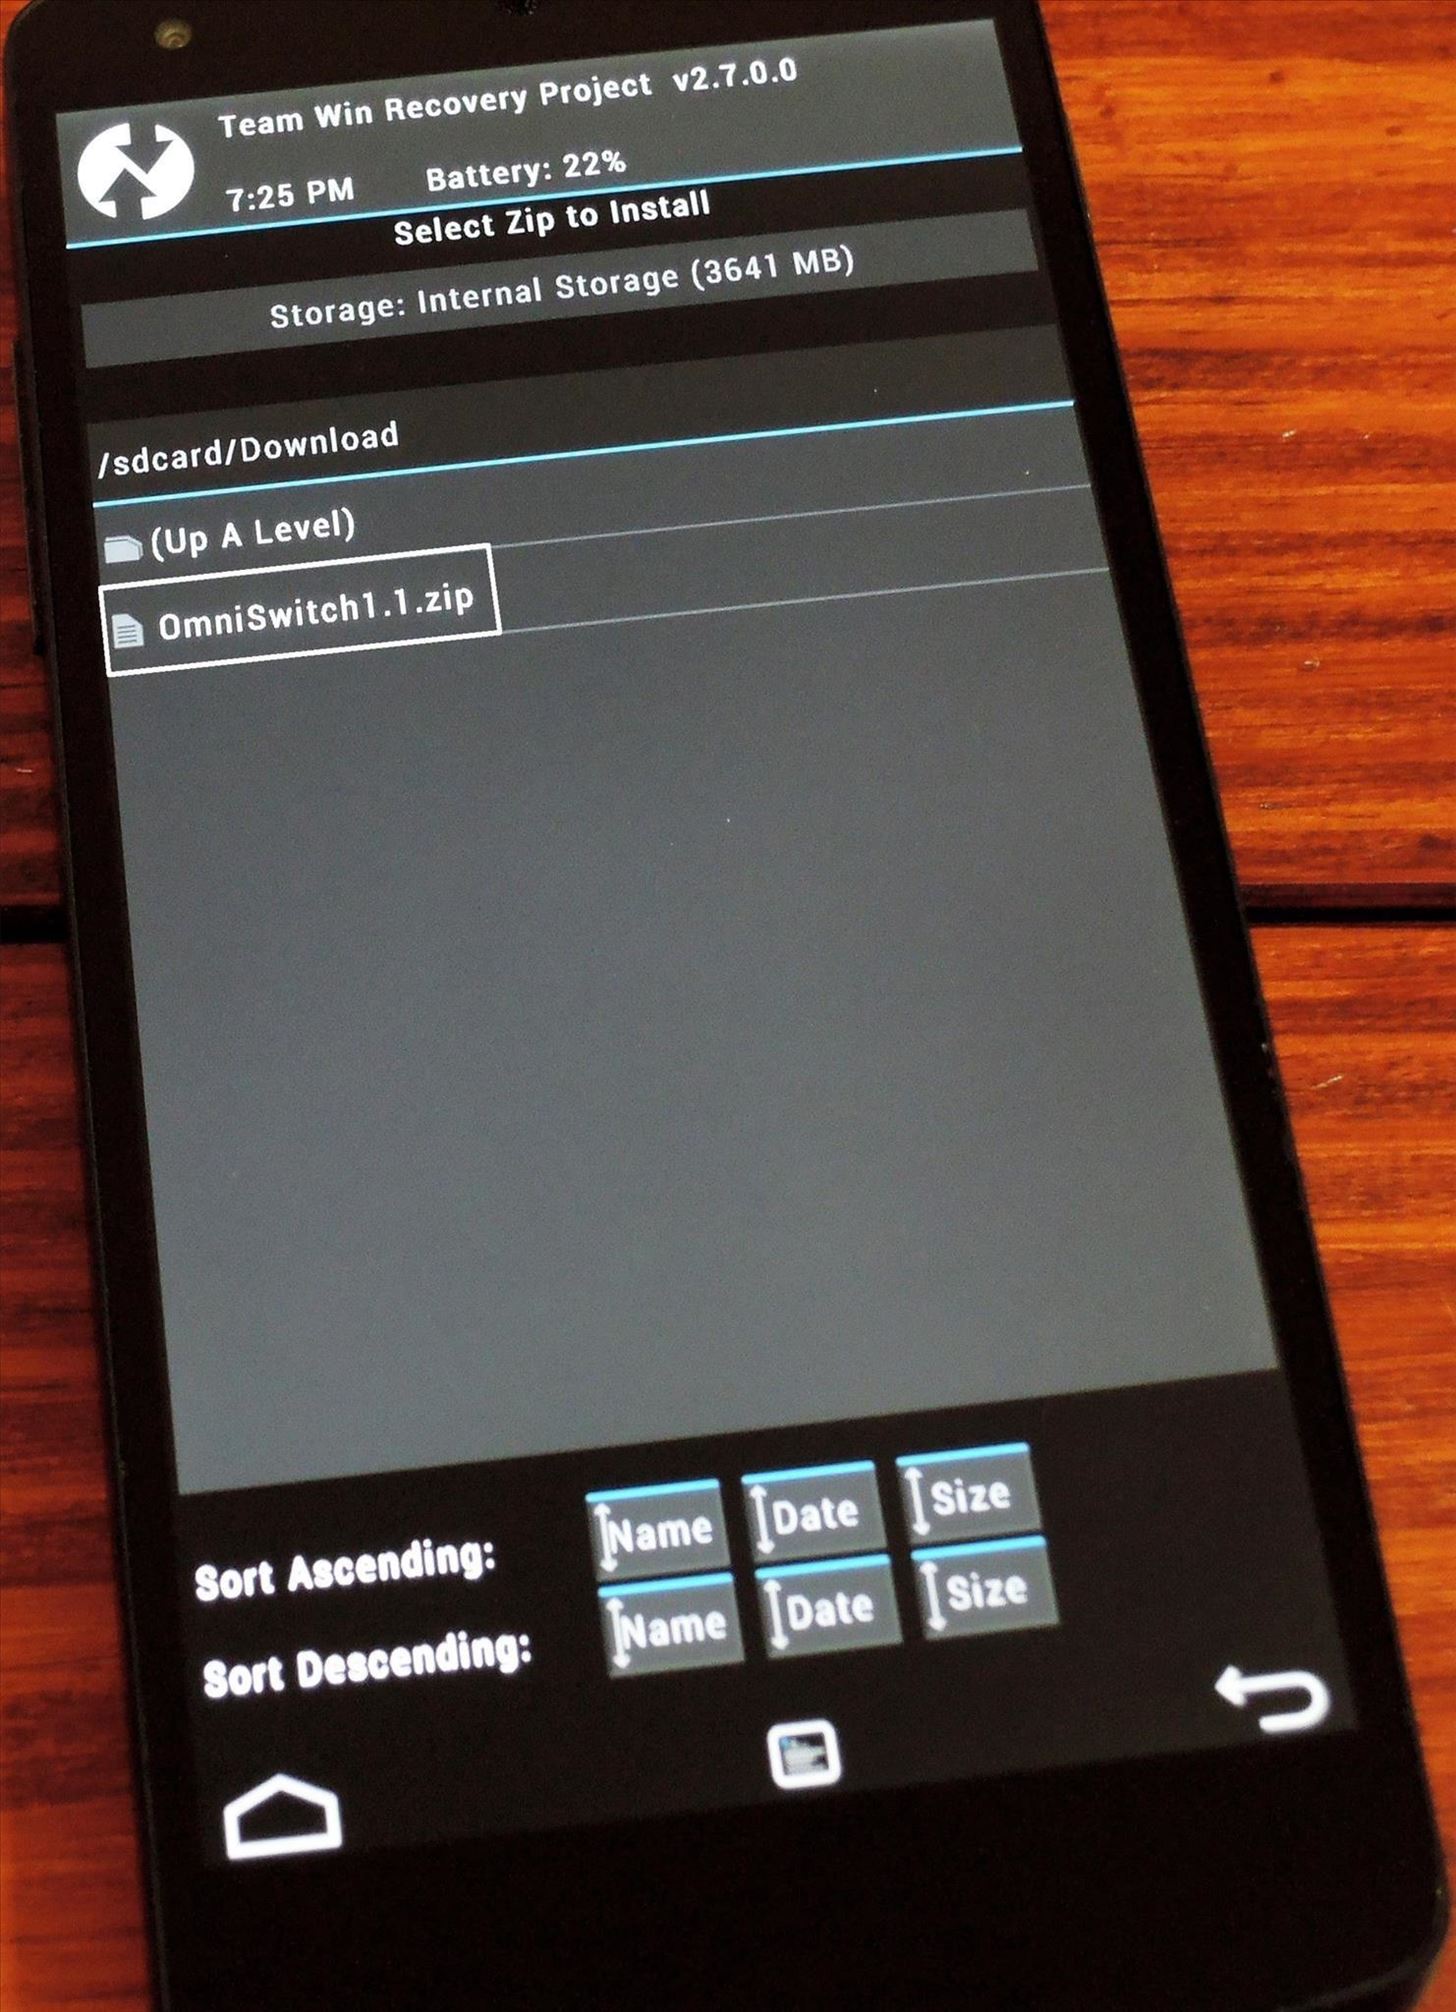
Now that Android has been readied and you've booted into your custom recovery, you can install OmniSwitch. I'll be demonstrating with TWRP Recovery here, but the process should be similar on any other custom recovery.
First, tap Install, then navigate to your Download folder. From here, select the OmniSwitch1.1.zip file that you downloaded earlier.
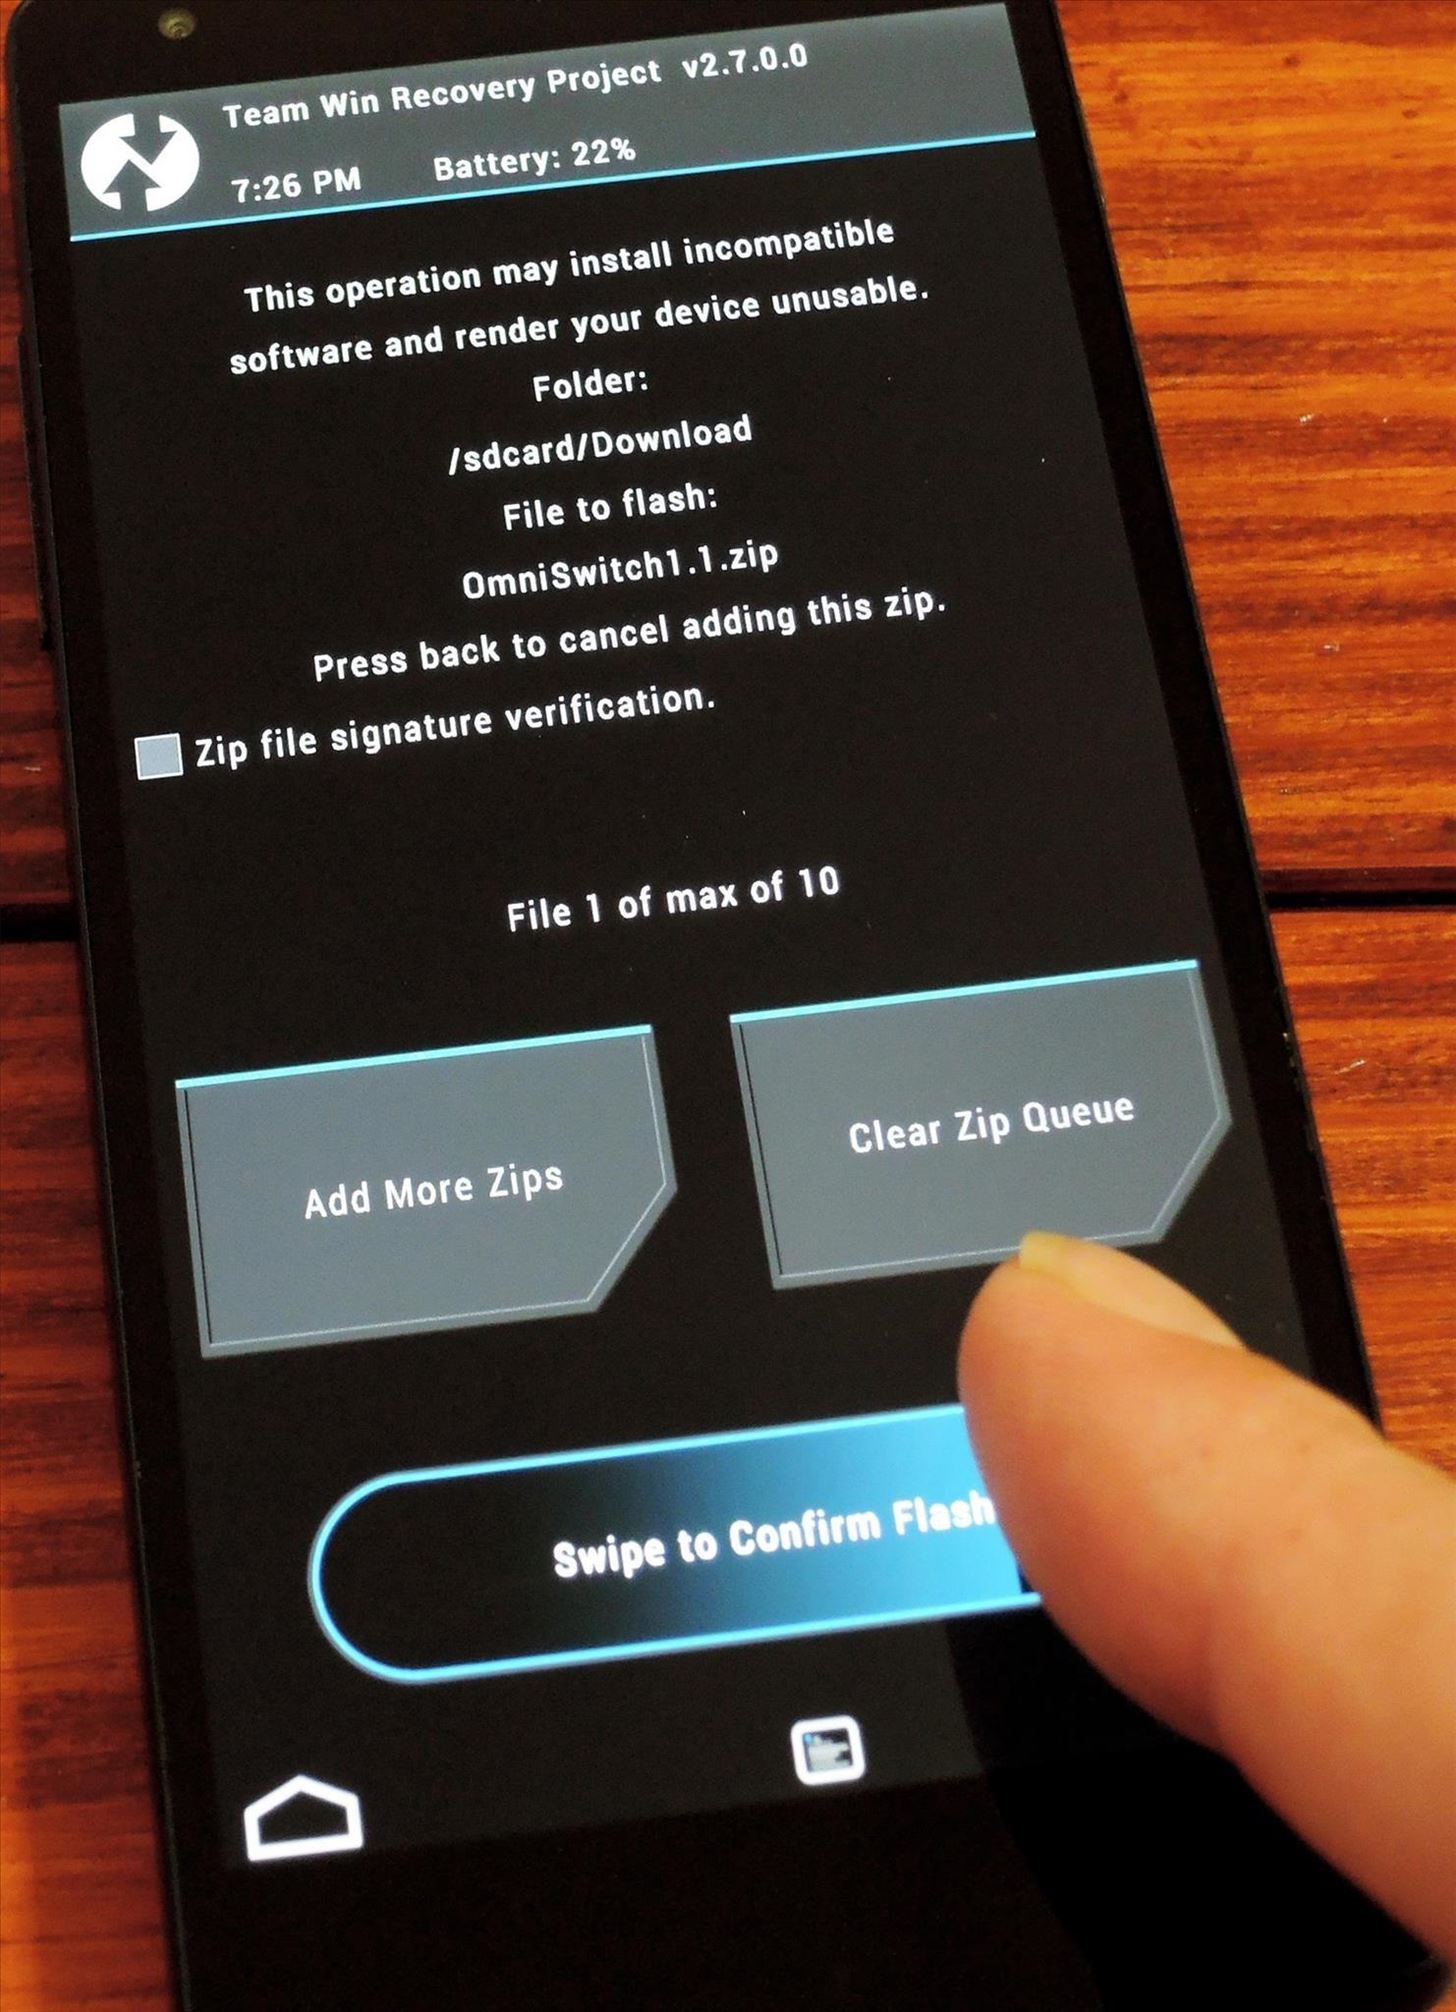
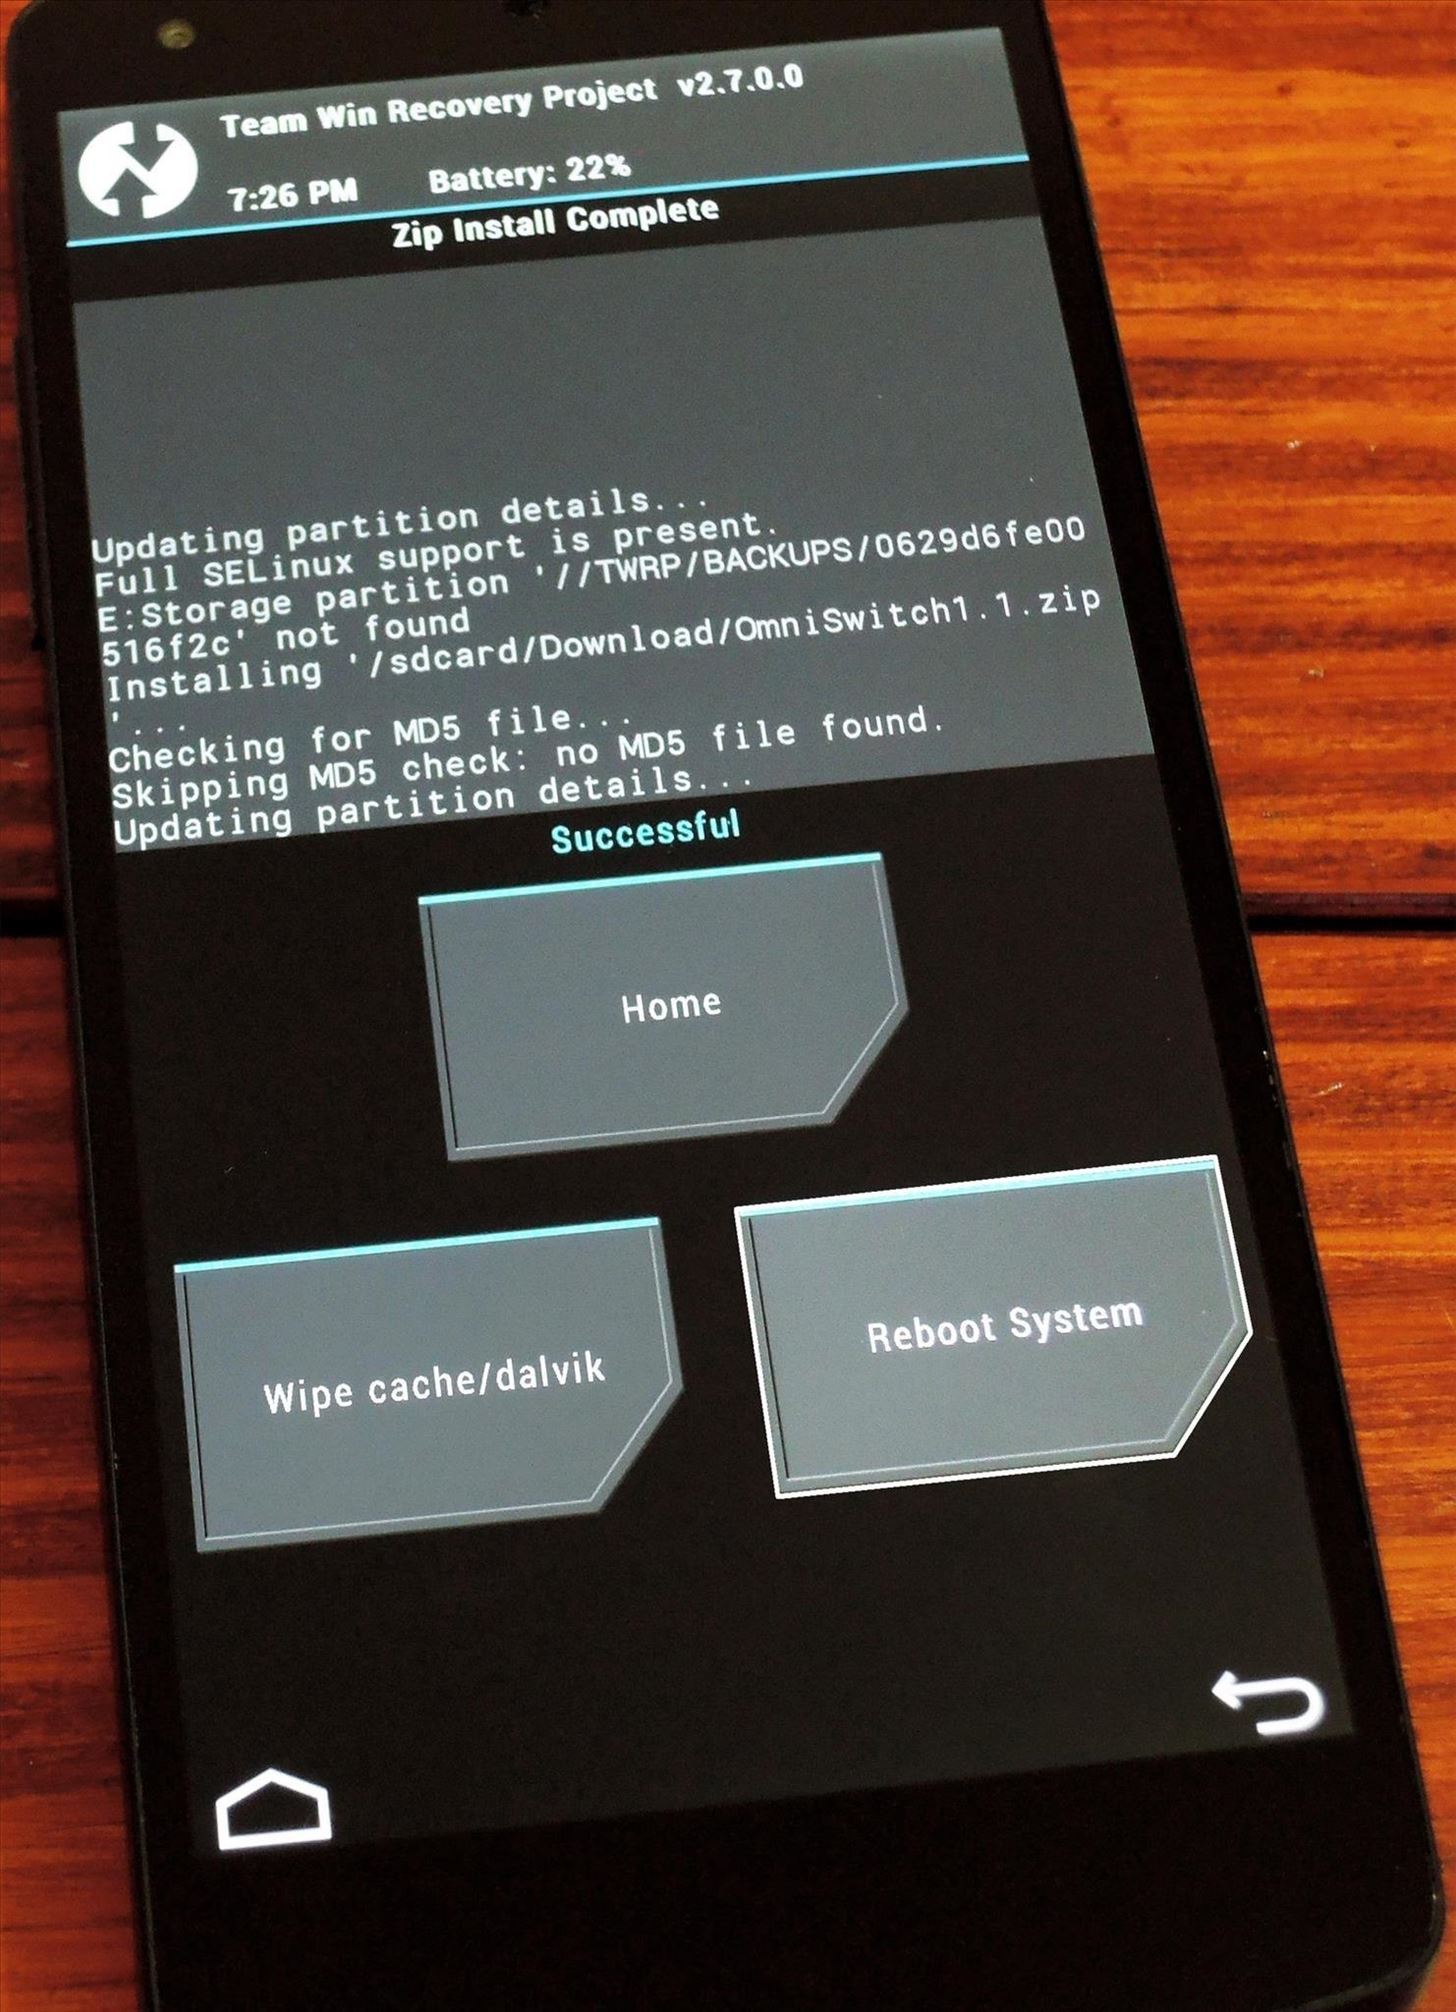
Next, just swipe the slider at the bottom to install OmniSwitch. When the process is finished, just hit Reboot System.
Step 5: Configure OmniSwitch
When you're booted back up, you'll notice a new icon in your app drawer. Go ahead and open OmniSwitch to get started on a little initial setup.
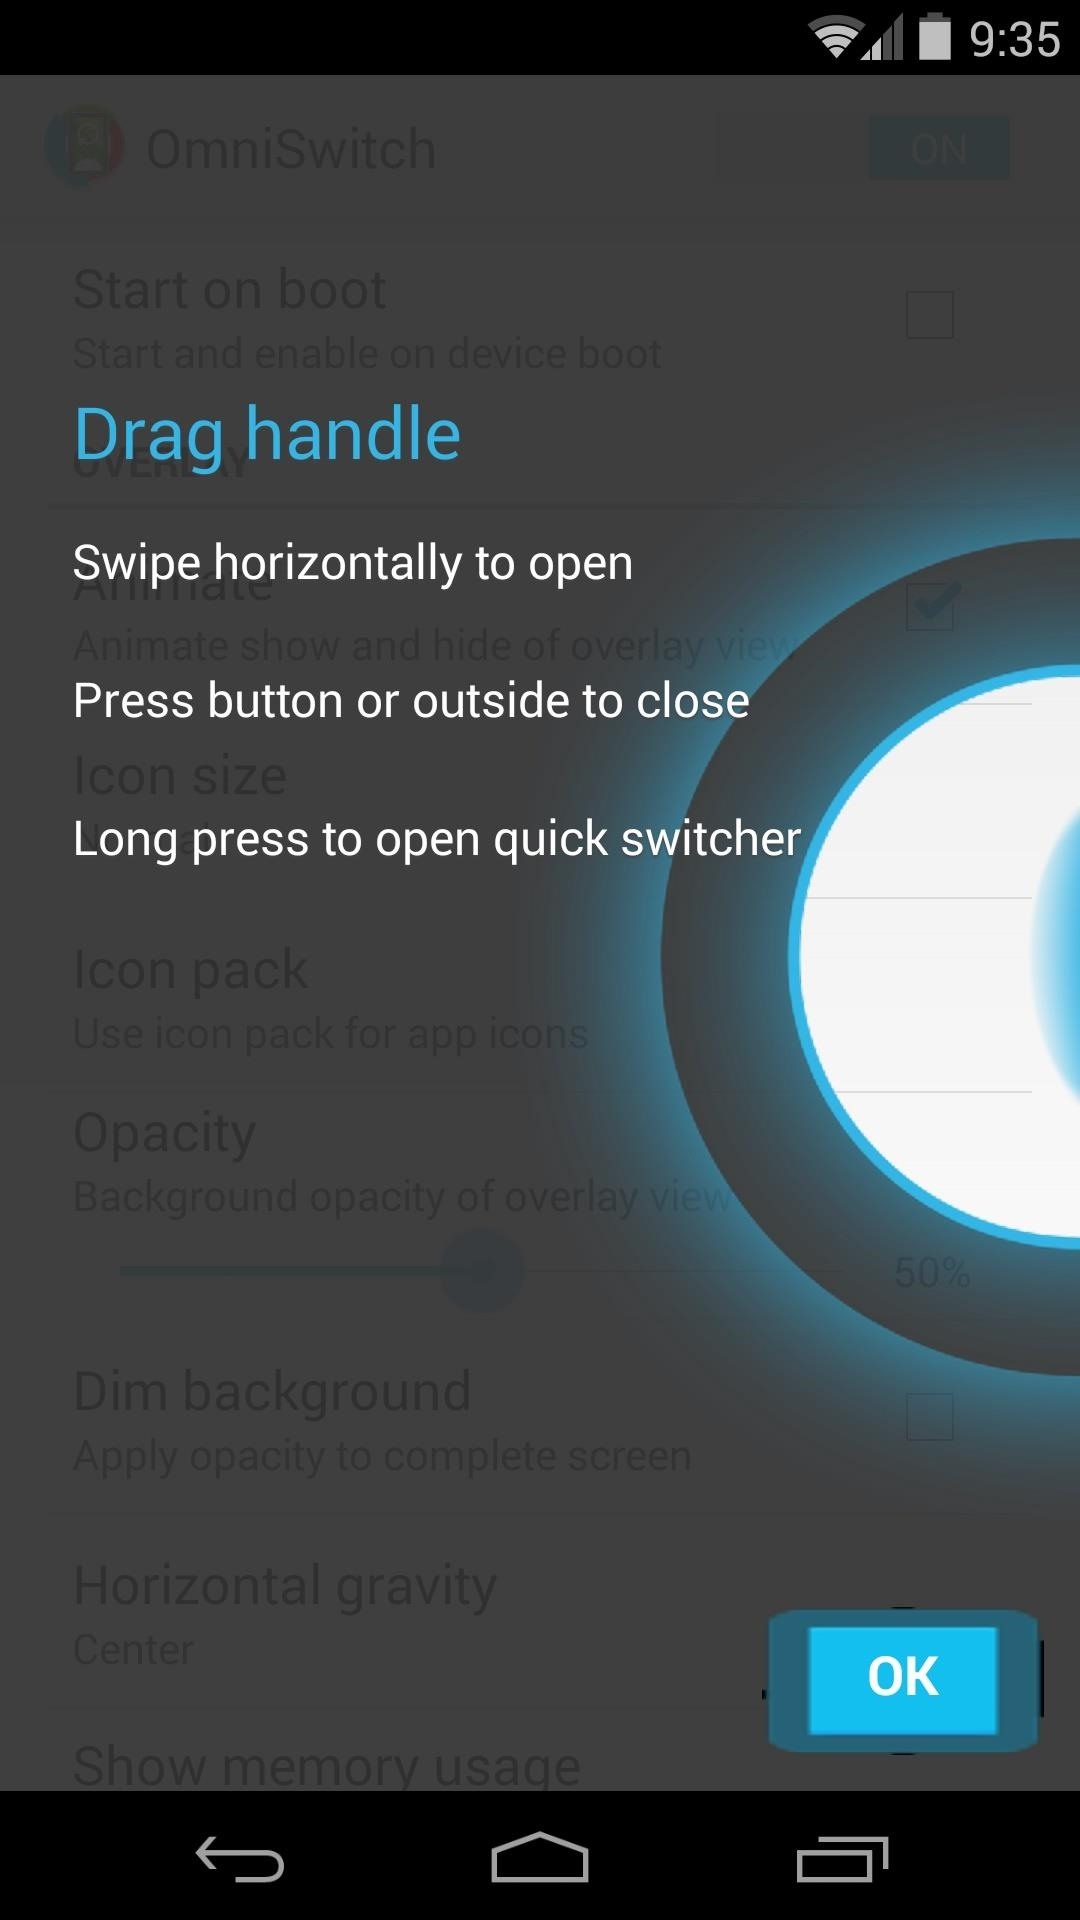
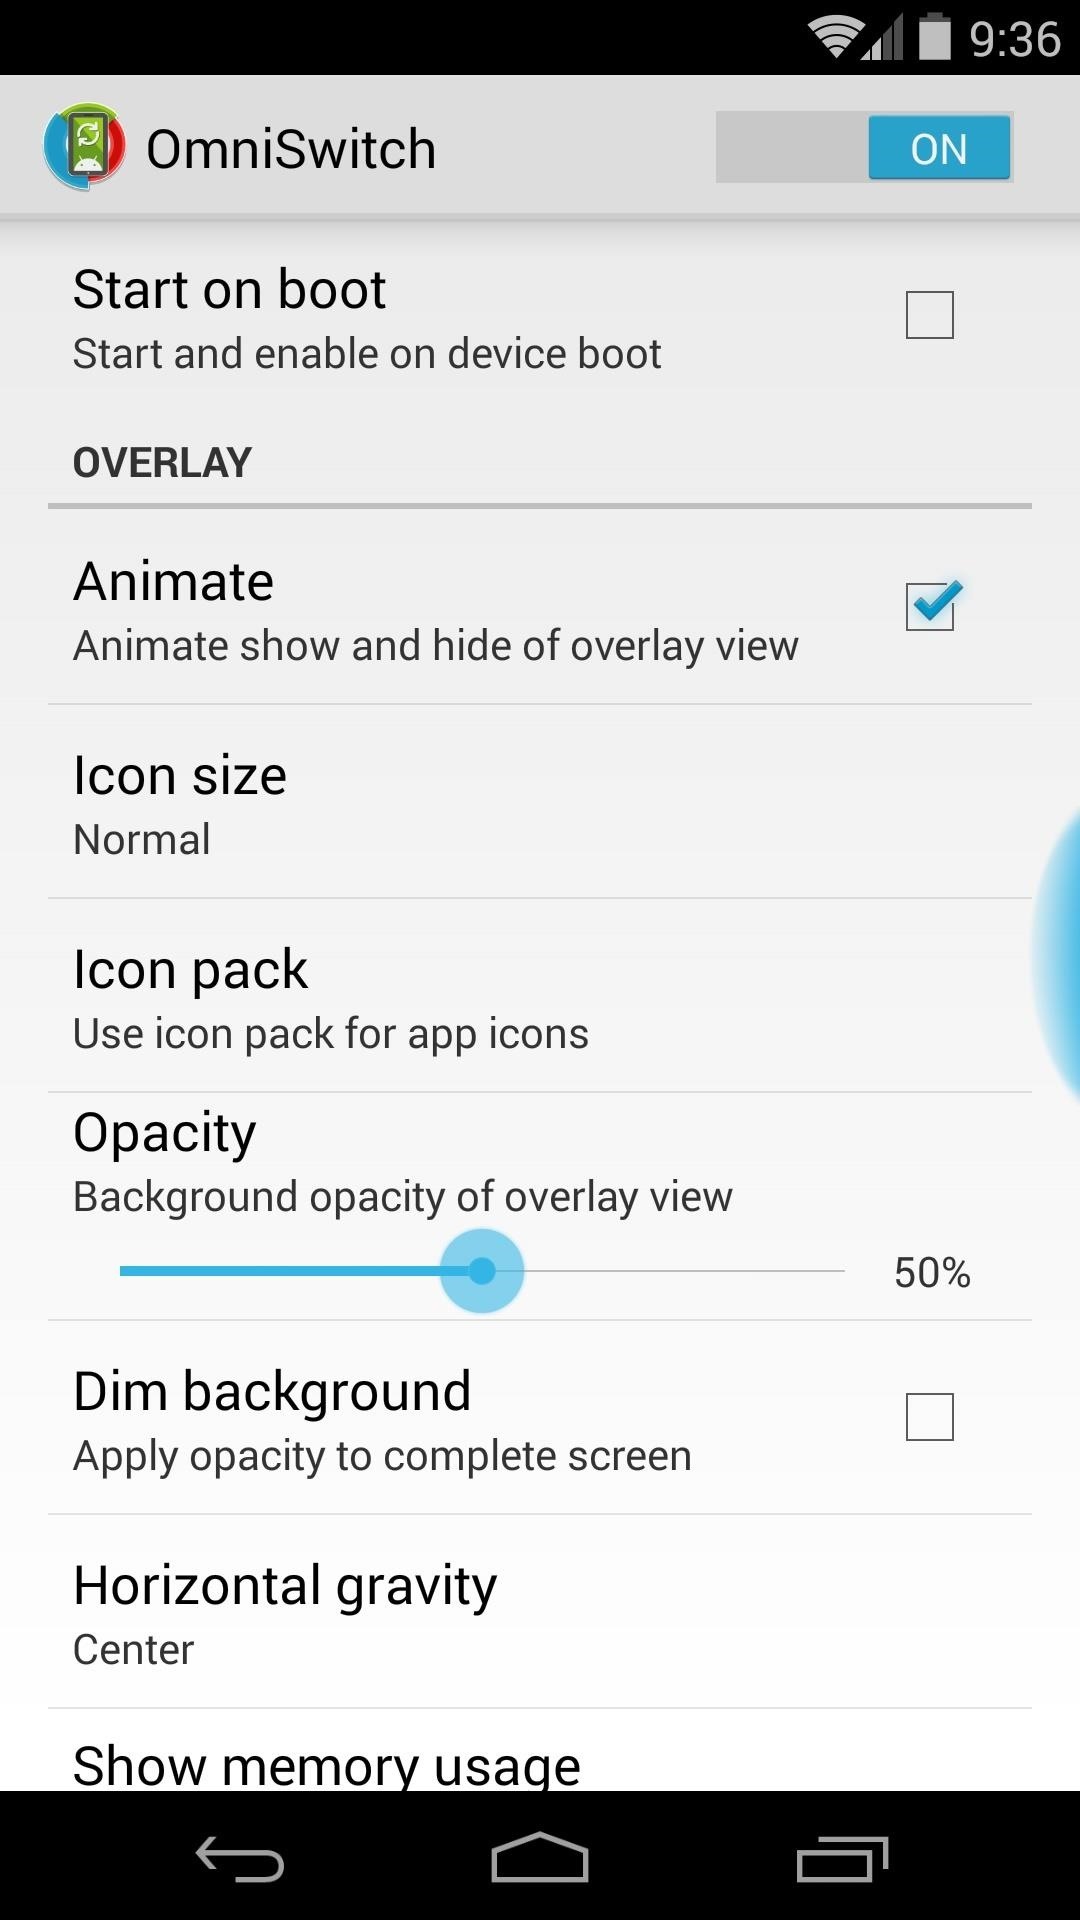
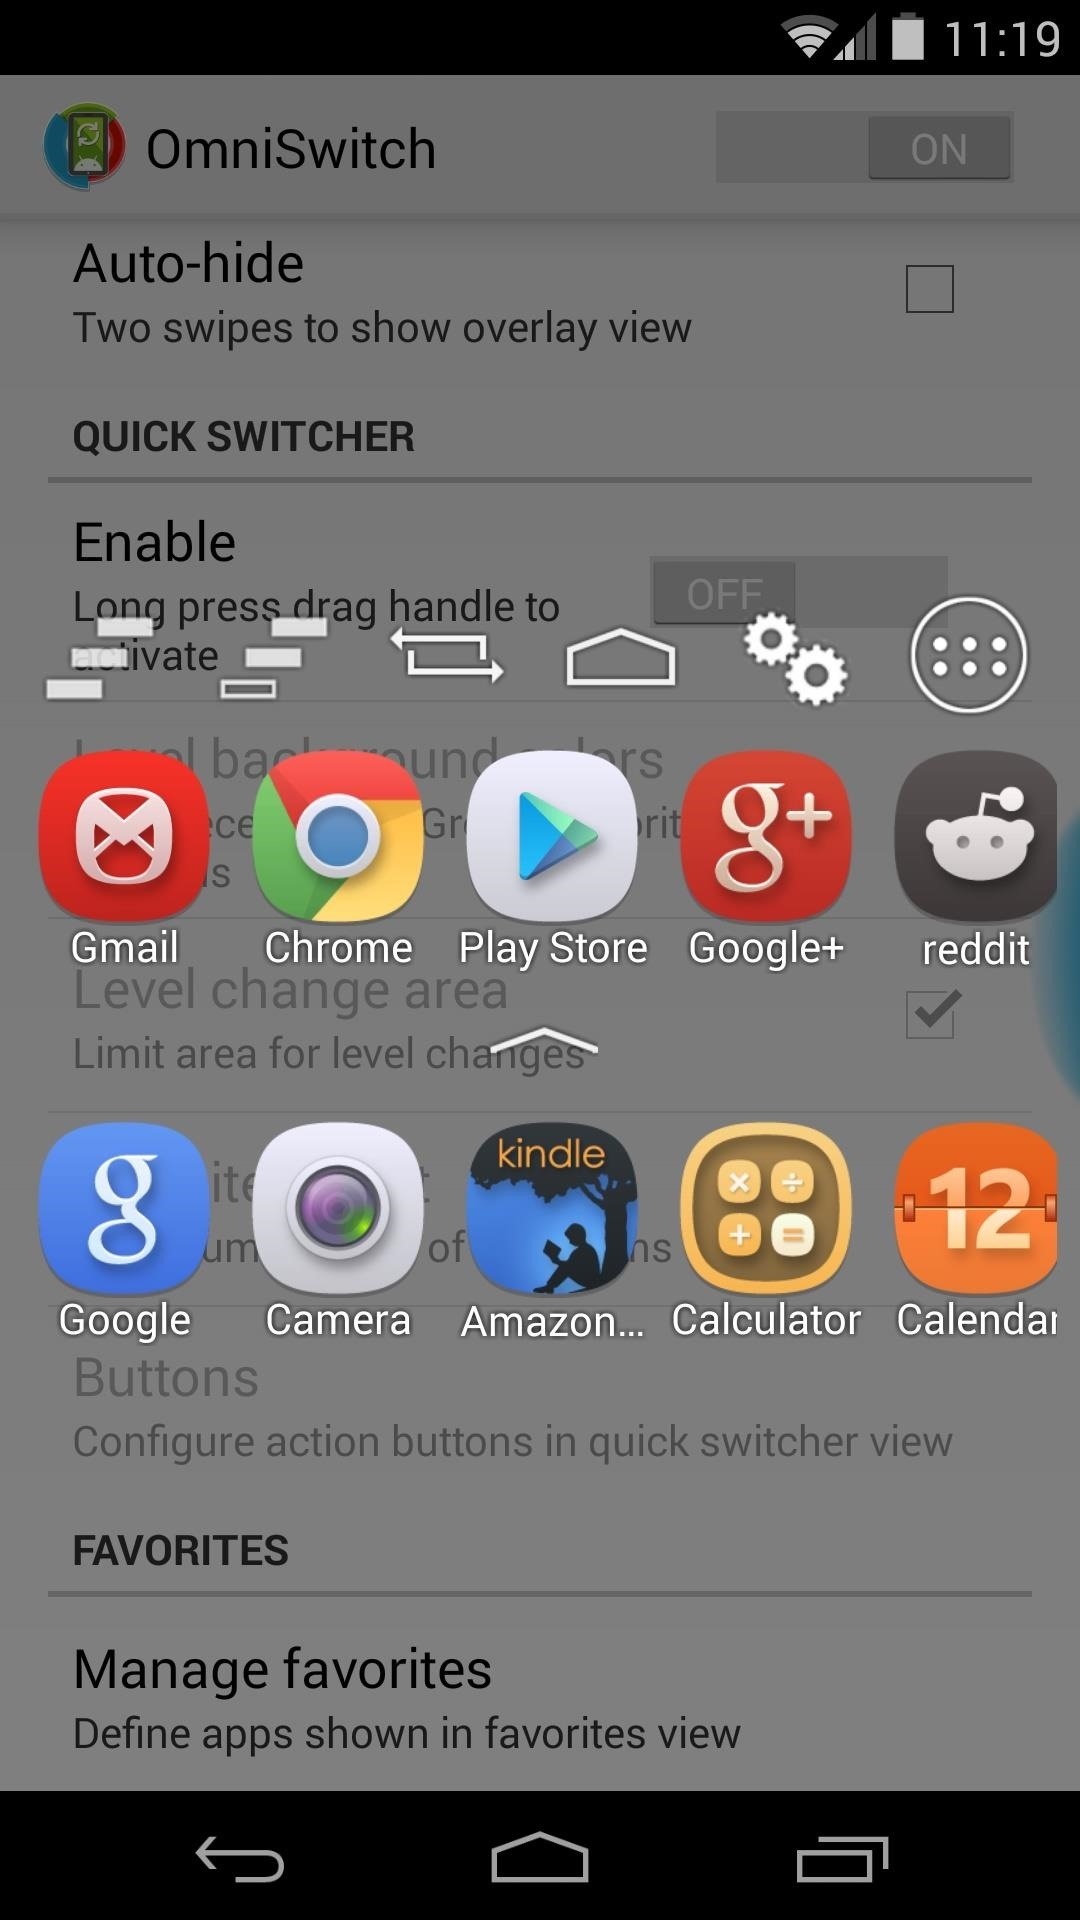
First, set the toggle switch up top to On. This will enable the OmniSwitch service so you can preview your changes as you make them. A feature tour will appear that highlights the OmniSwitch trigger area.
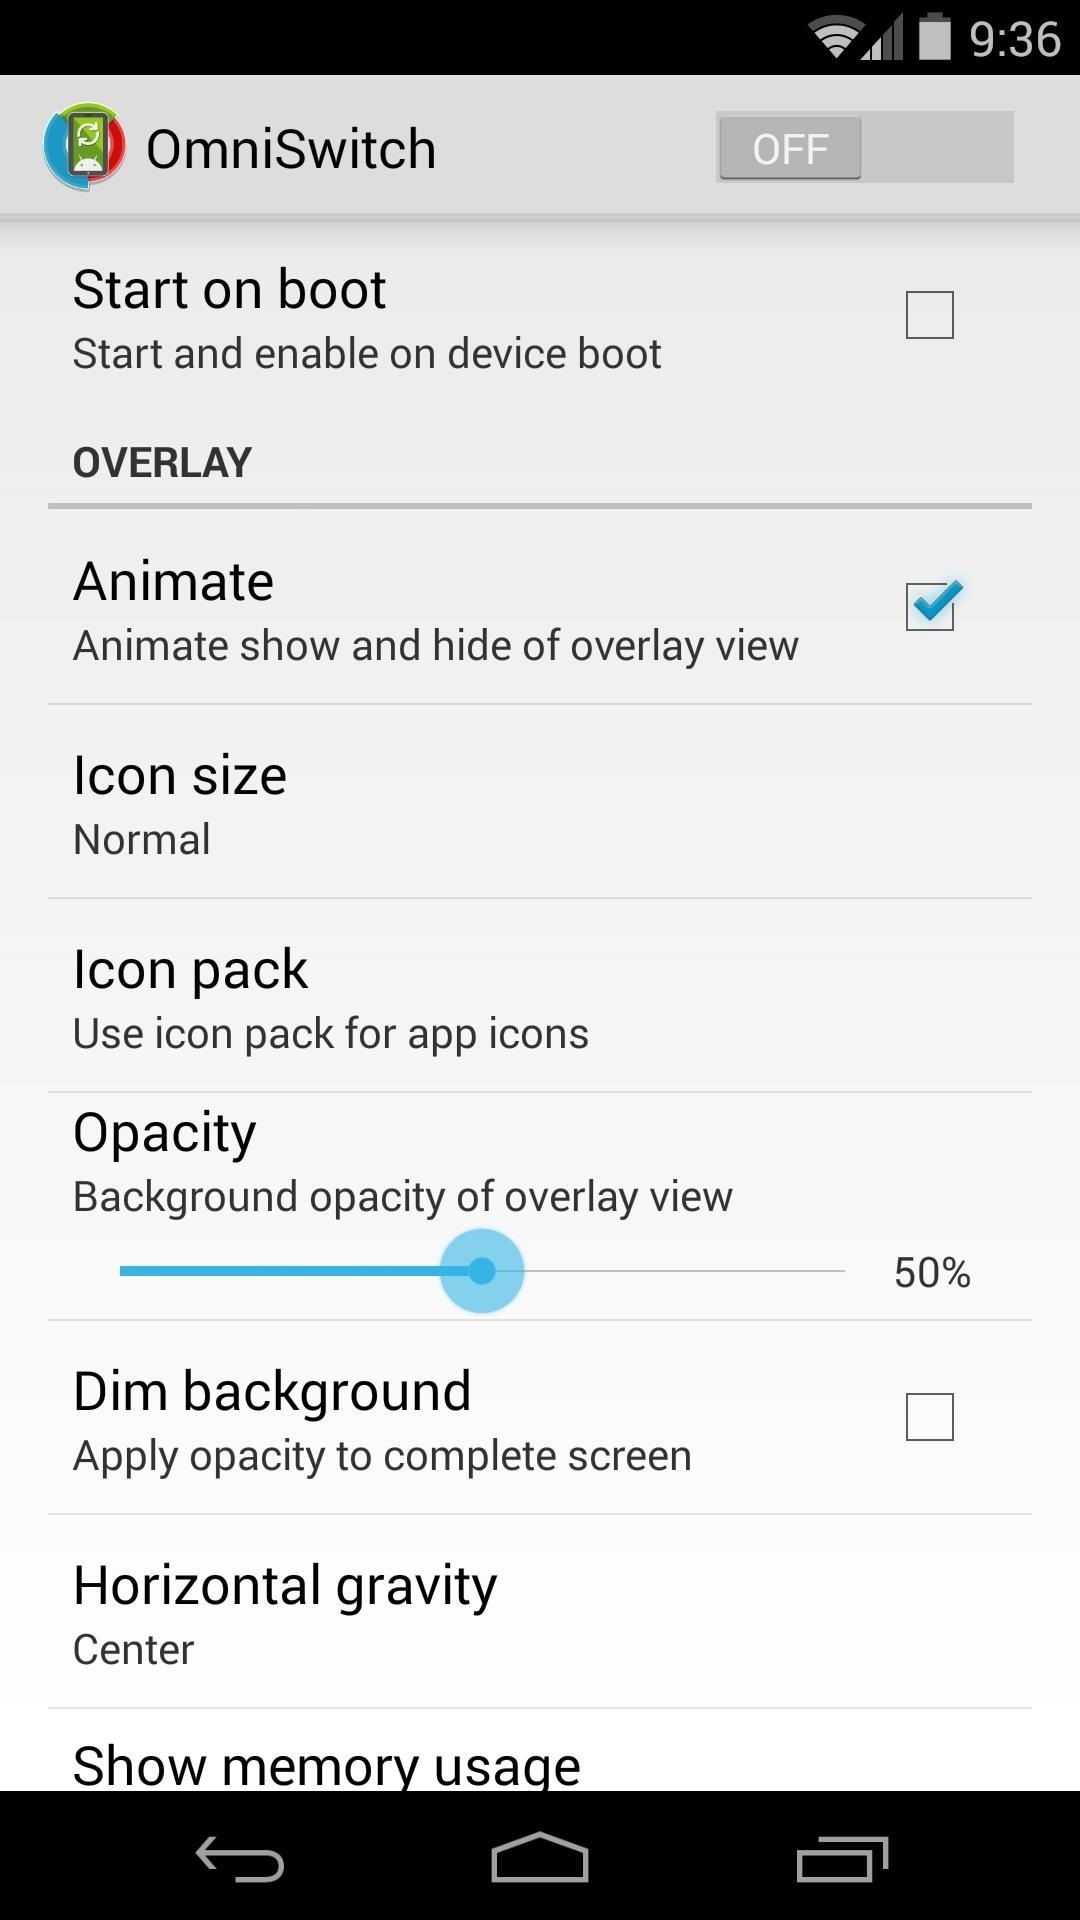
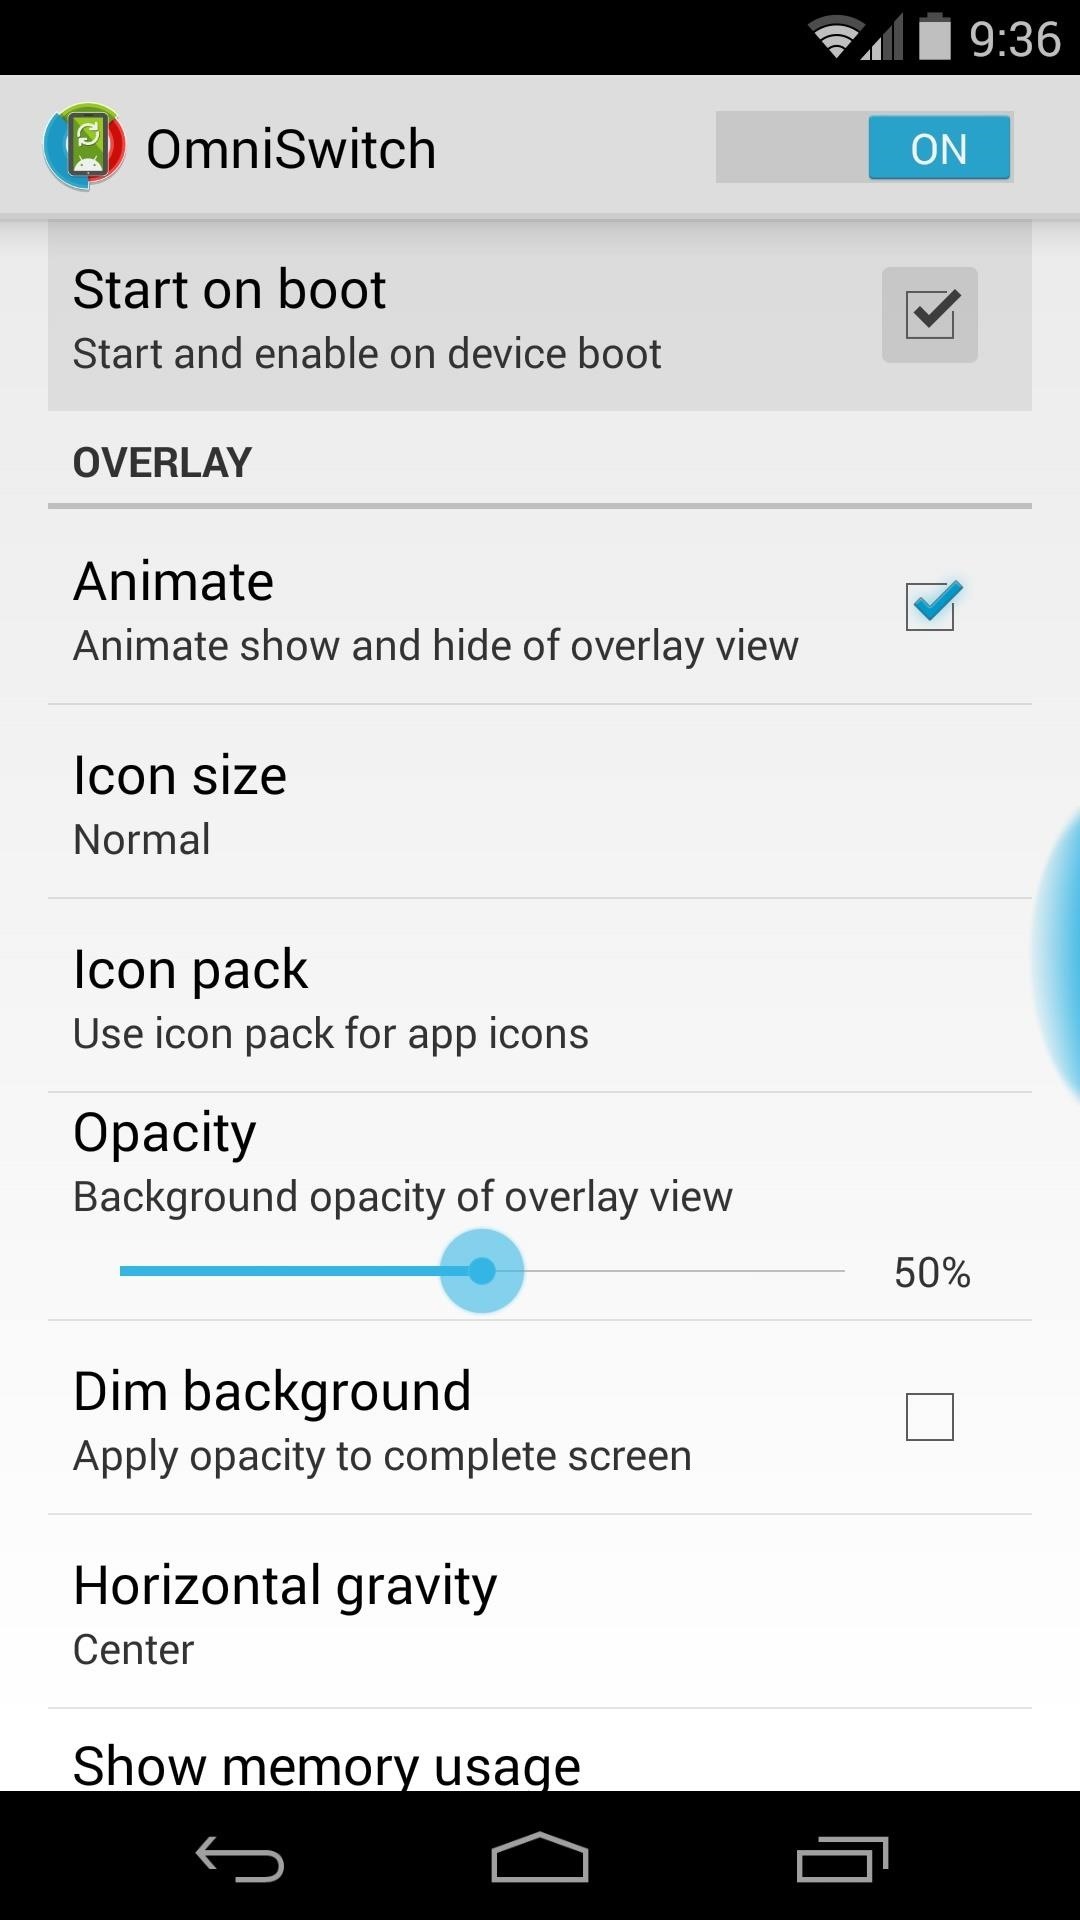
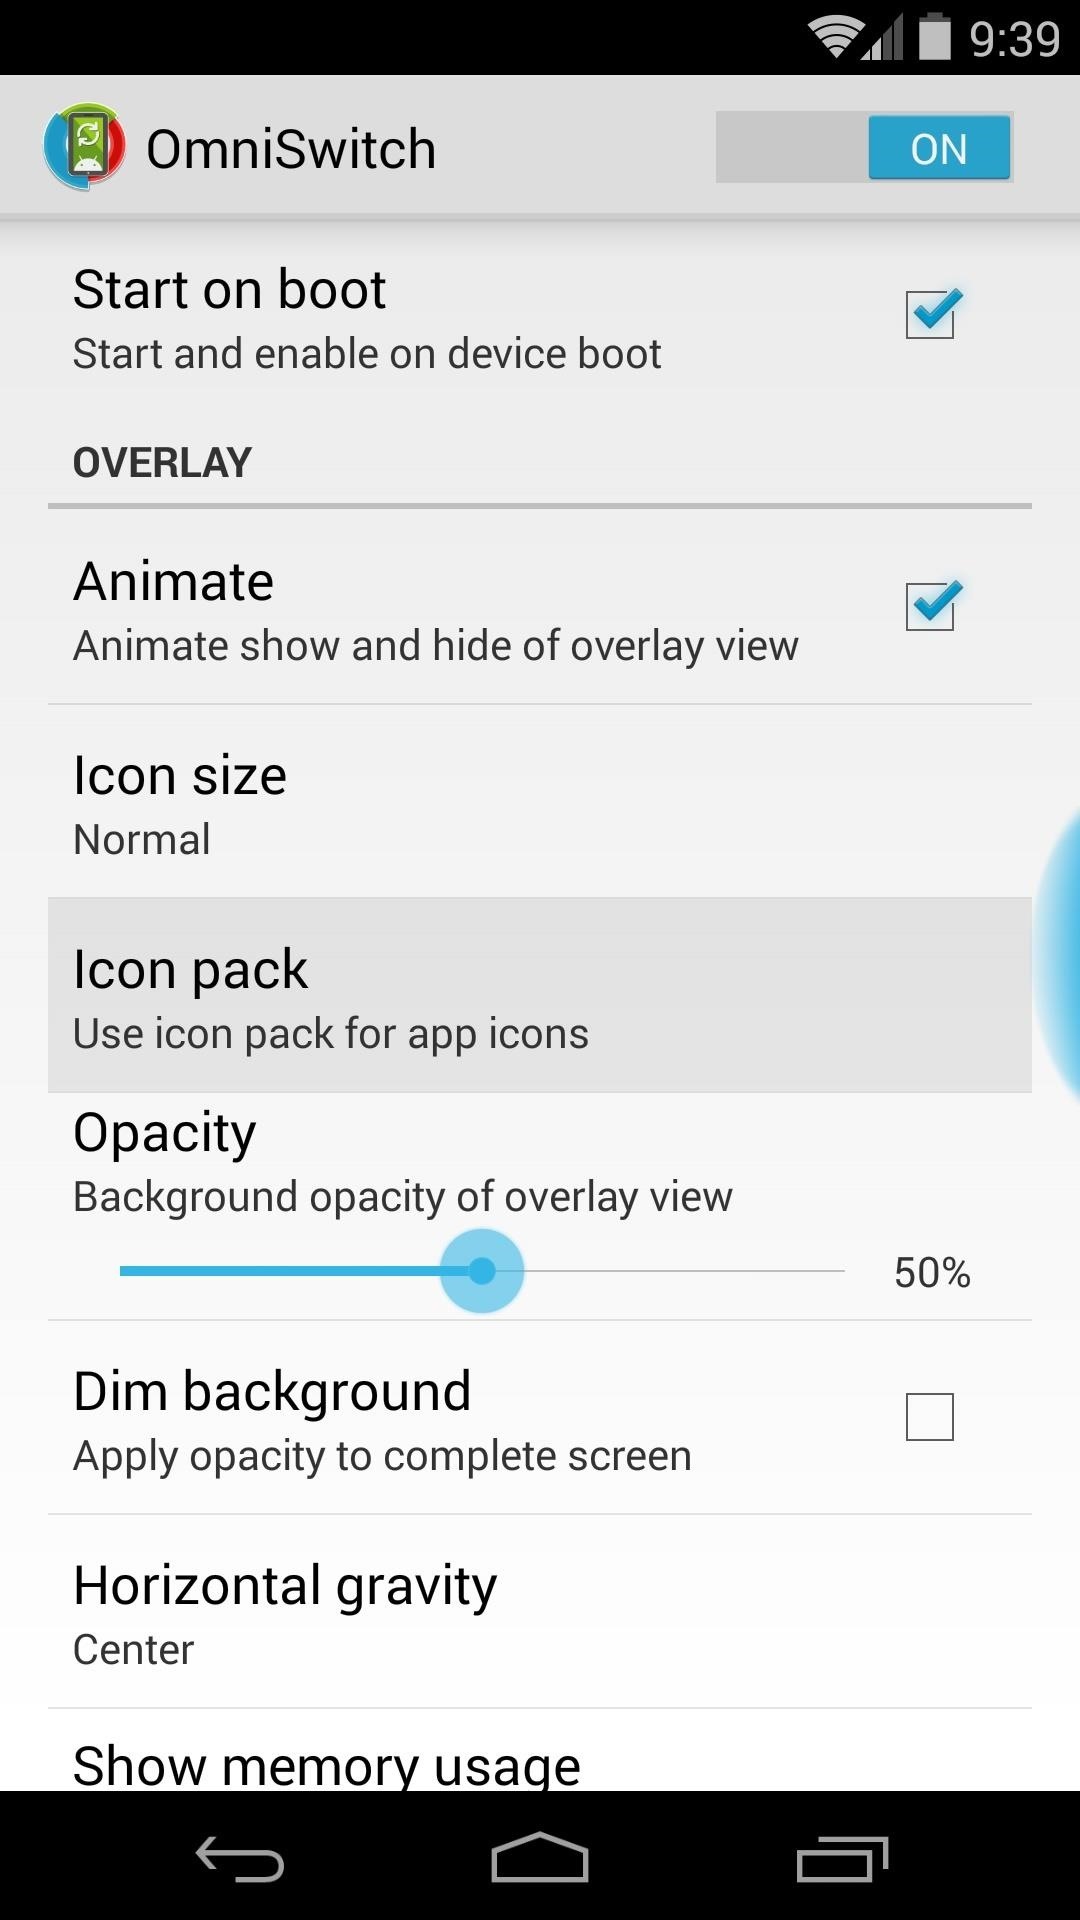
Next, tick the box next to Start on boot to ensure that the service will always be running.
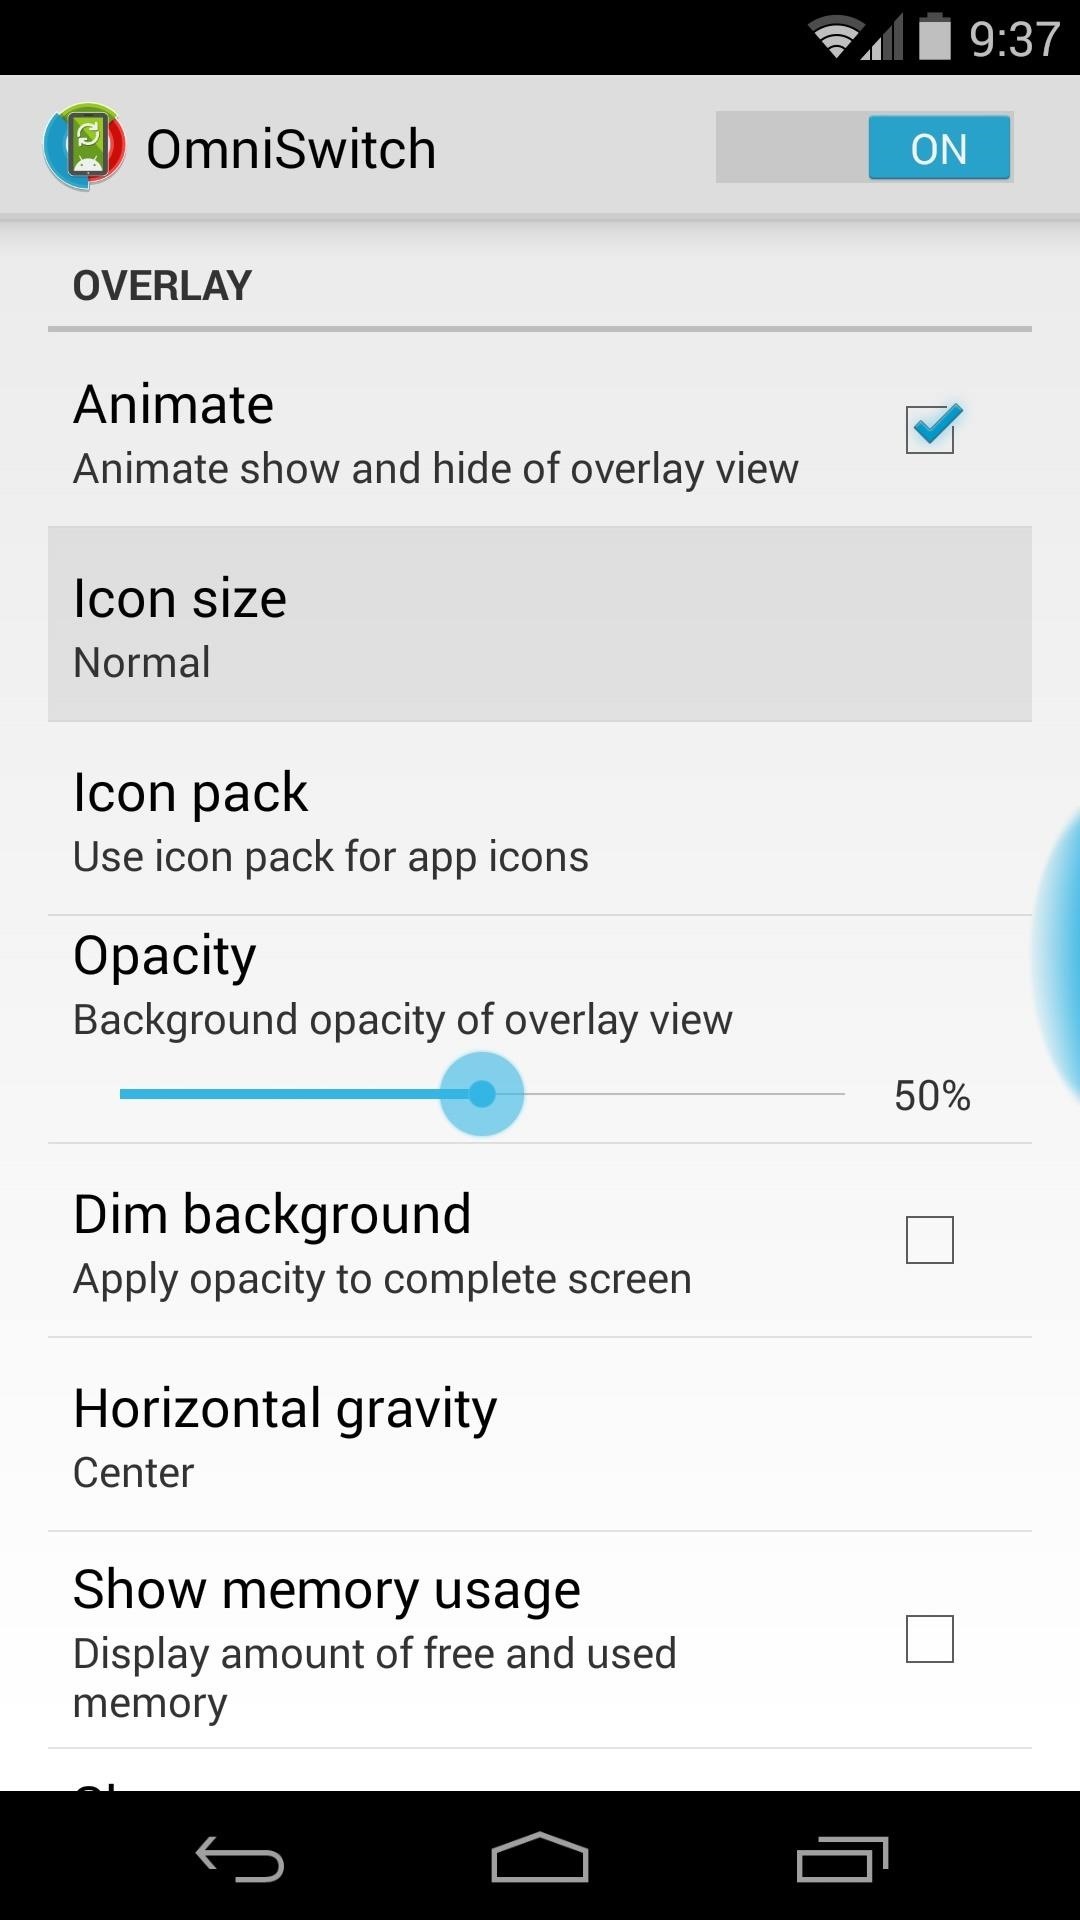
There are many different customization options available here, so I'll go over some highlights.
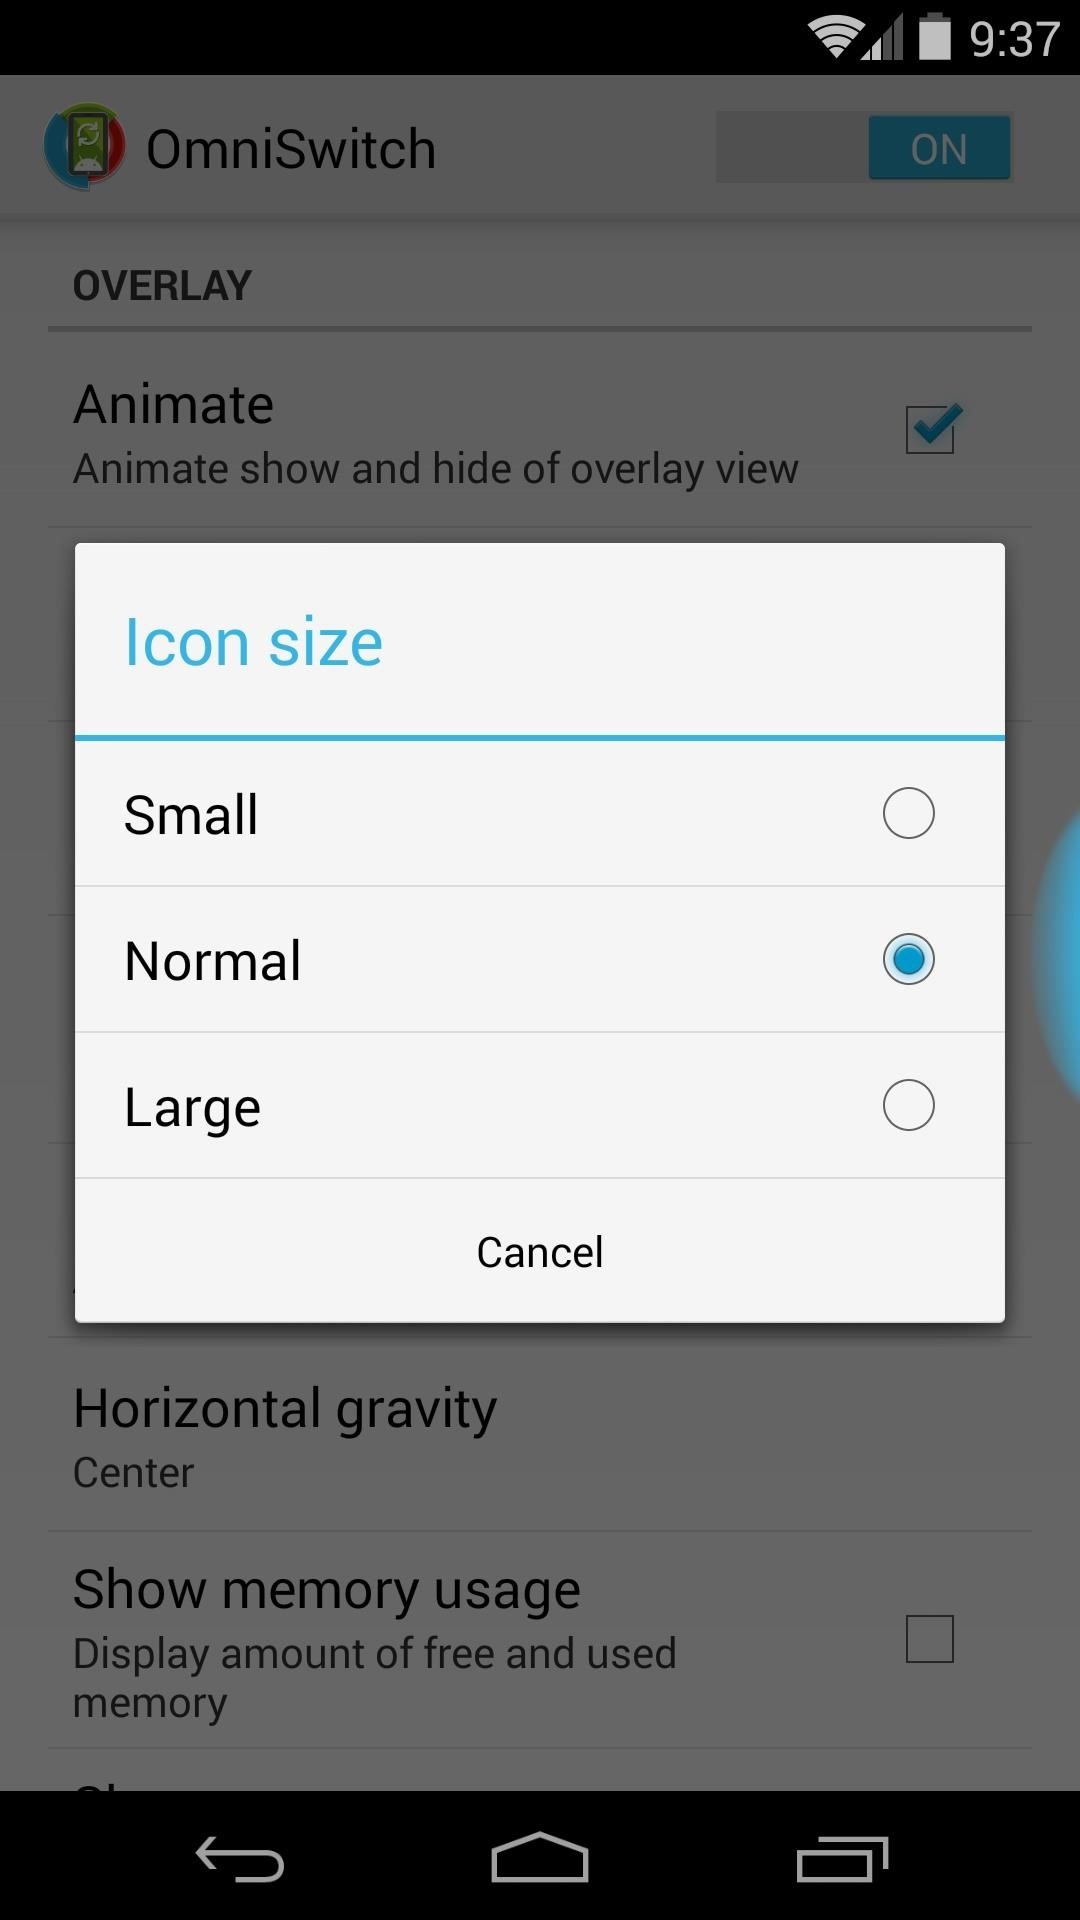
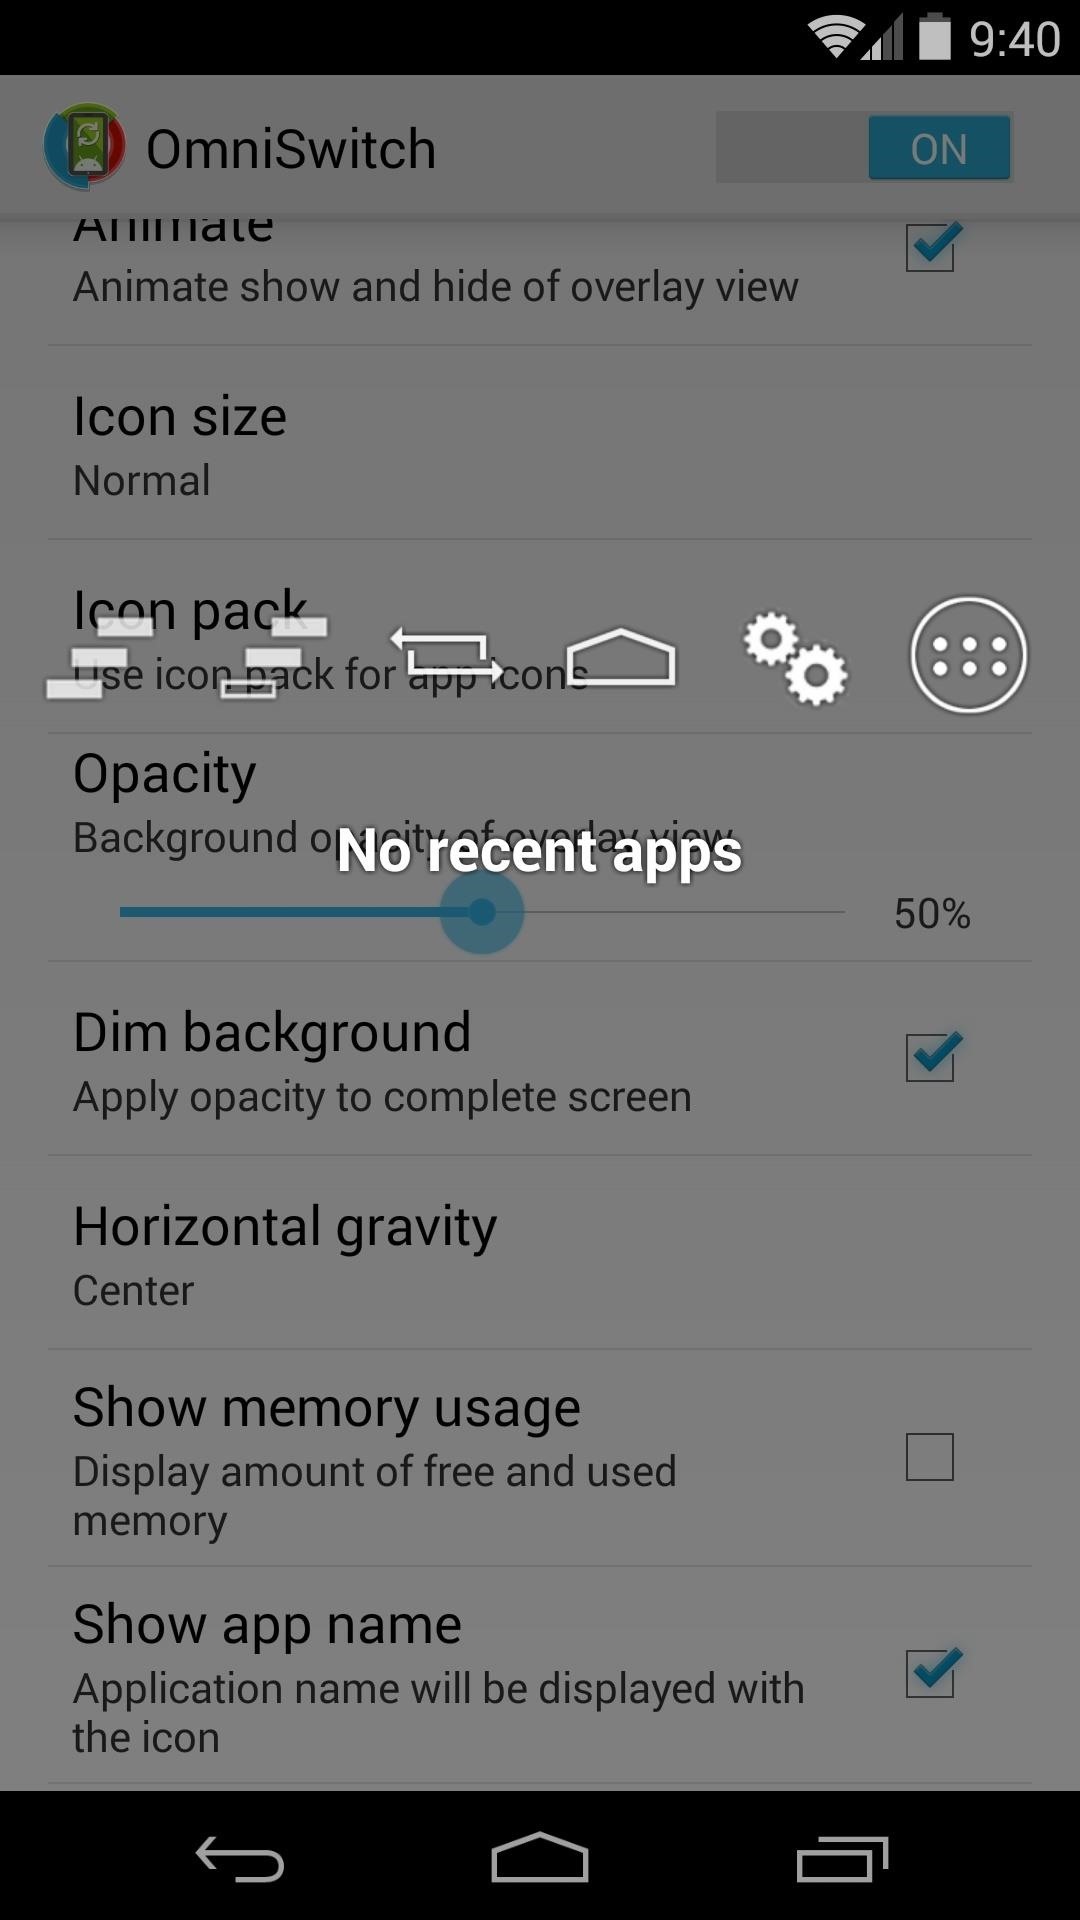
Tap Icon Size to change the size of the icons that appear when you trigger OmniSwitch. From here, select Small, Normal, or Large.
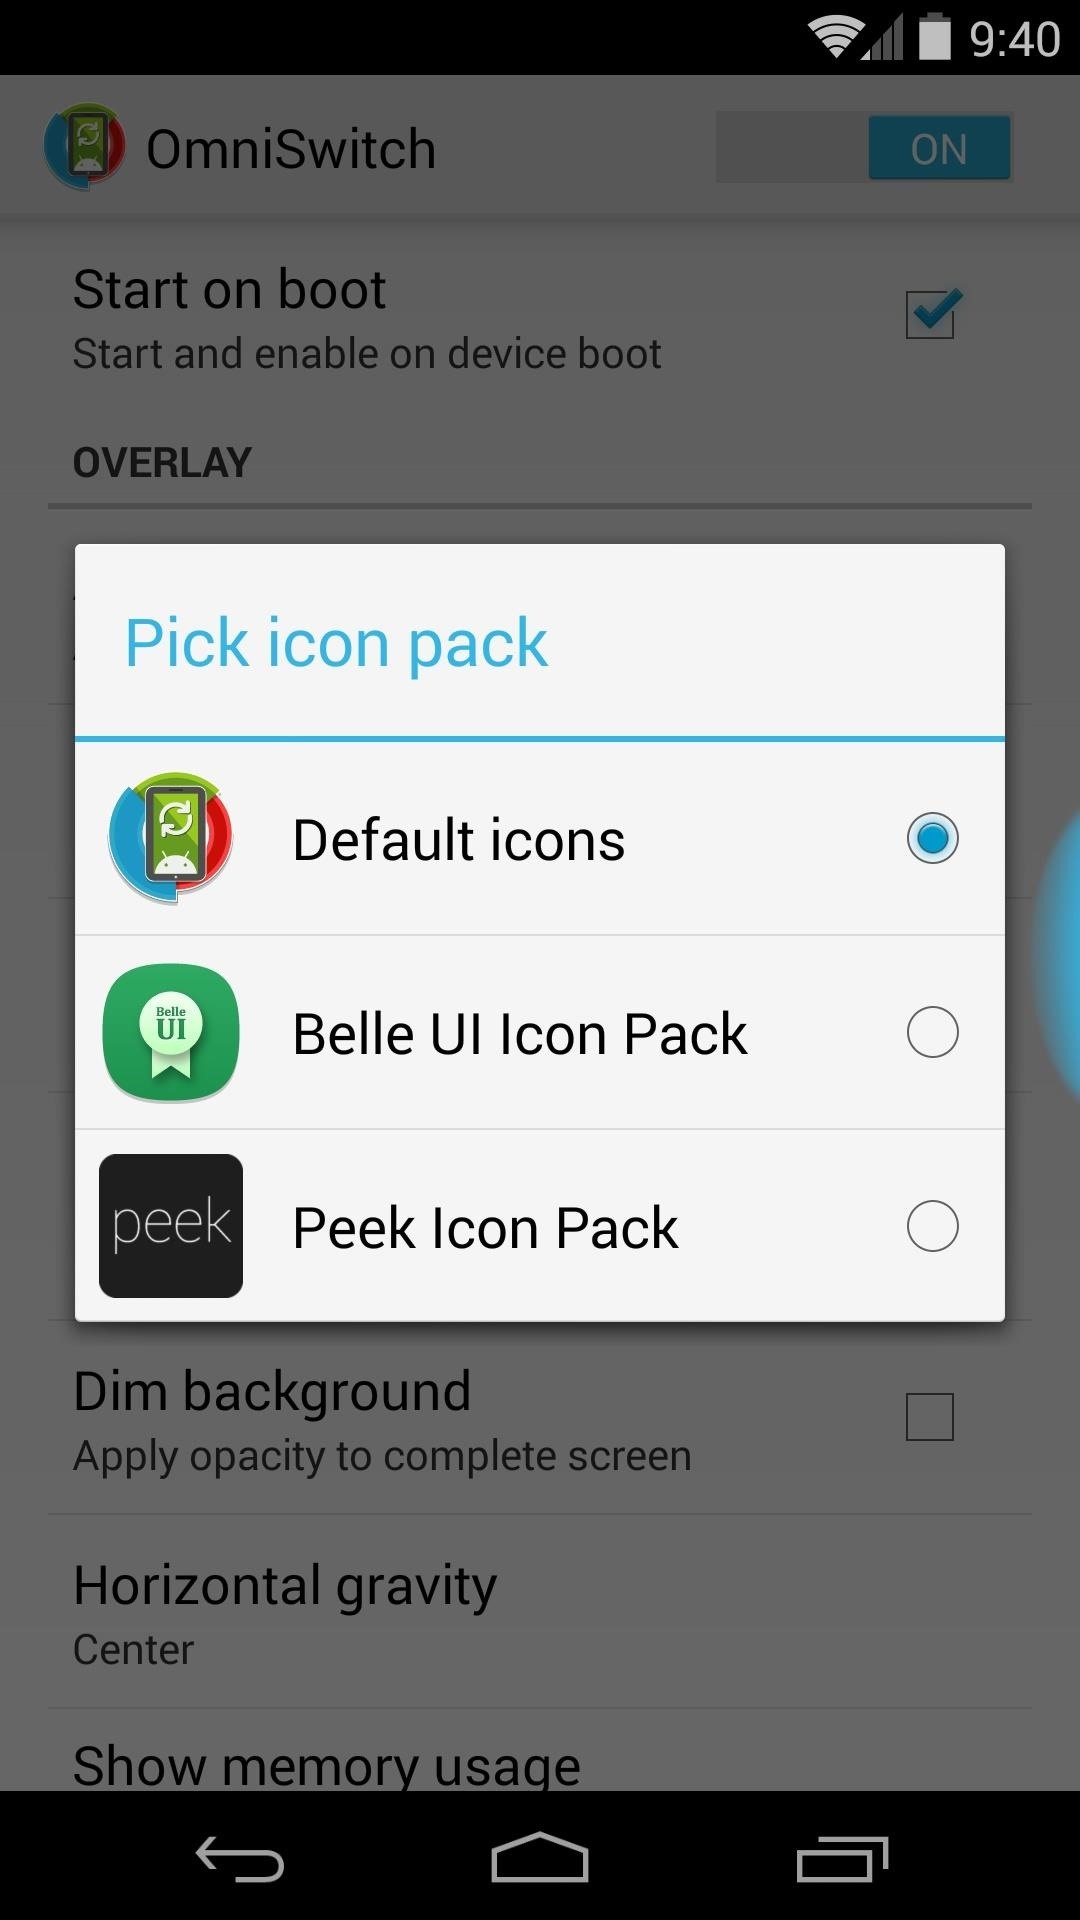
If you have any icon packs installed, you can apply them by tapping the Icon Pack entry. Just select the icons you want to use from the following list.
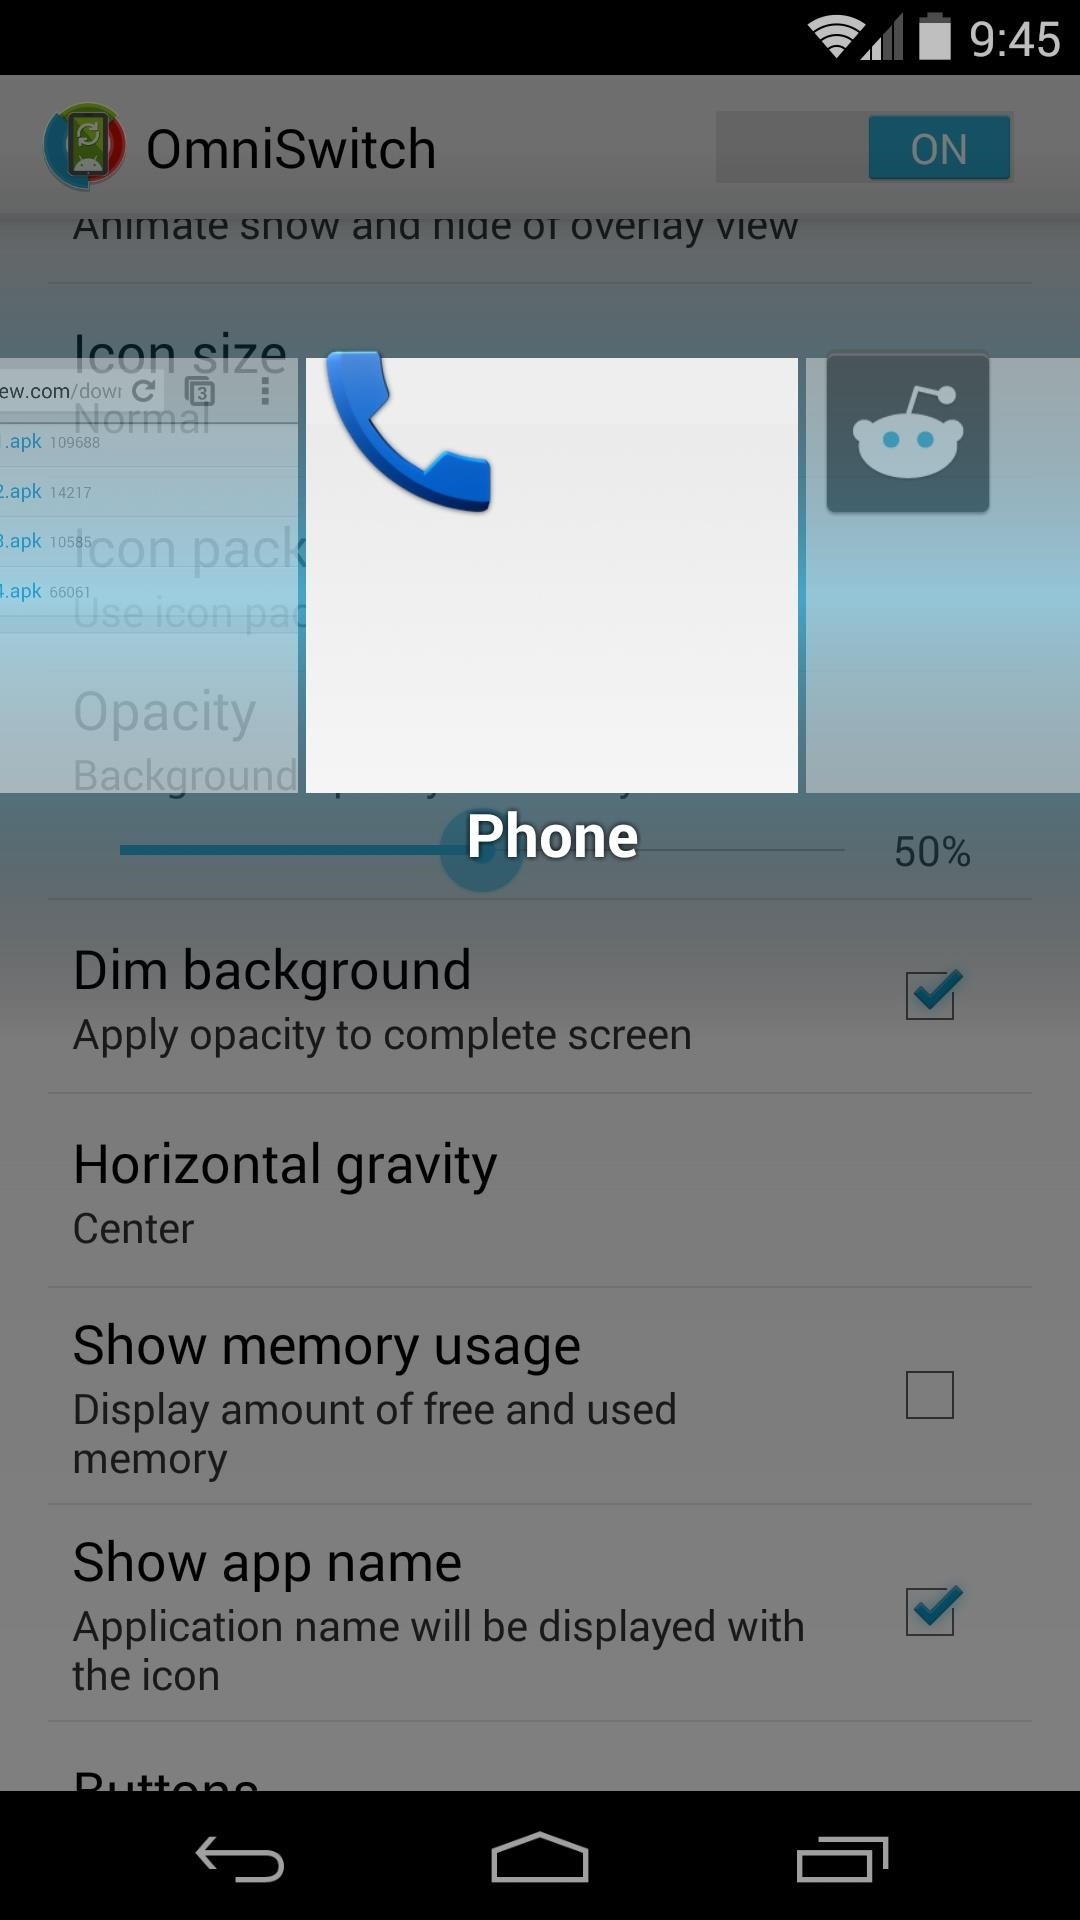
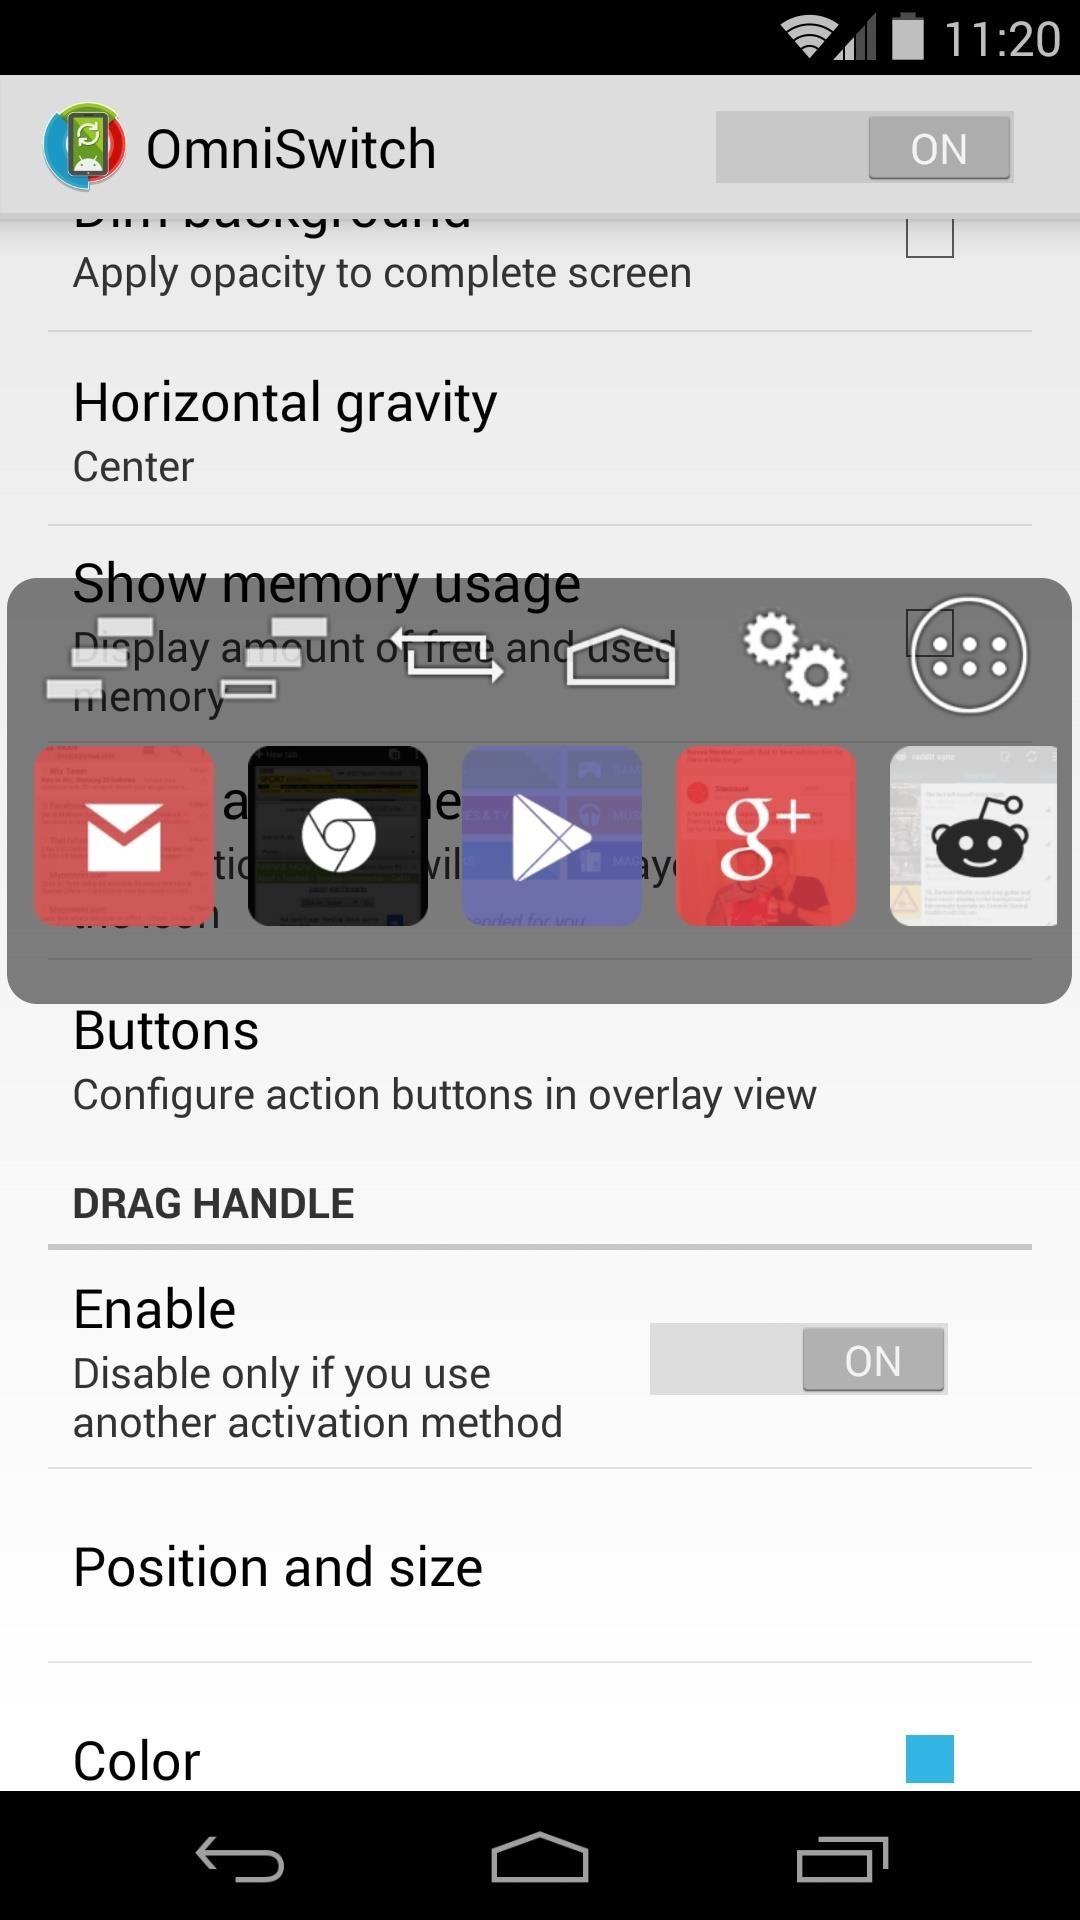
By default, OmniSwitch is a small pop-over window with a touch of transparency that allows you to see underneath it. To extend this transparency throughout the whole screen for a system-integrated look, tick the box next to Dim Background.
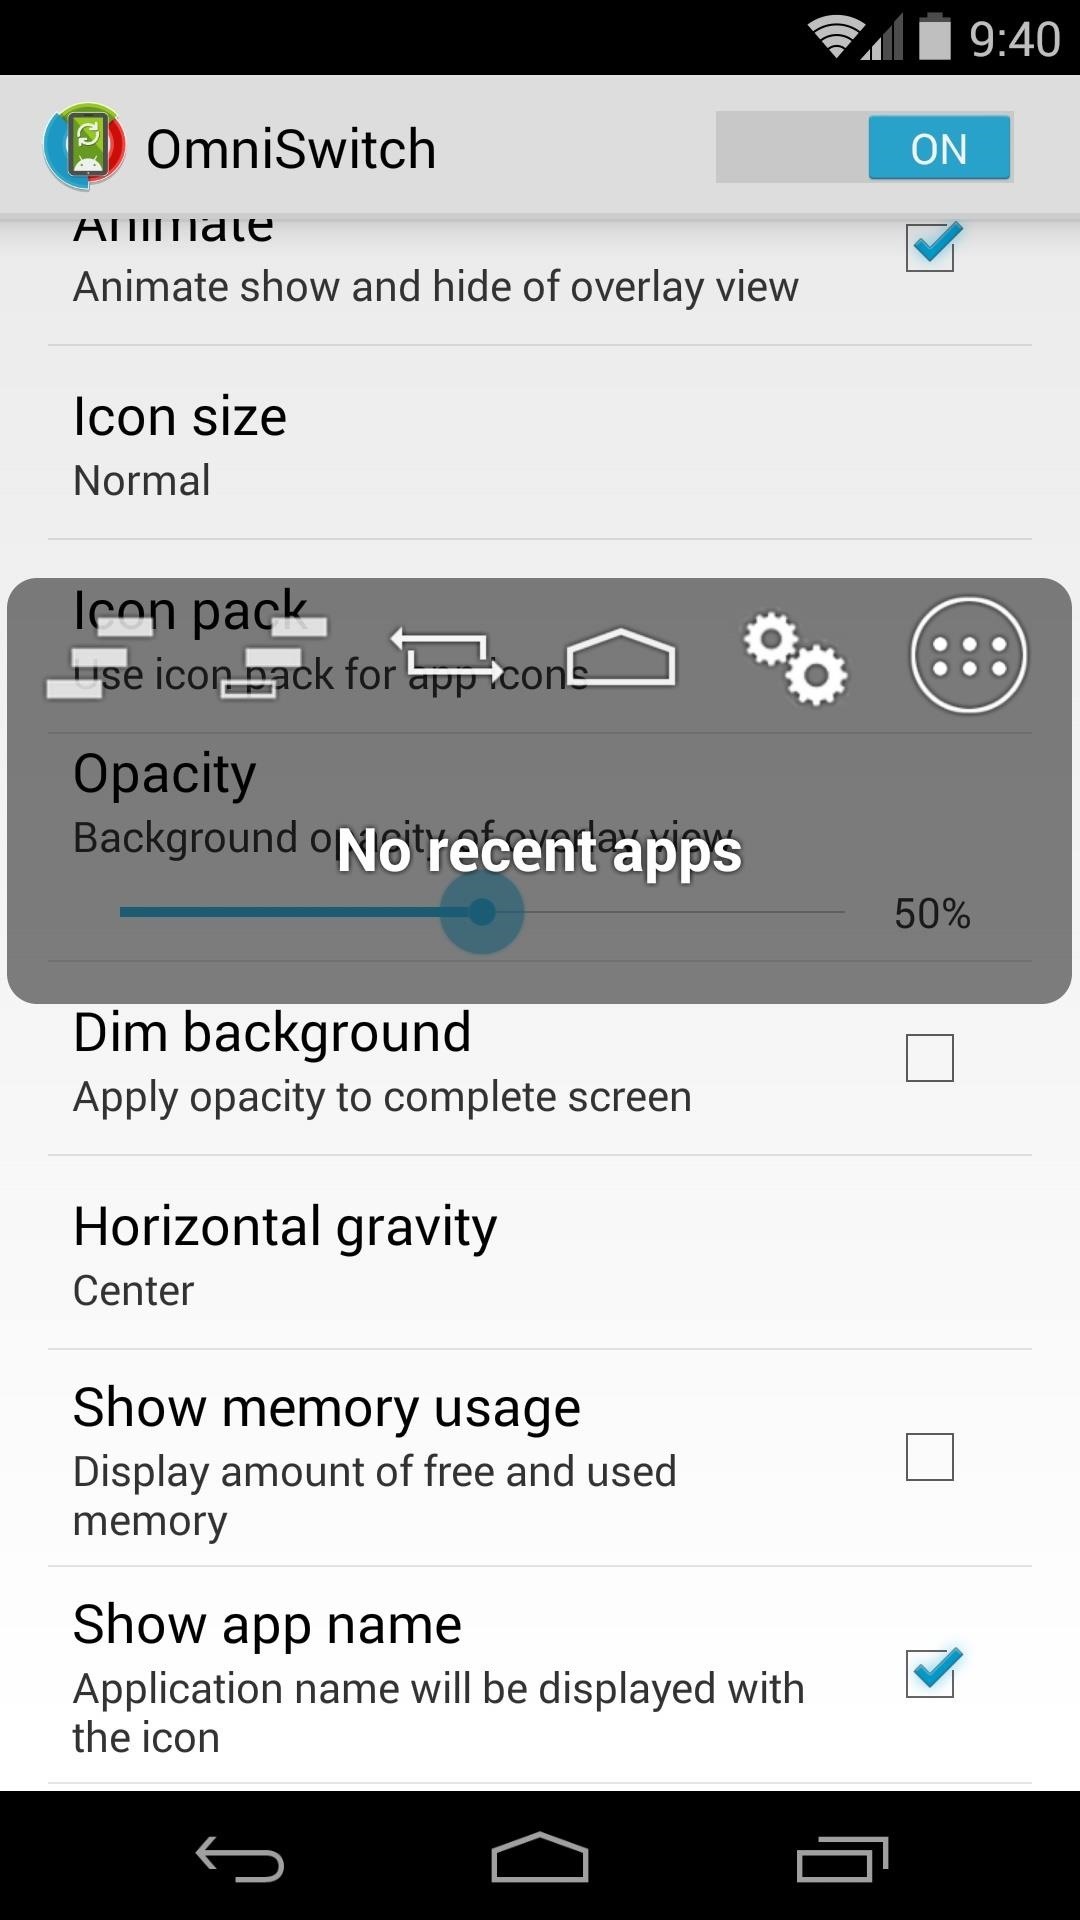
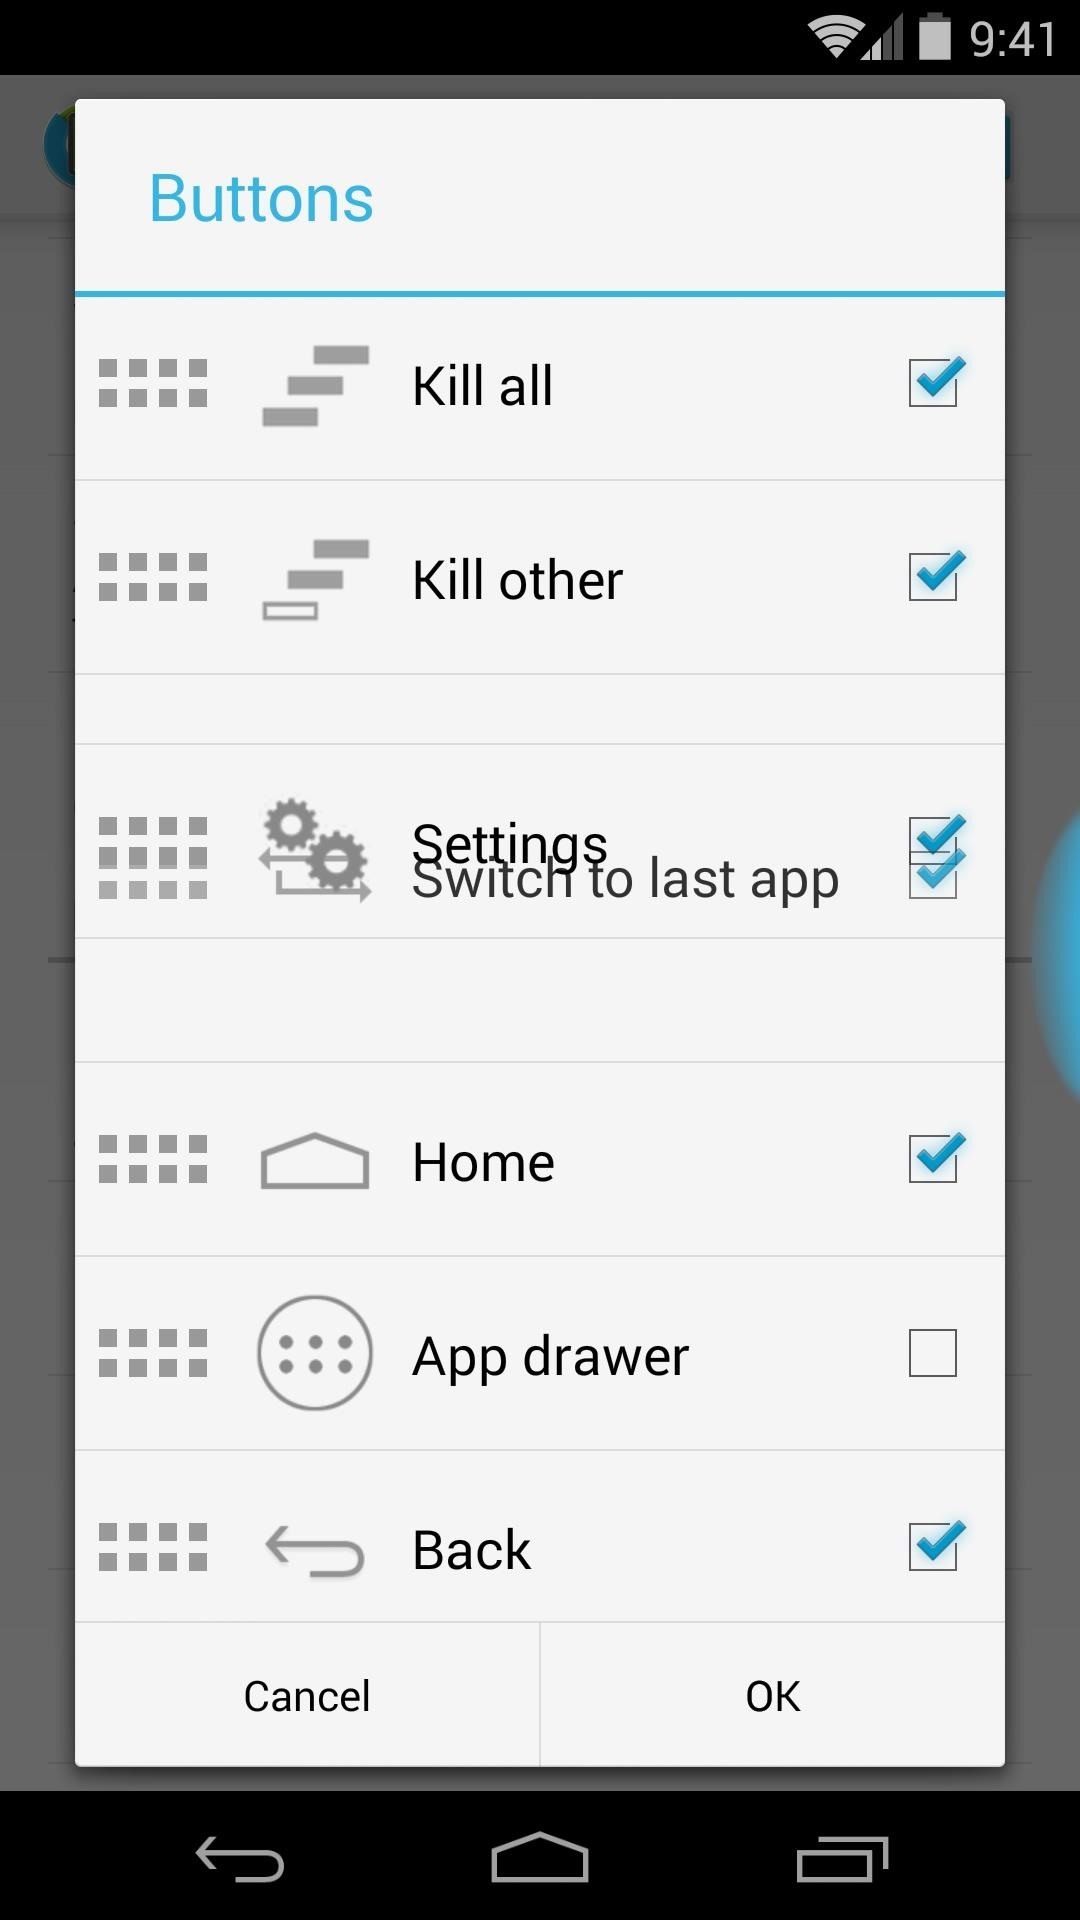
OmniSwitch is more than just a task switcher—it also allows you to perform memory management and other settings-related functions at the tap of a button. These buttons show directly above your recent apps, and can be reorganized by tapping the Buttons menu entry.
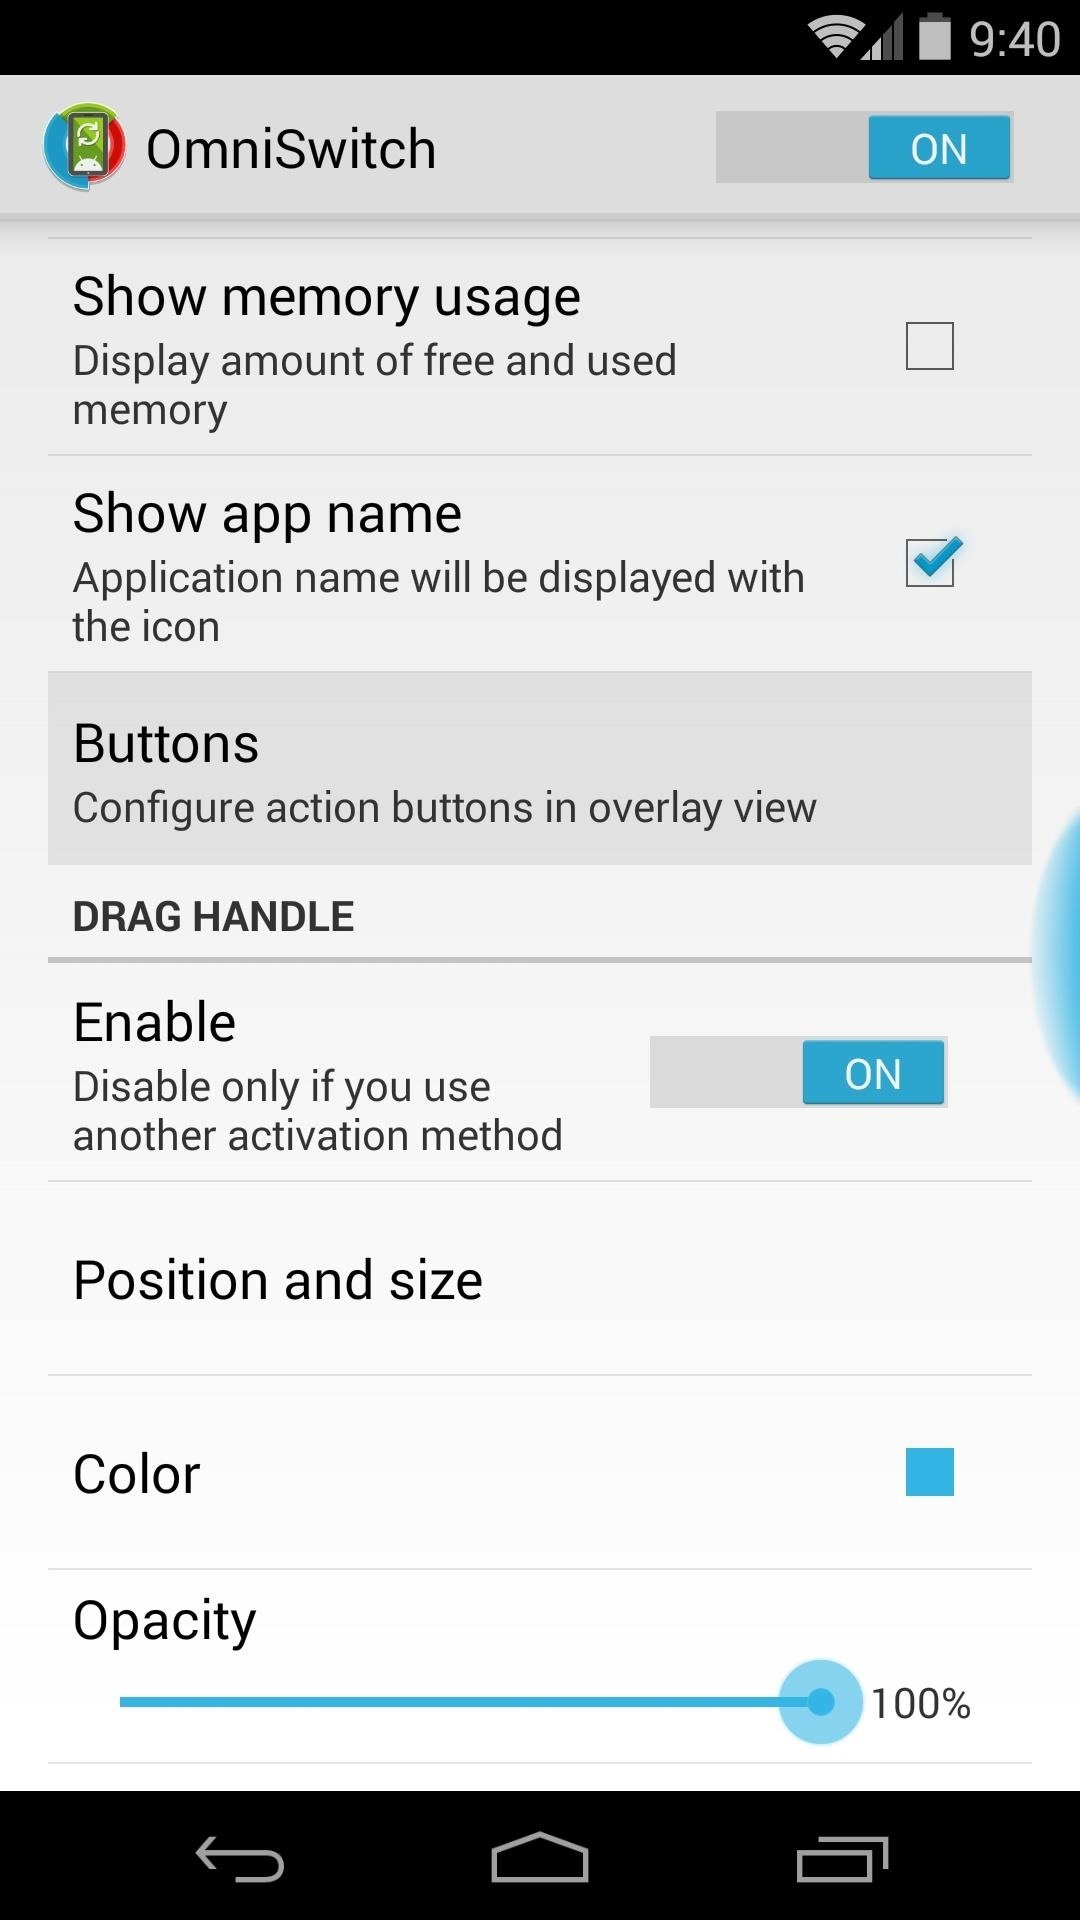
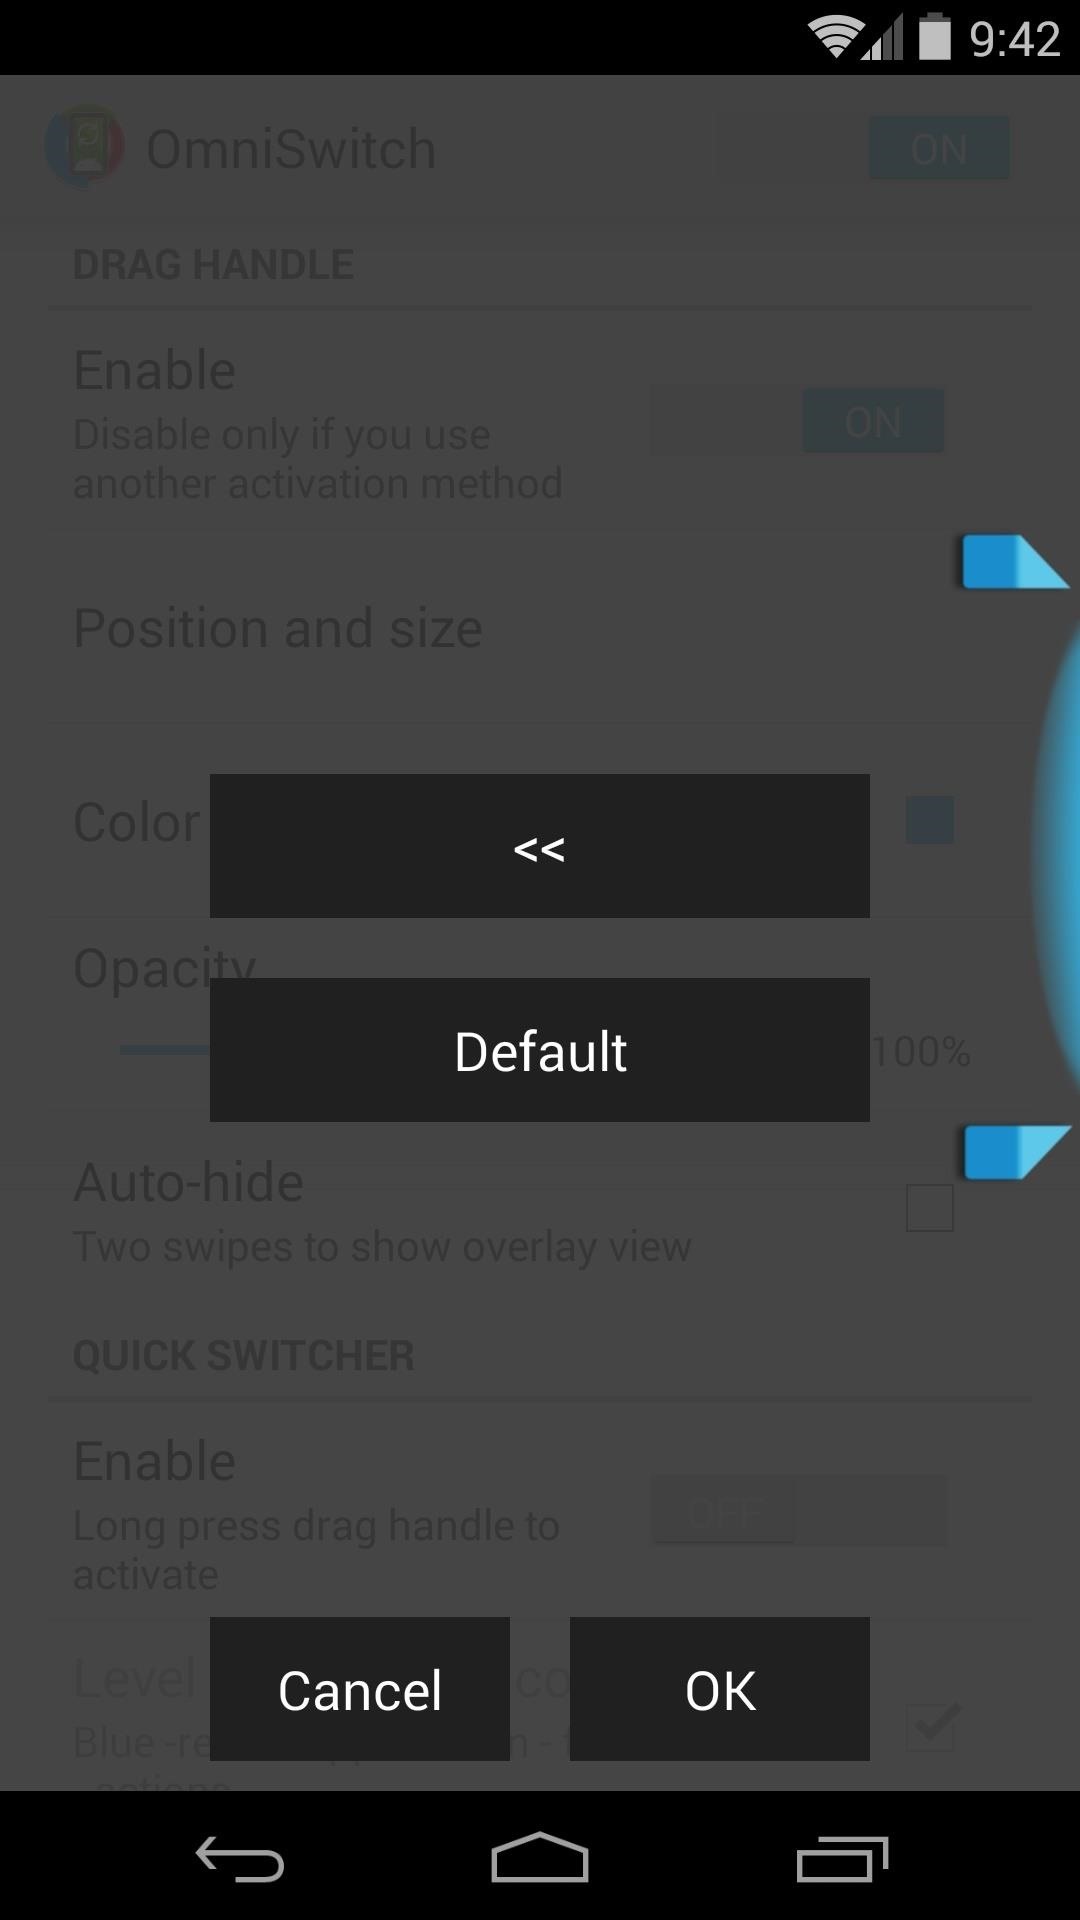
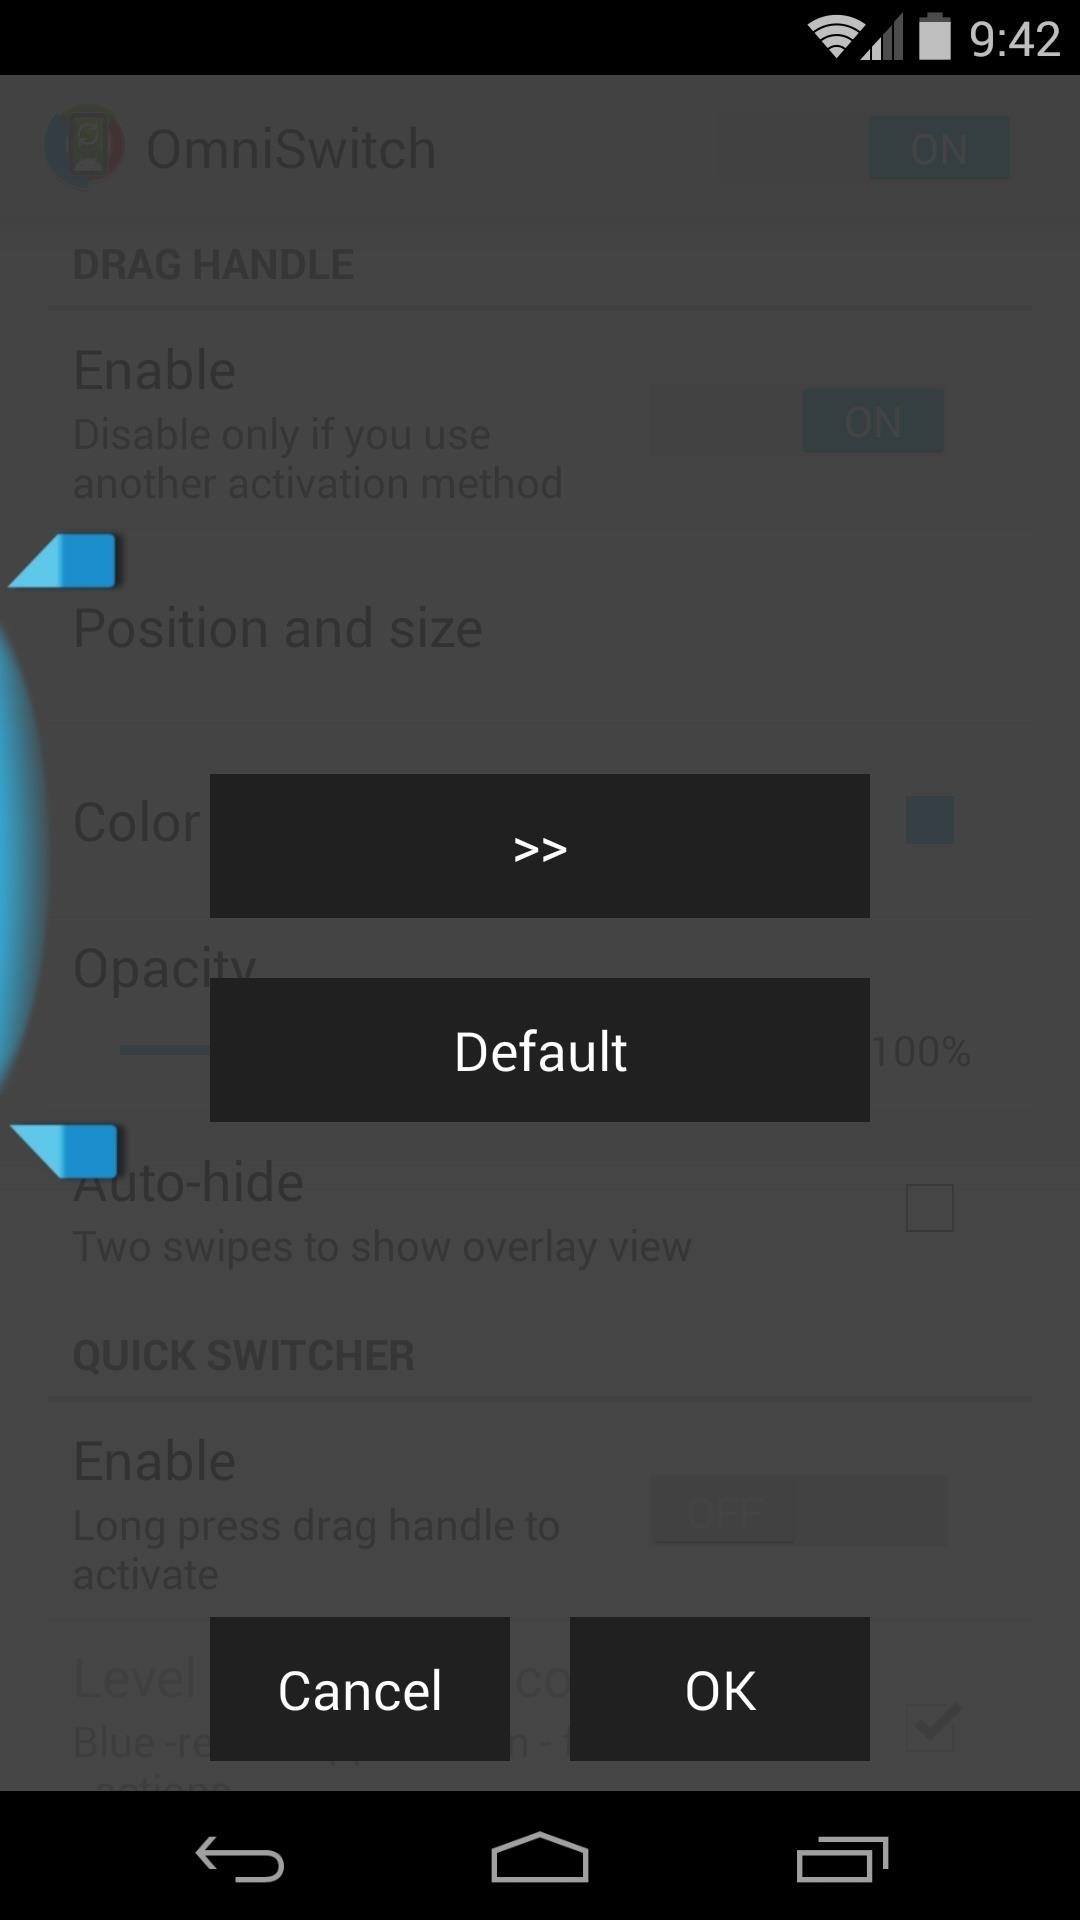
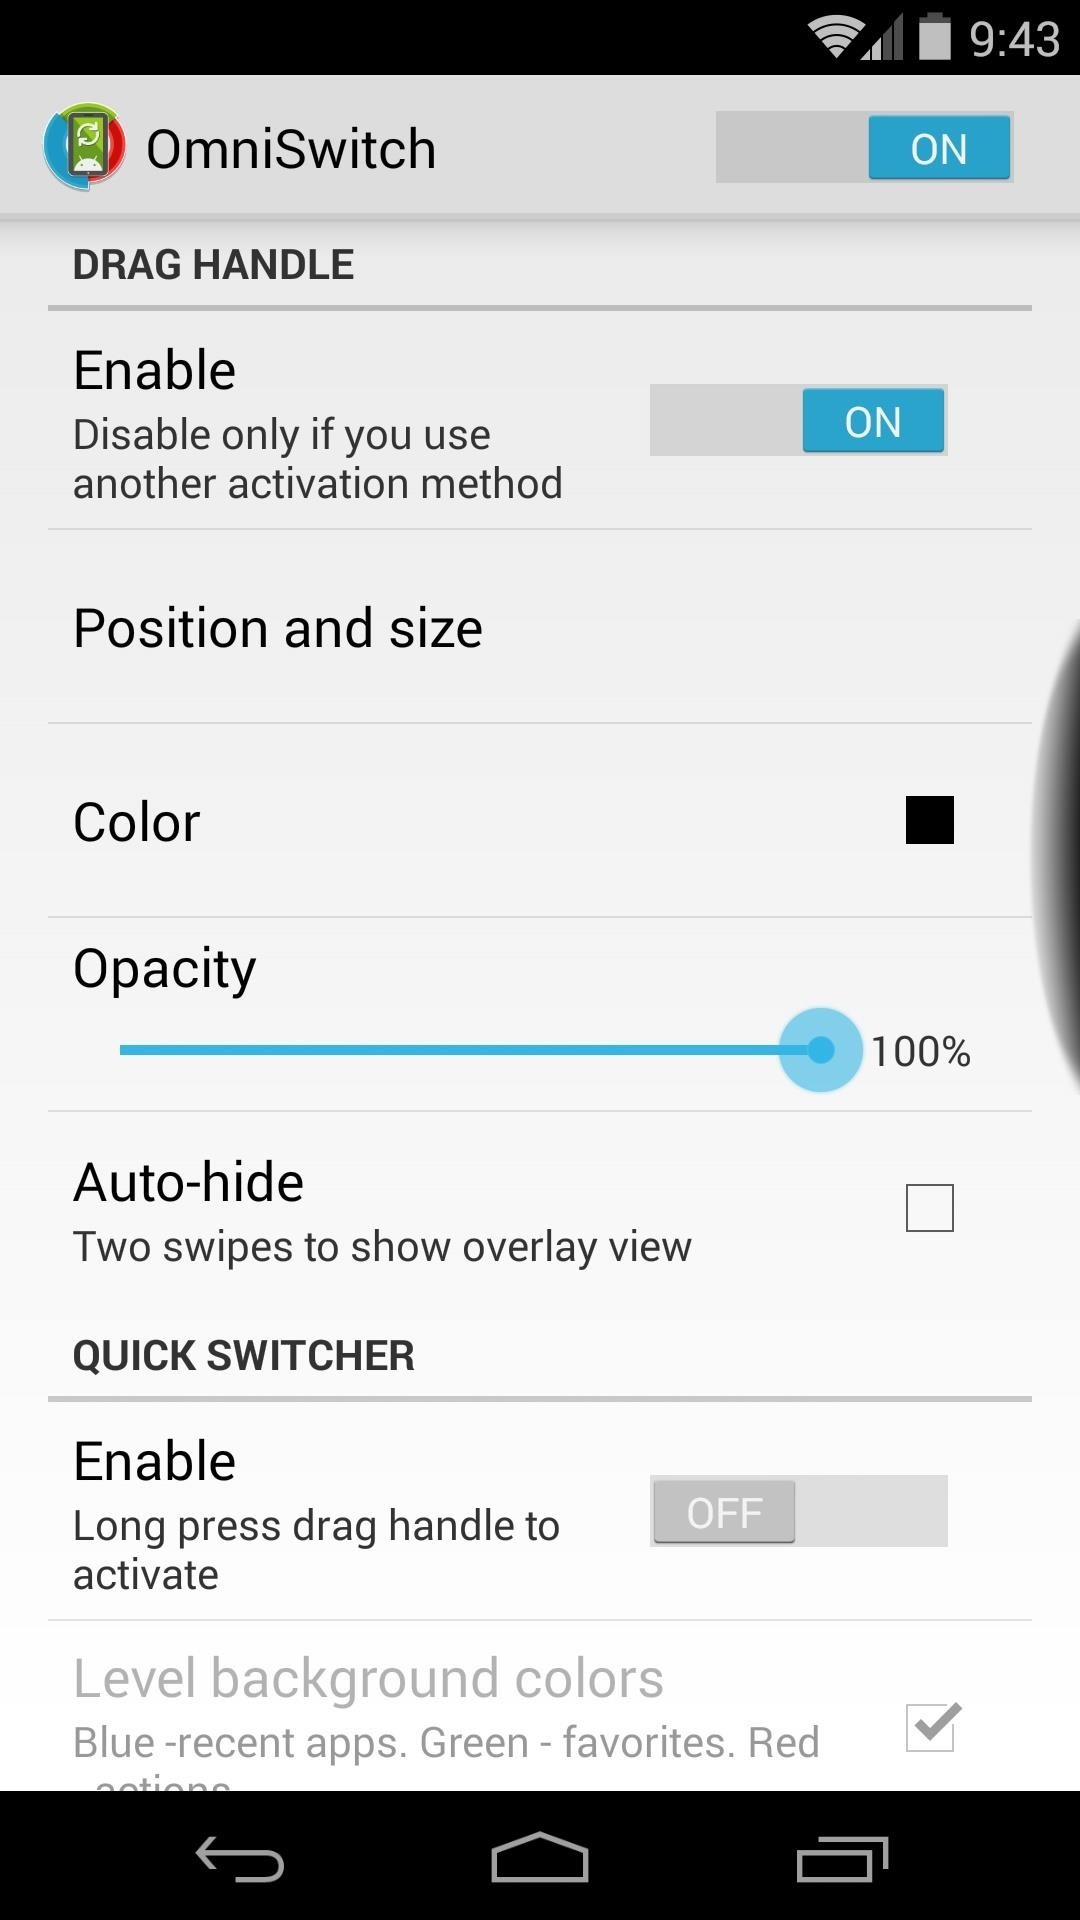
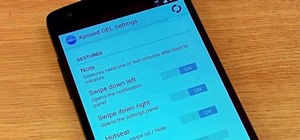
To bring up OmniSwitch, simply swipe inward from within the trigger area. Tap Position and size to adjust this trigger area, and you can even switch the side of the screen that the trigger appears on.
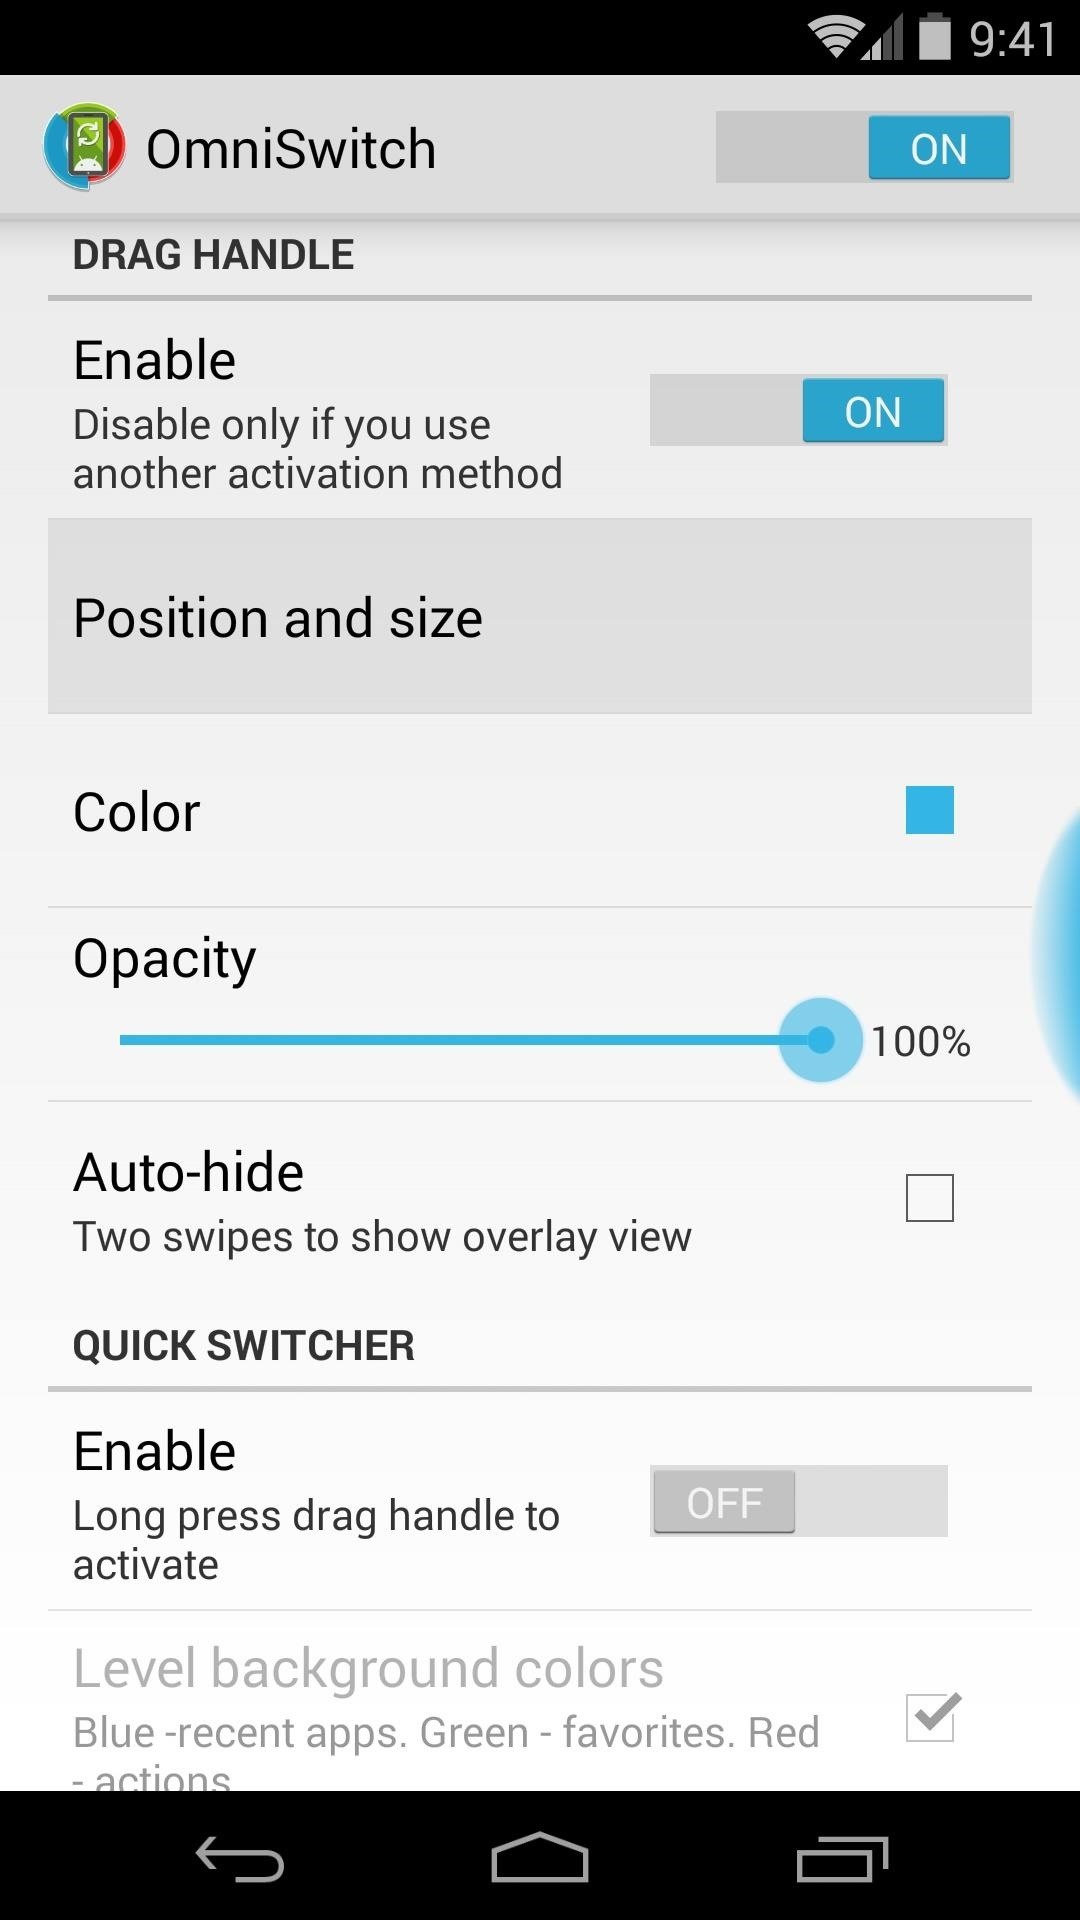
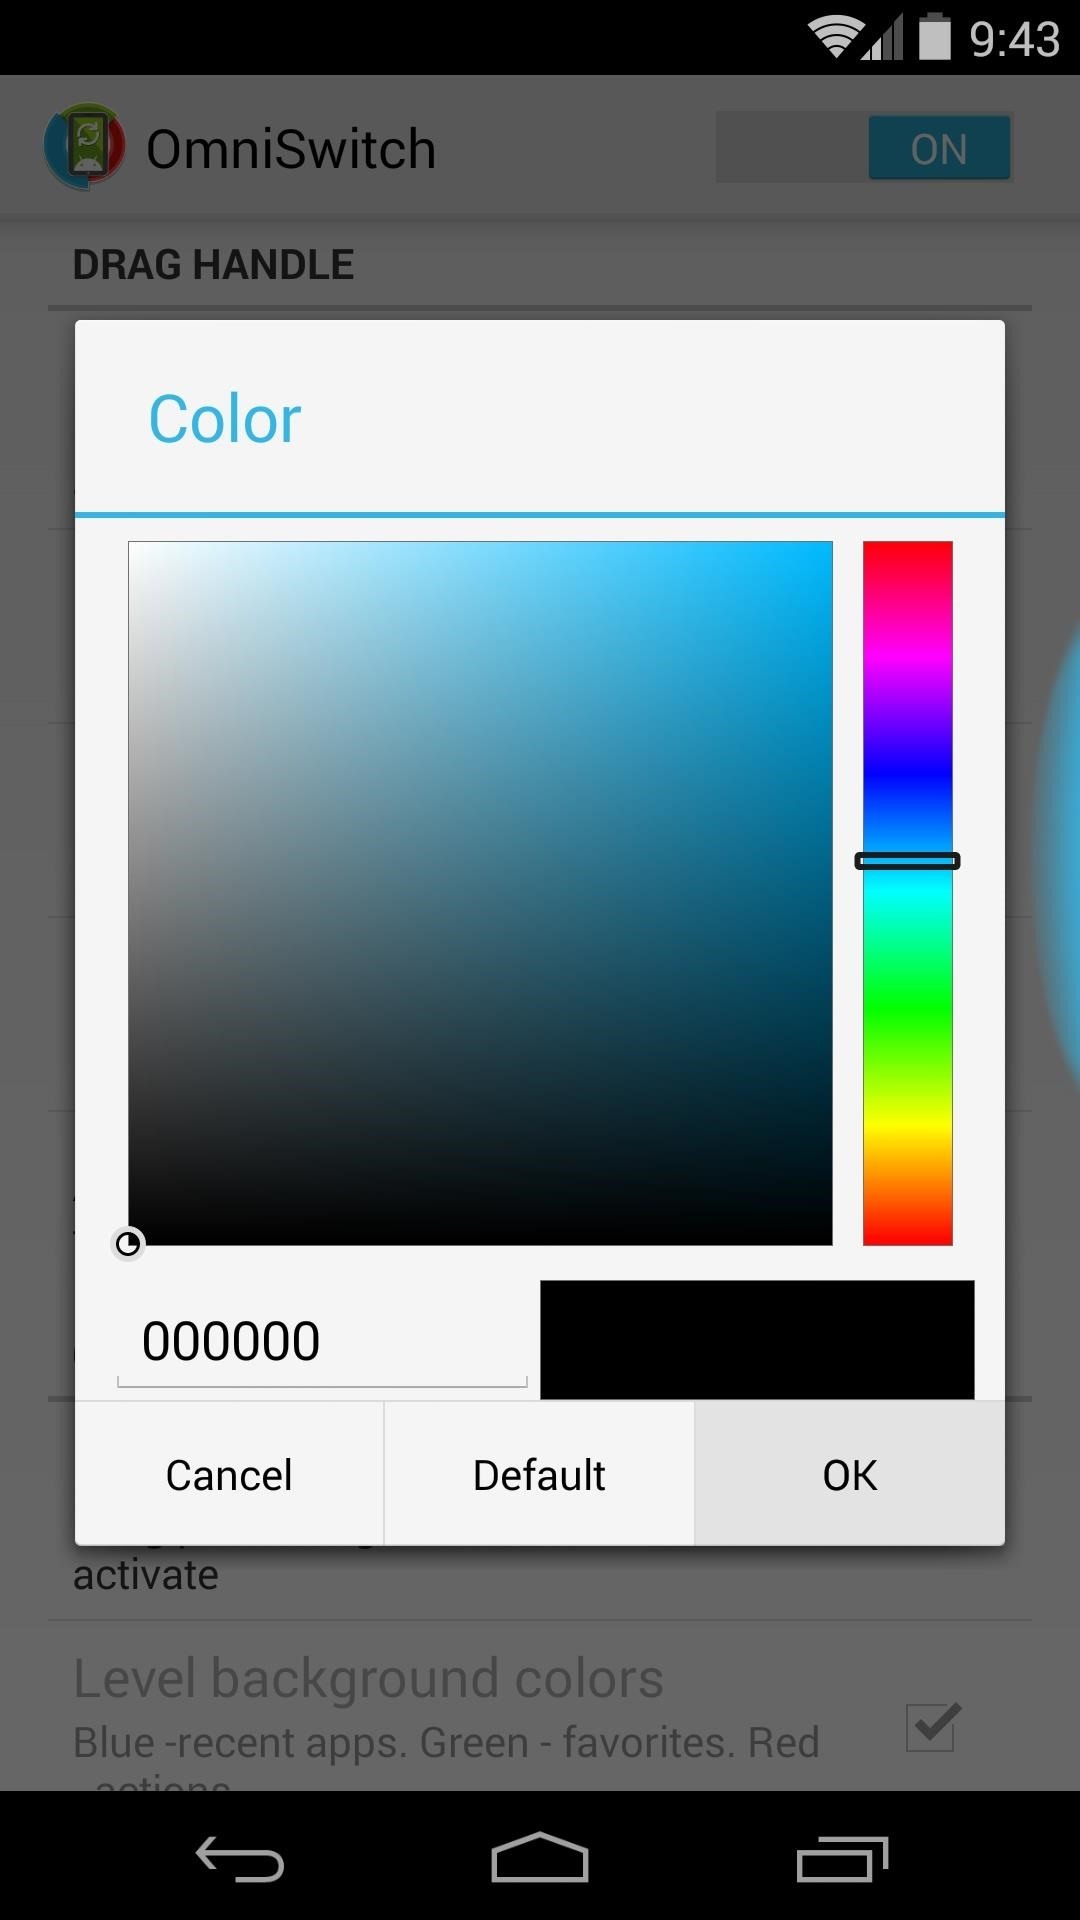
If the blue color of this trigger area isn't your style, you can change that by tapping Color. From here, select any color and press OK.
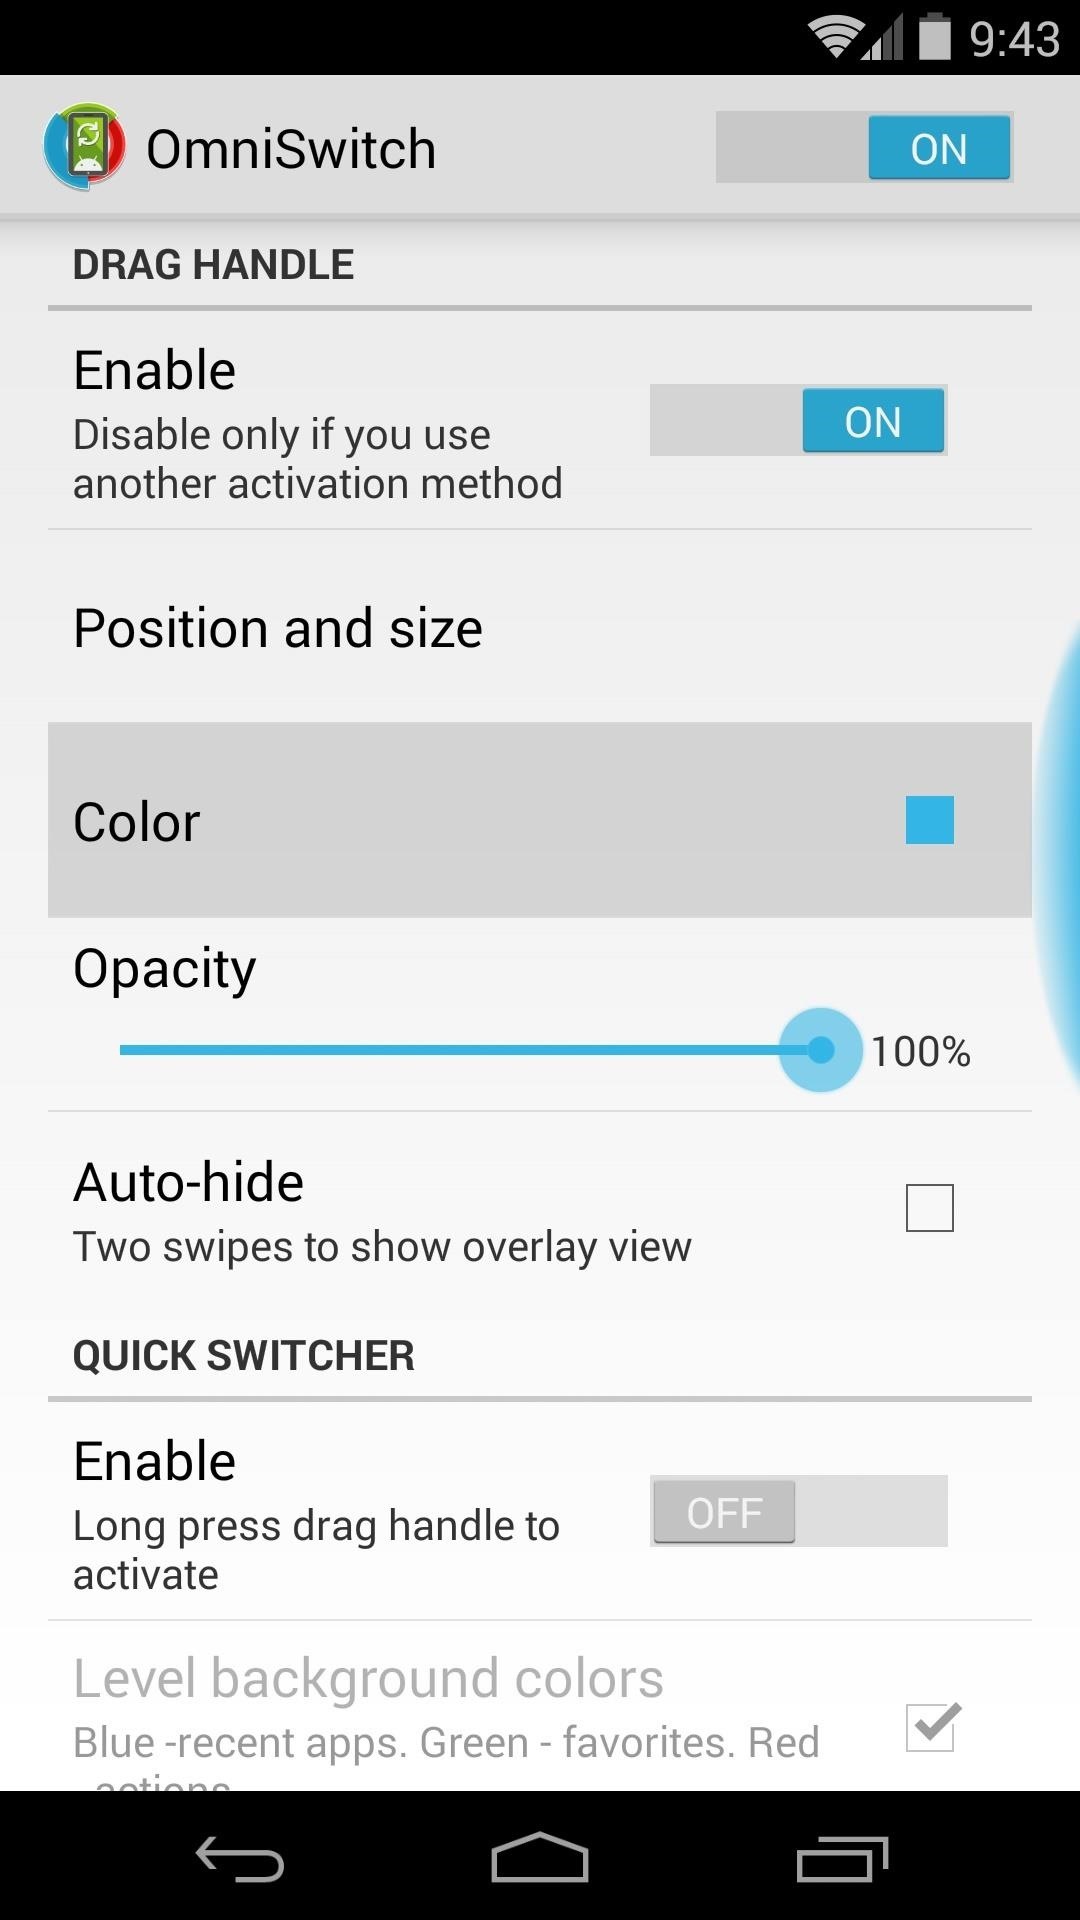
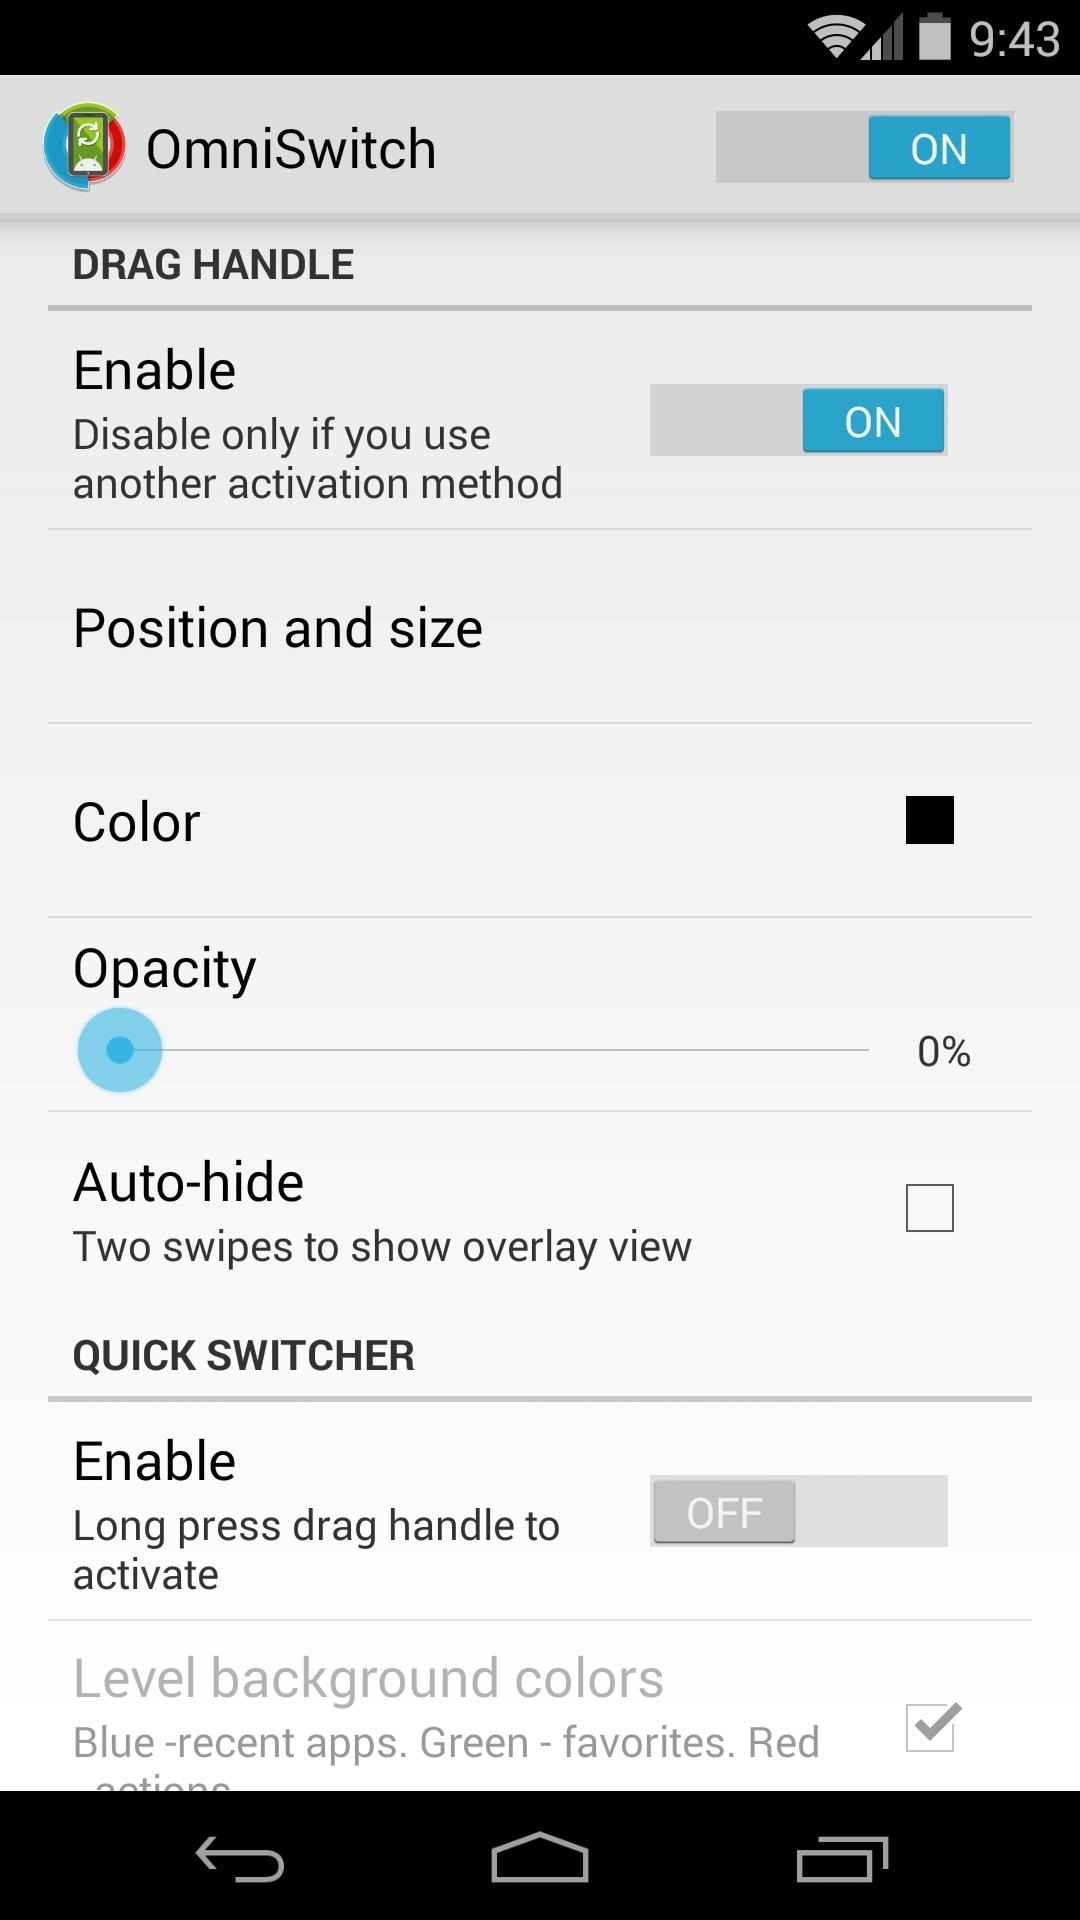
You can even make the trigger area invisible altogether by sliding the Opacity slider all the way to the left.
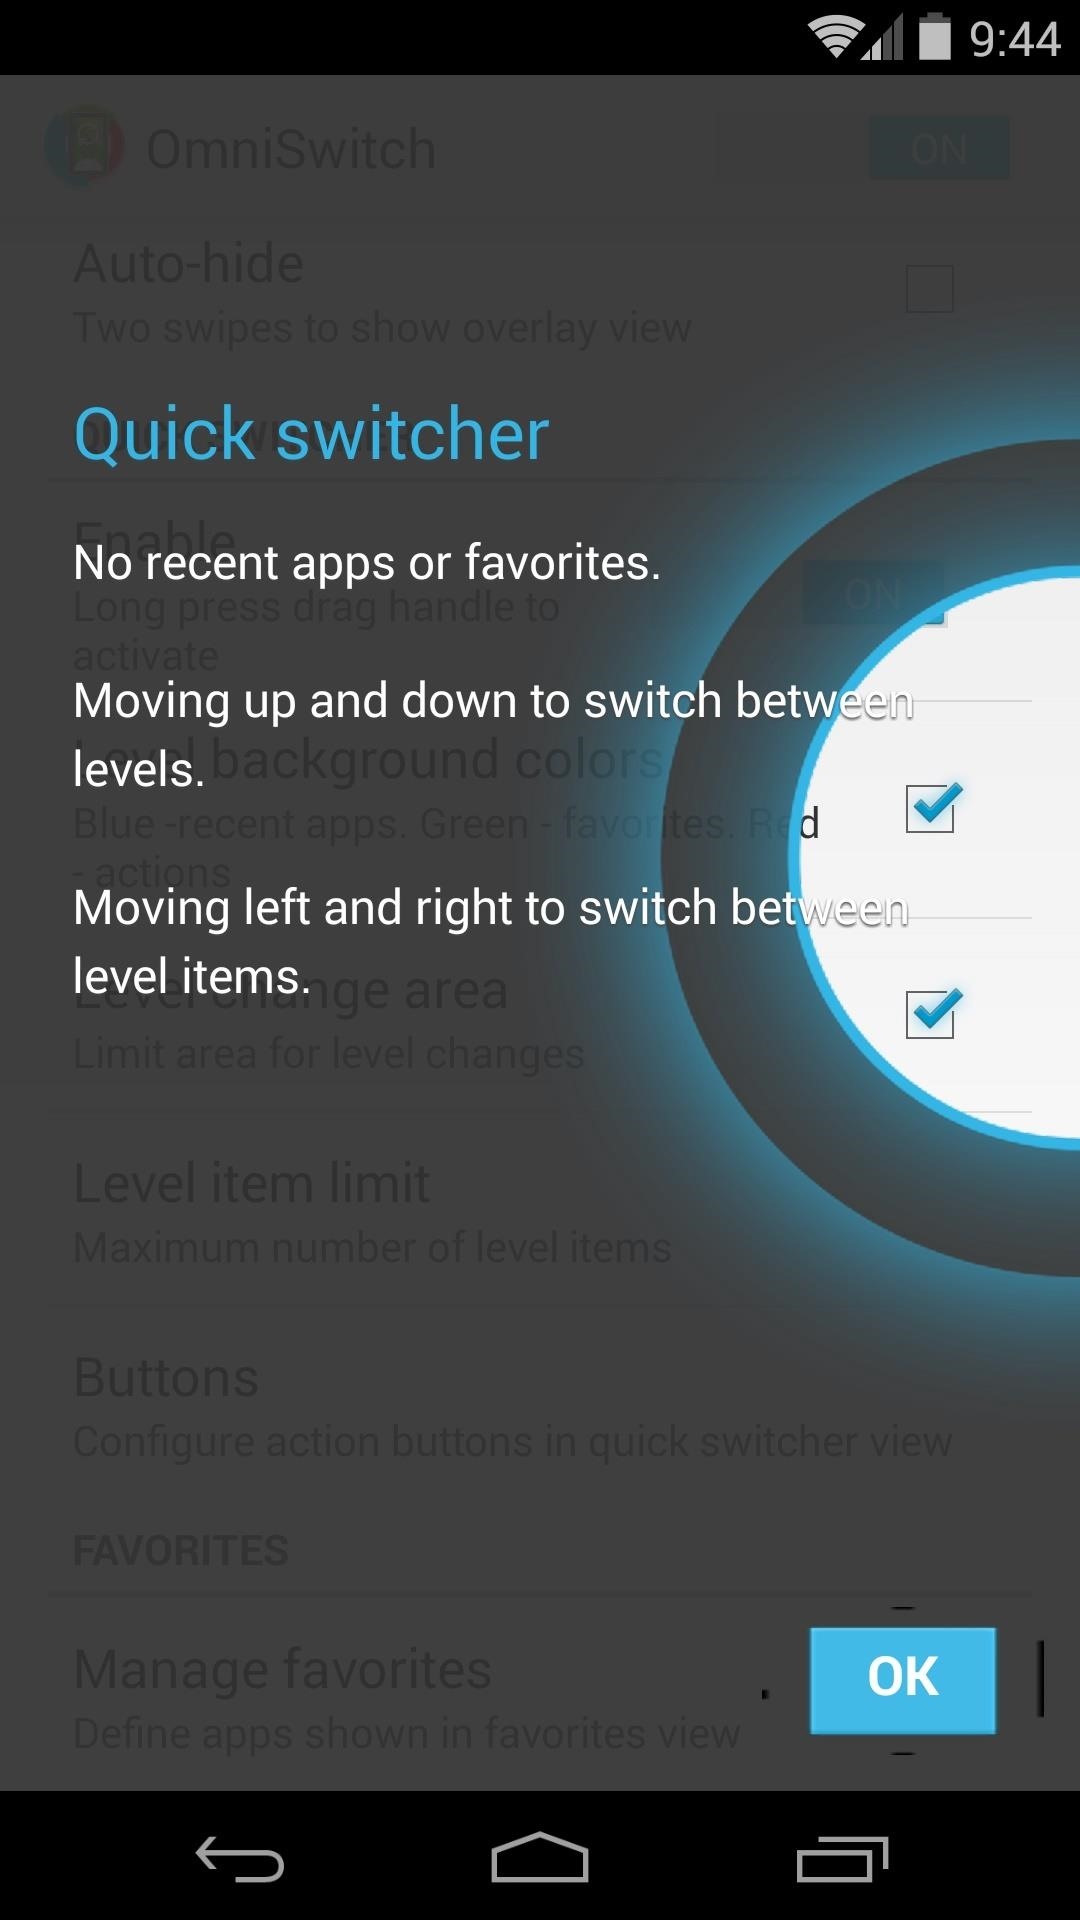
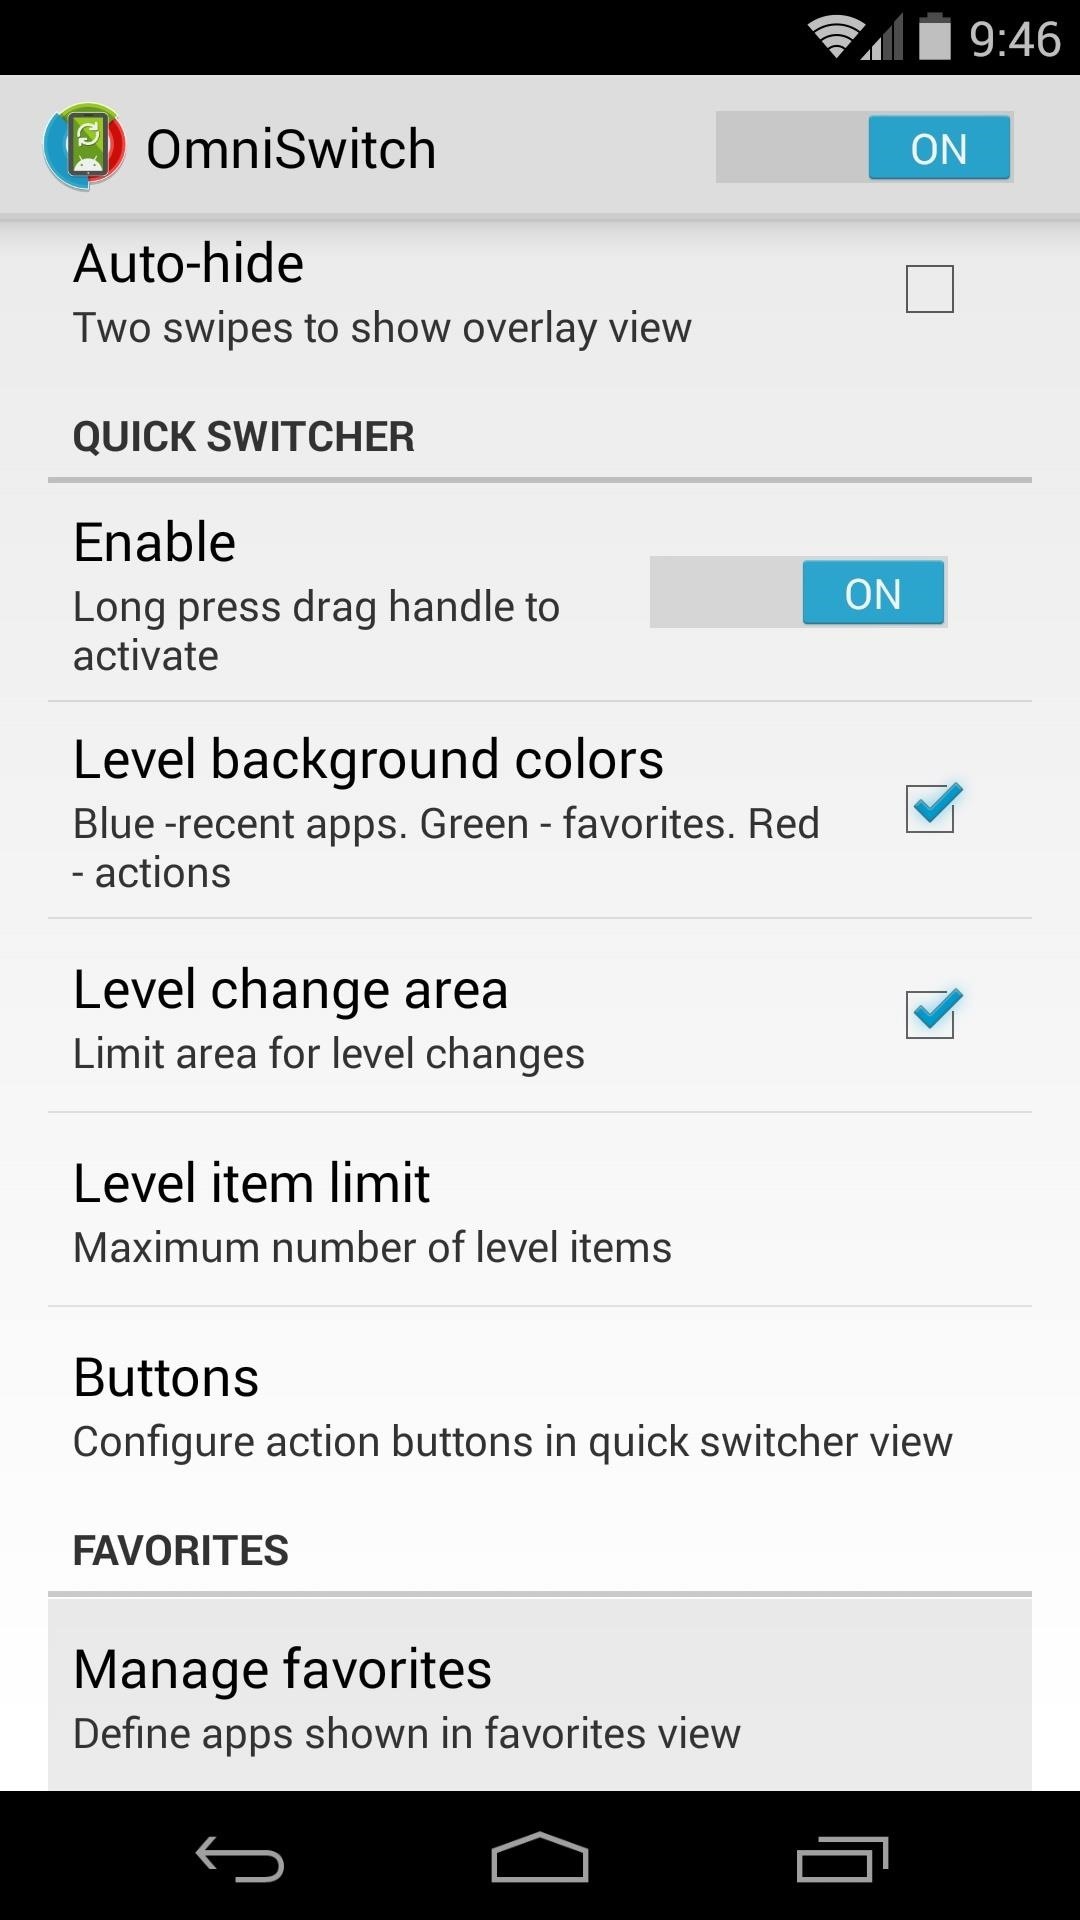
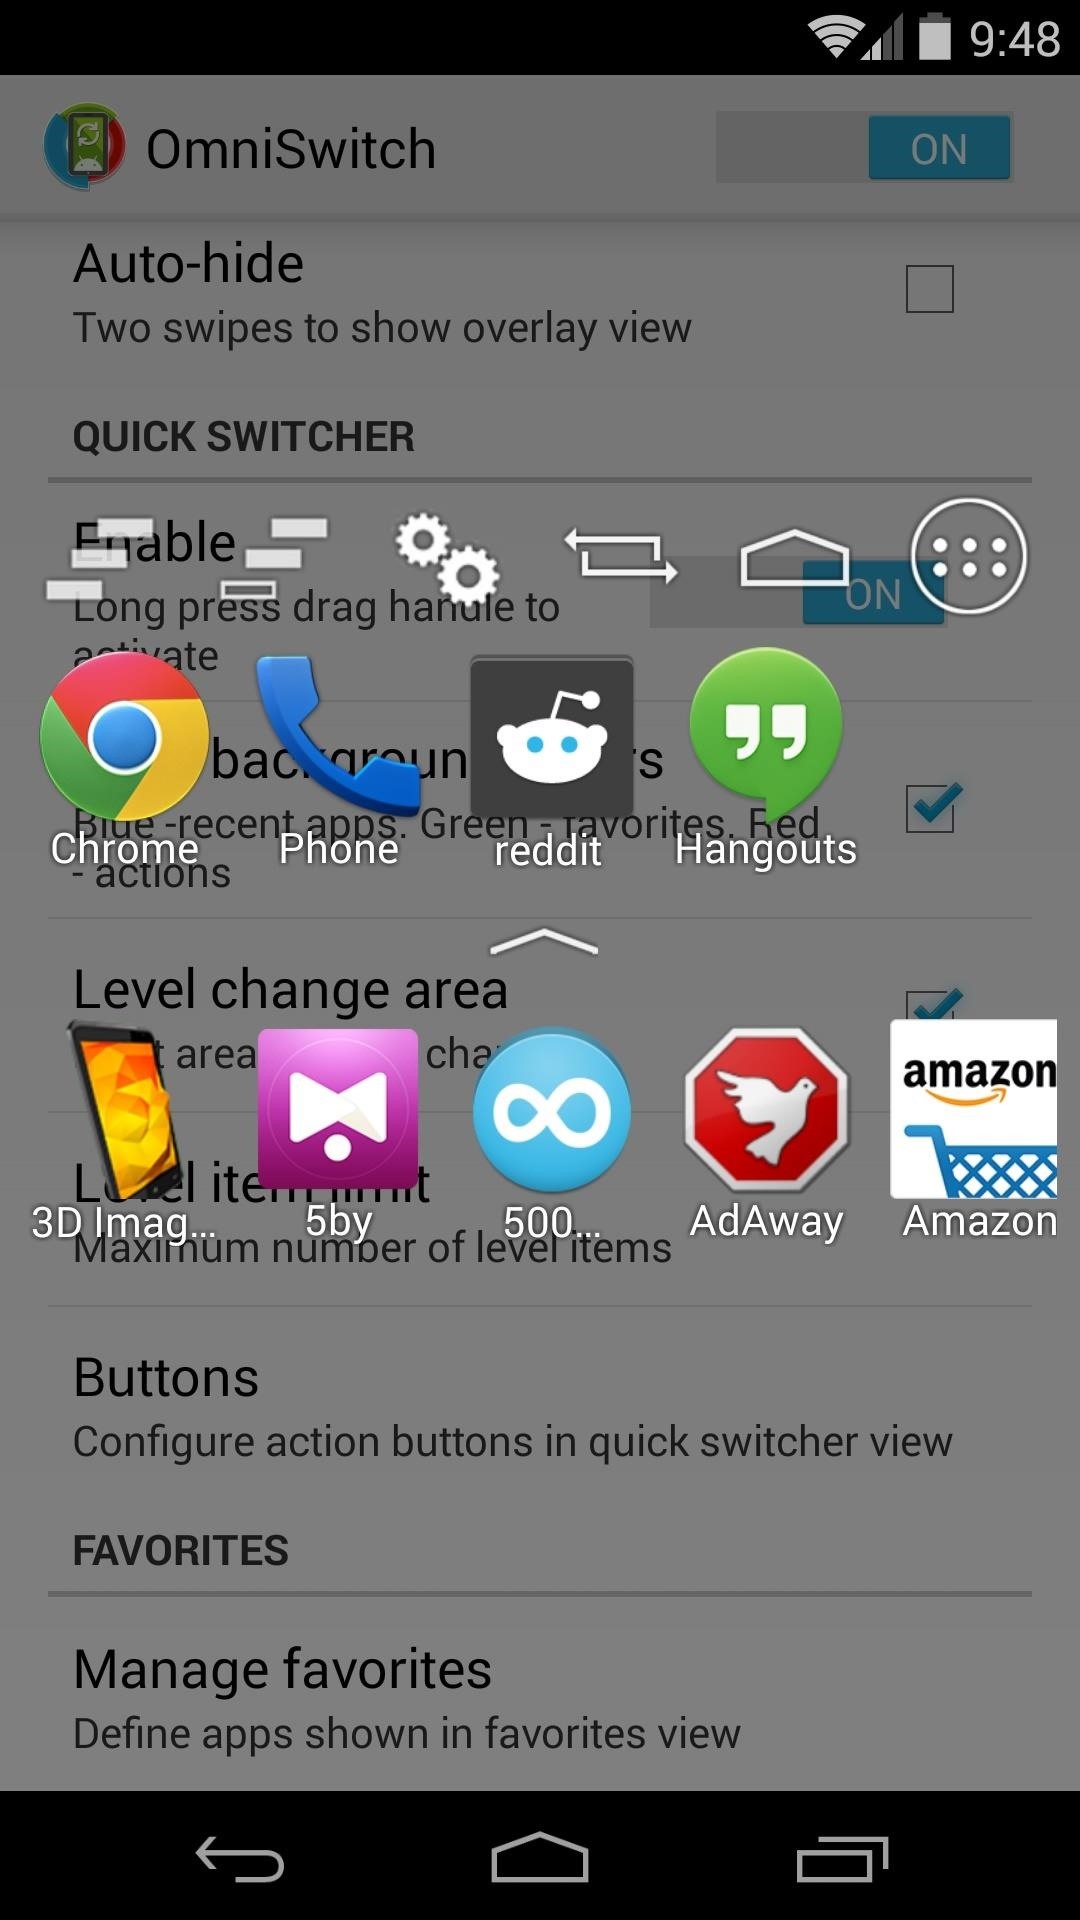
A "Quick Switcher" mode can be enabled using the toggle directly below this menu header.
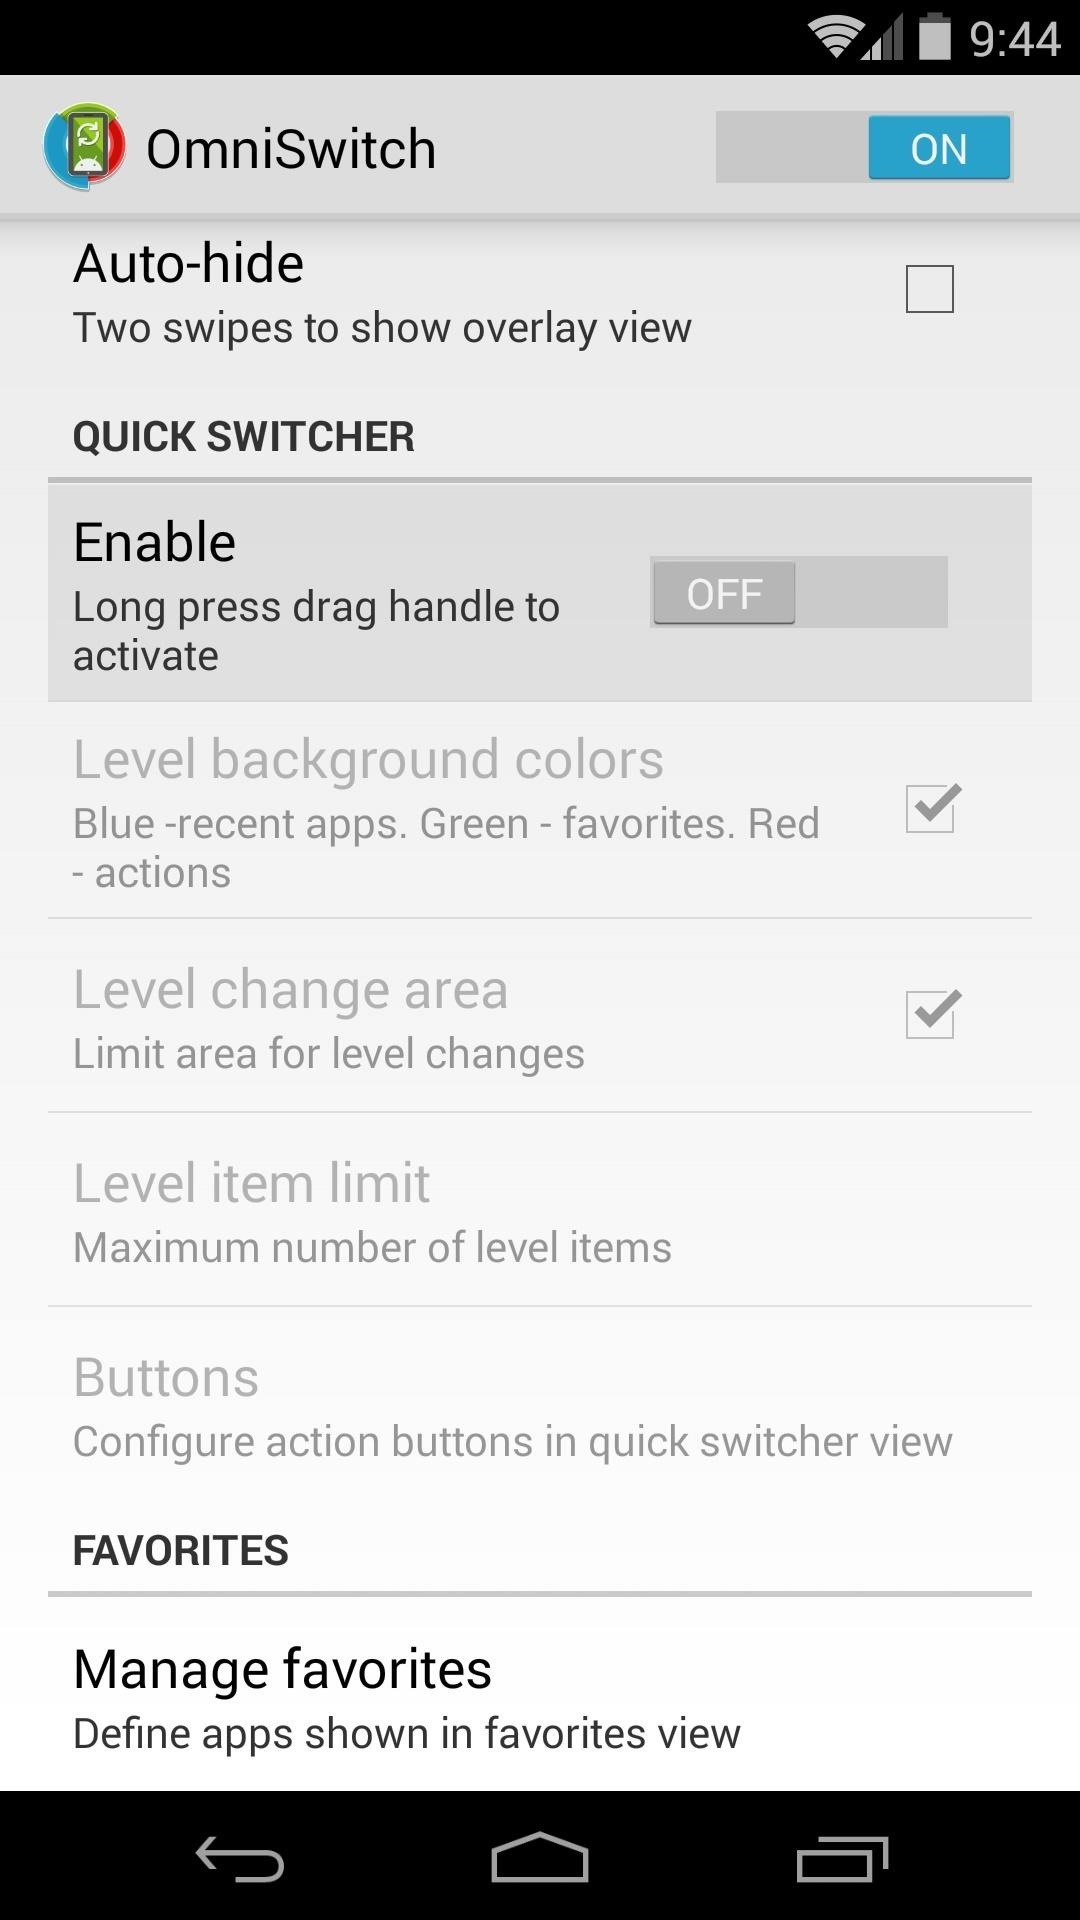
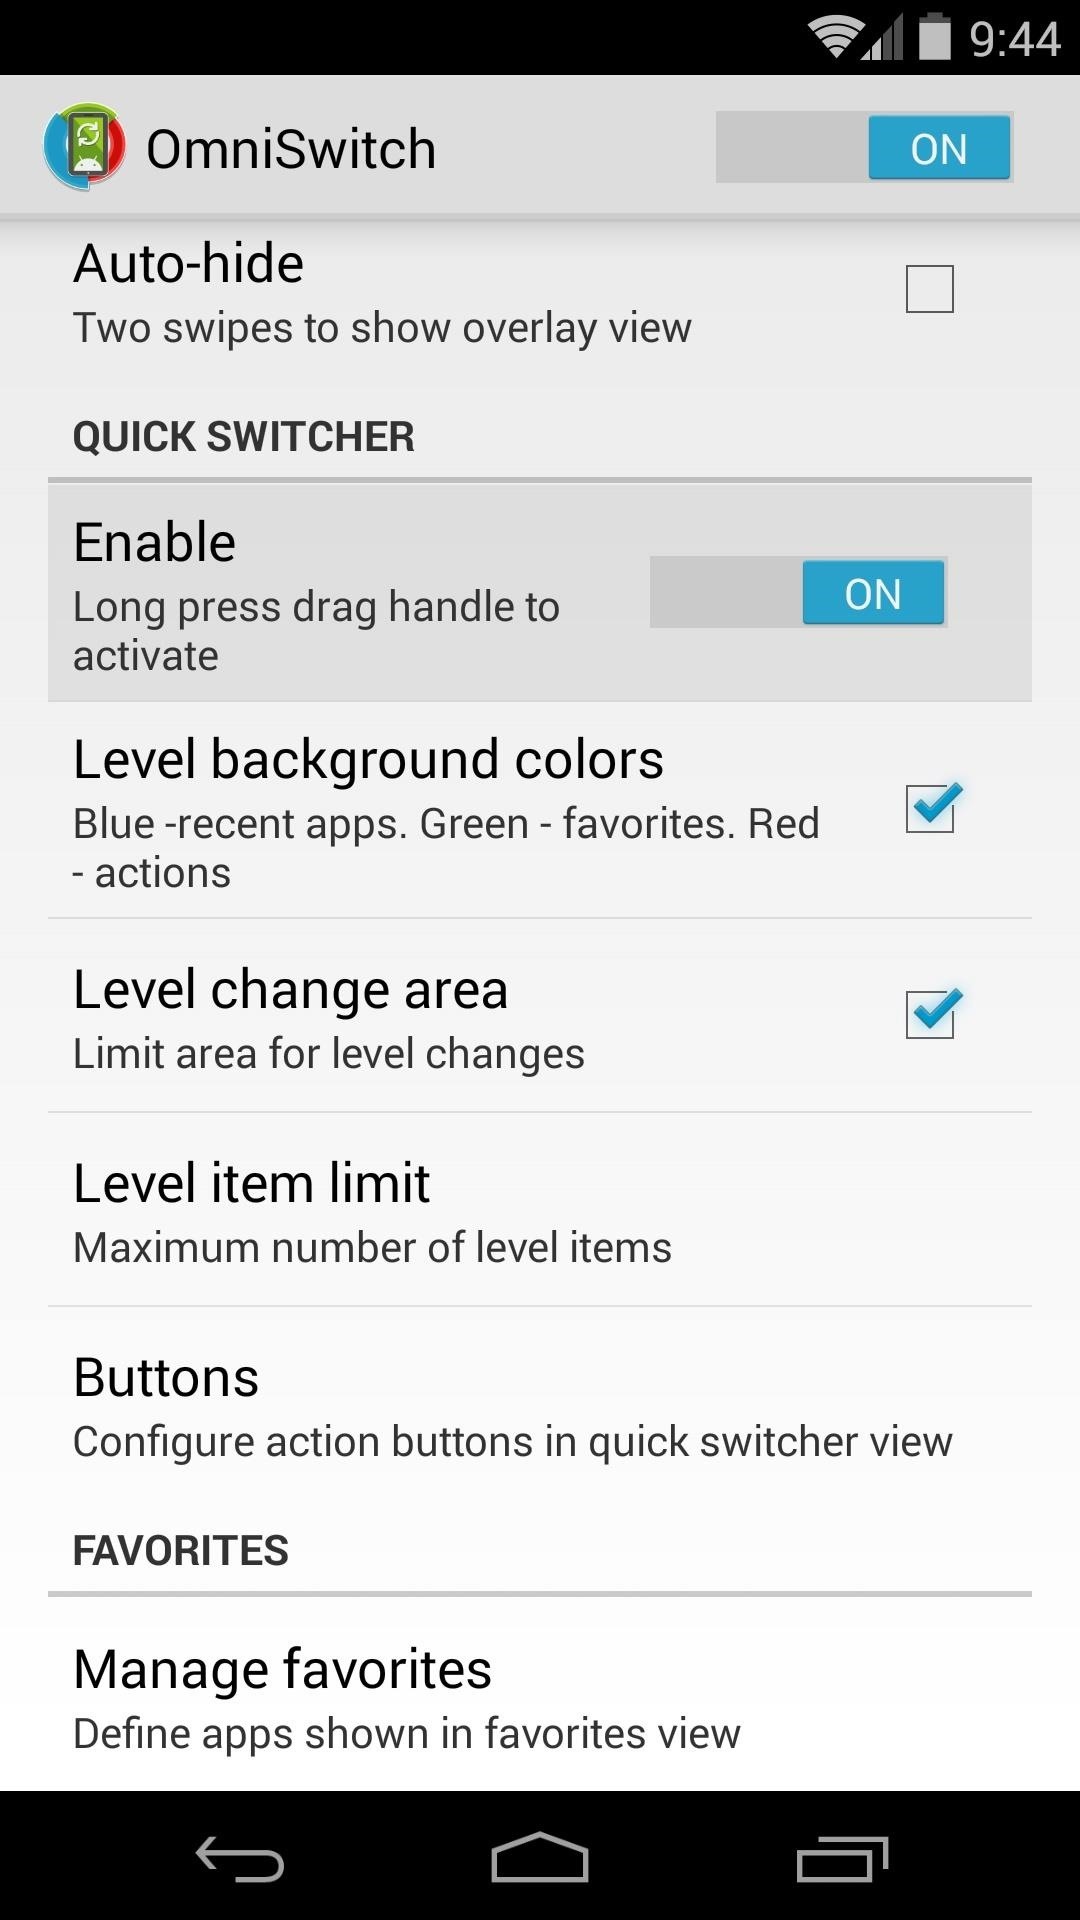
As the overlay shows you, just long-press the trigger area to bring up Quick Switcher mode. From here, without lifting your finger, just swipe left or right to select a recent app, and when you let go, the app will be opened.
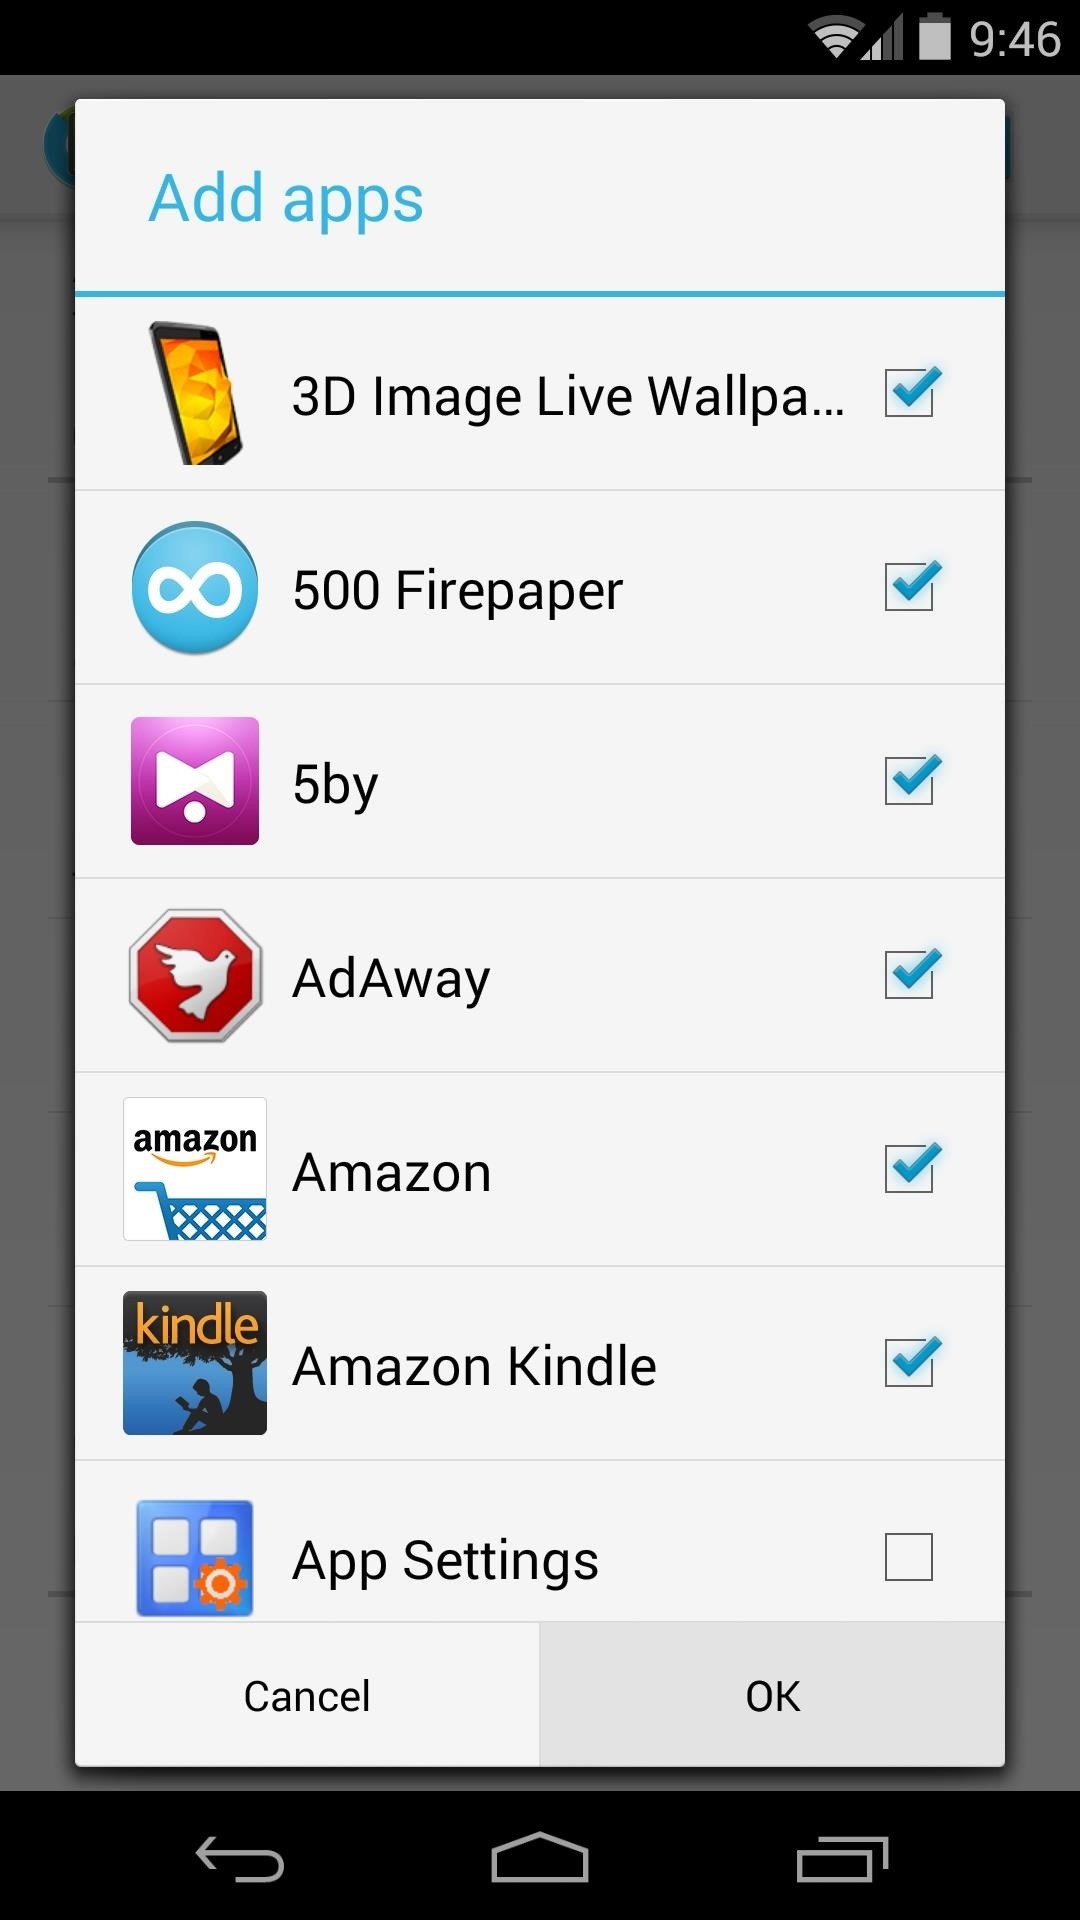
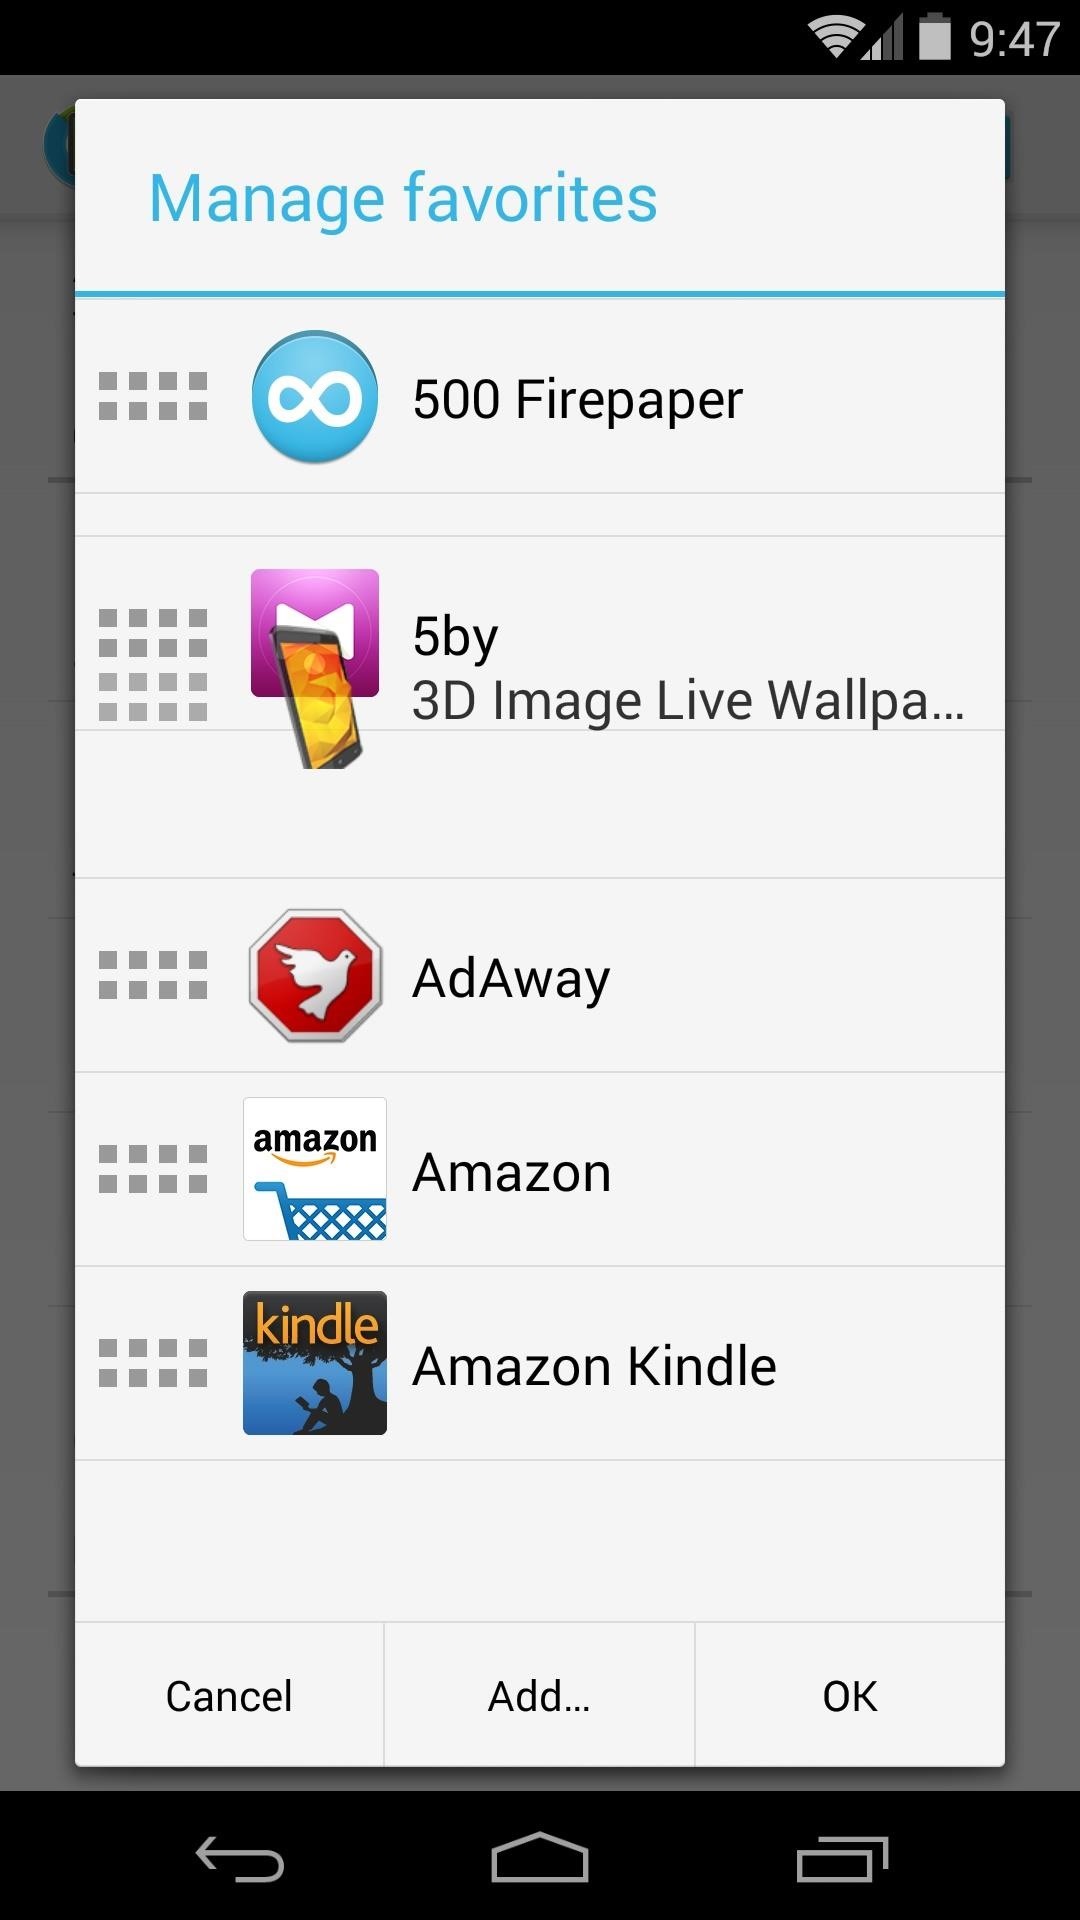
For quick access to your most-used apps, tap Manage Favorites, then hit Add... on the next screen.

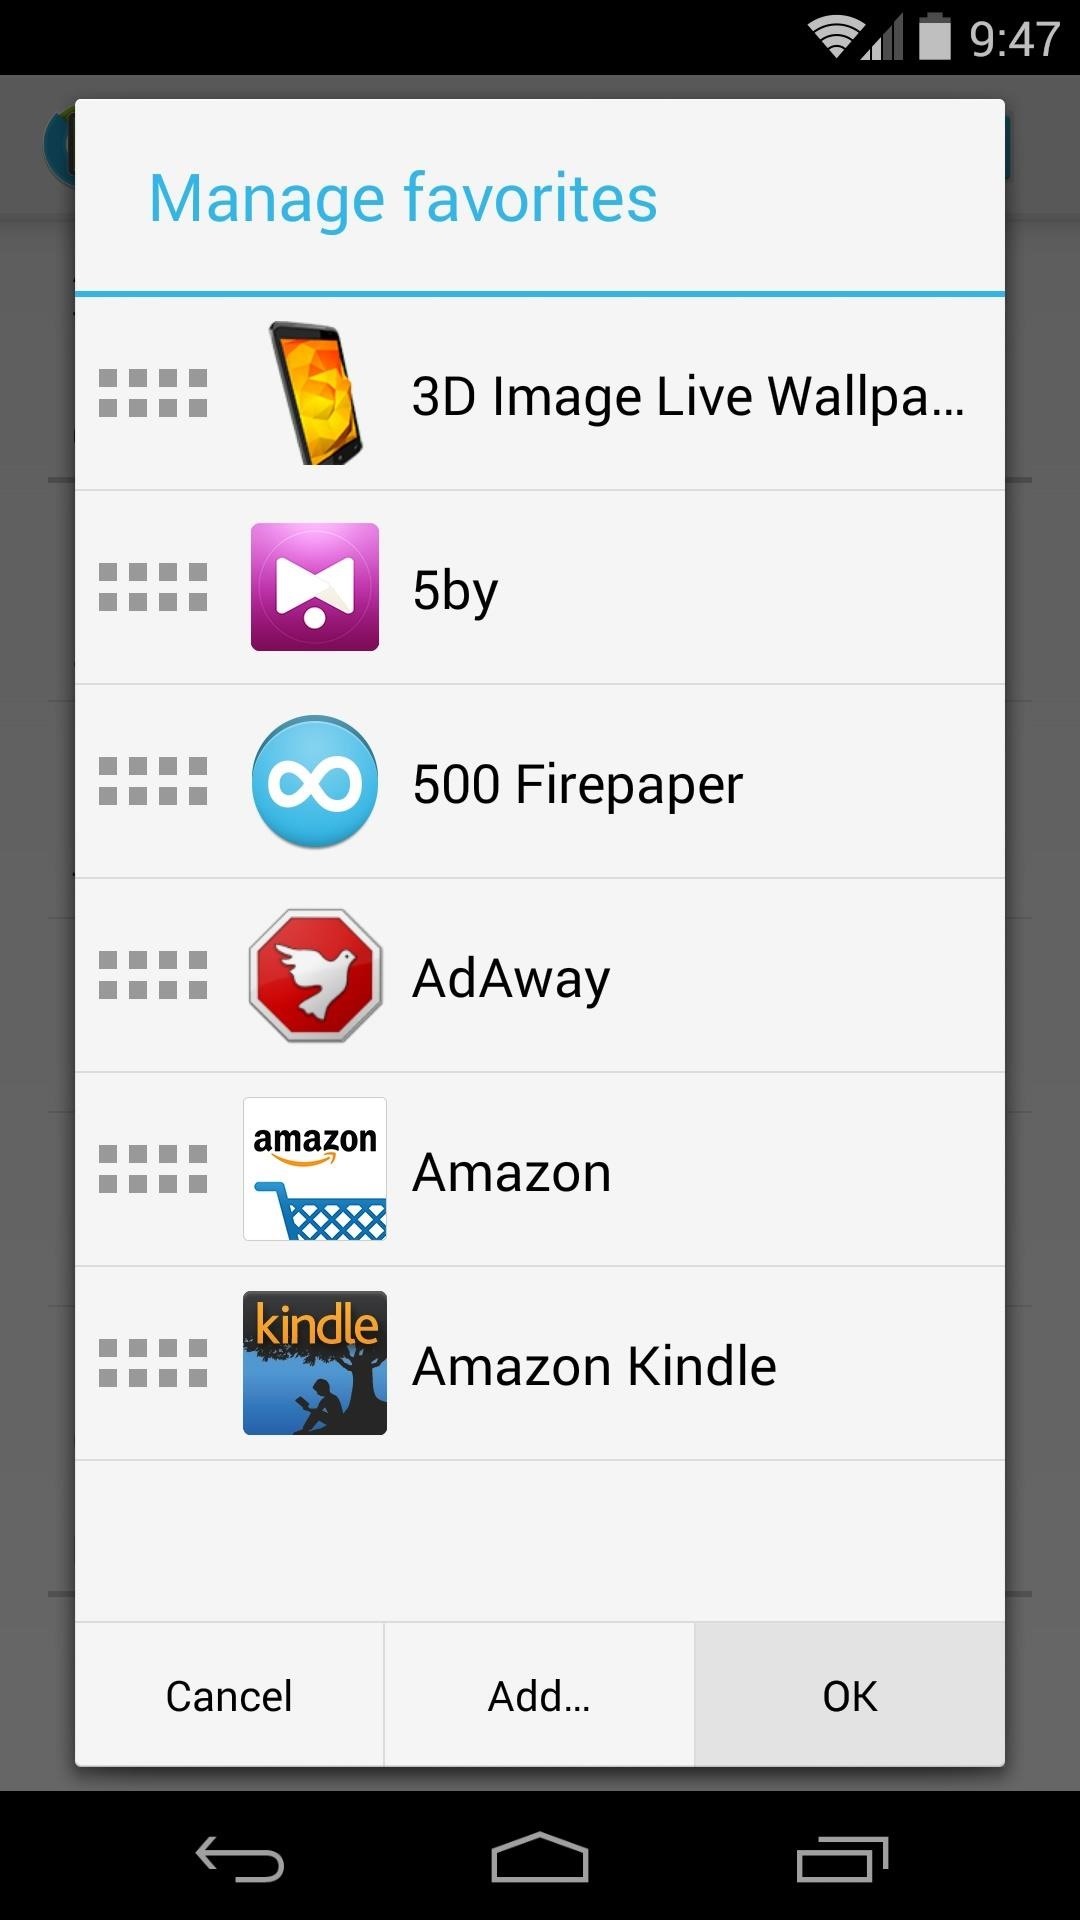
From here, just tick the boxes next to your most-used apps and press OK. You'll be given a chance to reorder these apps, and when you're satisfied, tap OK again.
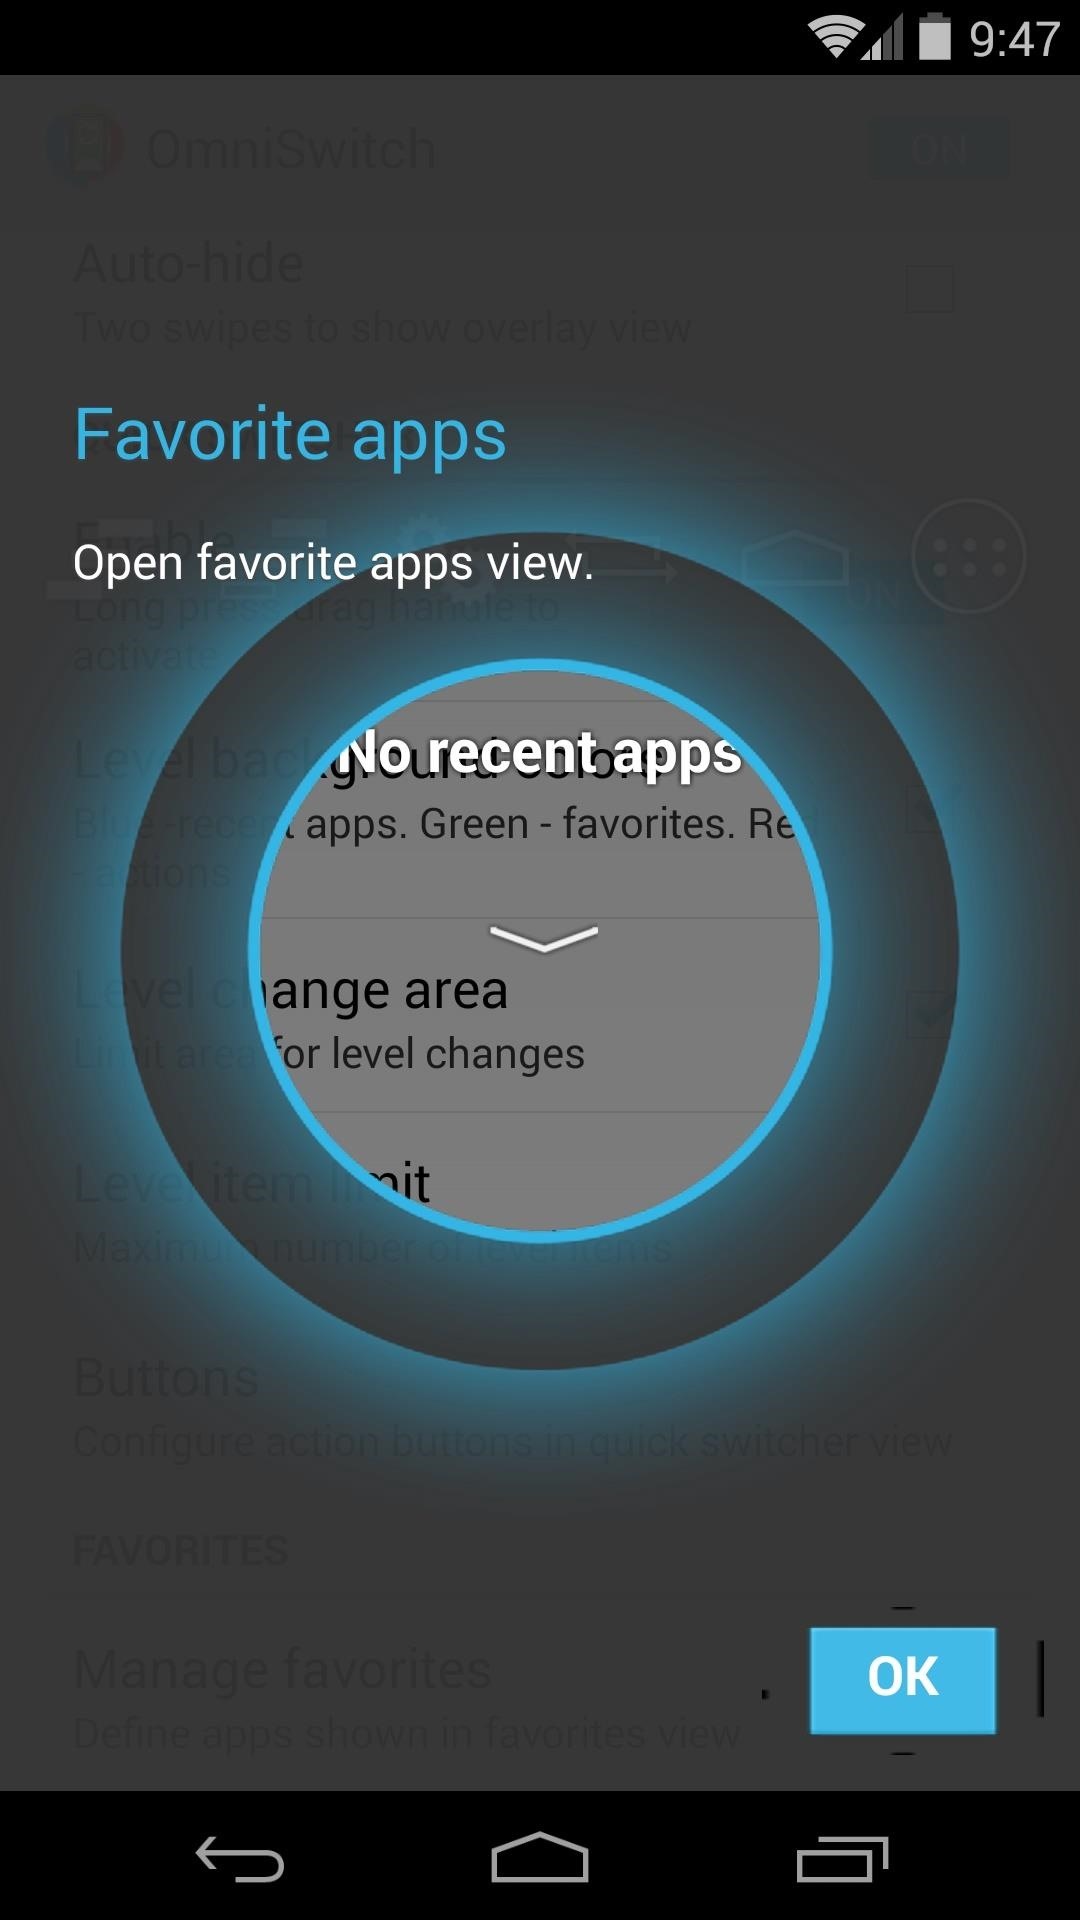
Now, as the overlay shows you, a small down arrow in OmniSwitch will give you quick access to these apps from any screen.
OmniSwitch can be customized to fit almost any style, so keep playing with these options until you find the right look for you.
All told, OmniSwitch is one of the most feature-rich multitasking tools out there. What are some of the settings you're using? Let us know in the comments section below.
Just updated your iPhone? You'll find new emoji, enhanced security, podcast transcripts, Apple Cash virtual numbers, and other useful features. There are even new additions hidden within Safari. Find out what's new and changed on your iPhone with the iOS 17.4 update.


Be the First to Comment
Share Your Thoughts