
The flexibility within Android is pretty amazing. Unlike iOS, you can make a lot of modifications with nothing more than a download from Google Play, but to really step up your softModder game, you'll need to go a little further.
Rooting takes things a step deeper, allowing you to install custom ROMs which can greatly change the overall user experience. Think of ROMs as different skins for Android, much like Samsung's TouchWiz and HTC's Sense.
Many of these ROMs come with unique and exciting features, and there's simply no reason not to try a few out.
Before you get started, make sure that your Nexus 5 is rooted with a custom recovery (and make a backup while you're there).
Step 1: Install GooManager
Once you're rooted and have TWRP set up, install GooManager for free from Google Play. It's a seriously killer tool for anyone who wants to experiment with ROMs, which, as of this moment, is you. The app allows you to search for and flash ROMs easily—all from within the app itself.

Step 2: Download Your Chosen ROM (& GApps)
There are plenty of ROMs out there, but today I'm going to show you AOKP, which stands for Android Open Kang Project. This process will be the same for just about every ROM out there, so if you feel like trying something else out, go for it!
AOKP offers deep customization options, but you probably won't notice any differences at first glance. This ROM starts you off at a familiar place and let's you build up the customizations.
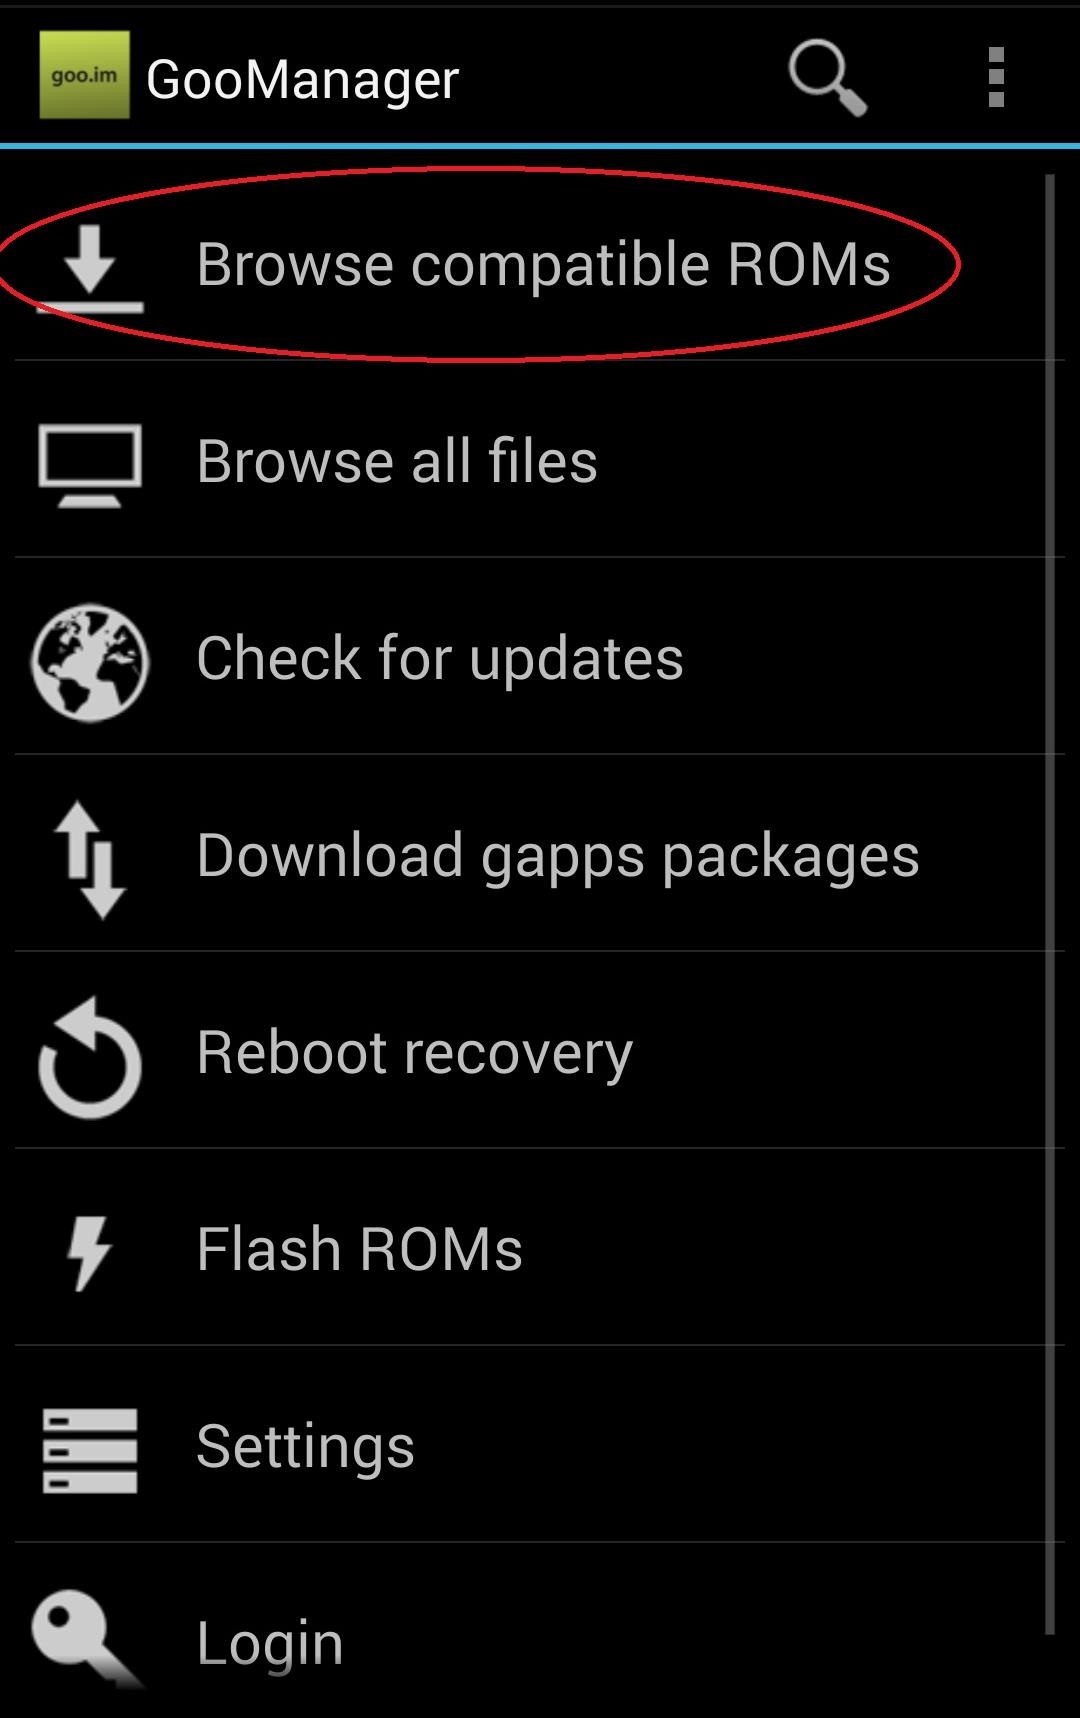
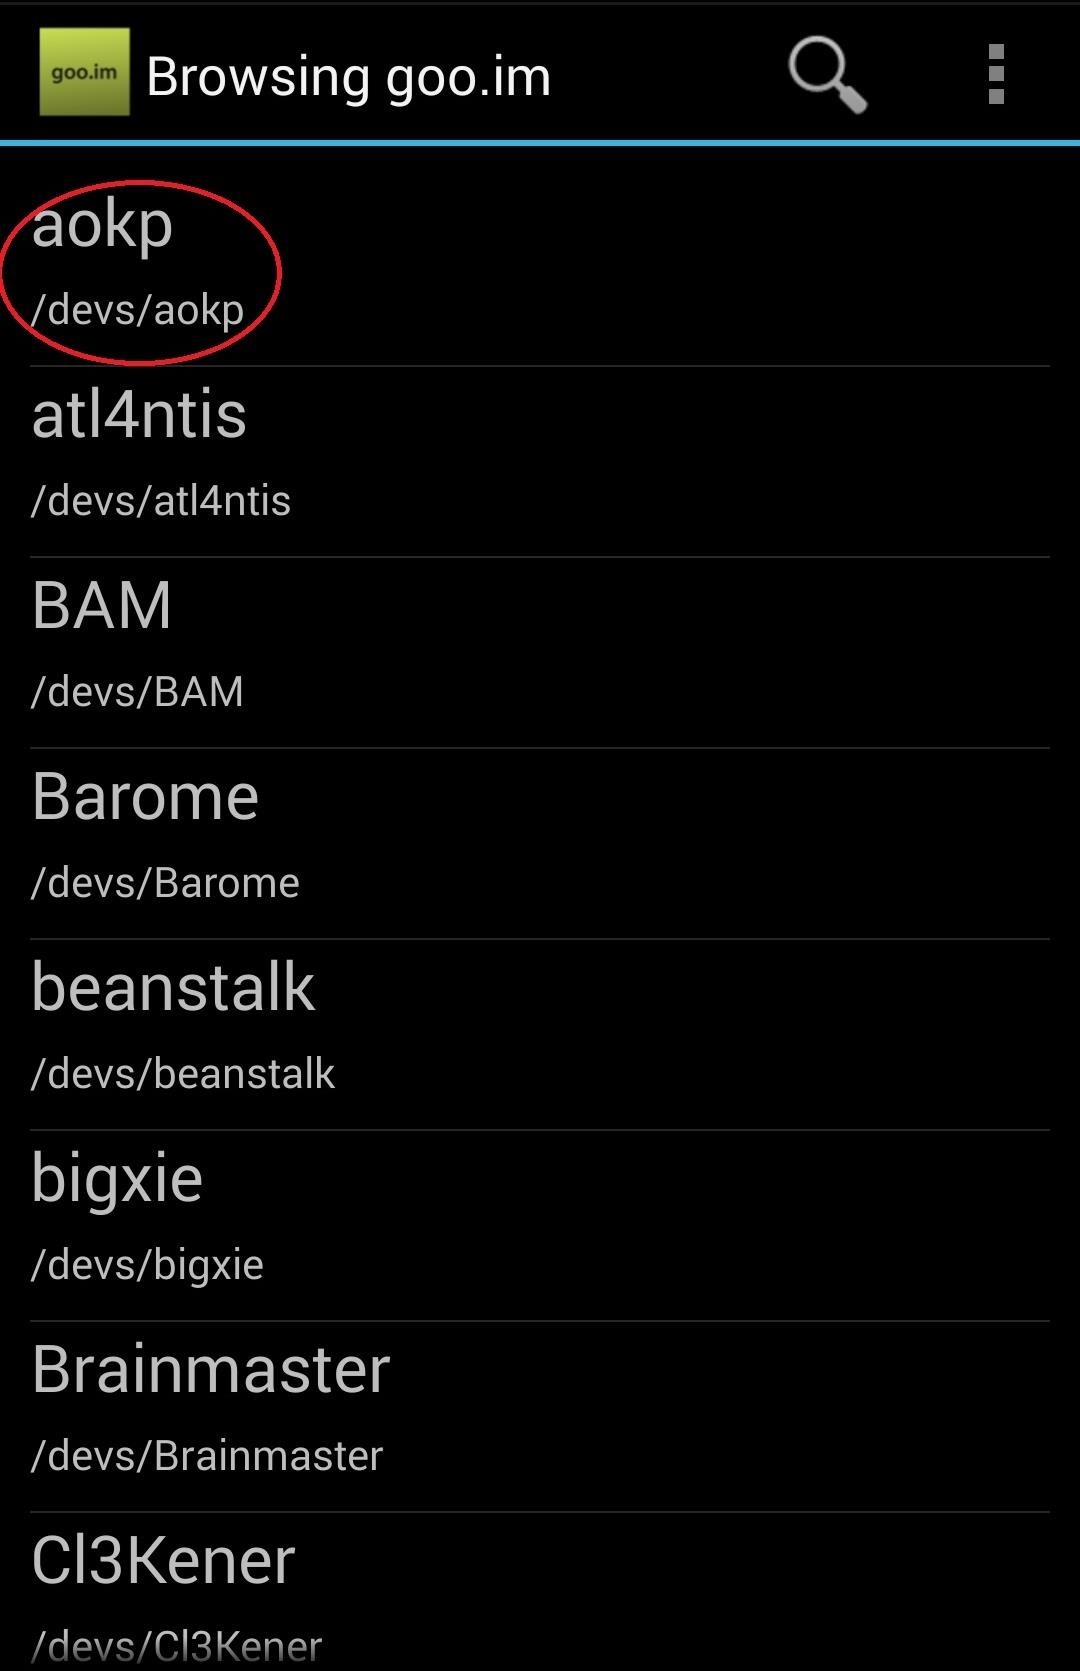
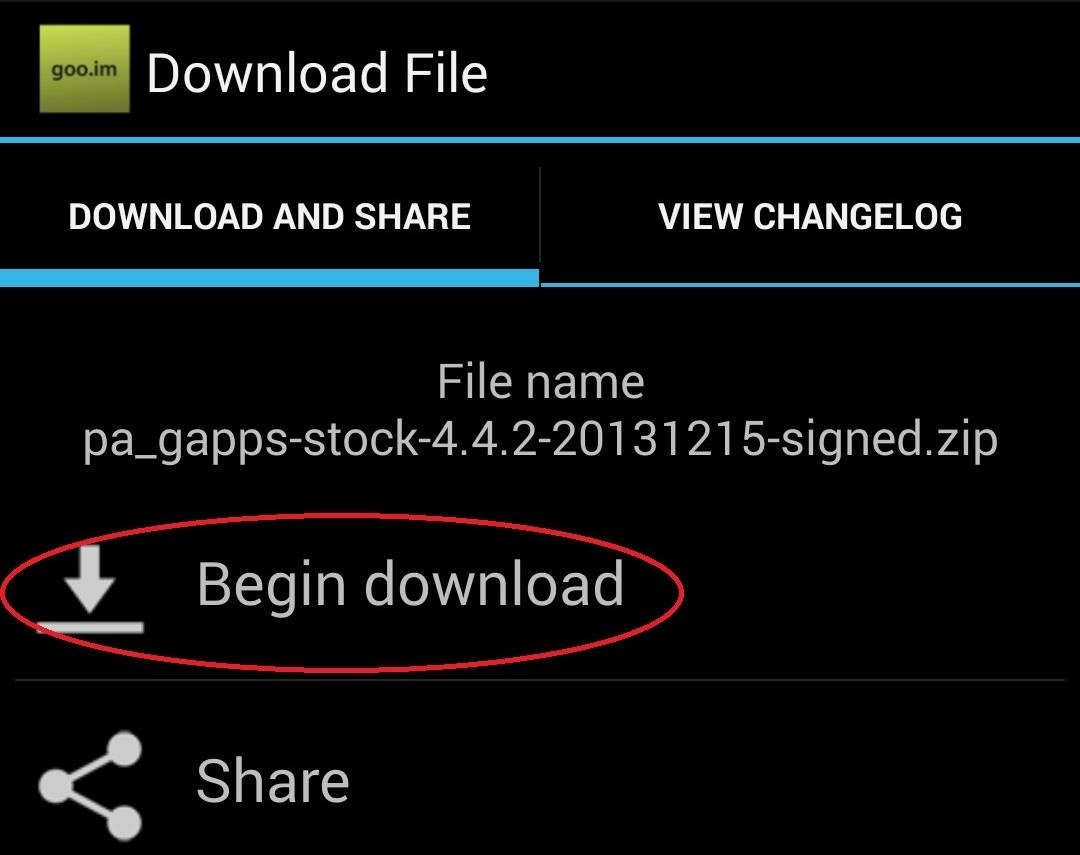
Now, open up GooManger and tap on Browse compatible ROMs. You won't have to do a lot of searching, as AOKP will be the first ROM listed. Select it and you'll see the files Hammerhead as well as pa_gapps-stock-4.4.2-20131215signed.zip.
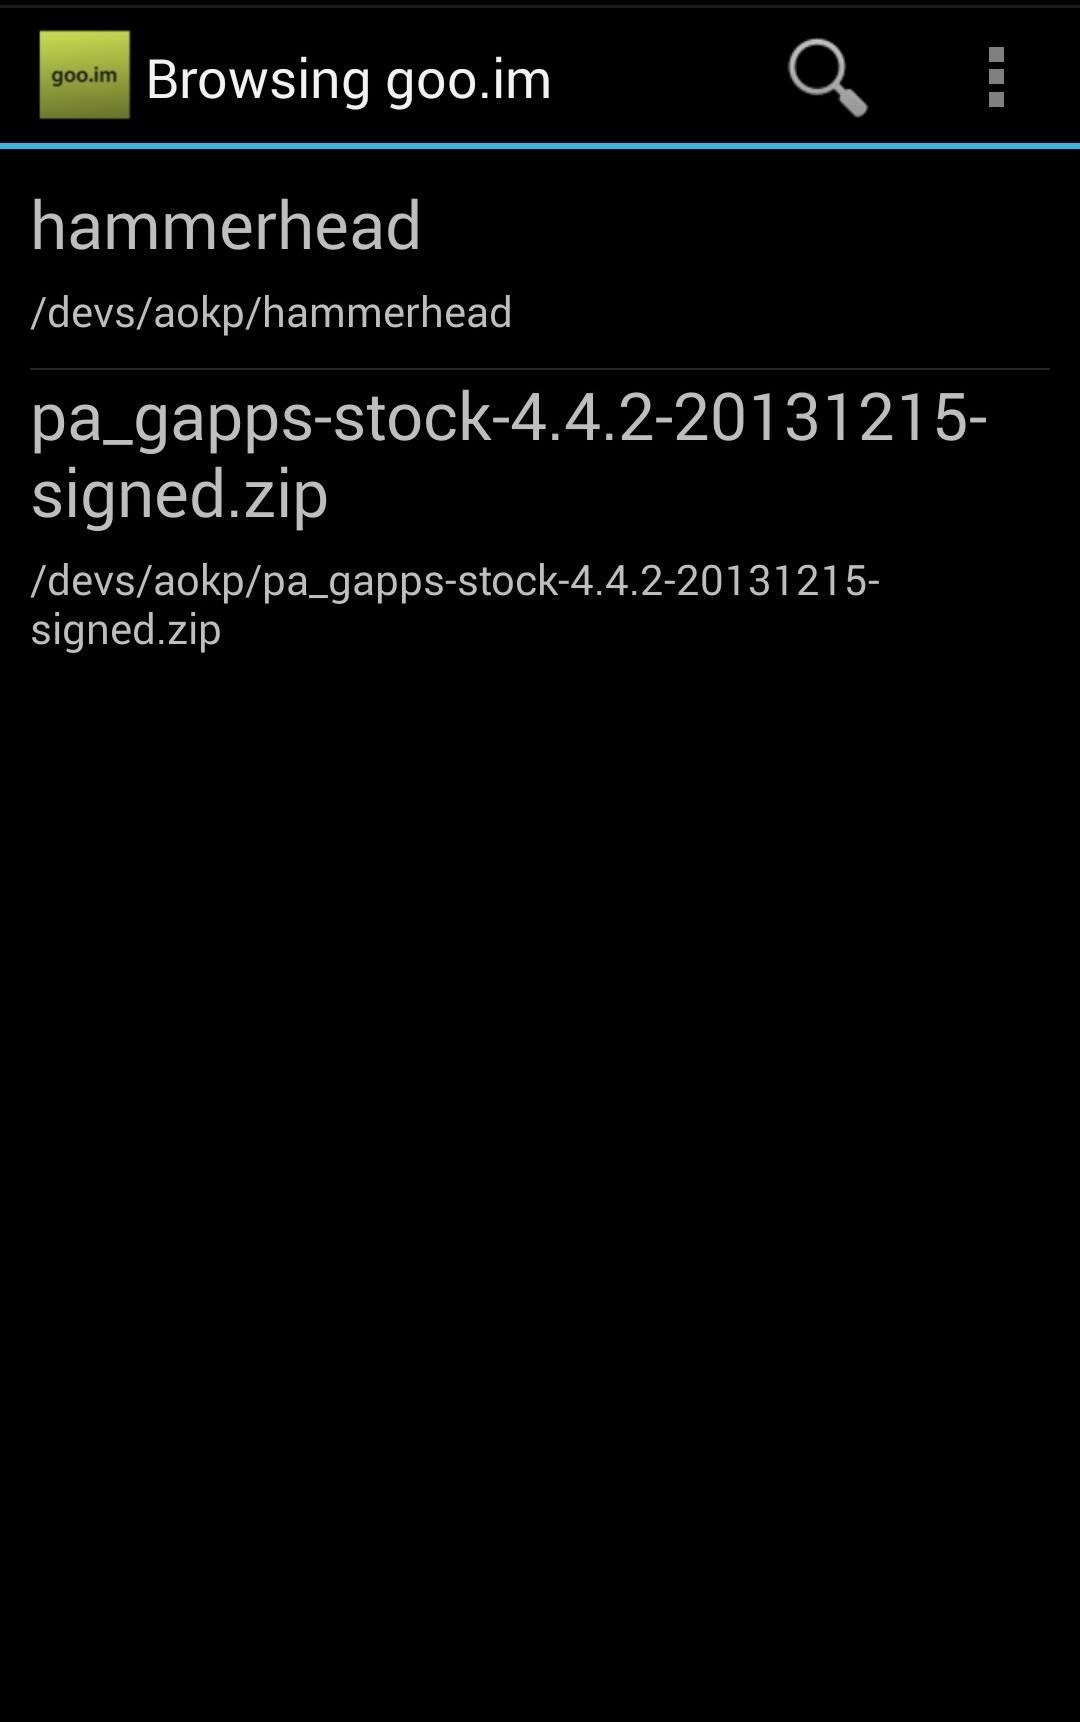
The first file, Hammerhead, is a specific version of AOKP for your device, with hammerhead as the Google code name for your Nexus 5.
The second file will give you GApps, short for "Google apps." Since most custom ROMs are unofficial versions of Android, core Google apps such as Gmail and Maps are not allowed to be packaged with the ROMs. To get around that restriction, we have to flash these files separately, which will link the ROM to Google and grant us access to Google Play as well as the rest of the Google app suite.
Tap each file to go to their install page, then tap Begin Download. Download the ROM file first, then the GApps file.
Step 3: Flash Your ROM (& GApps)
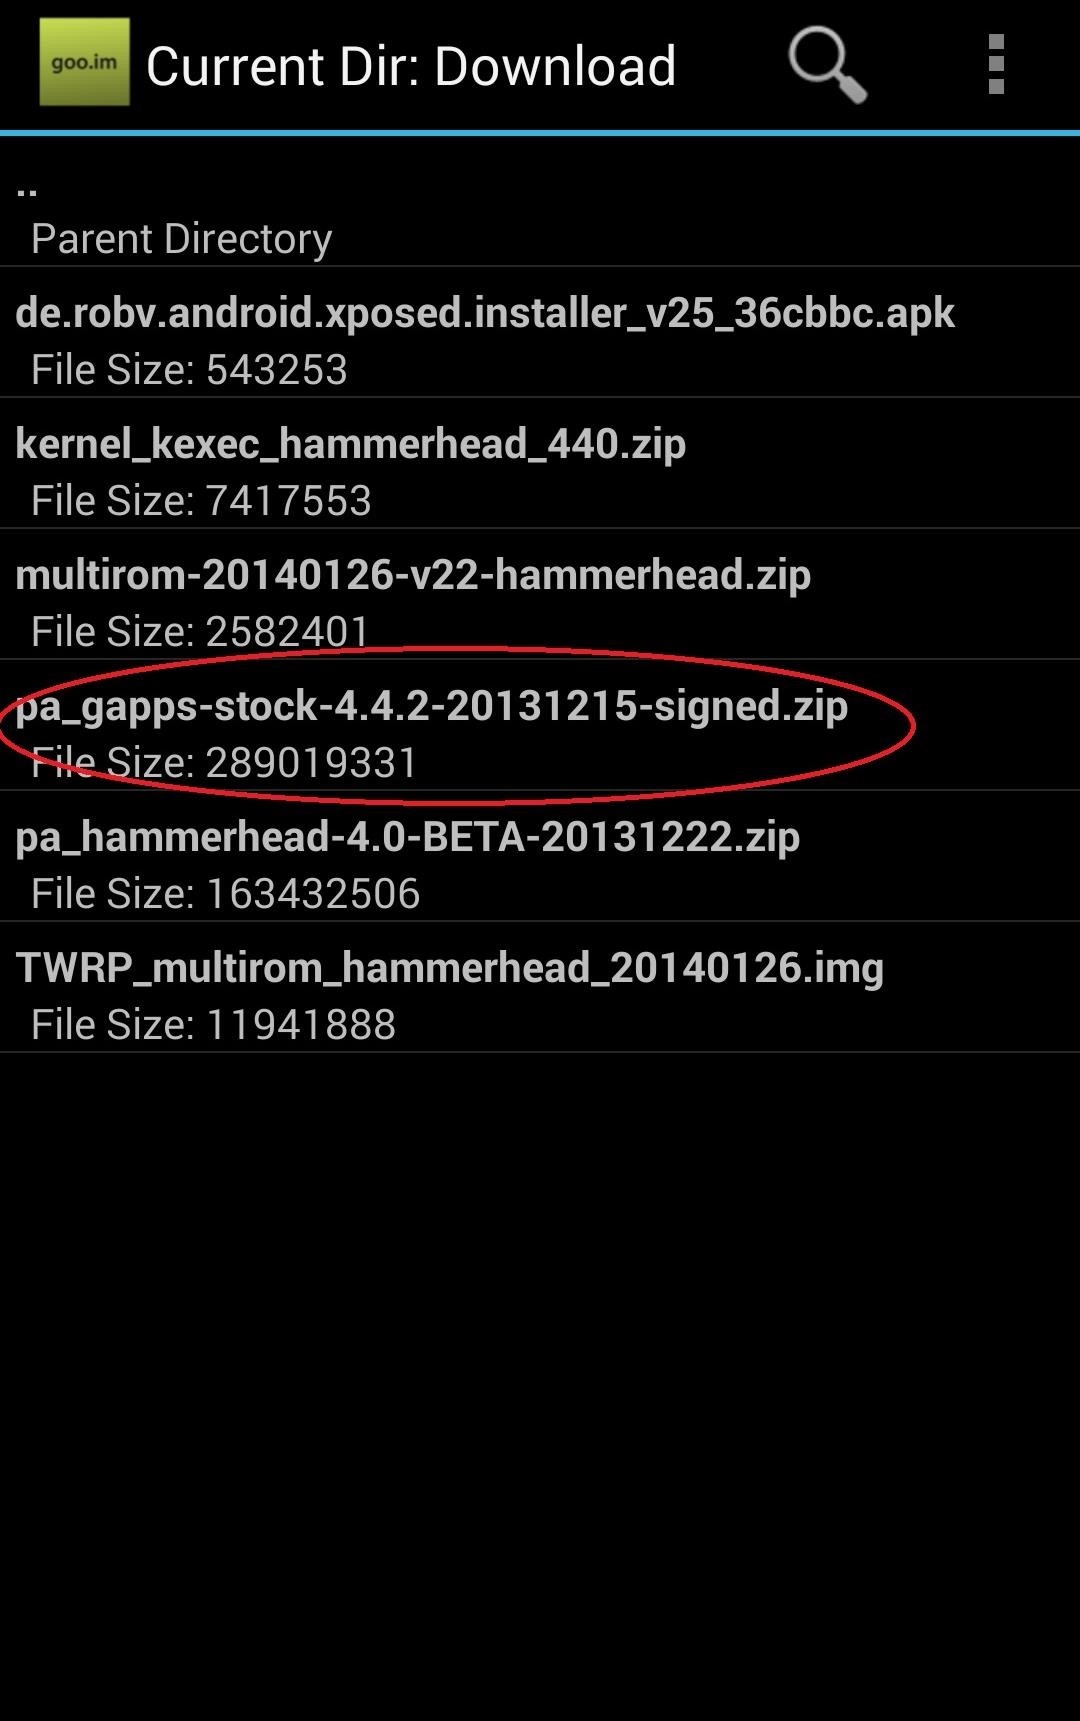
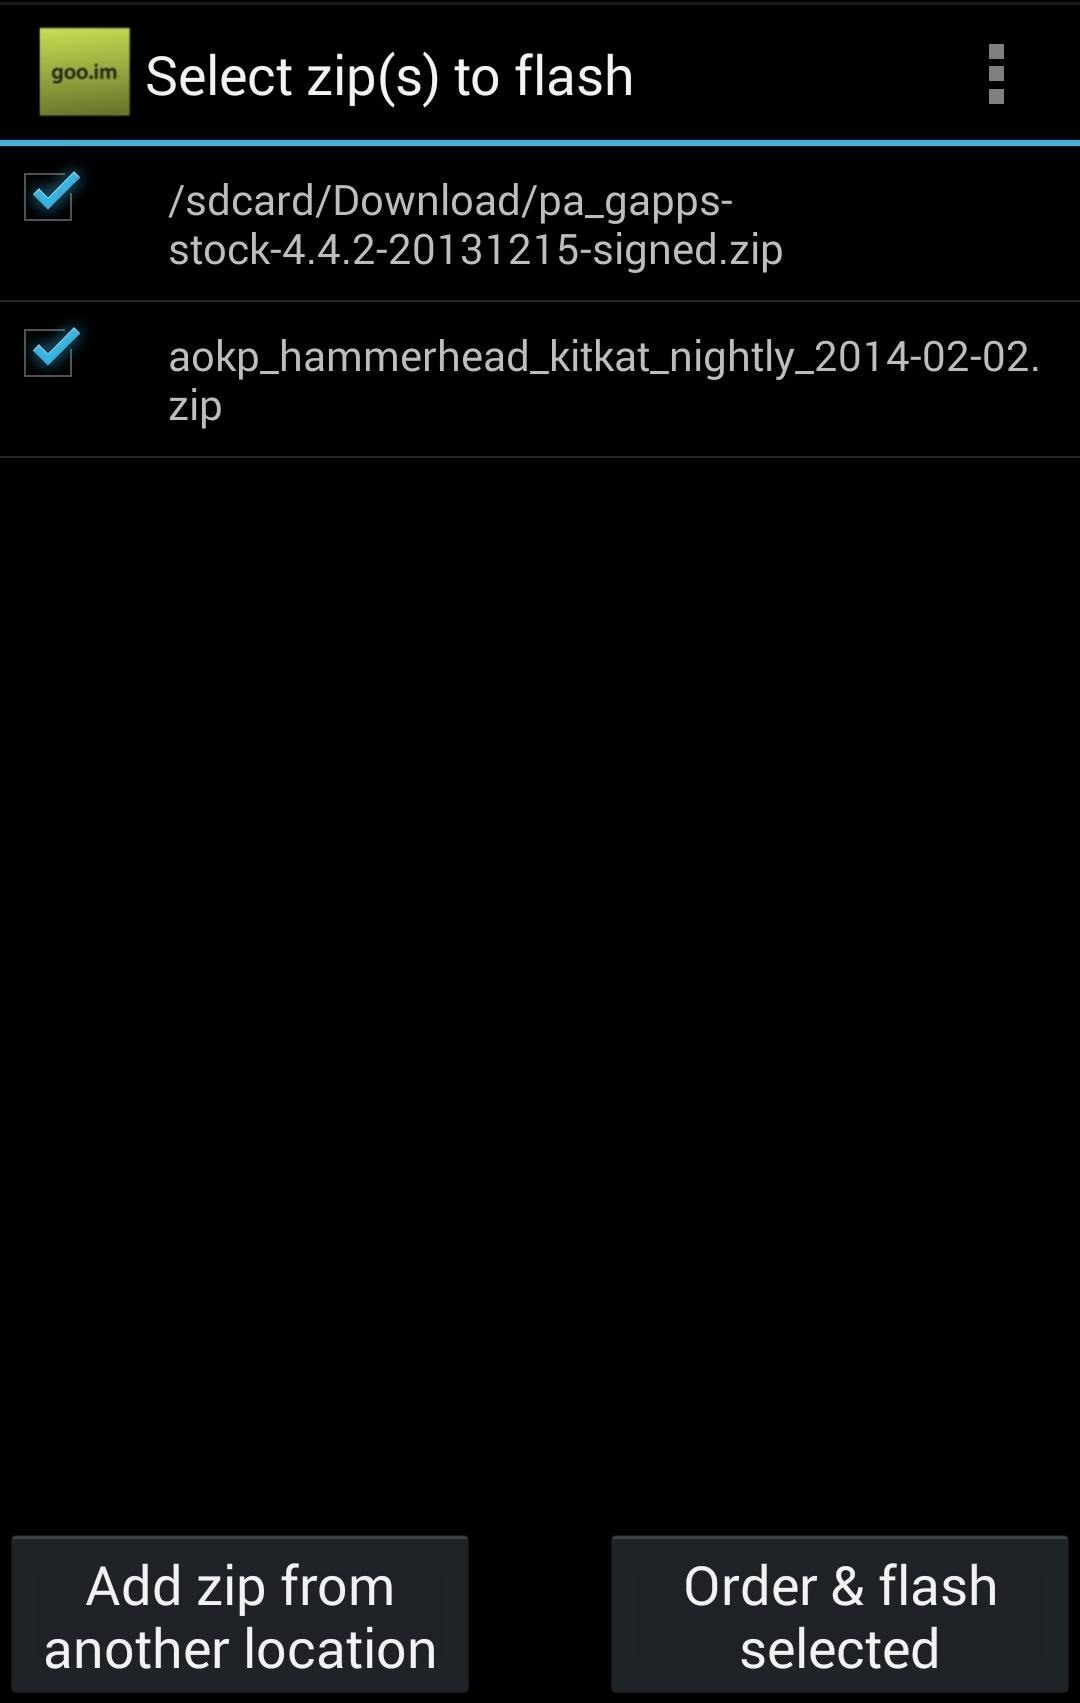
Once the files have been downloaded, go back to the GooManager launch page and tap on Flash ROMs. If you don't see the GApps file in the list, tap Add zip from another location and select the Downloads folder, then select your GApps file.
Once both files are in the list, check the boxes next to each and hit Order & flash selected. Now use the arrows to the right of the files to ensure that AOKP is first and that GApps is second—it's important that the ROM is flashed first and the GApps after.
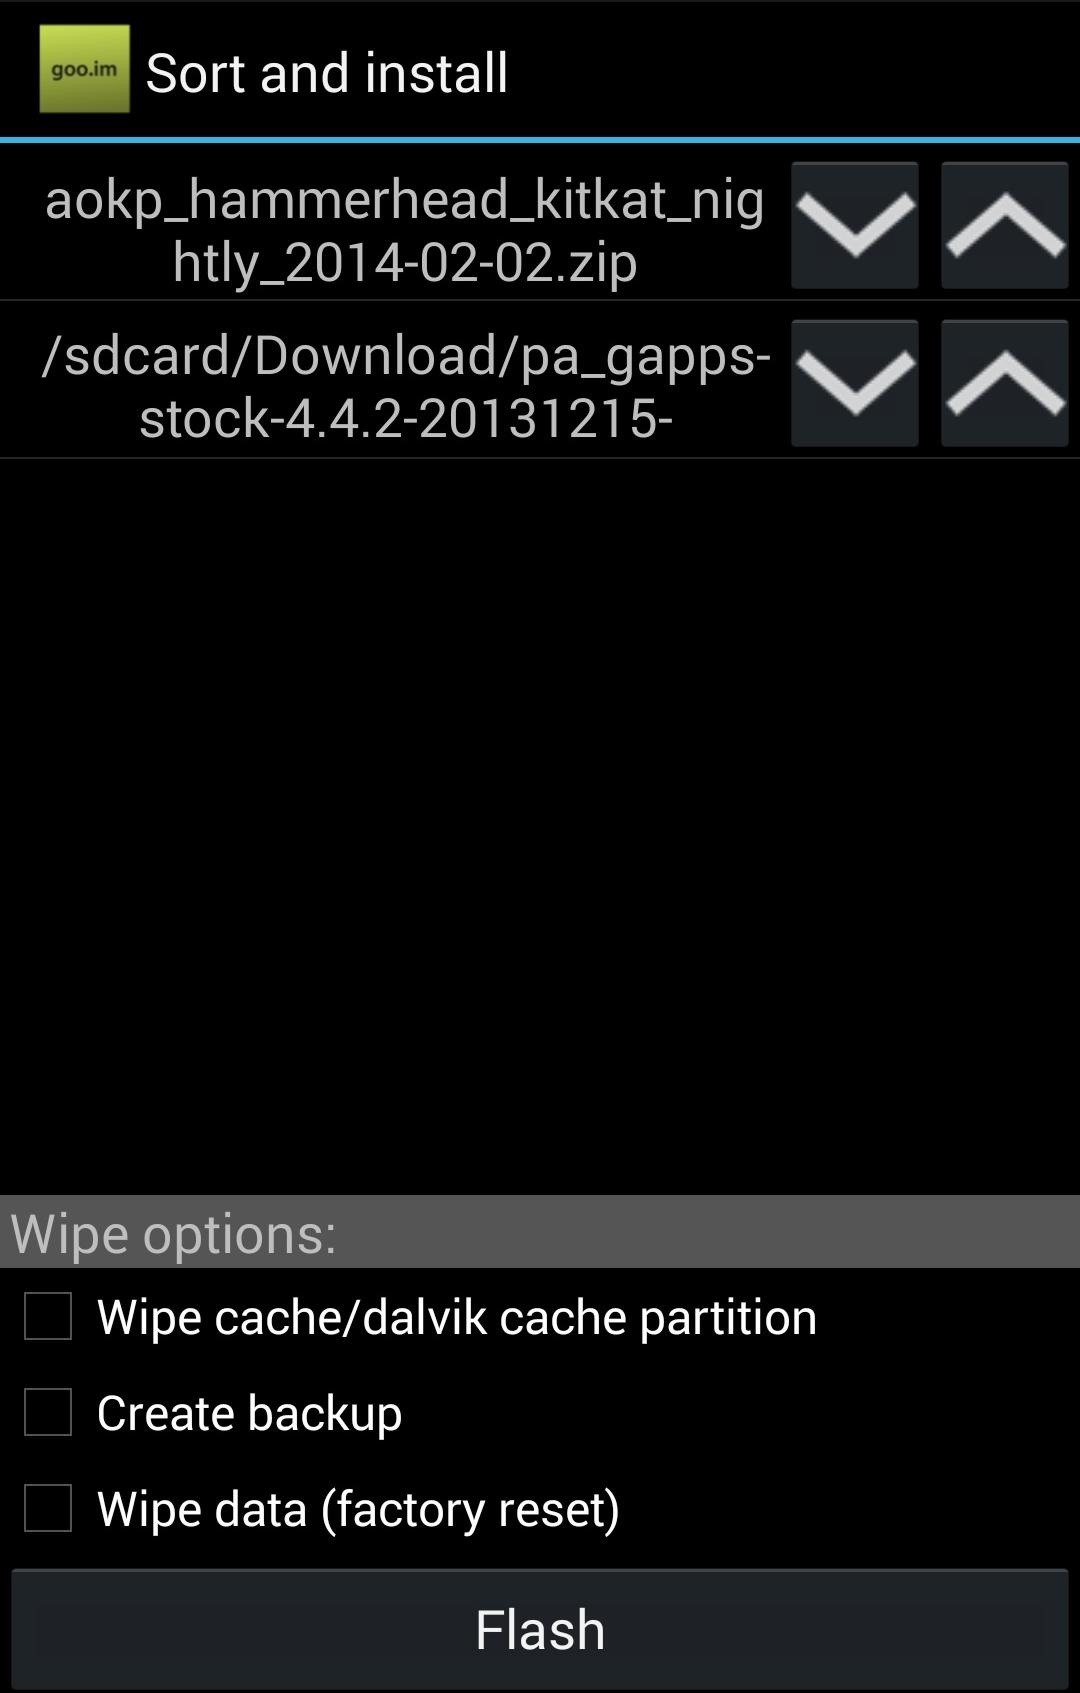
Now tick the check mark box next to Wipe cache/dalvik cache partition. This is just one of those things that's good to do when you're flashing ROMs, and it won't have any adverse affects or delete anything you need.
If you haven't done so, also check the box for Create backup, and if you want the cleanest possible experience, also check Wipe data (factory reset). Just know that a factor reset will erase all of your data, including apps, call logs, and messages.
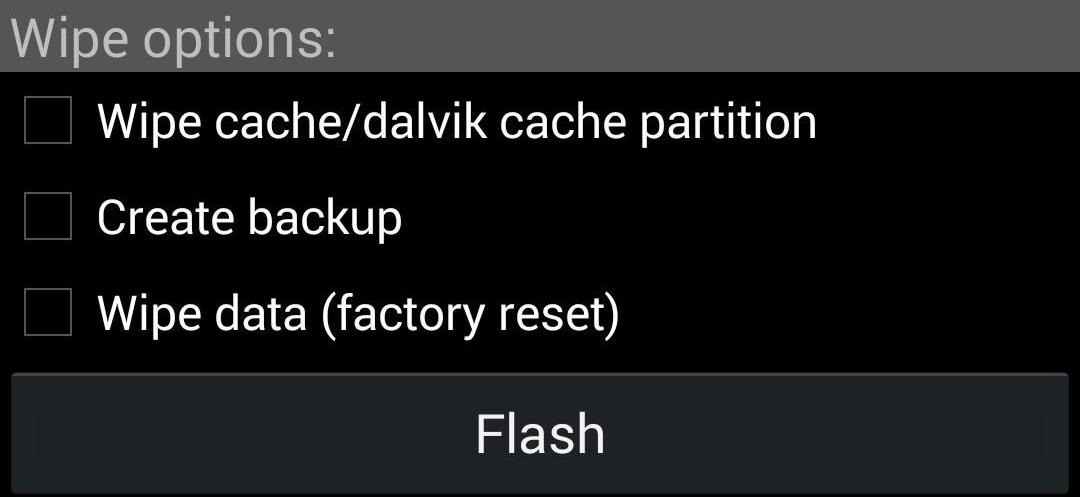
Now just tap Flash and watch the magic happen. Your device will reboot into recovery, flash the files, and boot back up. If on the first boot you get an error message that reads system uids inconsistent, simply go back into your recovery (hold in the Power button, tap Reboot -> Recovery -> Reboot). Once there, tap Advanced and select Fix Permissions. That should clear things up once you boot again.
So easy...
Using Your New ROM!
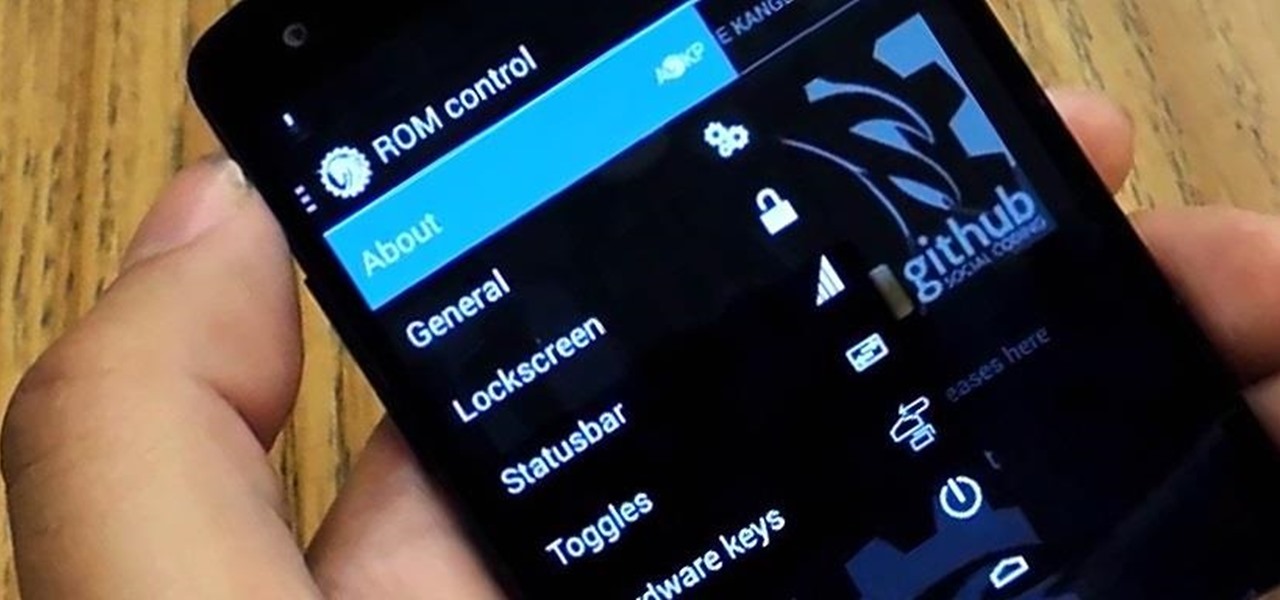
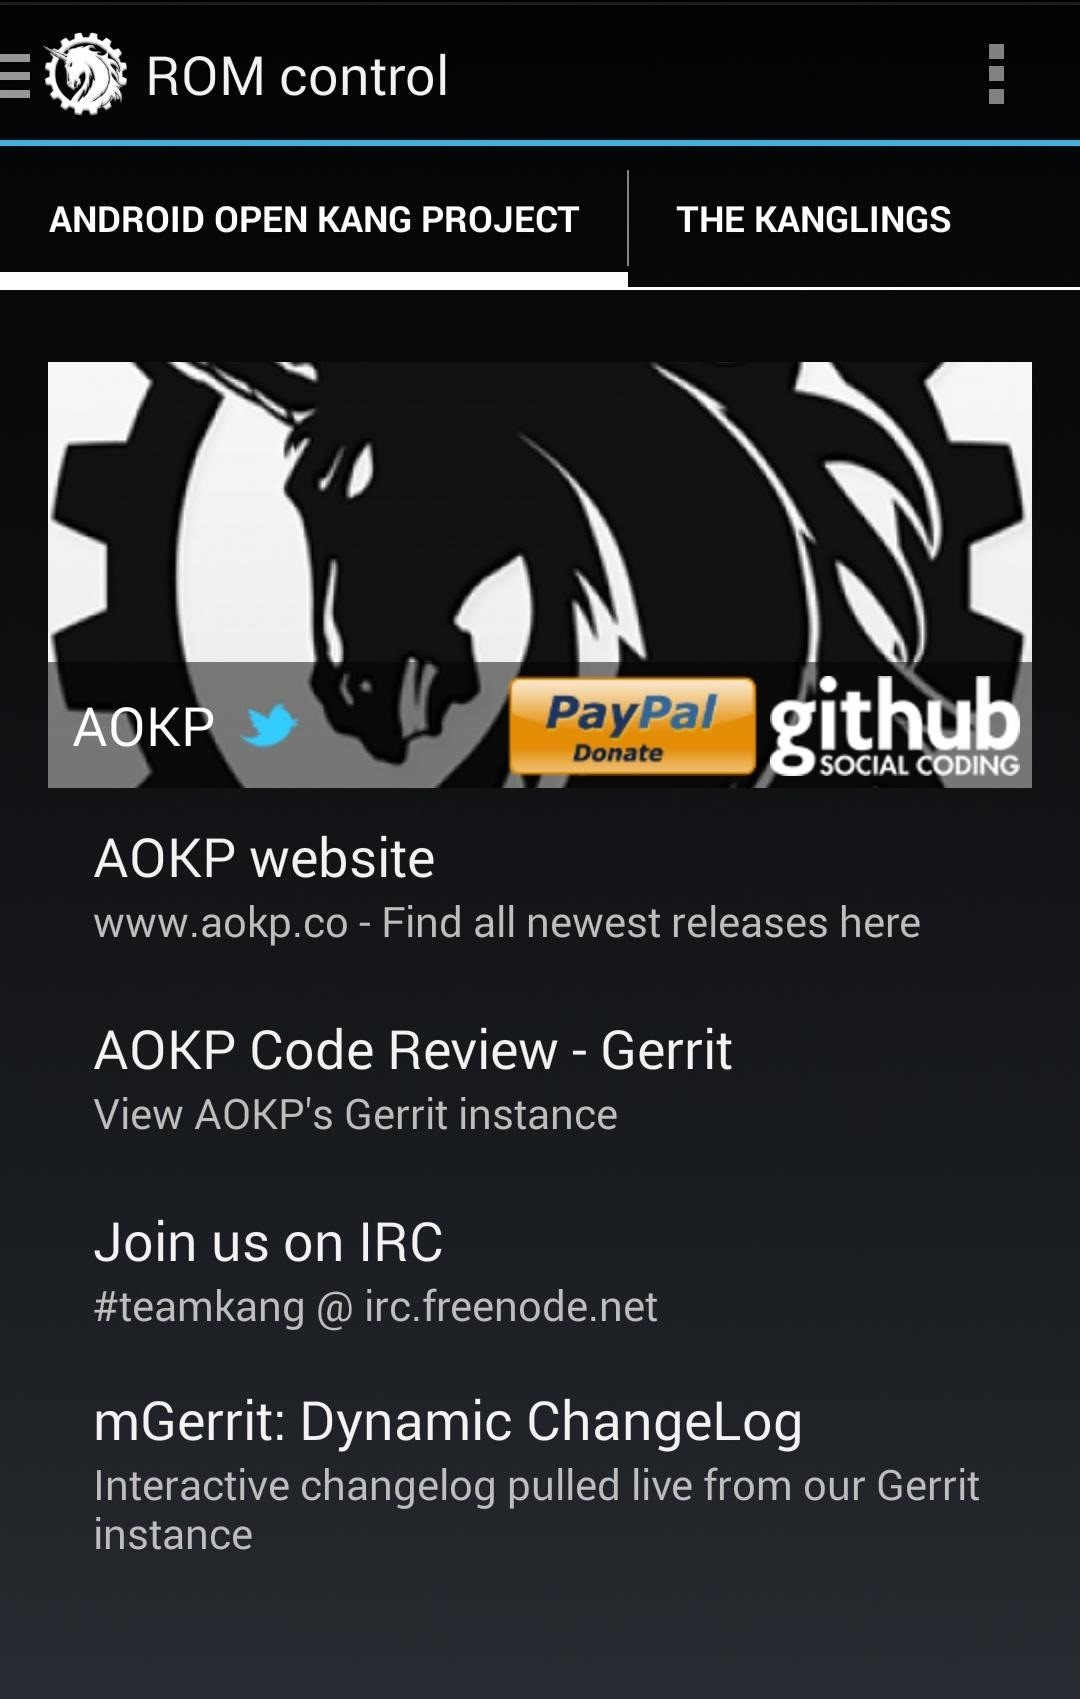
AOKP will look and feel like the stock Android that you're used to. Pull down the Notification shade and go into Settings to get to the fun stuff. You'll see two new options in the Settings menu—ROM control and Themes.

You can download different visual themes for AOKP from Google Play and apply them in Themes. Meanwhile, ROM control is where you can access some of those deep customization options that you're always hearing about.
Open ROM control, then pull over the drawer from the left edge of the screen. Here you can make adjustments to almost everything, from what appears in your status bar, to your lock screen, and so much more. You can even add and customize your own separate nav key that does whatever you want, to go along with the Home, Back, and Multi-tasking keys.
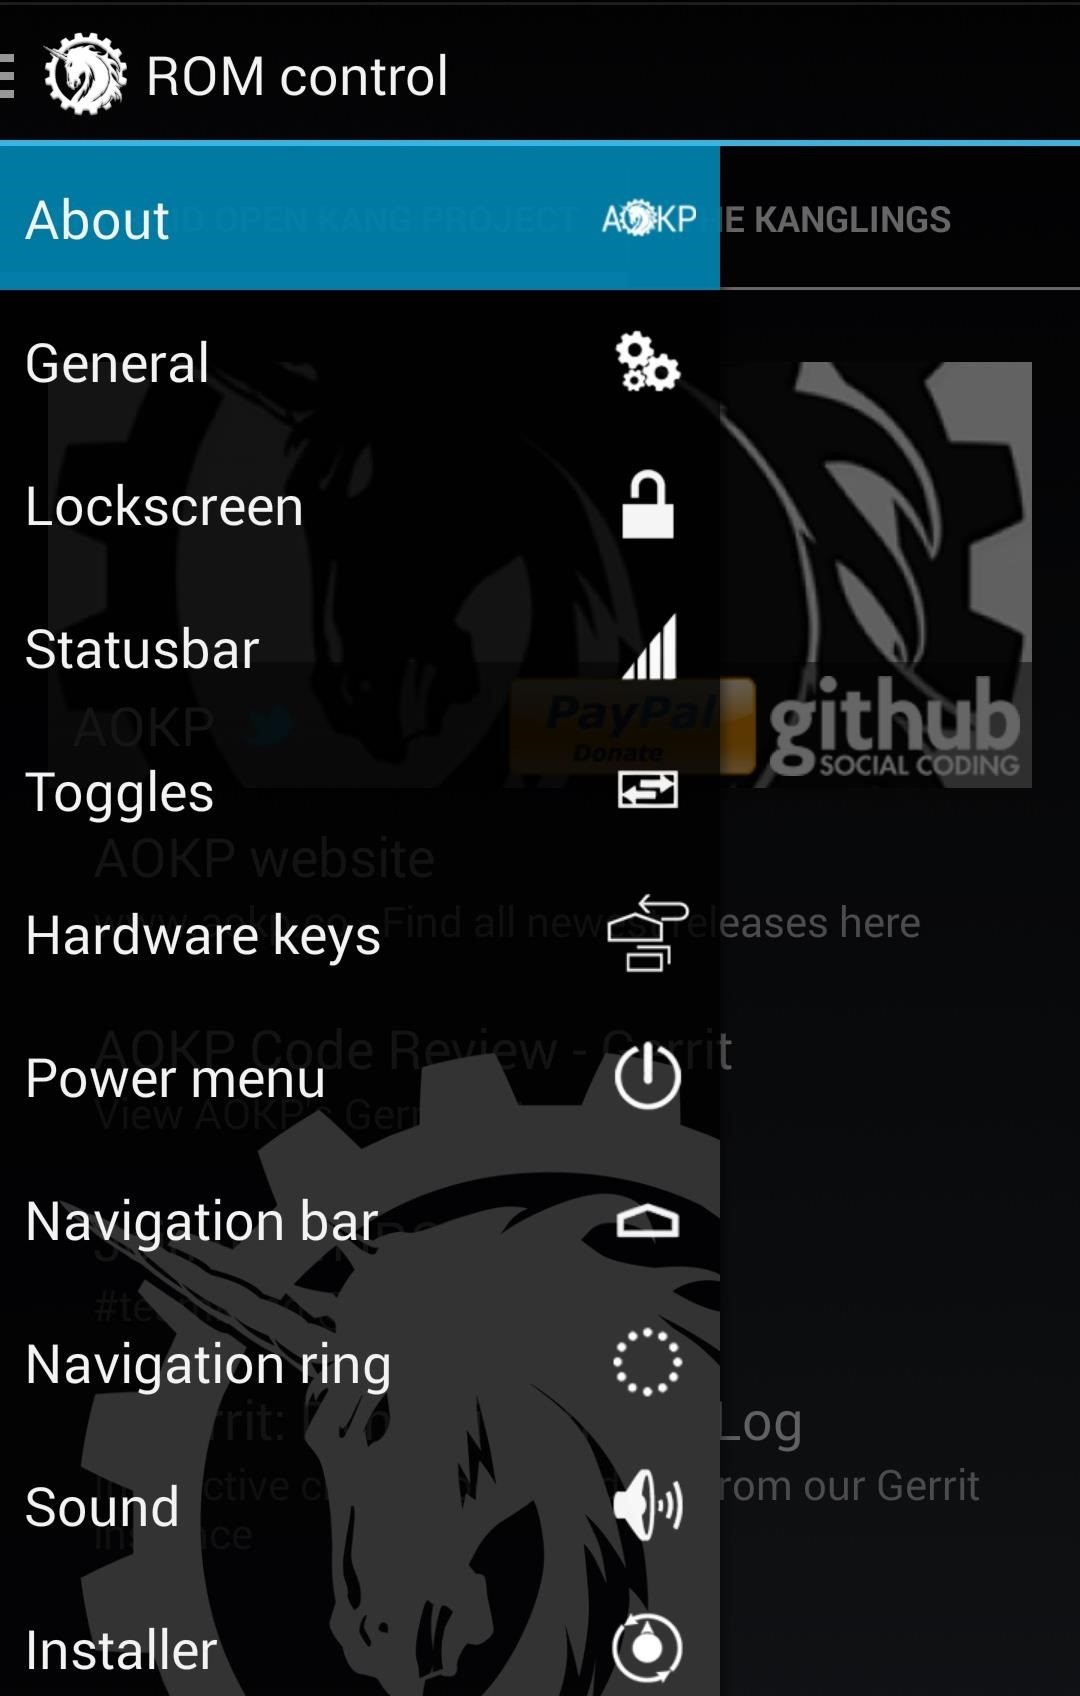
The possibilities are nearly endless, and you should definitely toy around with all the options.
Using custom ROMs is a great way to give yourself more control over what you can do with your device. Check back as we continue to cover the latest and greatest.
Meanwhile, If you want to keep exploring and experimenting with what different ROMs can do for you, turn your Nexus 5 into a multi-boot system
so you can easily install new custom ROMs and switch between them and your primary one. That way you can keep your favorite ROM on your device, or stock Android, while still trying out and using others!
Just updated your iPhone? You'll find new emoji, enhanced security, podcast transcripts, Apple Cash virtual numbers, and other useful features. There are even new additions hidden within Safari. Find out what's new and changed on your iPhone with the iOS 17.4 update.


3 Comments
how to get my default rom??? nexus 5
GooManager does not appear to be in the Play Store anymore
http://www.appsapk.com/goo-manager/ Freeware android site
Share Your Thoughts