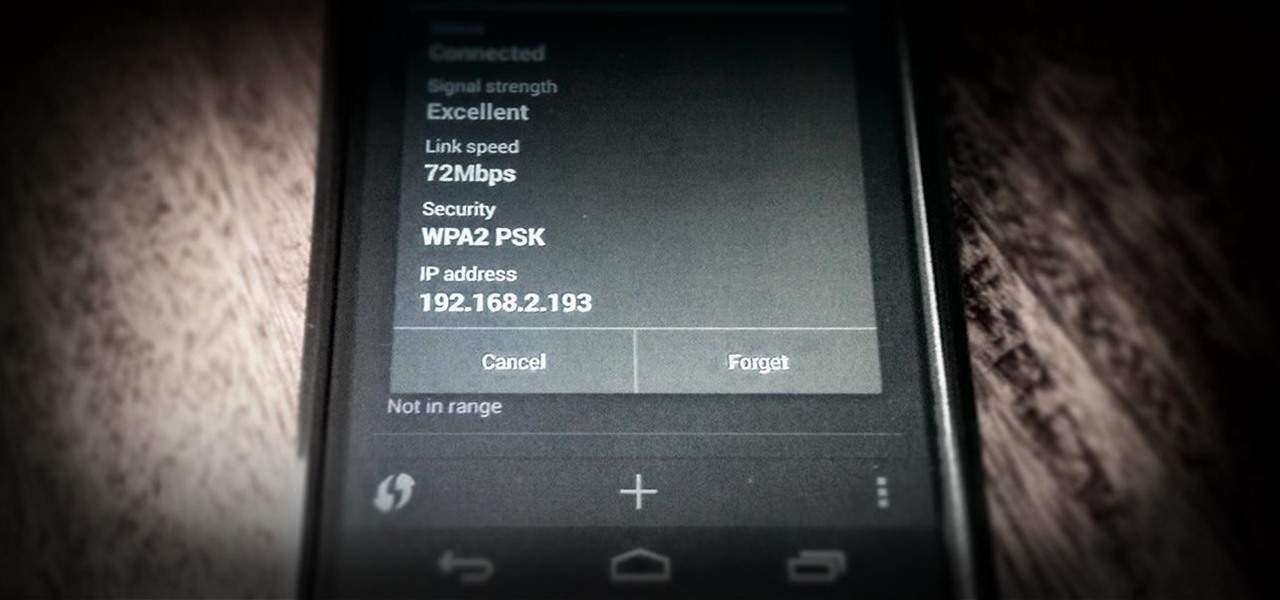

One of the most common complaints that people have about the Nexus 4 would have to be its intermittently poor Wi-Fi performance, a problem that for many, persists through the installation of updates and even custom ROMs.
Many of us have experienced poor video streaming, slow connection speeds (despite other devices working just fine on the same network), and devices repeatedly disconnecting from and re-connecting to Wi-Fi networks.
These issues have been attributed to everything from incompatible router settings to the Nexus 4's Qualcomm Wi-Fi adaptor itself. However, XDA member Calogero Principato appears to have found the real culprit, and devised a fix that appears to work.
Prerequisites
- Rooted Nexus 4
- Stock or any AOSP 4.4 KitKat-based ROM
Step 1: Download the Fix
Head on over to the XDA thread and download the following two files.
The "default" one is a flashable .zip file that reverts the changes made by the Wi-Fi solution, in case you run into issues later on down the road.
Step 2: Run a Speed Test
Before applying the fix, it would be wise to run a few speed tests to get a baseline for you current Wi-Fi performance. I like Ookla's Speedtest for this, so grab their Android app here.
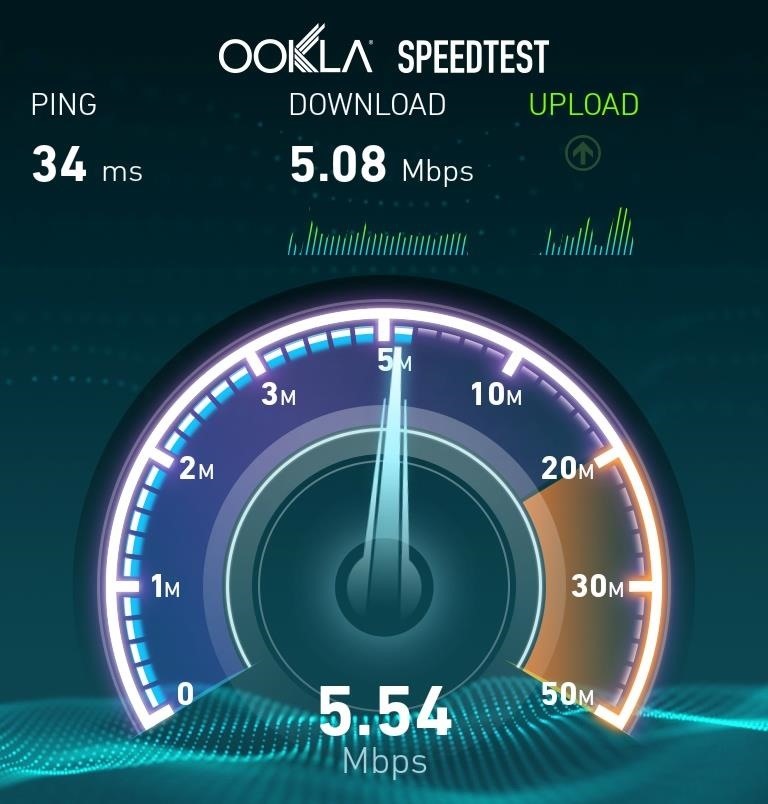
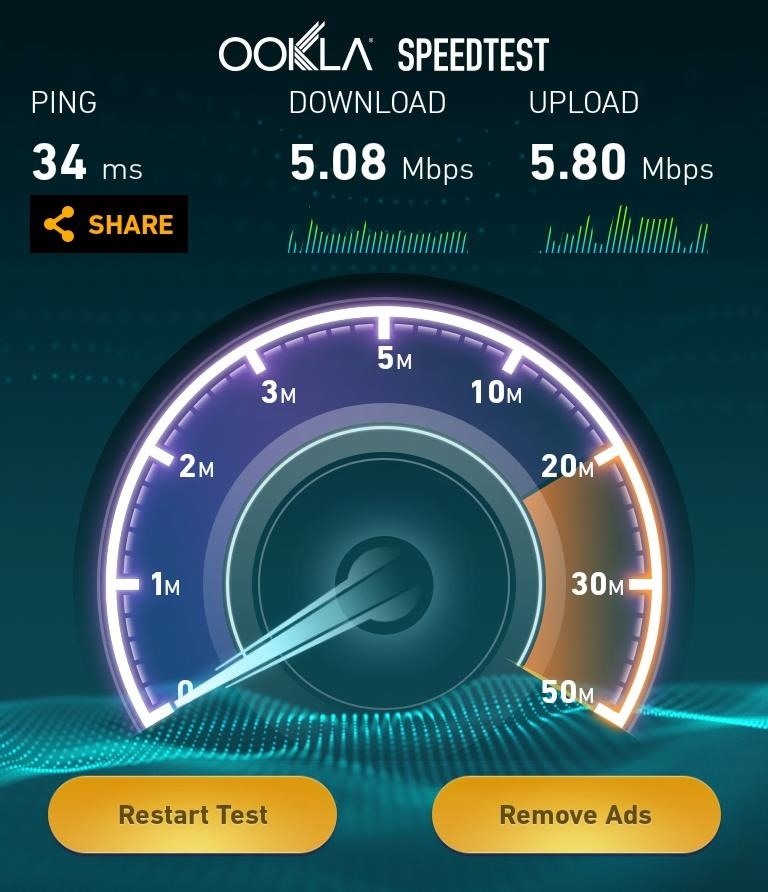
In addition, try streaming a few YouTube videos and make a note of how many times they stop to buffer. Doing this will give you a good baseline to determine if the fix has actually solved your problem and not just provided you with a placebo effect.
Step 3: Understand What the Fix Does
As a general rule, you should never apply a fix or mod to your phone without first understanding what it actually does. In this case, the answer is quite simple—it modifies a single file on your device named WCNSS_qcom_cfg.ini, which is the file used to override the factory defaults for the WLAN driver.
The change made to the file is very simple; it changes the gDataInactivityTimeout value to 200. Simply put, this sets the data inactivity timeout when your phone is in power save mode to 200ms.
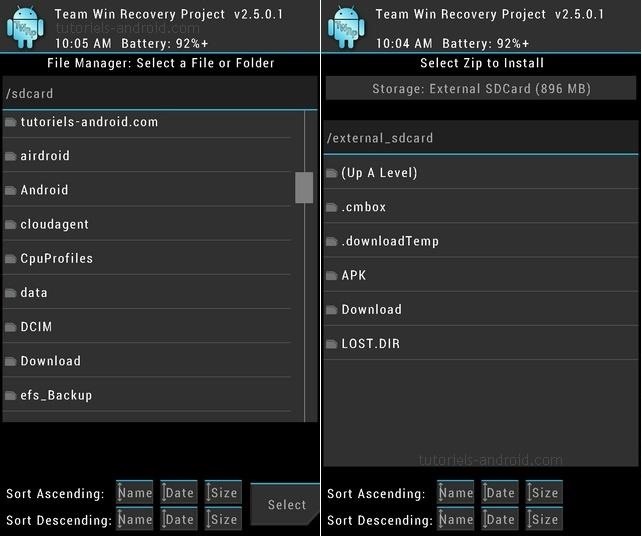
Step 4: Apply the Fix
Boot into your device's recovery and install the fix in the exact same way as you would flash a new ROM. You do not need to wipe your cache.
To boot into recovery, you will need to power your phone off. While the phone is off, hold the Volume Down button with one finger and press the Power button with another. From the screen that will appear, press the Volume Down button twice to highlight Recovery Mode, then press the Power button to select it.


You will now be in your device's recovery. To apply the fix, simply tap Install and navigate to your Download folder, then select the Wi-Fi solution .zip file.
After confirming that you have selected the correct file, swipe the slider across the bottom of the screen to start the installation process. When finished, tap Reboot System.
The Wi-Fi fix is now installed, and hopefully, this solves your wireless performance issues on your trusty Nexus 4. Now you just need to enable blazing fast LTE data speeds and you're good to go.
Just updated your iPhone? You'll find new emoji, enhanced security, podcast transcripts, Apple Cash virtual numbers, and other useful features. There are even new additions hidden within Safari. Find out what's new and changed on your iPhone with the iOS 17.4 update.


Be the First to Comment
Share Your Thoughts