
One of the most common complaints about the Nexus line of devices is that they don't have expandable memory.
Phones like the Galaxy S5 and the HTC One M8 have a microSD card slot that allows you to easily add extra storage space for movies, music, and photos. The Nexus 5 has no such slot, so depending on which variant you purchased, 16 or 32 gigabytes of on-board storage is all the internal memory your phone supports.
For those whose storage space is starting to get maxed out, there's still hope.
The Nexus 5 comes with a technology known as USB On-The-Go (USB OTG) that allows it to act as a host for other USB devices, such as keyboards and mice. If your Nexus 5 is rooted, that functionality can be expanded to allow for attachment of a USB thumb drive—meaning extra storage is just an app and a cable away.
What You'll Need
- Rooted Nexus 5
- USB OTG cable (available on Amazon for as low as $1.50)
- Any USB thumb drive
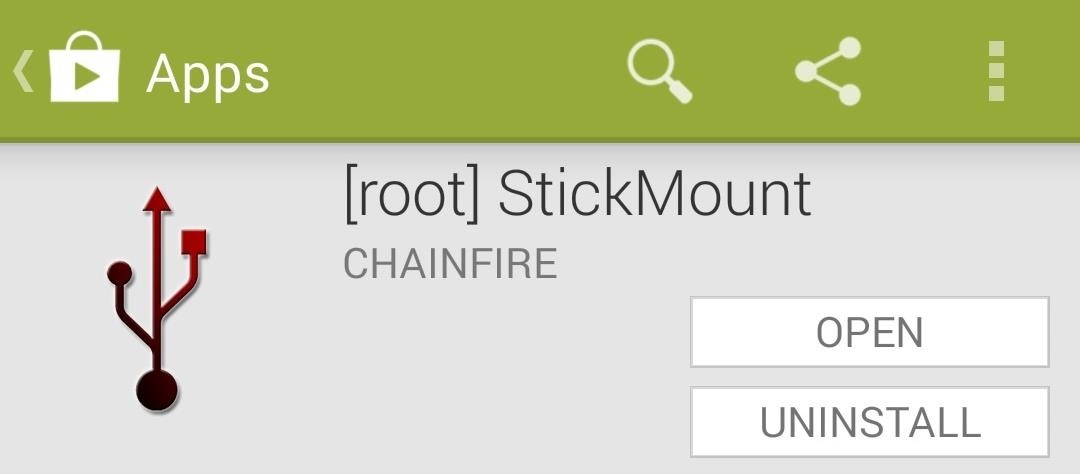
Step 1: Install StickMount
Developer Chainfire has made a wonderful app called StickMount (free on Google Play) that will add thumb drive support to your Nexus 5's USB OTG functionality for free. Install it and let's keep going.
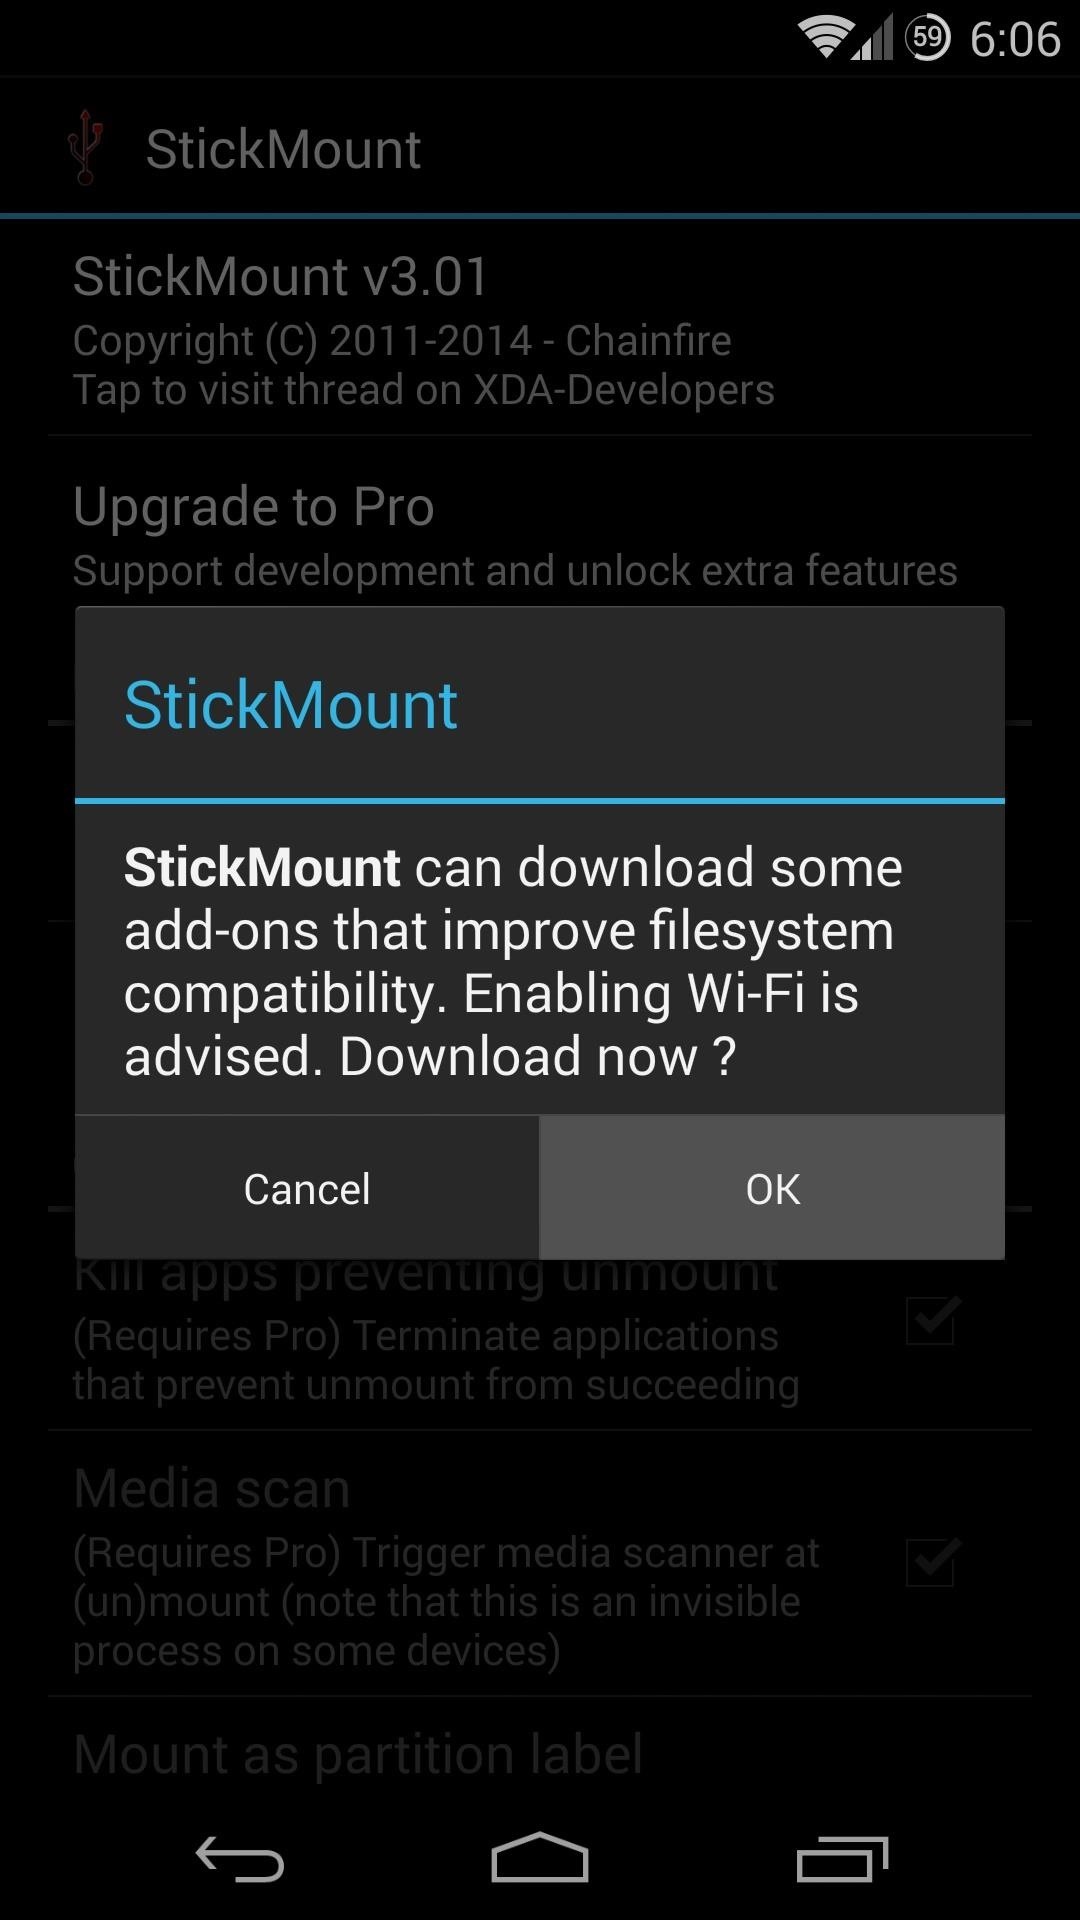
Step 2: Download Additional Files
When you launch StickMount for the first time, you will be prompted to download add-ons that will improve the app's functionality. Simply press OK, and the app will take care of the rest.
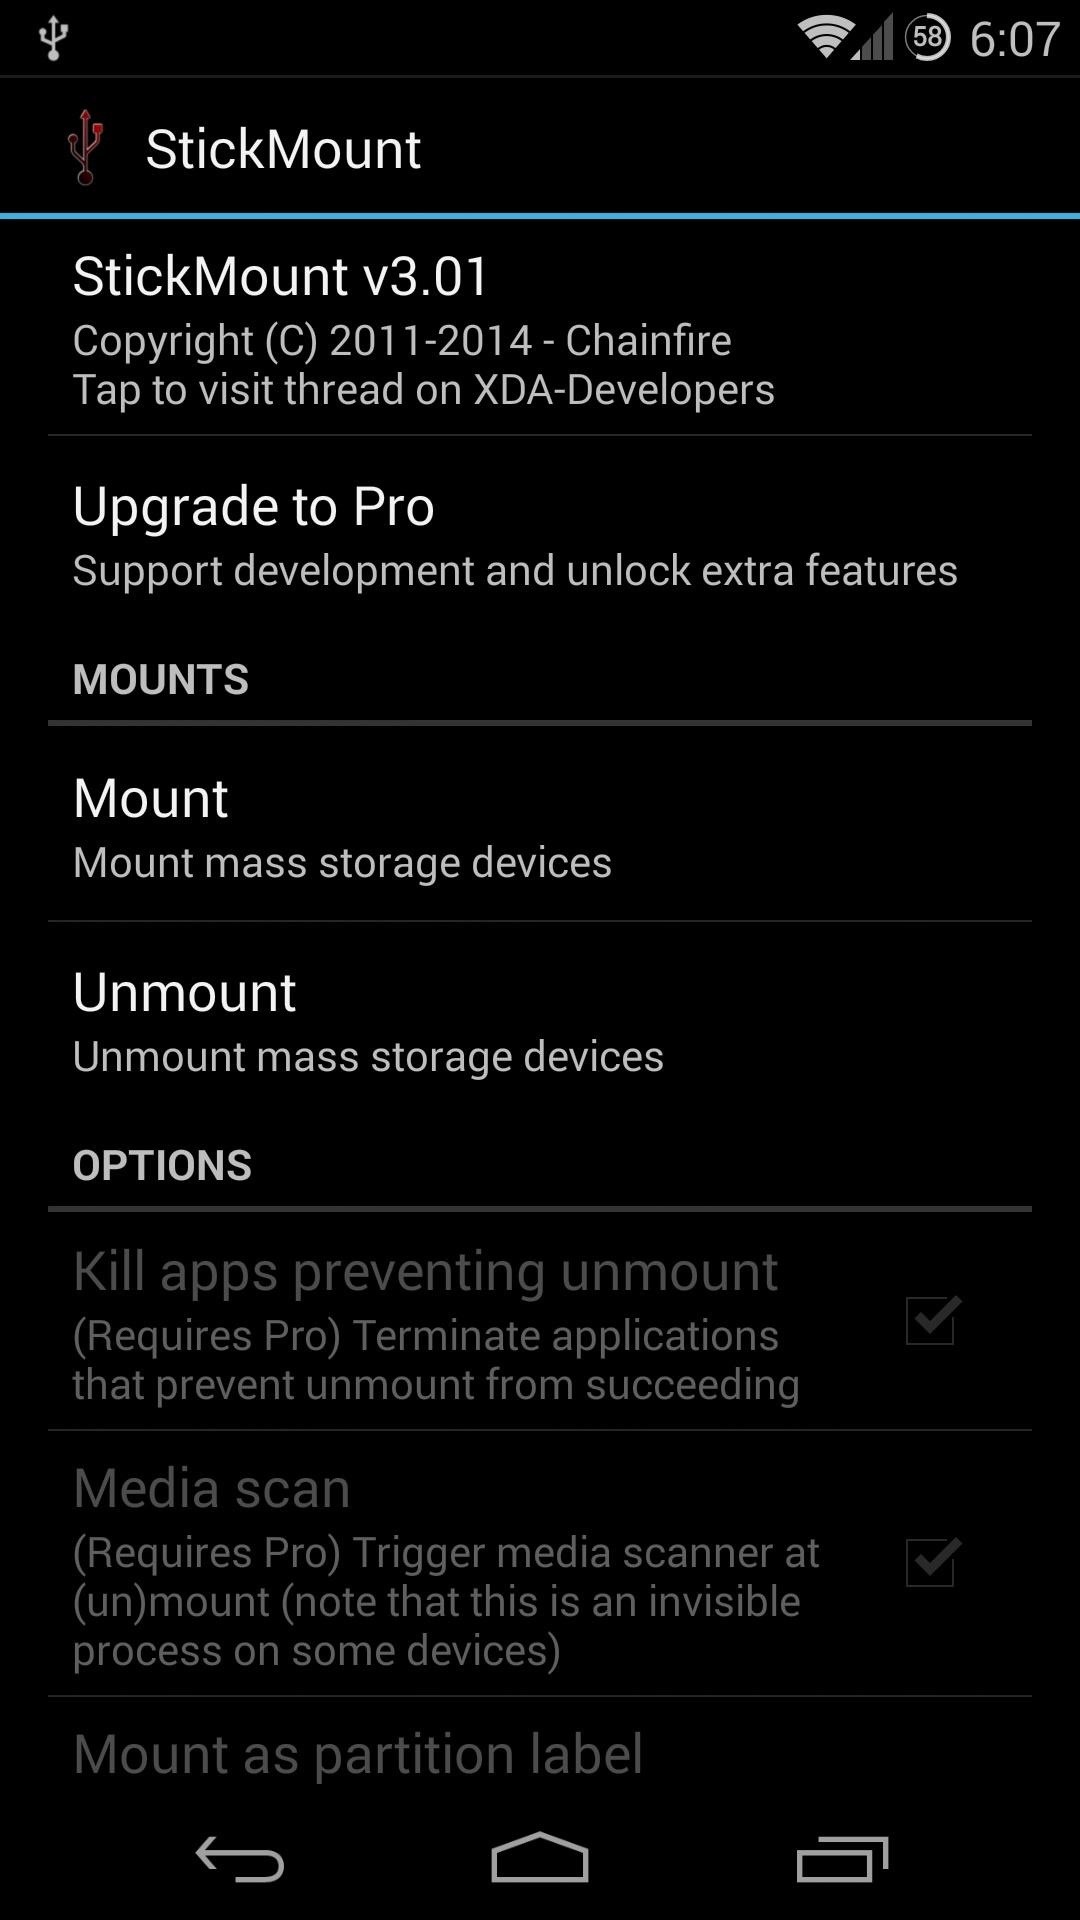
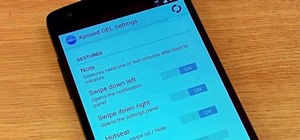
The StickMount app's interface is just a list of settings. These can be left at their default values for our purposes today, as the app will automatically offer to mount any thumb drive that you attach to your Nexus 5.
Step 3: Connect Your USB Thumb Drive
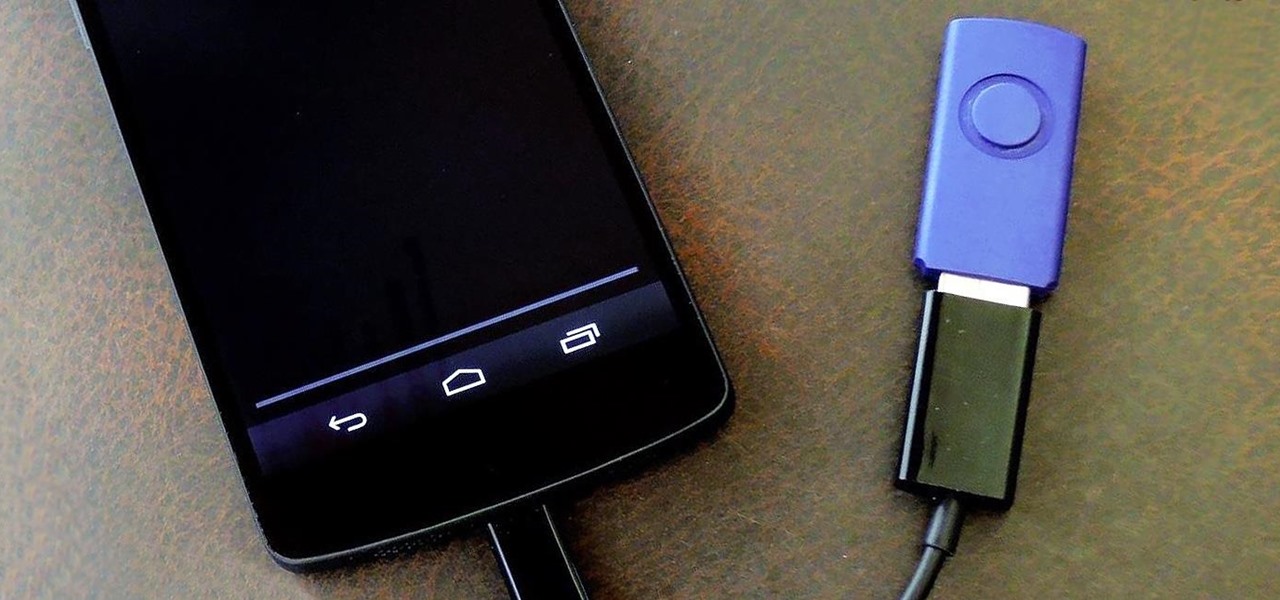
The USB OTG cable is basically an adapter. One side (the male Micro-B) plugs into your Nexus 5, and the other side (the female Type A) allows you to plug in any standard USB device. So plug the small side into your Nexus 5, then plug your USB thumb drive into the larger side.
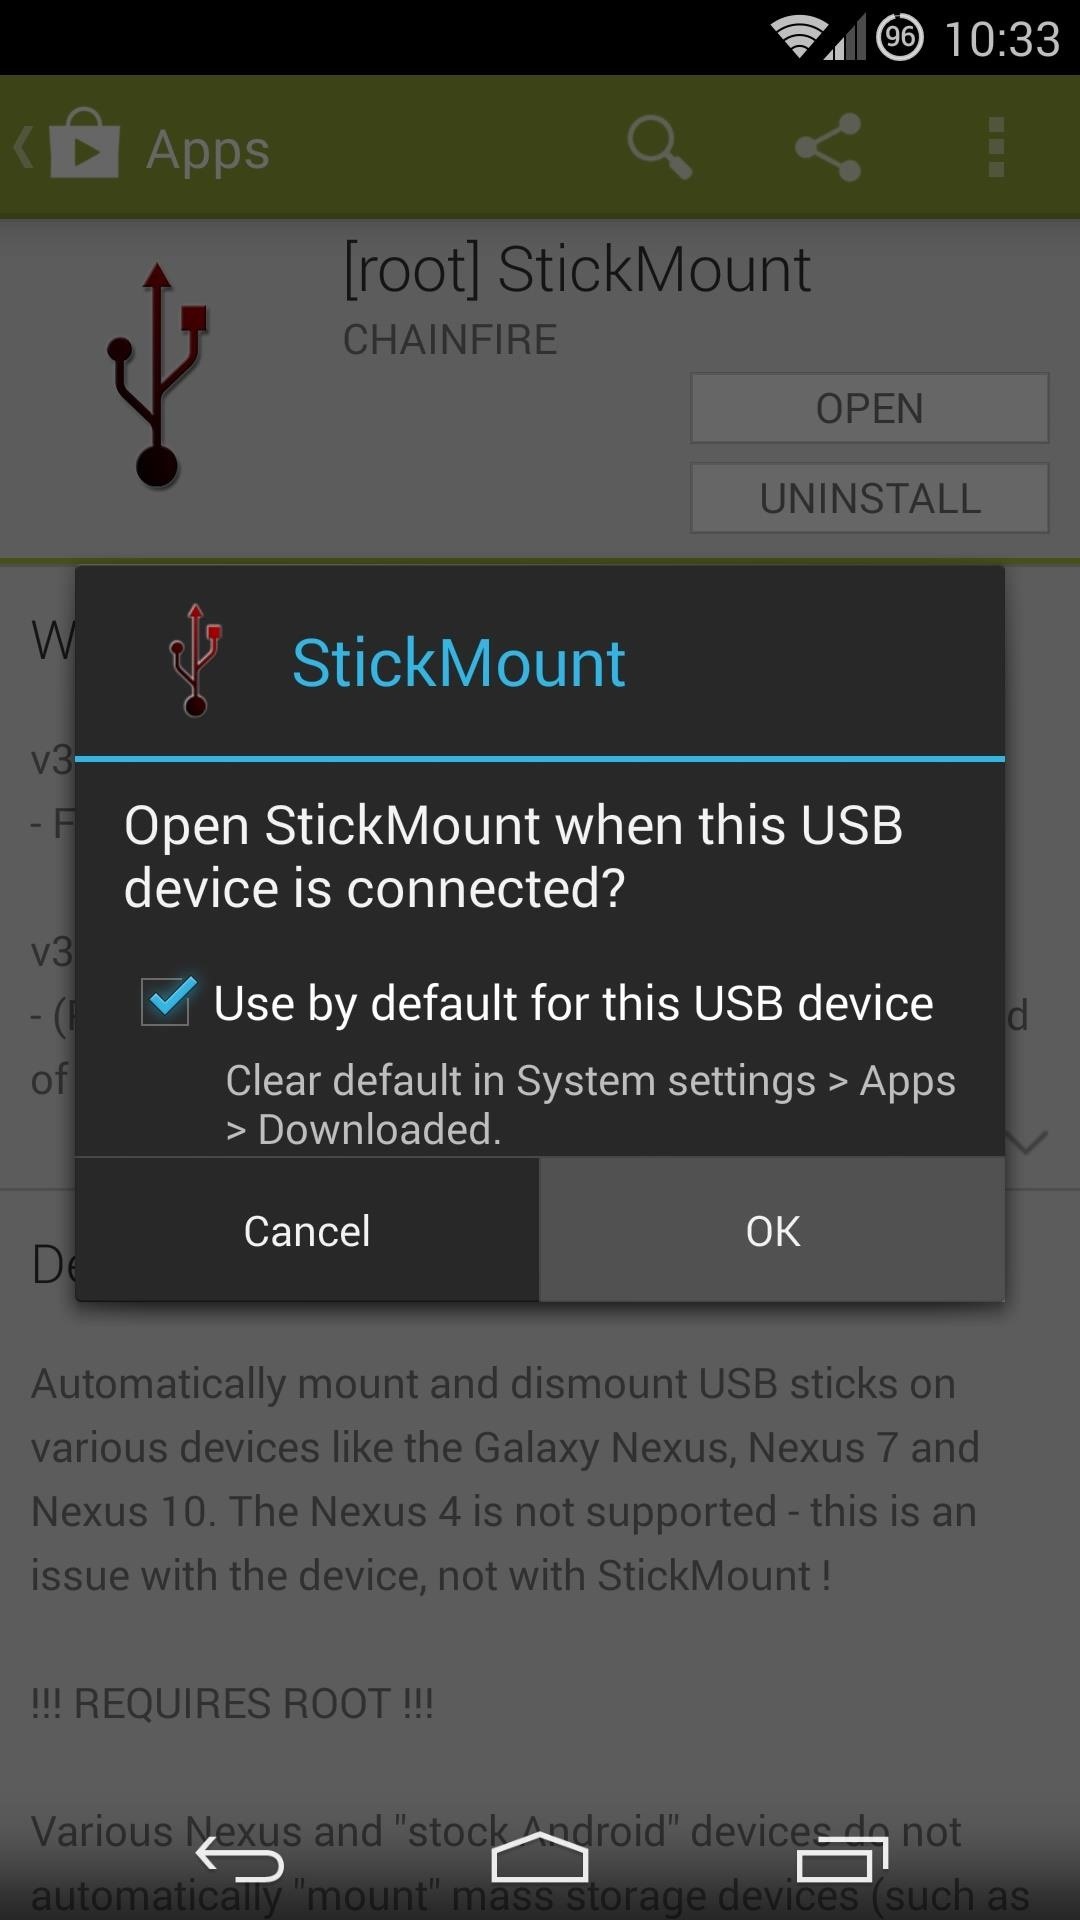
Immediately after plugging in your thumb drive, StickMount will show up with a dialog box asking if you want to mount this drive. Tick the box next to Use by default and press OK.
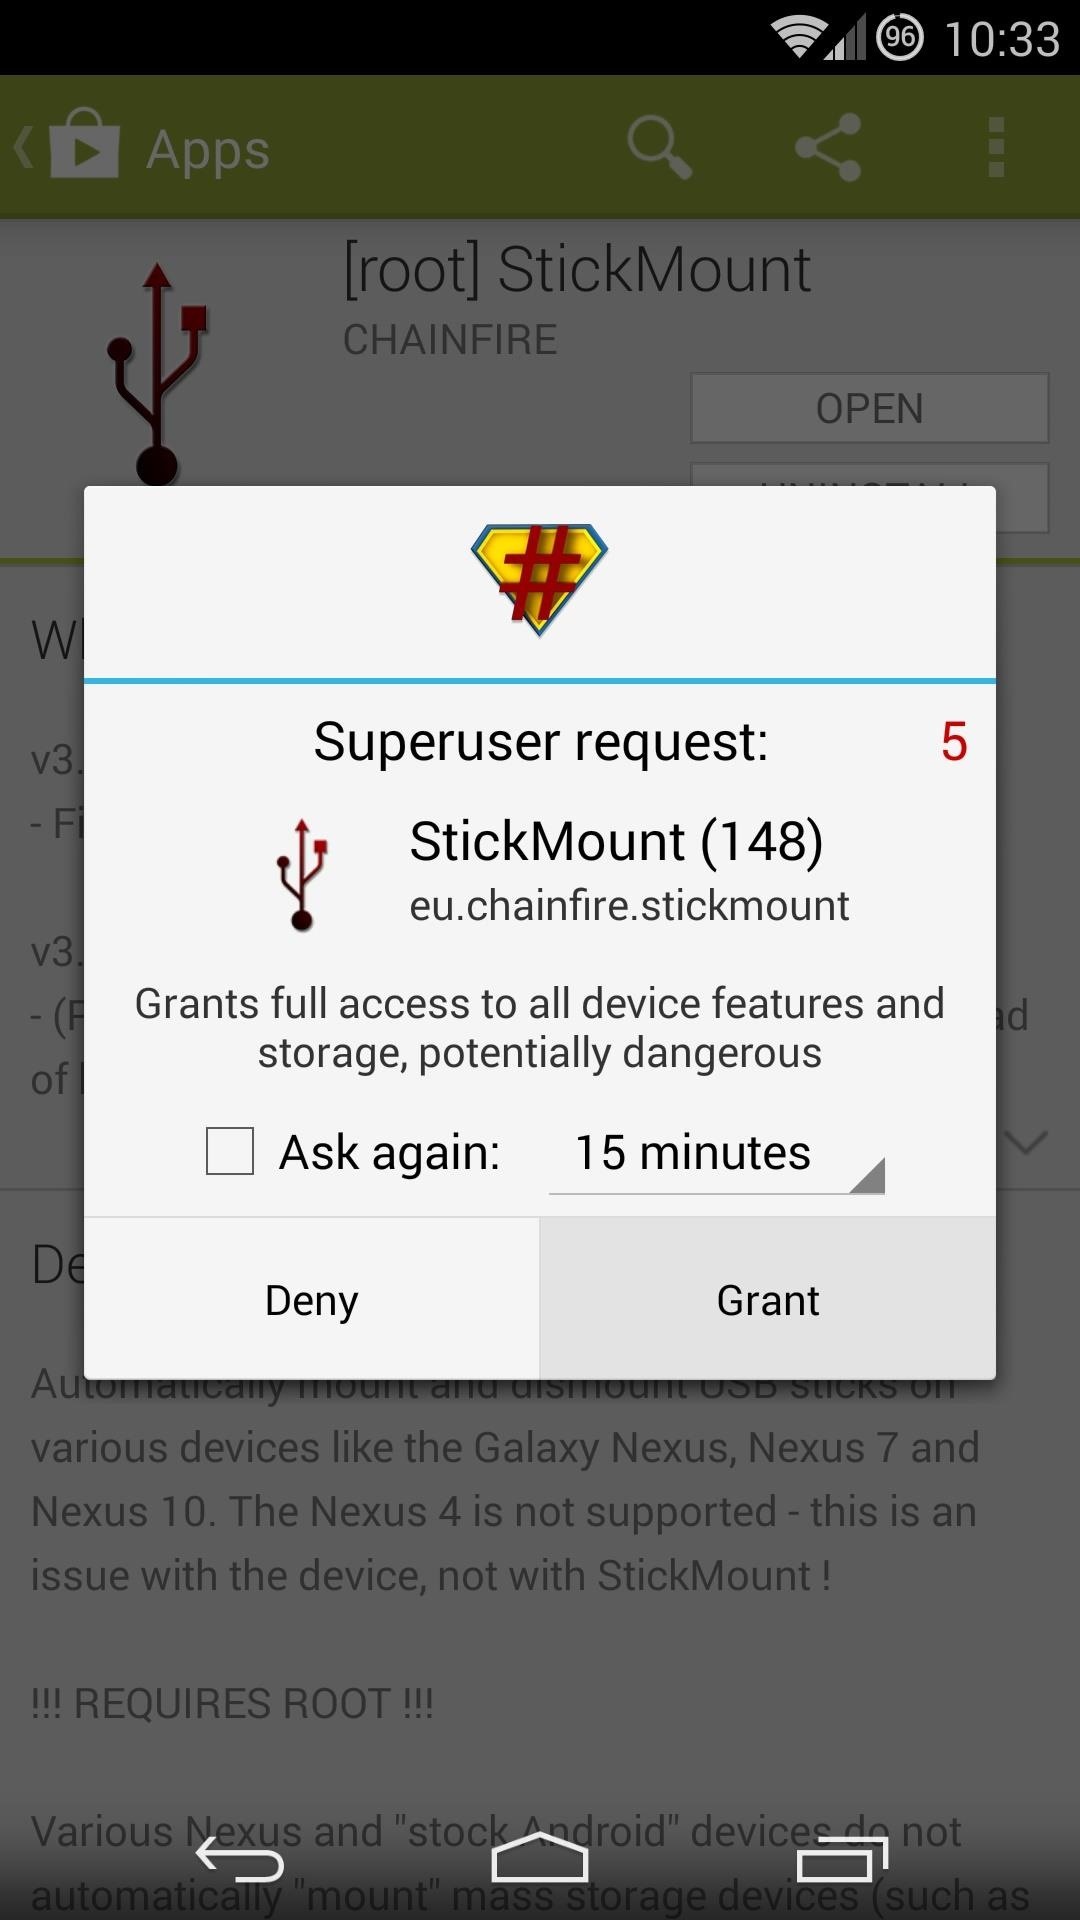
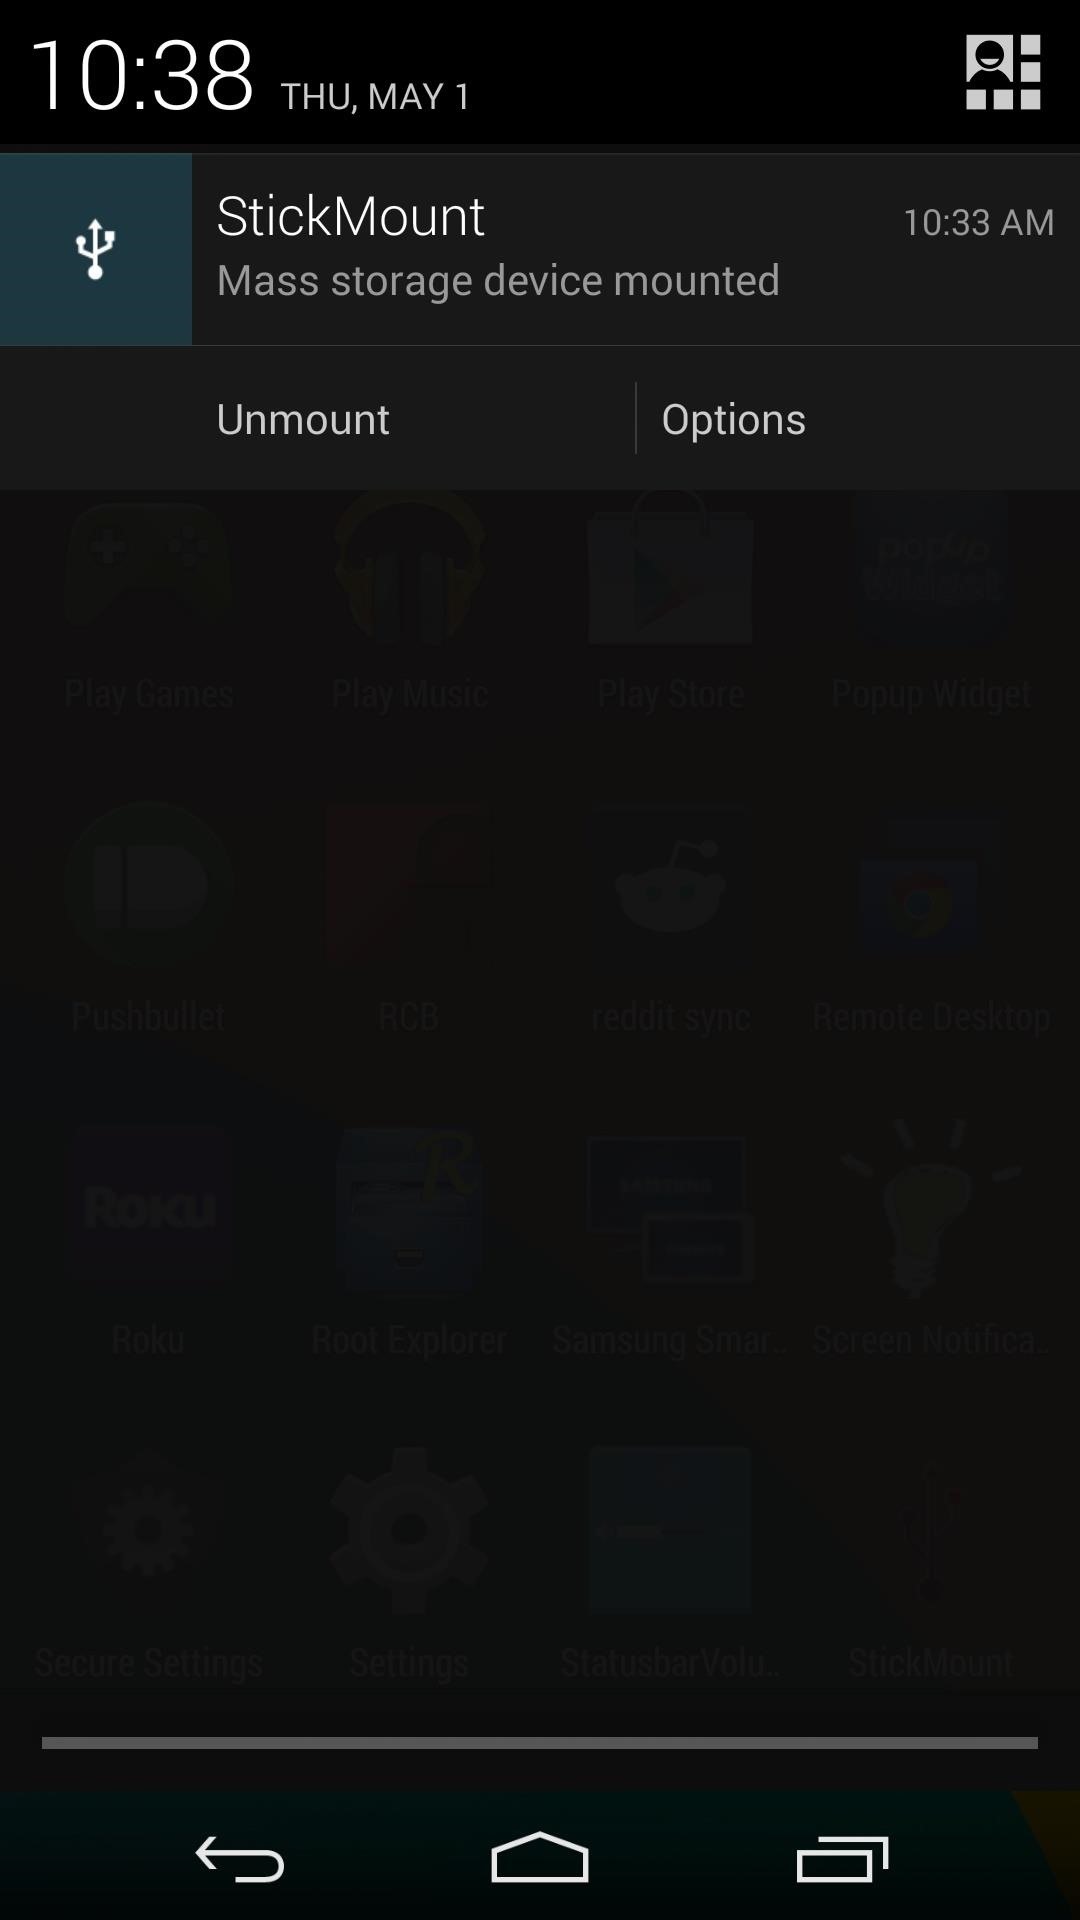
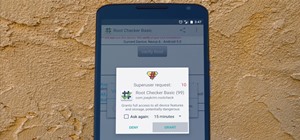
StickMount will then ask for Superuser privileges. Grant those, and within seconds, you will see an ongoing notification appear that lets you know that your thumb drive has been mounted.
Step 4: Navigate to the Thumb Drive
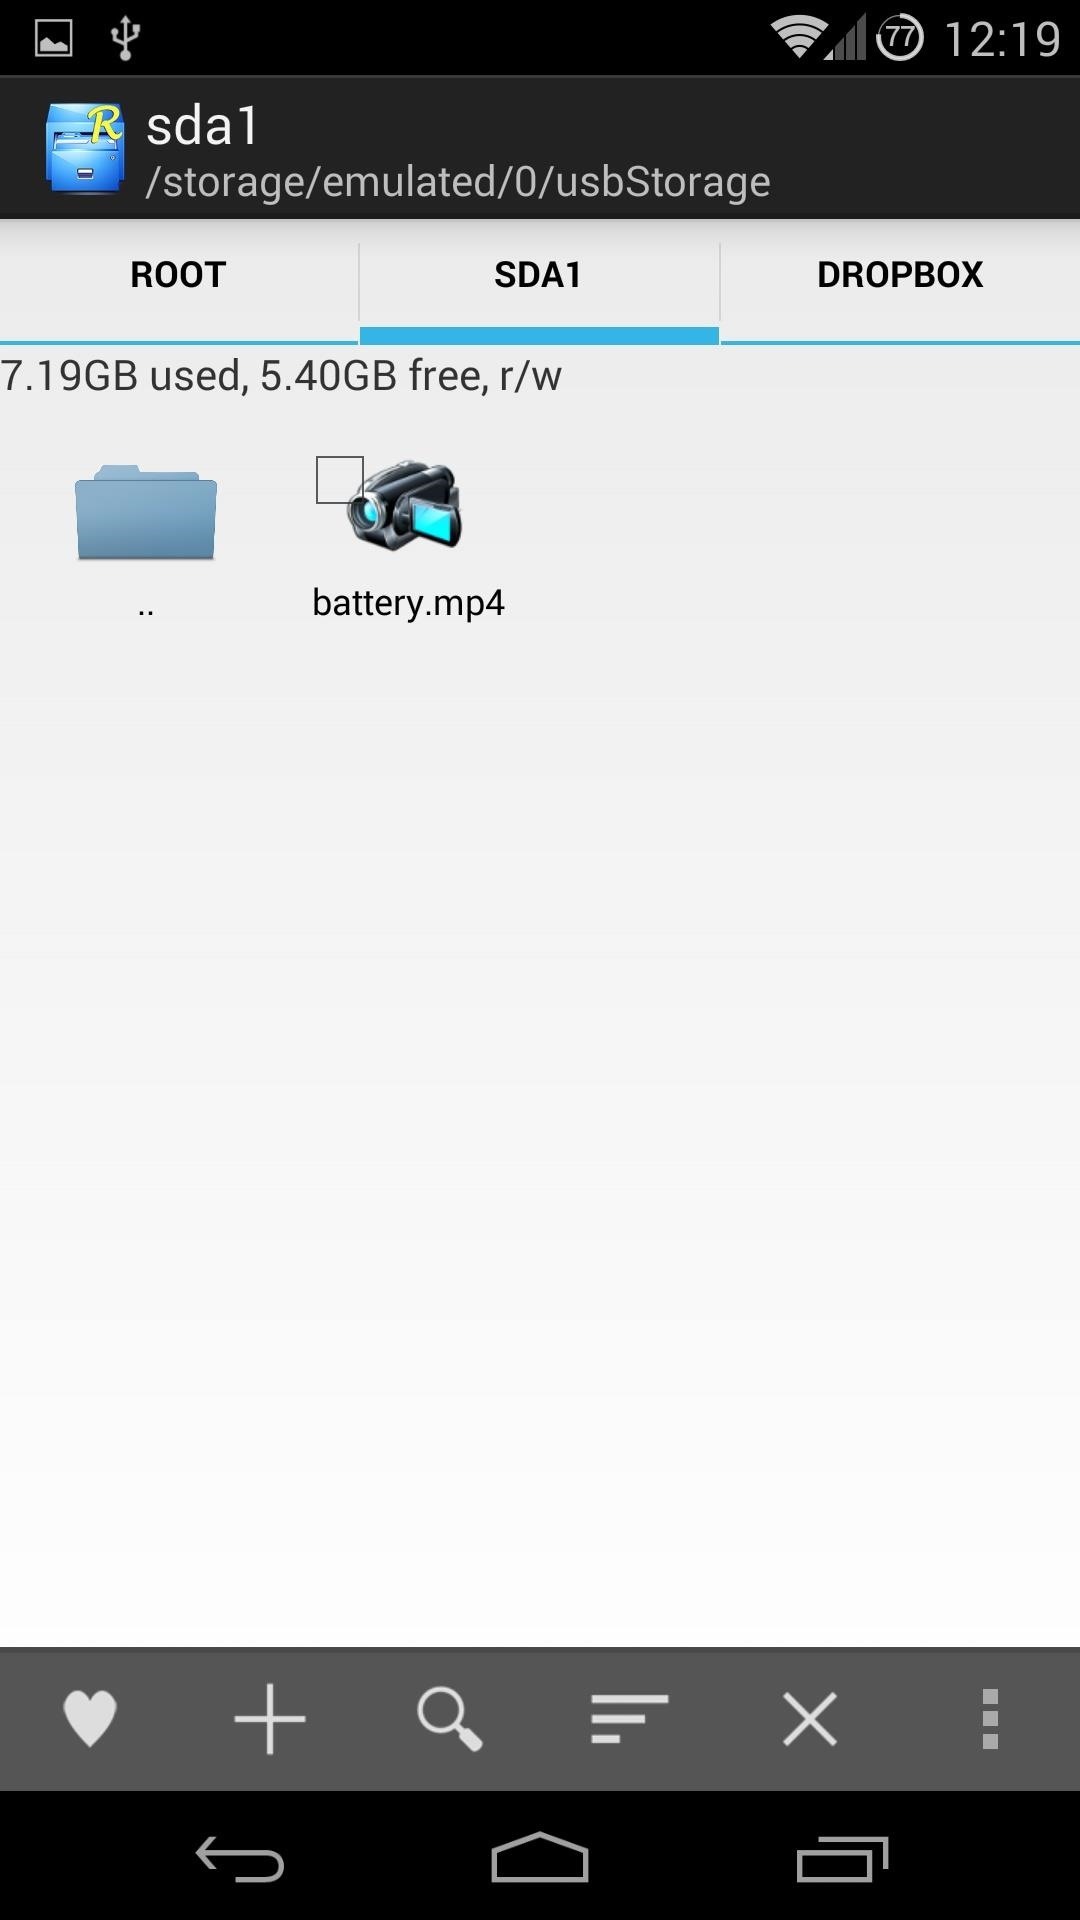
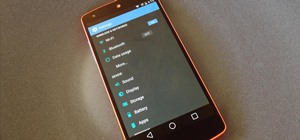
From your favorite file browser app, navigate to the SD card. In here, you'll find a new folder titled usbStorage. This is the thumb drive you just attached, so open it up to see the content. Use the file browser as you normally would—just tap a file to open it.

StickMount Pro will automatically scan your thumb drive and update your phone's media library, so apps like Play Music and Photos will show your USB OTG content automatically. If you're willing to shell out the extra $2.49, this functionality will integrate your thumb drive seamlessly. Otherwise, you will need to copy any files on your thumb drive to your phone's internal storage for these apps to find them.
Either way, whether using the free or paid version, you've now effectively expanded your Nexus 5's storage. And unlike the new Galaxy S5 and HTC One, the only limit to the amount of expandable space is the size of your USB thumb drive.
Just updated your iPhone? You'll find new emoji, enhanced security, podcast transcripts, Apple Cash virtual numbers, and other useful features. There are even new additions hidden within Safari. Find out what's new and changed on your iPhone with the iOS 17.4 update.


Be the First to Comment
Share Your Thoughts