
CyanogenMod continues to be the most popular custom ROM for a good reason. Their team of developers always stay on top of the latest trends, and ensure that their software is packed with nice tweaks and awesome features. One such feature is an audio equalizer that allows you to fine-tune your device's various sound outputs. It's got a great interface, and works with any app that calls on Android's default audio mixer.
But as Nexus owners, the allure of custom ROMs is a bit diminished for us, since we already get the stock Android experience without all of the bloat. So if you would like more control over your phone's audio quality without having to install a custom ROM, you might want to check out the latest mod from developer eng.stk, which adds Cyanogen's audio mixer to the stock firmware on the Nexus 6.
Requirements
- Rooted Nexus 6 (mod will not work on any other device)
- Custom recovery installed
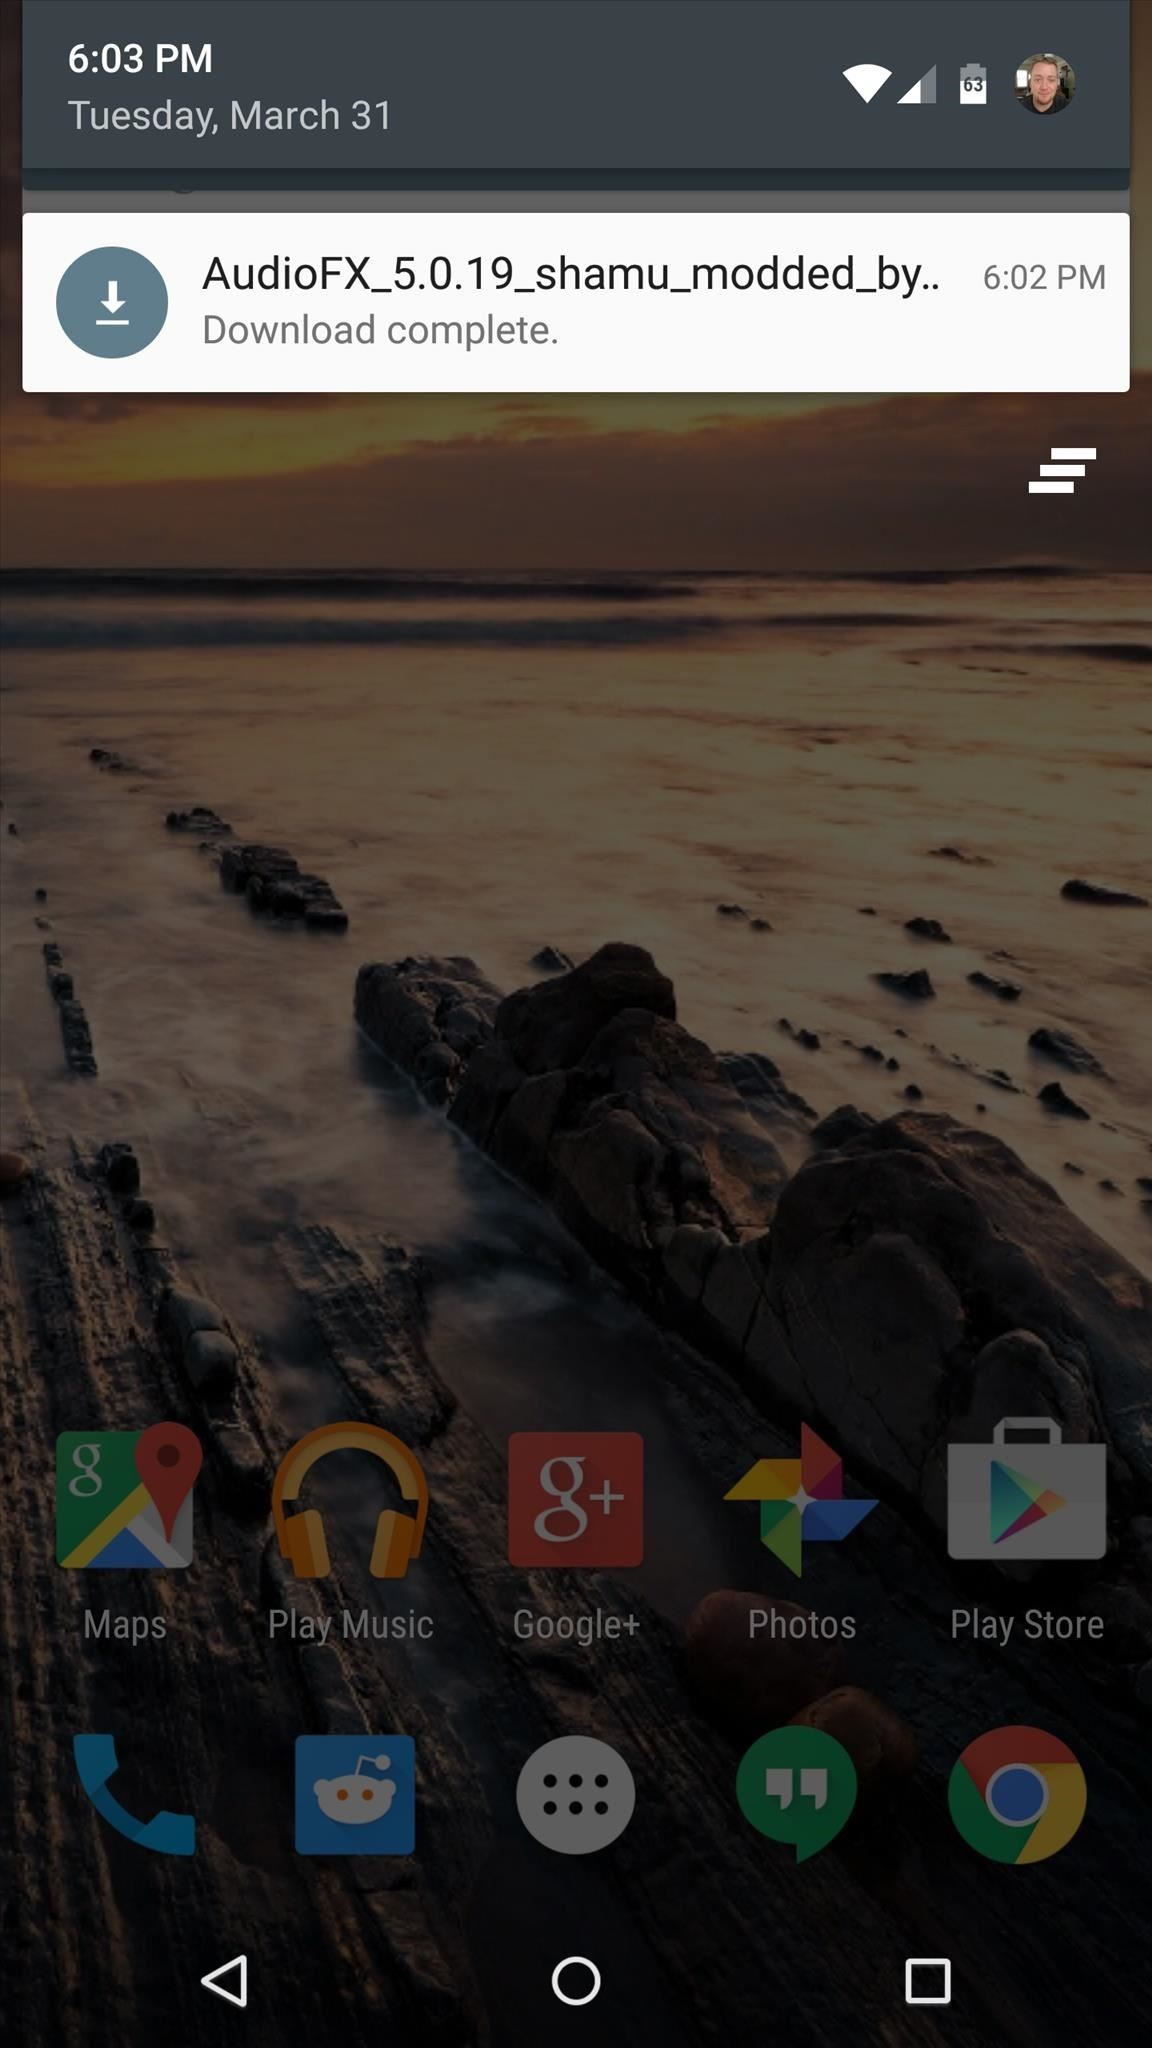
Step 1: Download the Flashable ZIP
This mod comes in the form of a flashable ZIP, so it's incredibly easy to install. To get started, point your Nexus 6's web browser to this link, and the file should begin downloading immediately.

Step 2: Boot into Custom Recovery
With the ZIP file saved to your device, the next step is to boot into custom recovery. To do that, start by powering your Nexus 6 completely off. When the screen goes black, press and hold the volume down and power buttons at the same time.

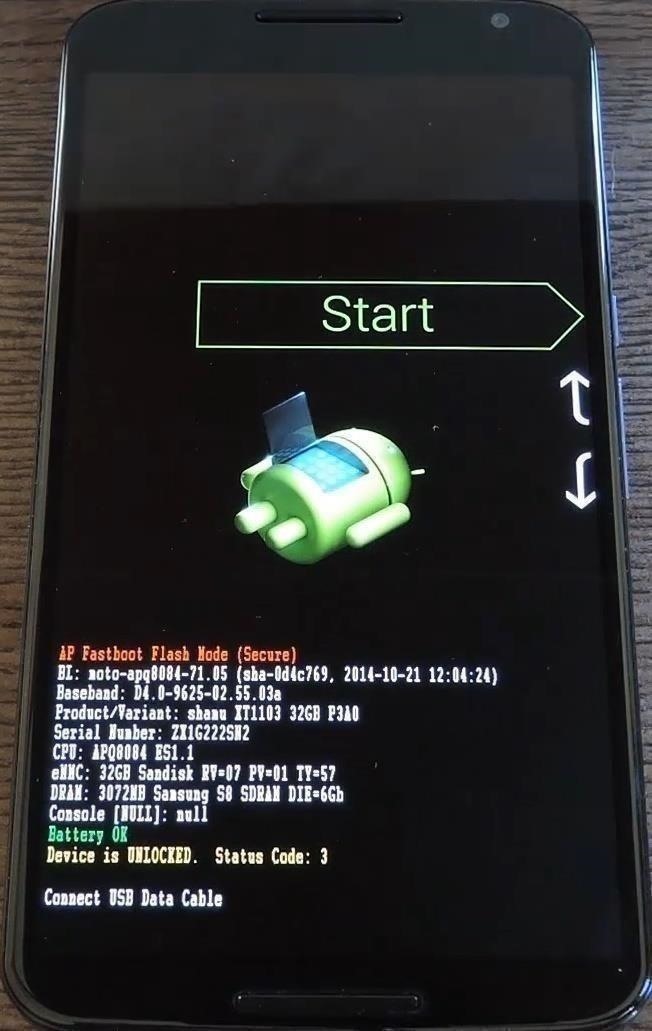
This will bring up Android's Bootloader menu. From here, use the volume down button to highlight "Recovery mode," then press the power button to select it.
Step 3: Back Up Your System (Optional)
Before you flash anything in custom recovery, it's always a good idea to make a full NANDroid backup. If anything goes wrong, or if you simply want to undo this mod, the easiest way to get things back to normal would be to restore that backup.
Step 4: Flash the ZIP in Custom Recovery
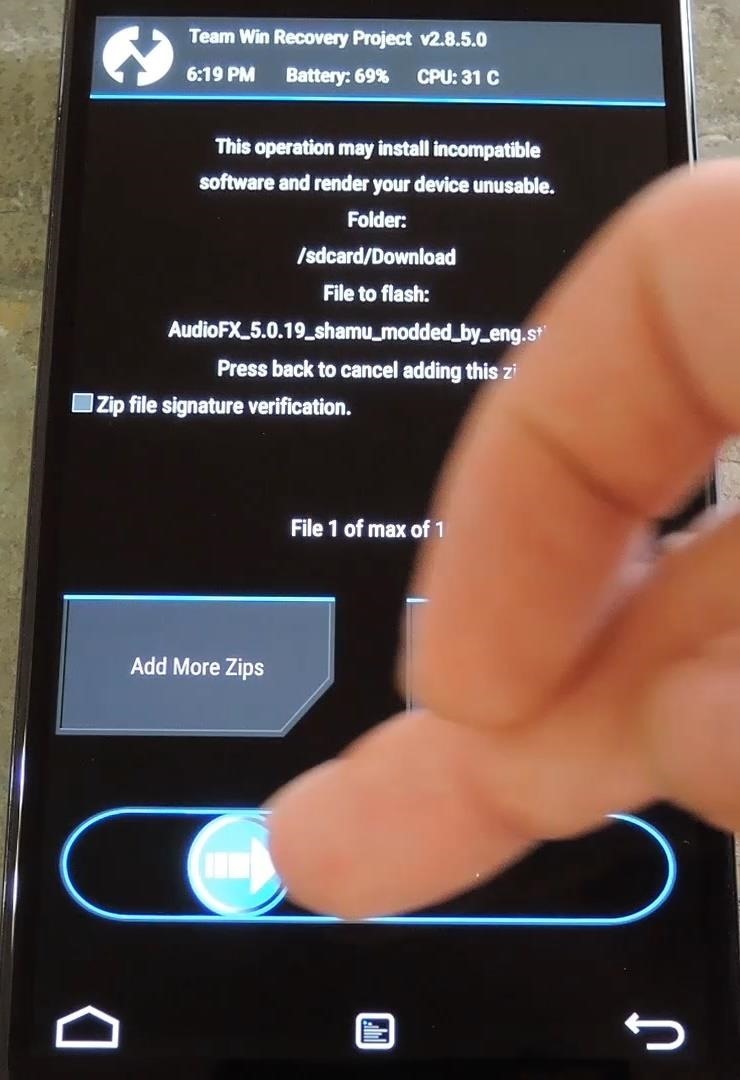
Go ahead and tap the "Install" button in TWRP recovery's main menu. From here, navigate to your device's Download folder, then select the "AudioFX_5.0.19_shamu_modded_by_eng.stk.zip" file.

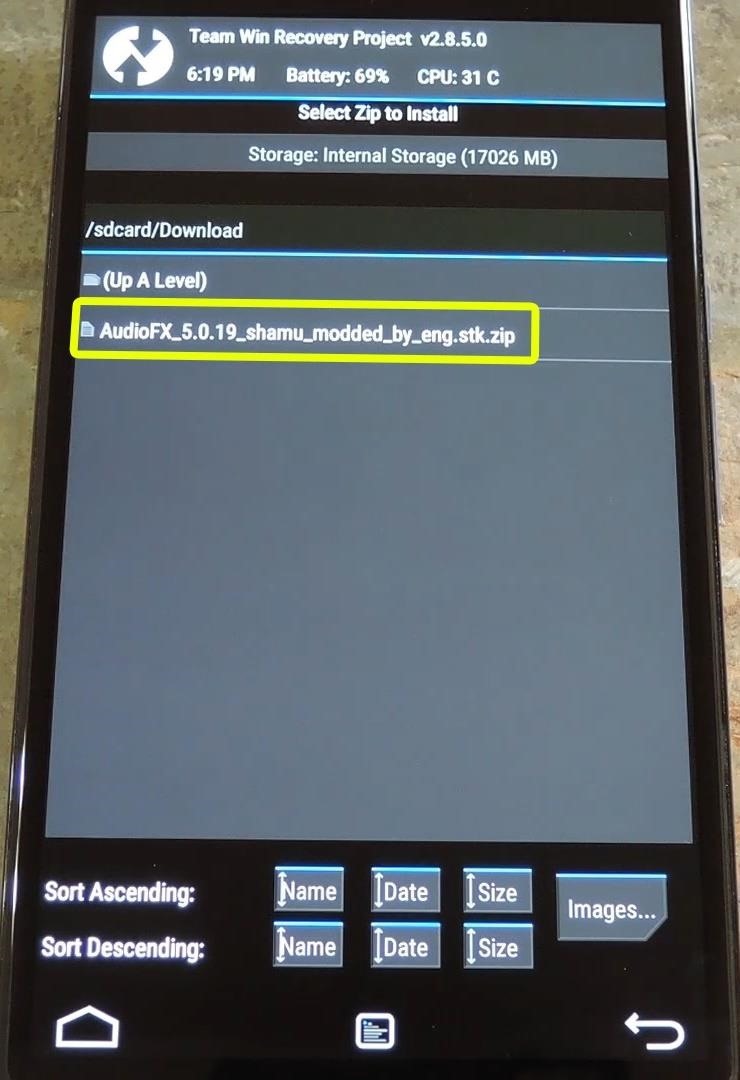
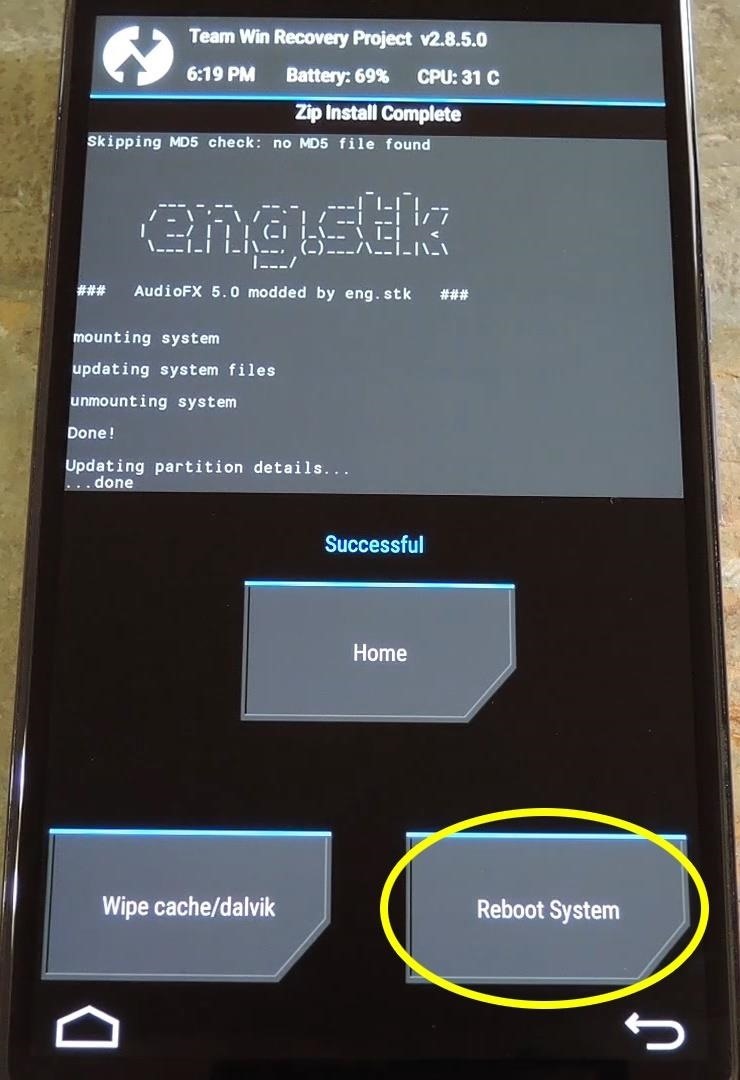
After that, just swipe the slider at the bottom of the screen to install the mod, and when that's finished, tap "Reboot System."
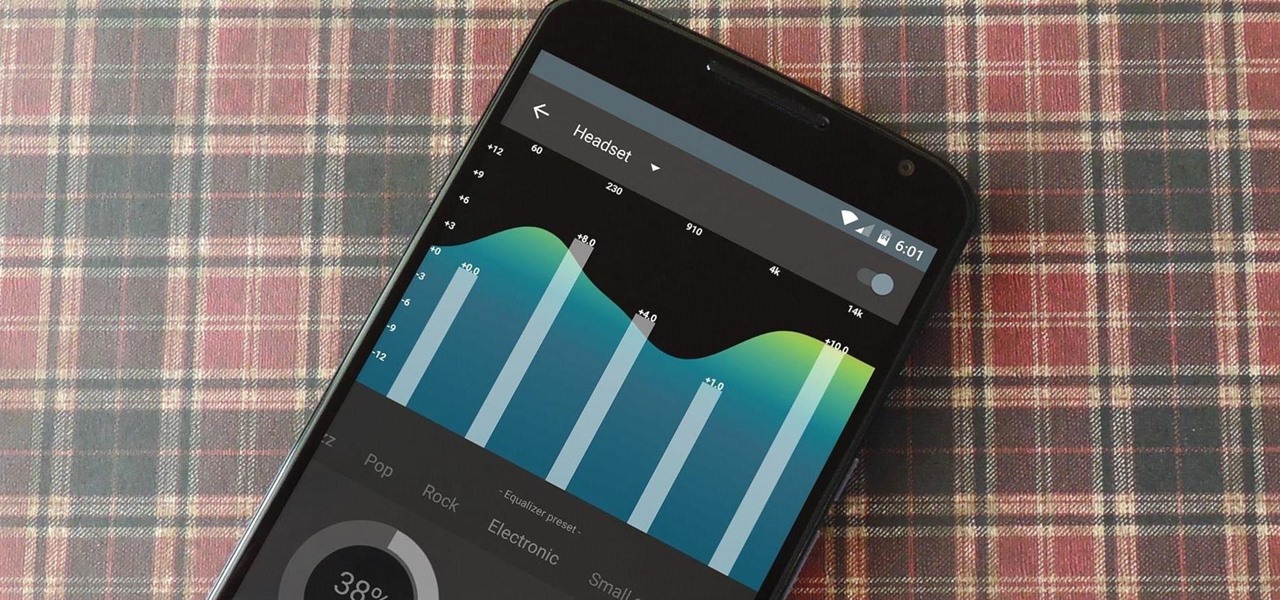
Step 5: Using Your New Audio Mixer
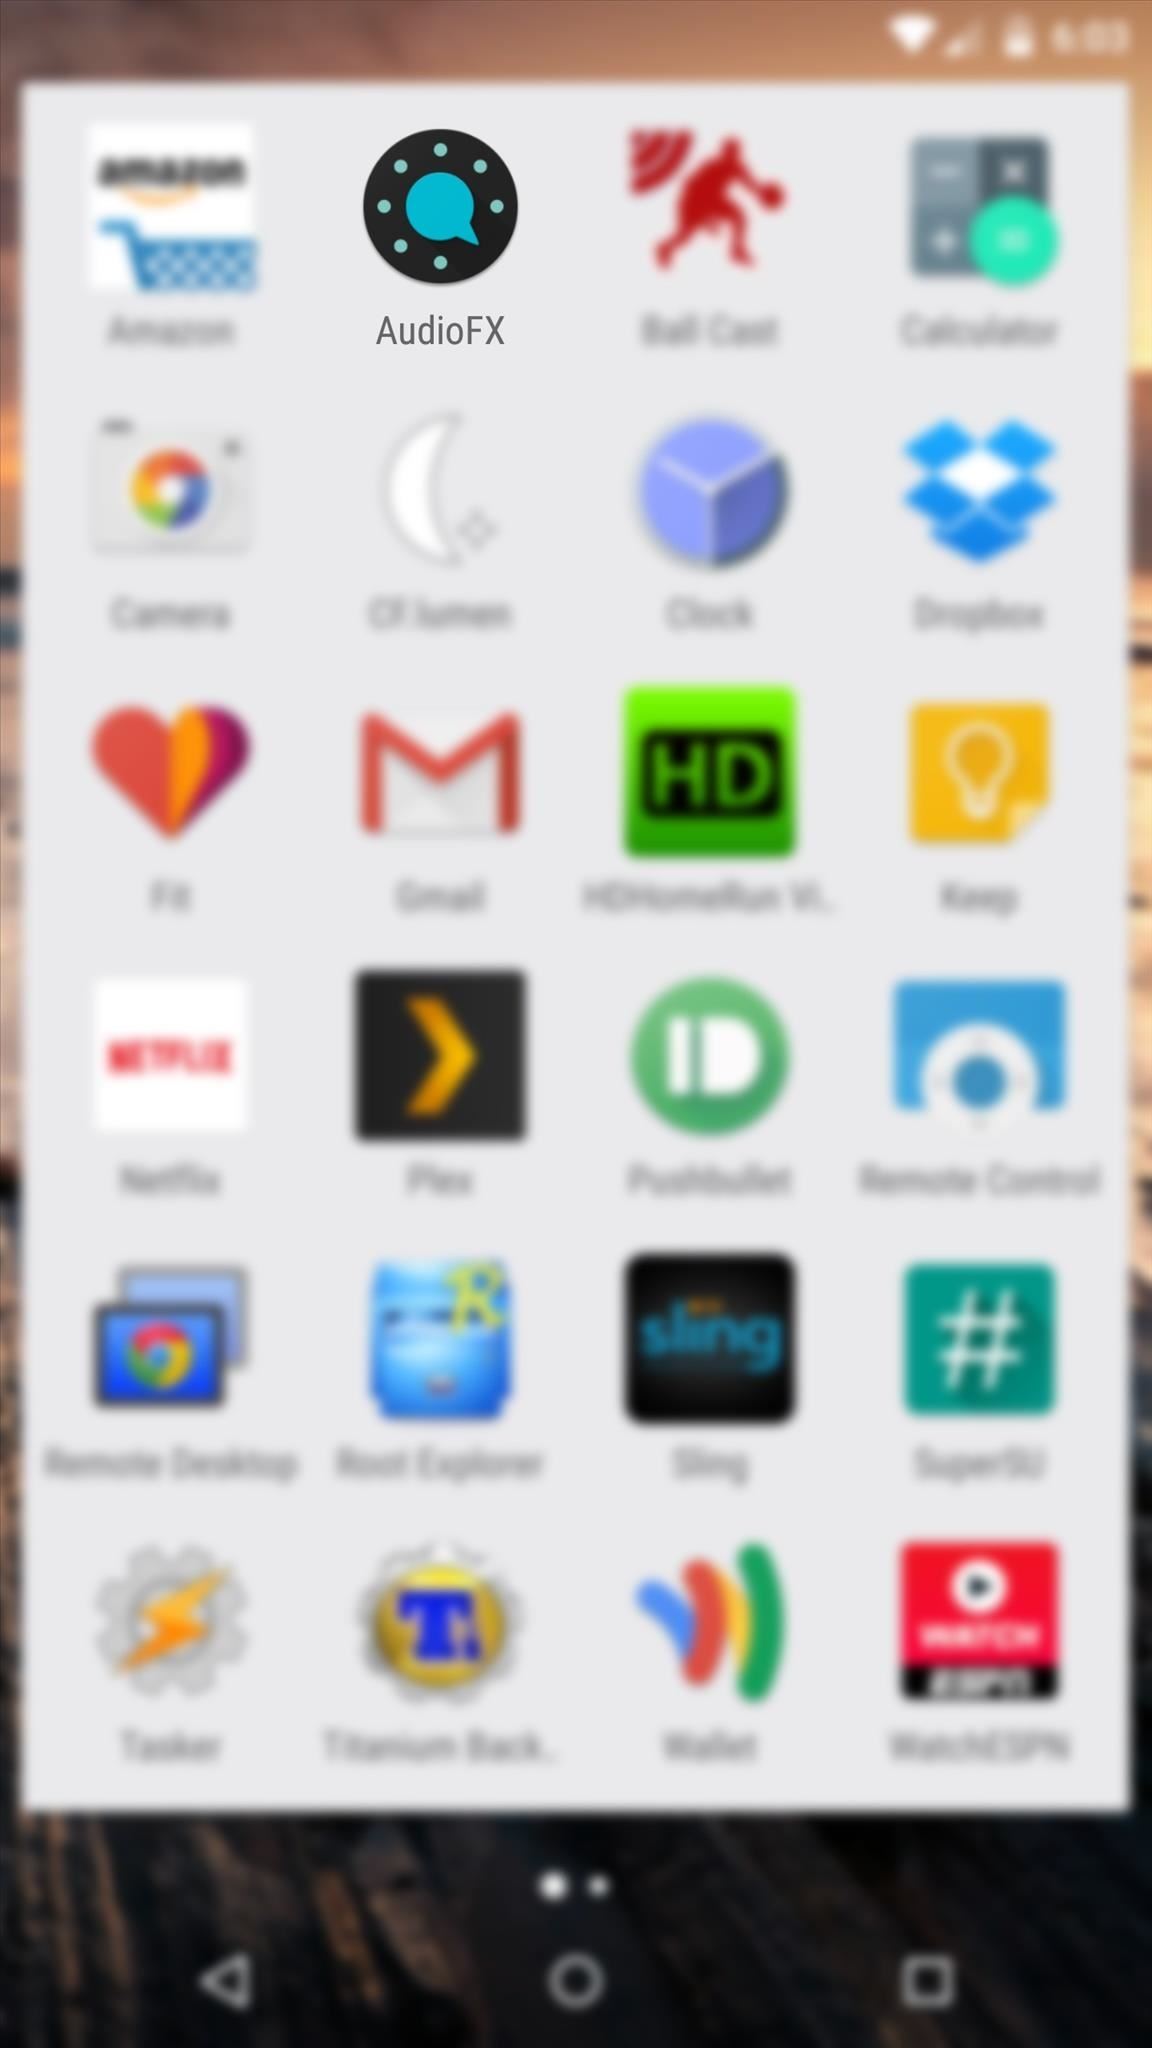
When you get back up, go ahead and open the "AudioFX" app that you'll now find in your app drawer.

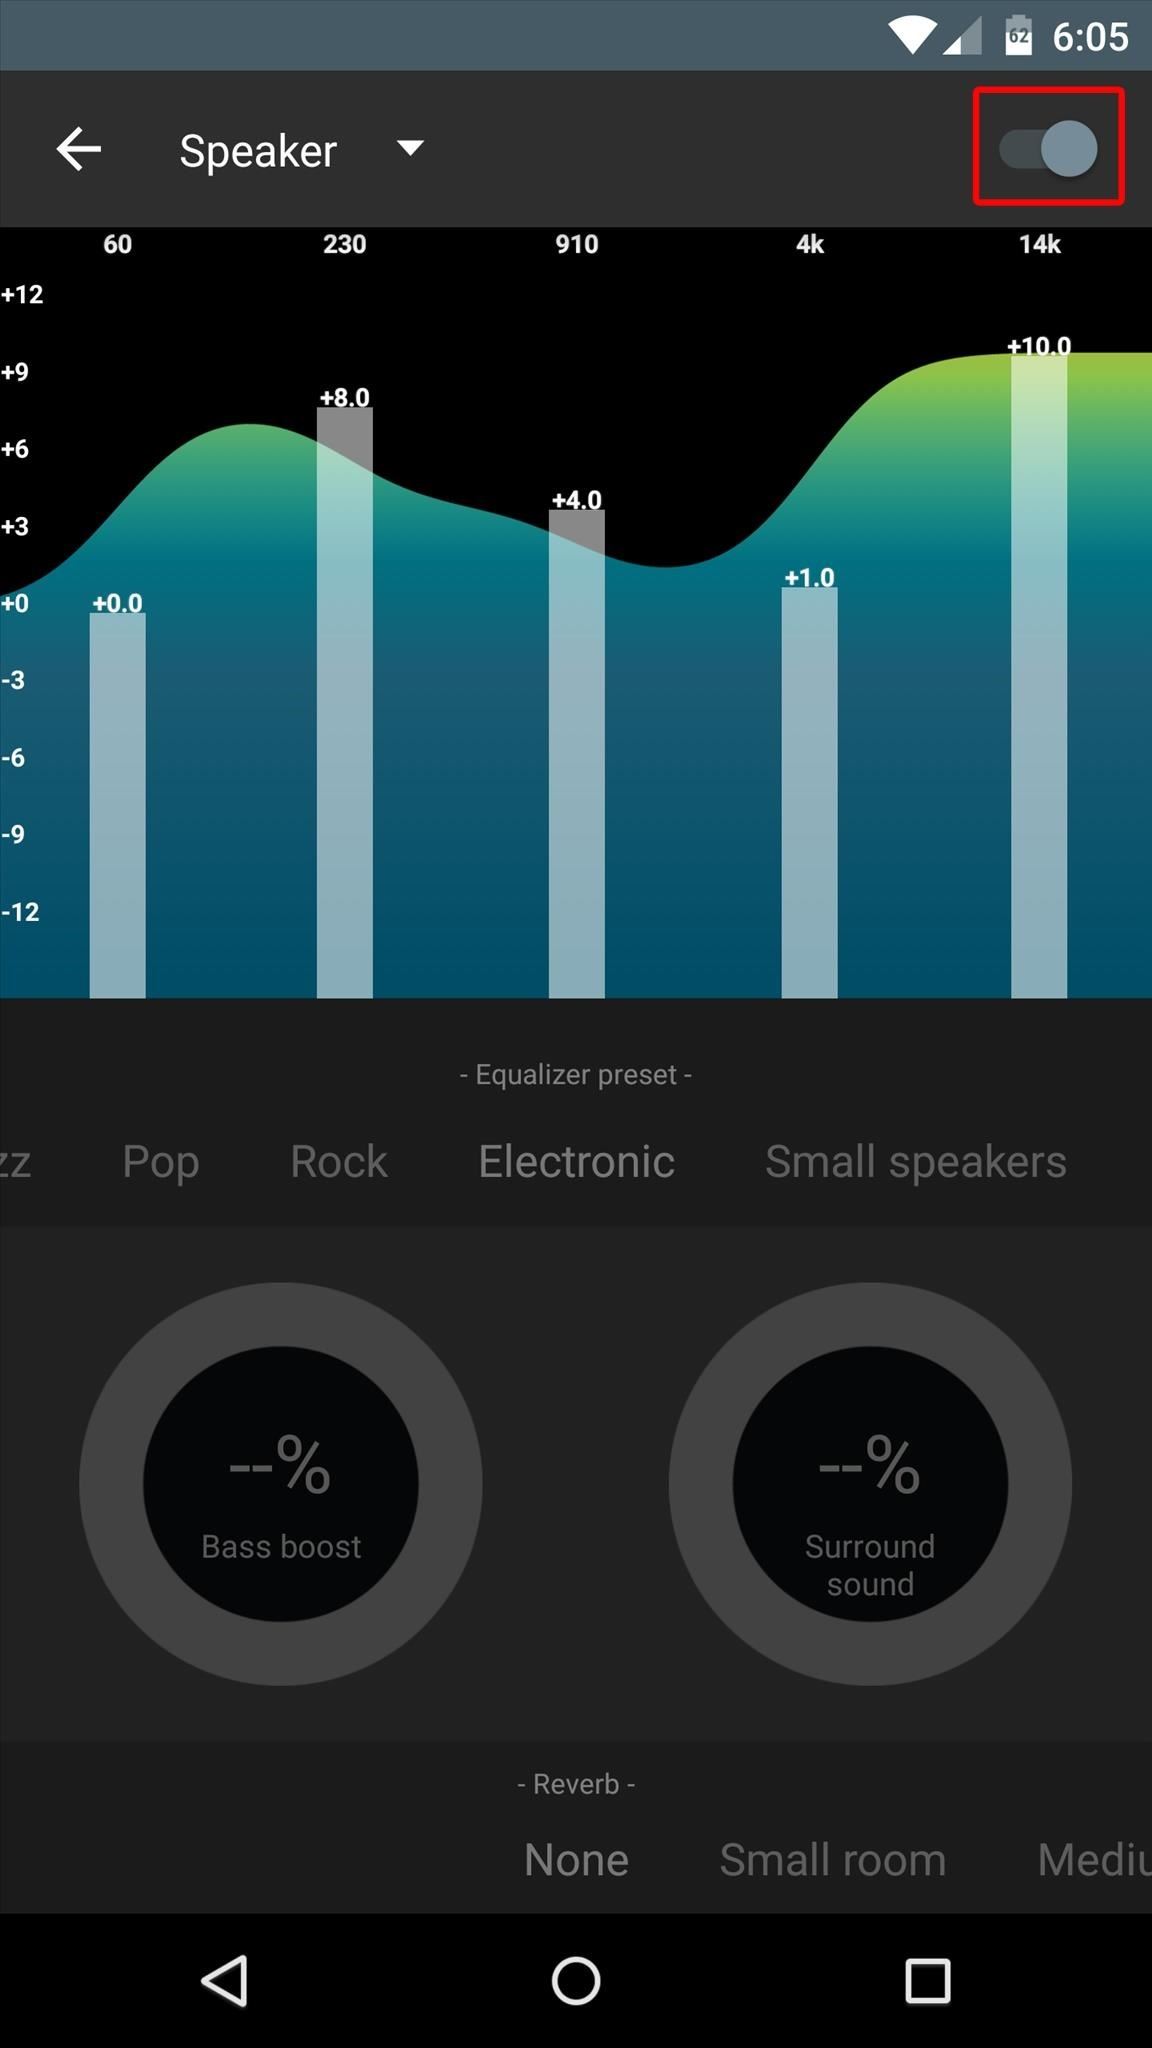
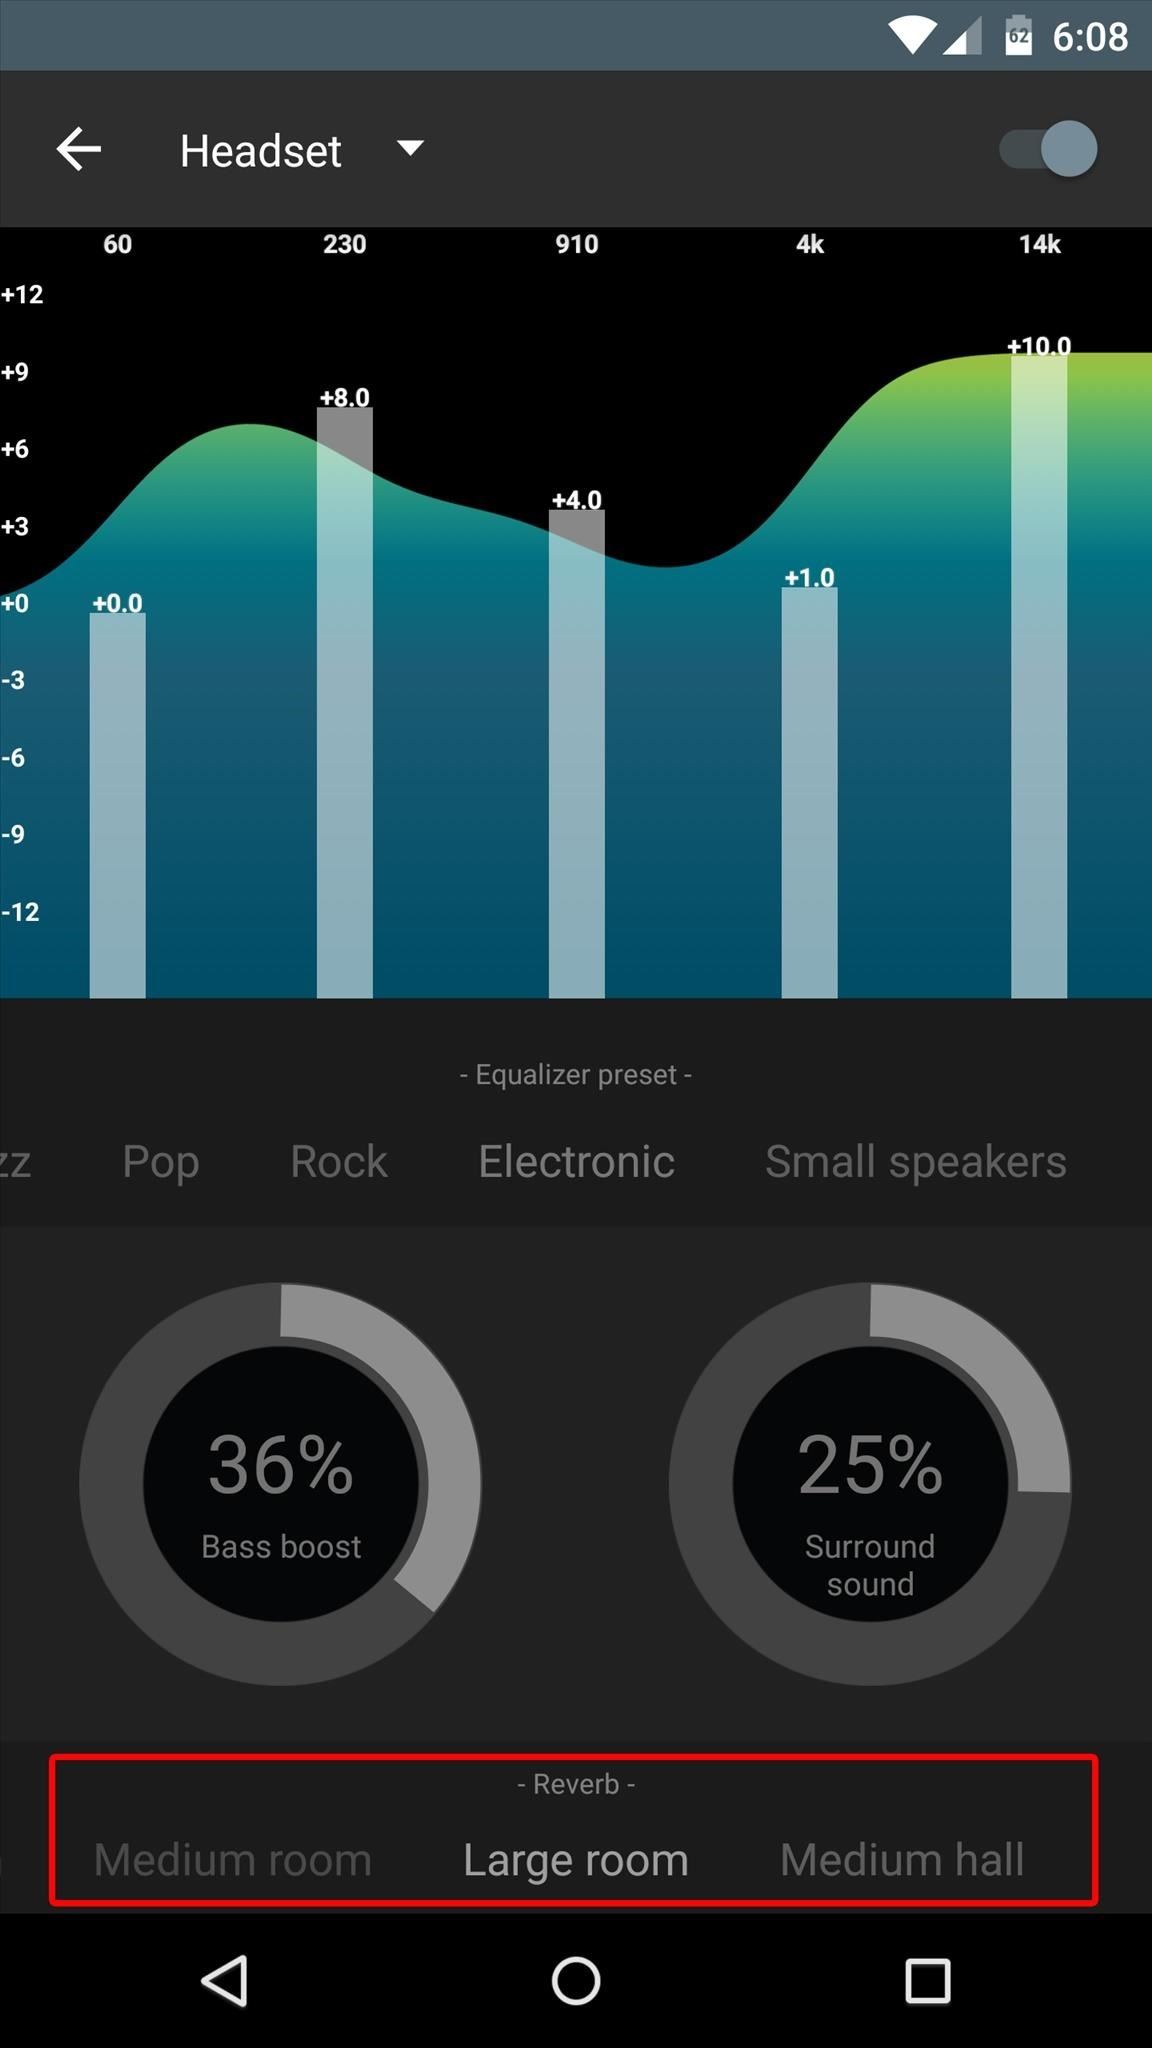
First up, tap the drop menu near the top-left corner to select the audio connection mode that you'd like to fine tune. When you've selected an audio mode, be sure to enable its service with the switch at the top of the screen.
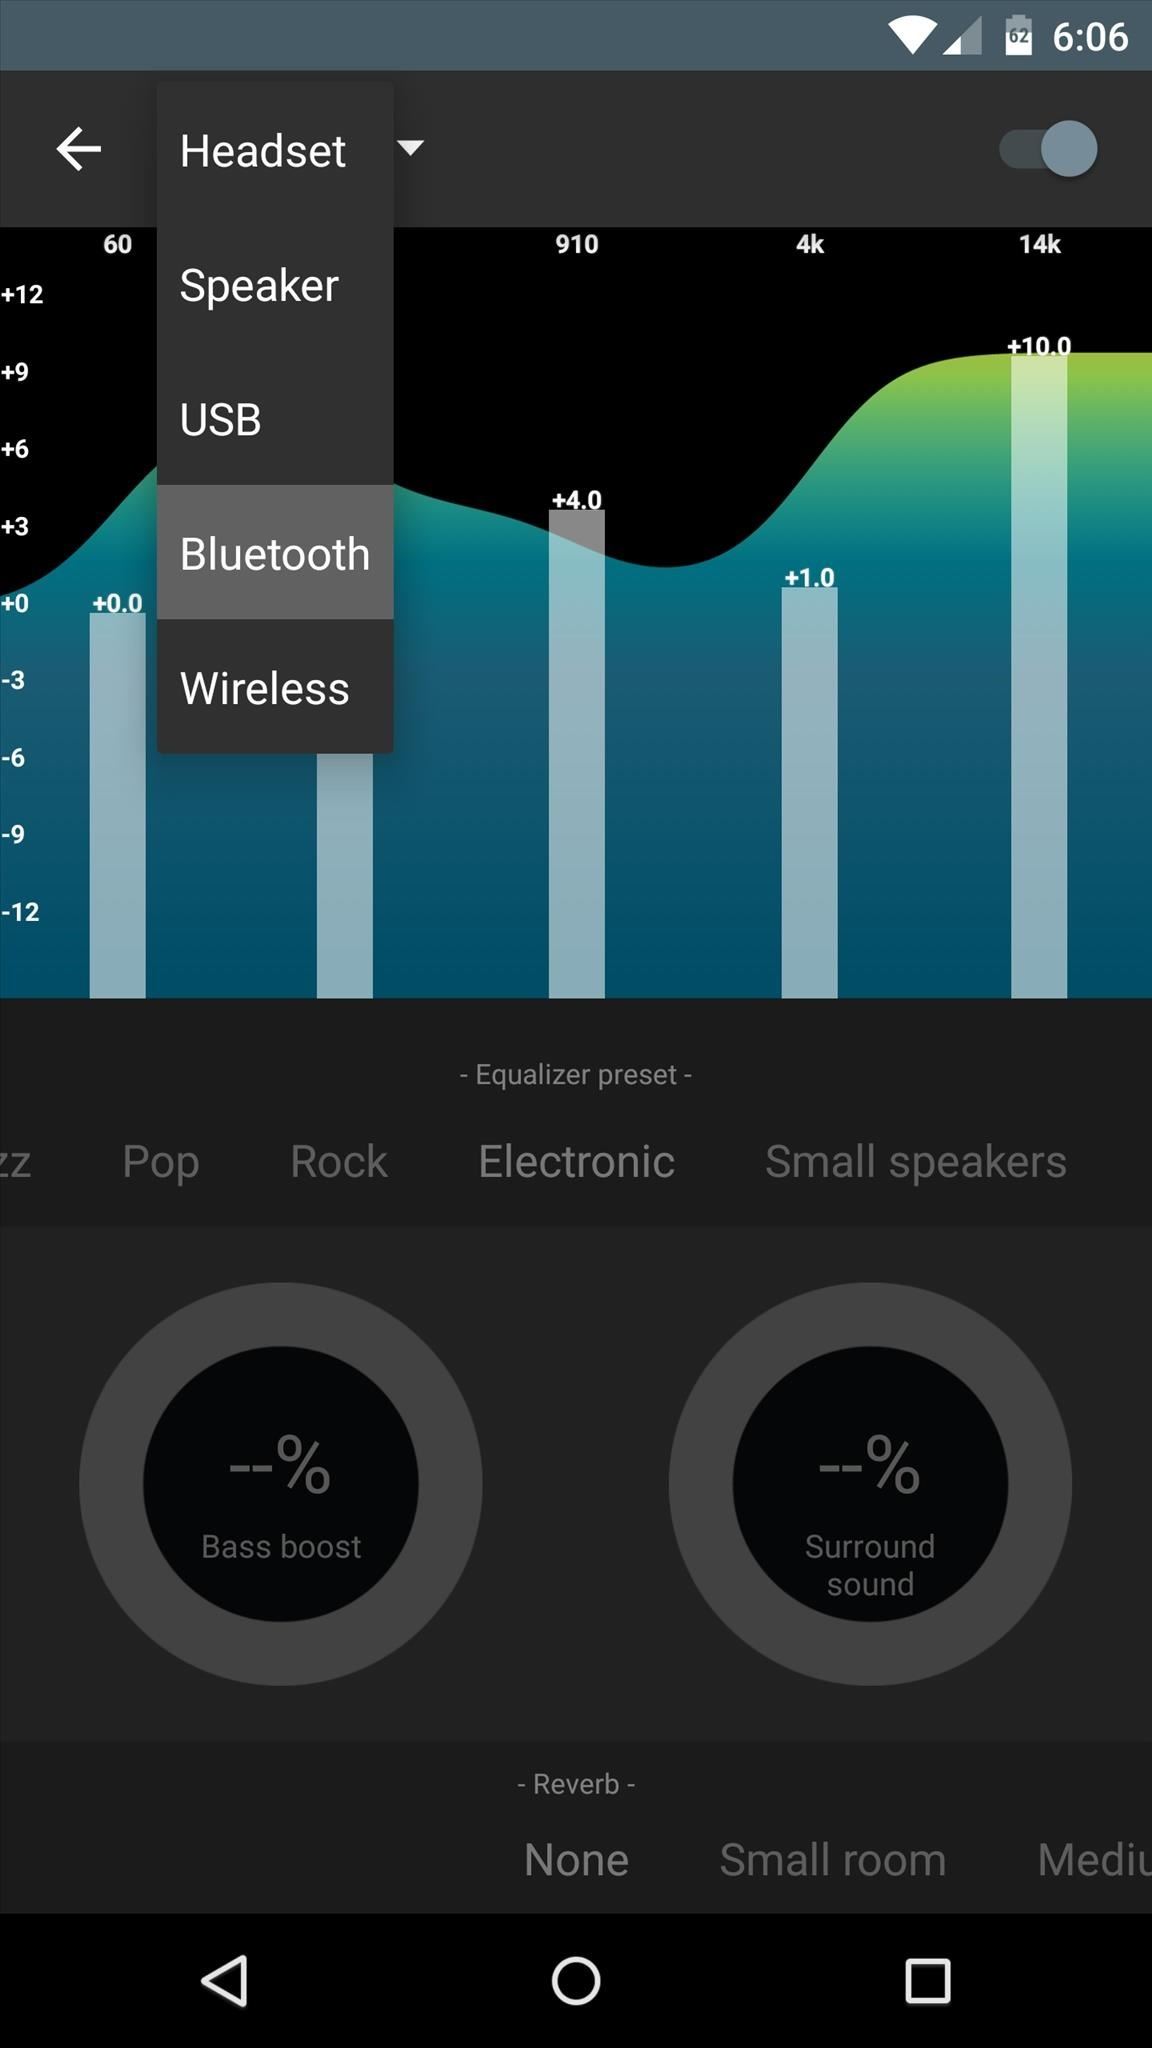
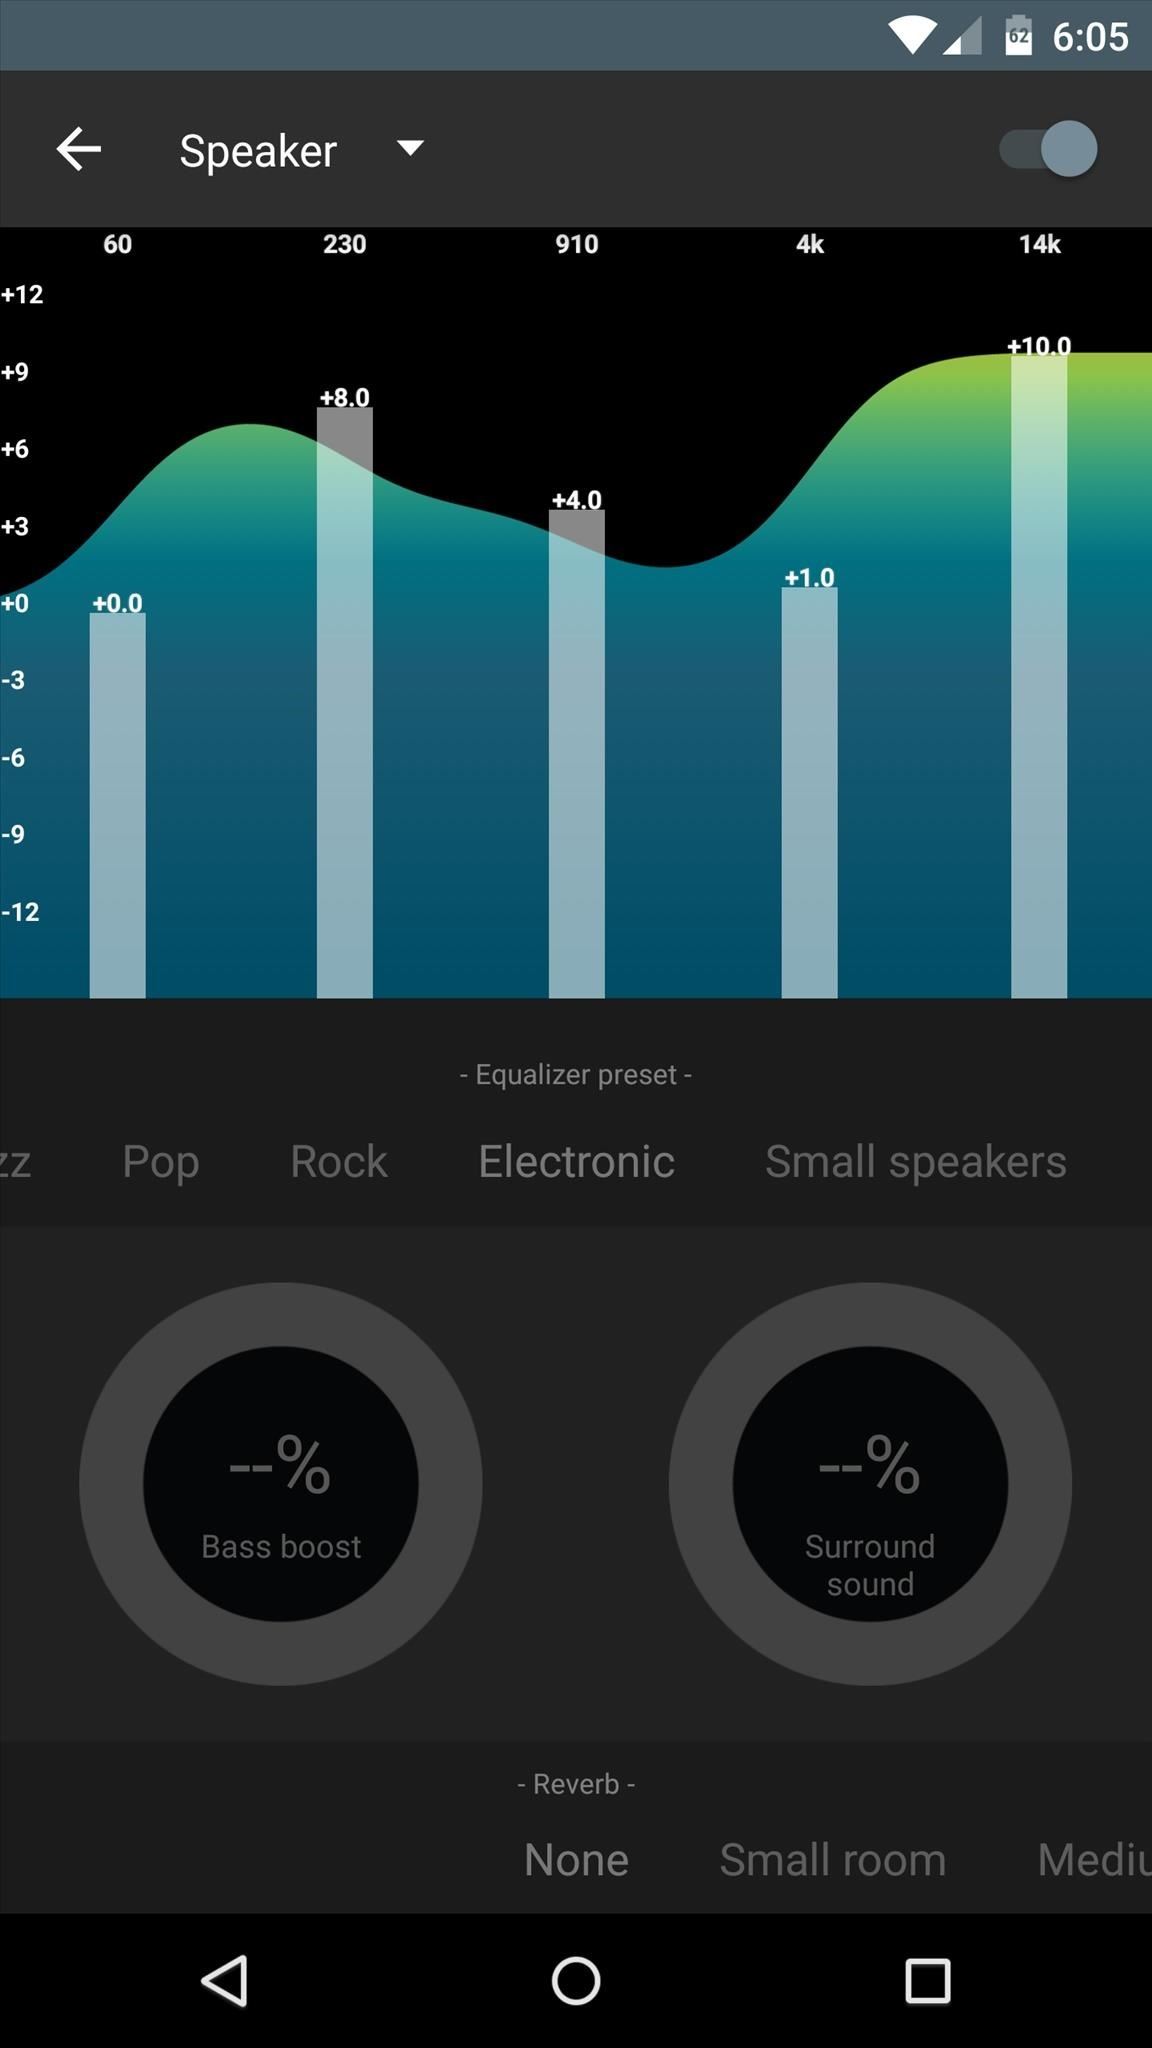
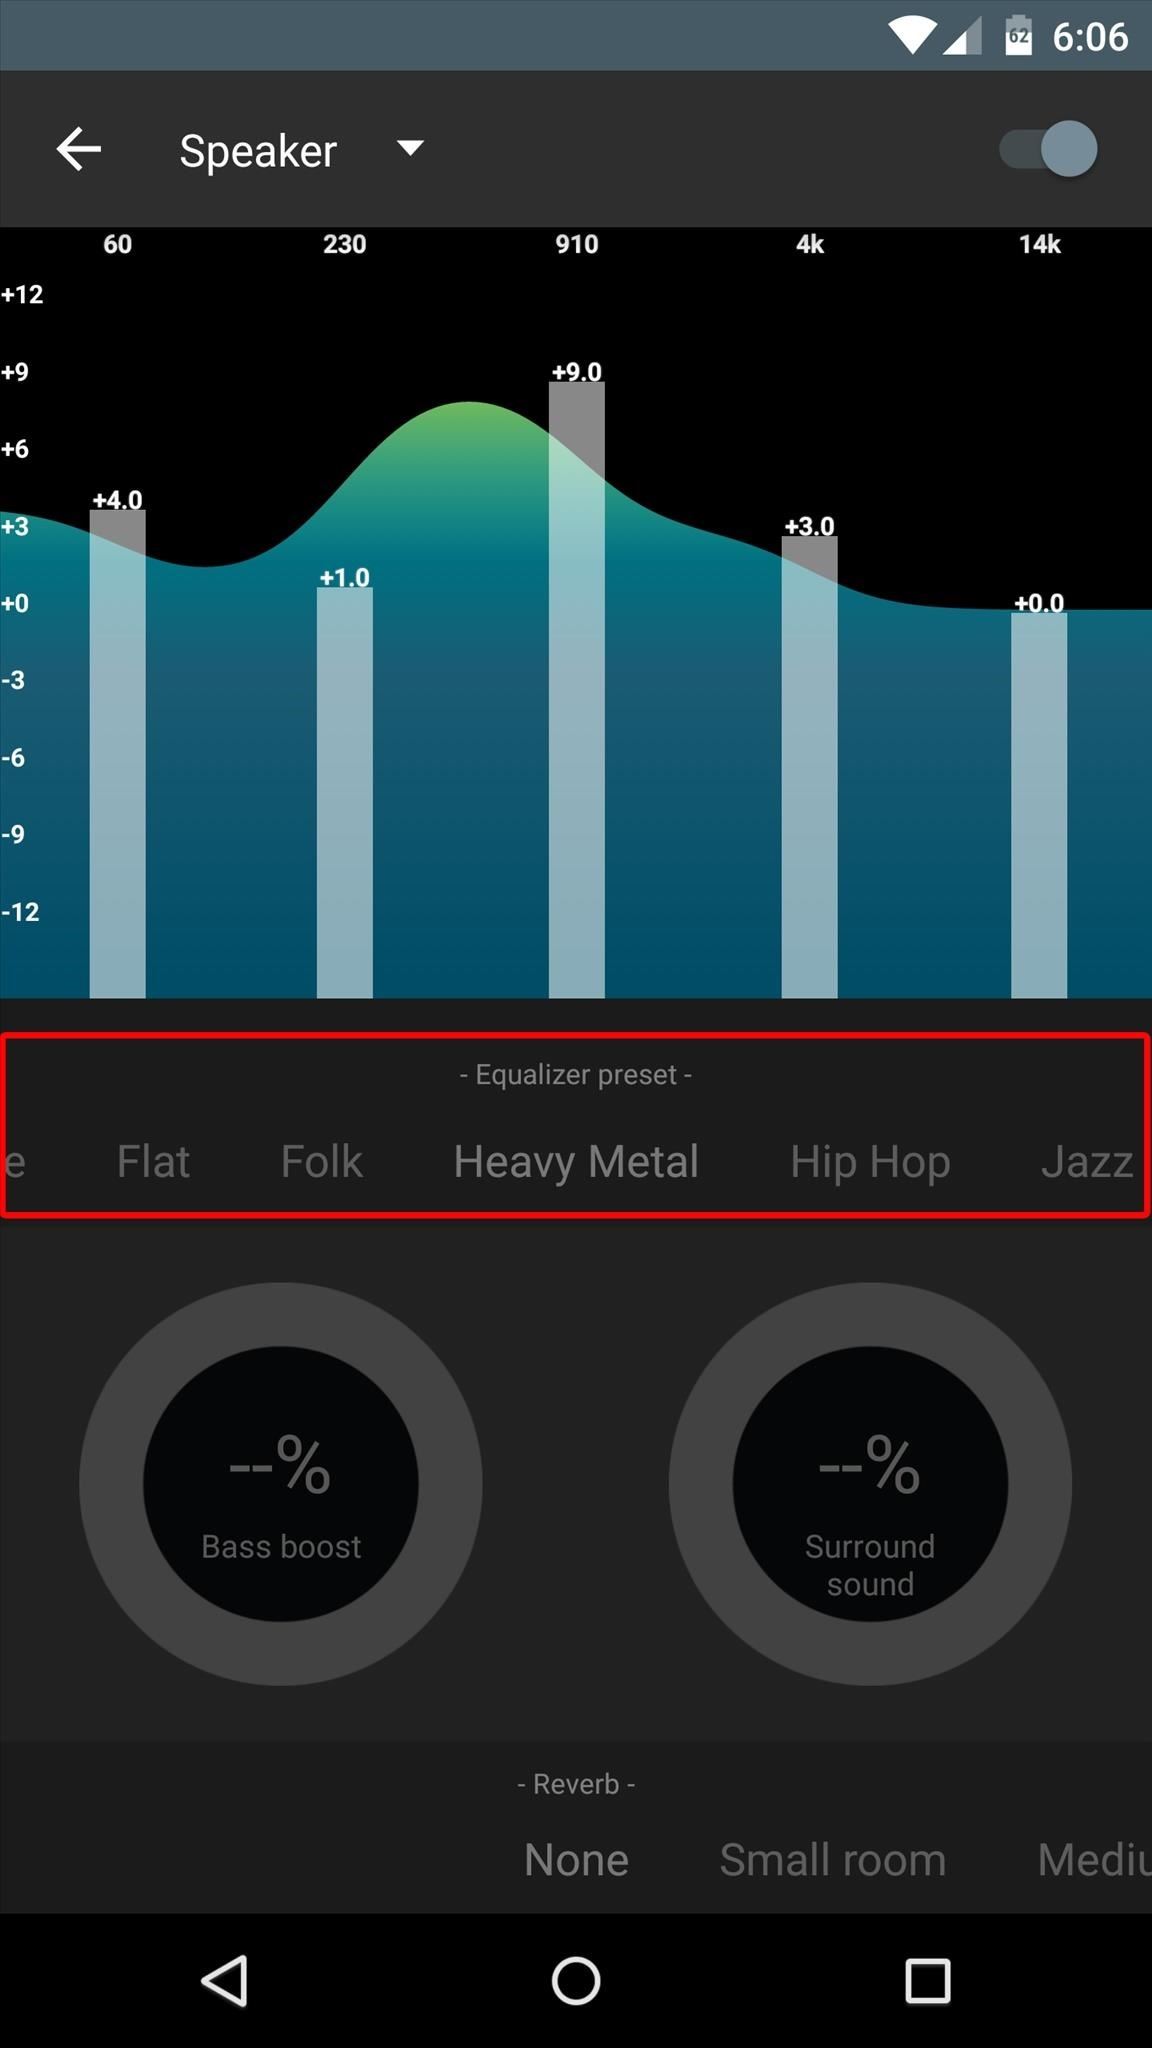
From here, you can adjust each of the levels manually if you'd like, or you can use the "Equalizer preset" menu beneath the graphic equalizer to switch between presets.
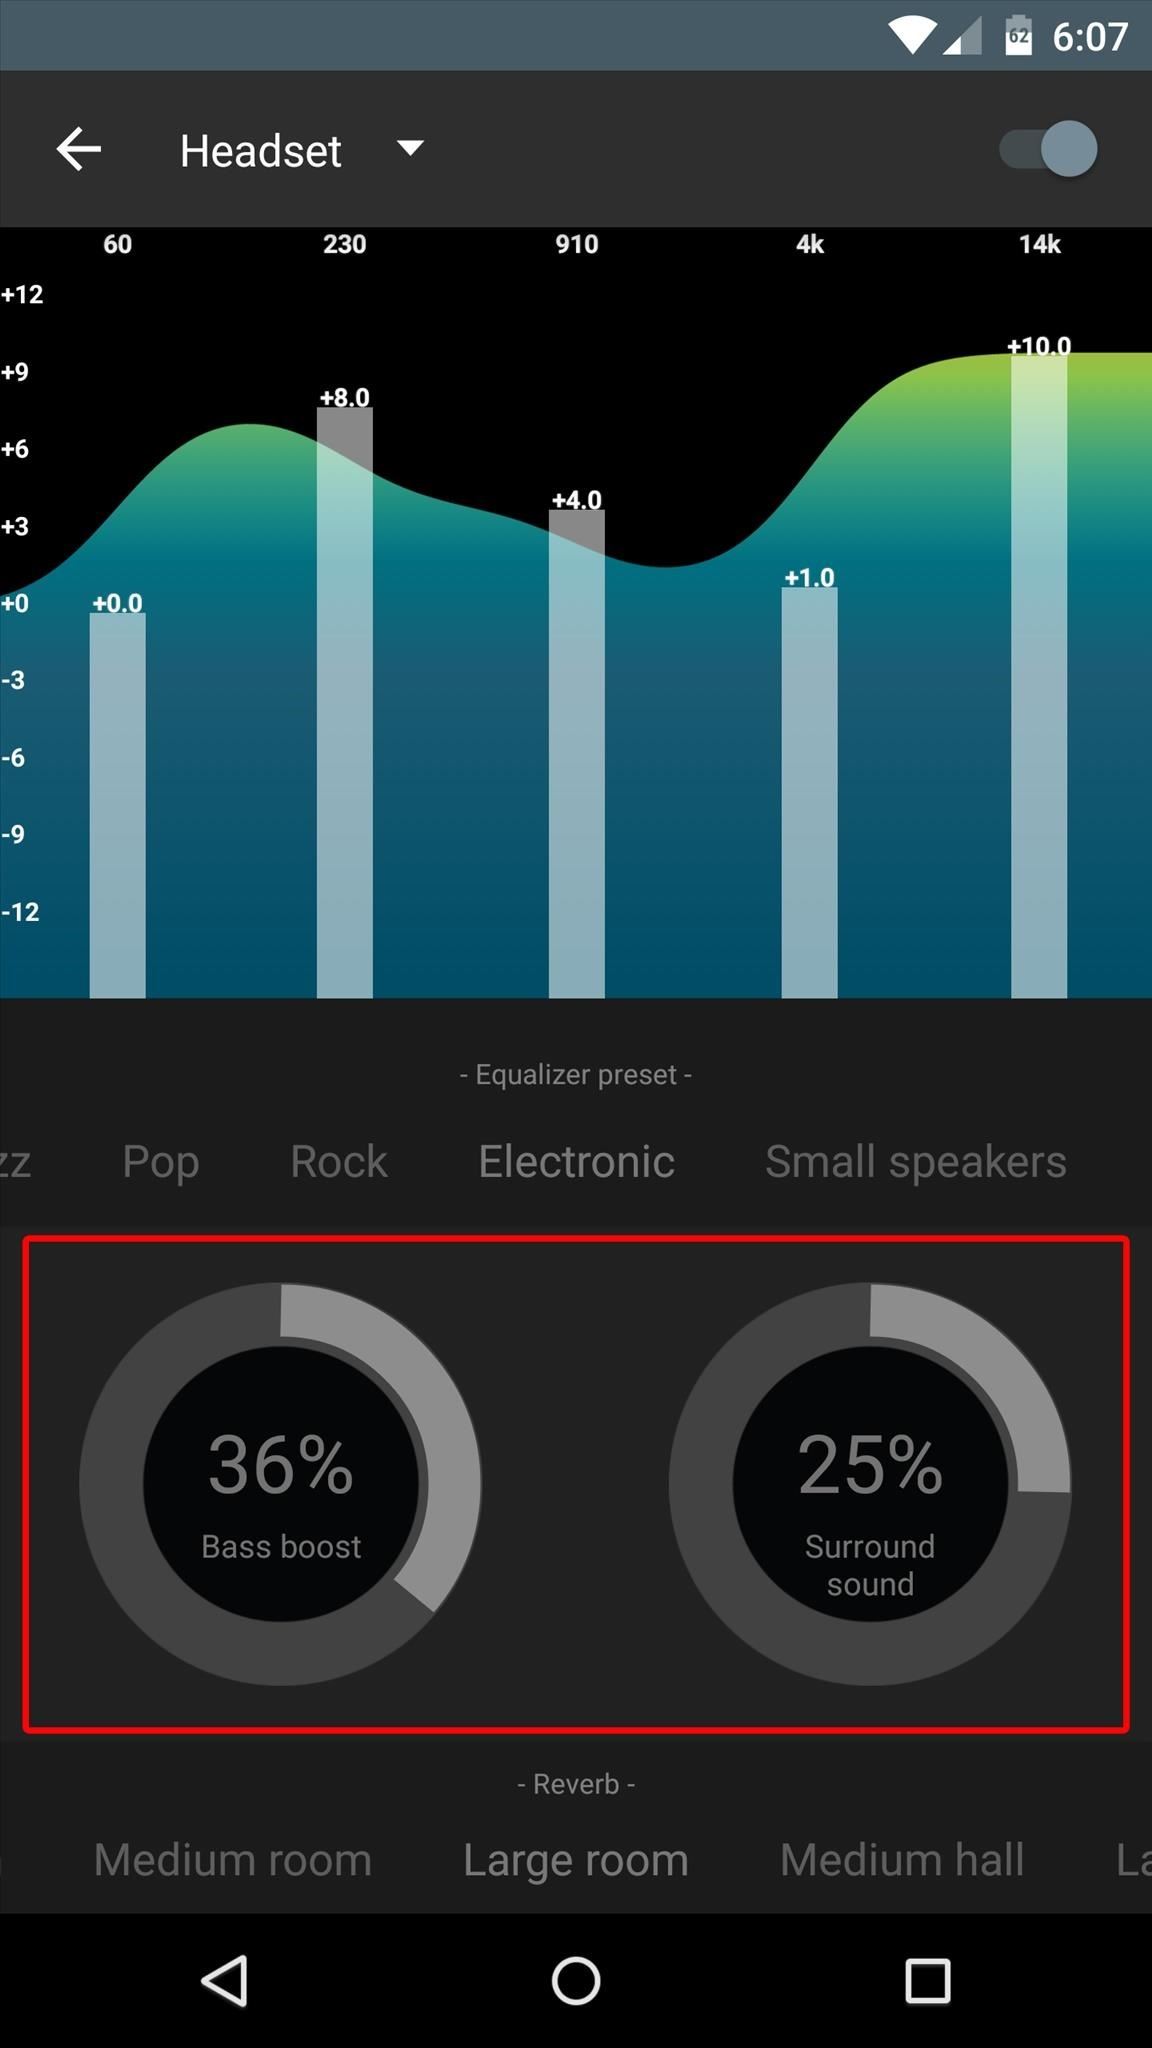
Beneath that are two dials. Use these to adjust bass boost and the surround sound effect. Underneath those, you can change the reverb settings with the menu at the bottom of the screen.
All of your changes will be applied immediately, and any app that uses Android's standard equalizer will use this version instead.
Just updated your iPhone? You'll find new emoji, enhanced security, podcast transcripts, Apple Cash virtual numbers, and other useful features. There are even new additions hidden within Safari. Find out what's new and changed on your iPhone with the iOS 17.4 update.


Be the First to Comment
Share Your Thoughts