
With apps and games getting bigger and more memory-hungry every year, storage space is at a premium. High-definition videos and photos of innumerable pixels certainly don't help the matter, either.
Sometimes, the things that can soak up our storage the most are things we're not even aware of. The longer we use our phones, the faster these megabytes pile up and encroach on our device's storage limits.
Every once and a while, it becomes necessary to do a bit of digital spring cleaning. With these simple tips and tricks, you can free up plenty of space on your Android device, and keep your phone's storage neat and tidy a bit longer.
Step 1: Delete Unwanted Downloaded Files
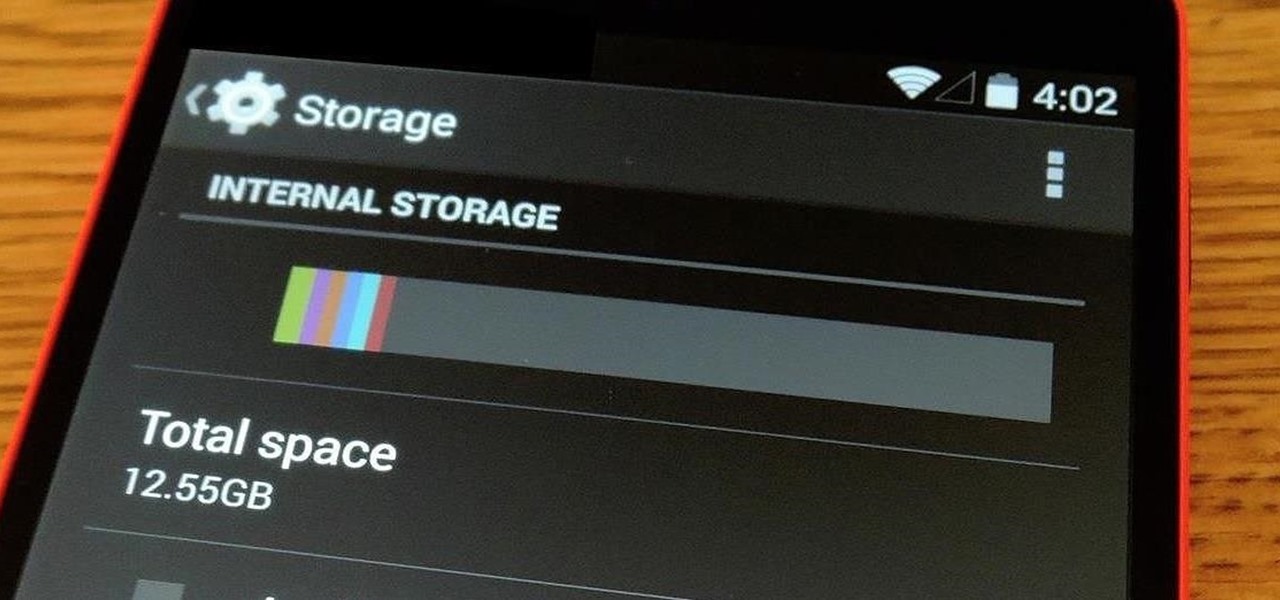
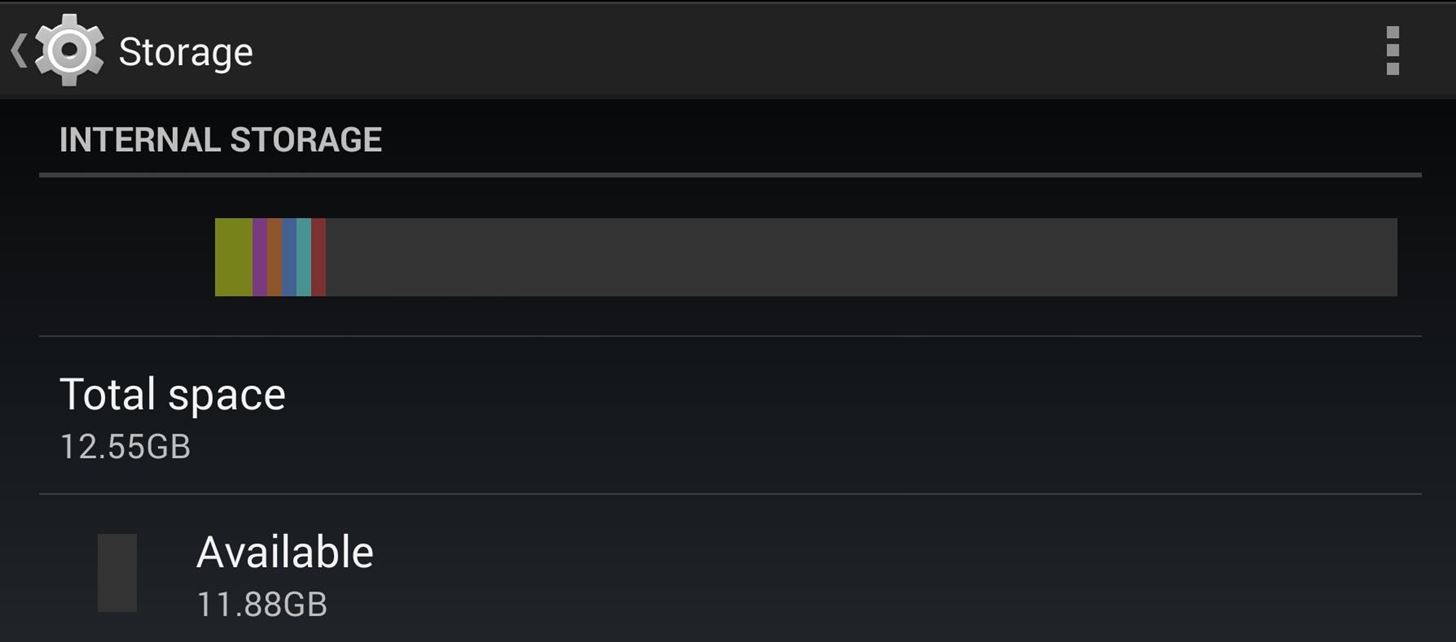
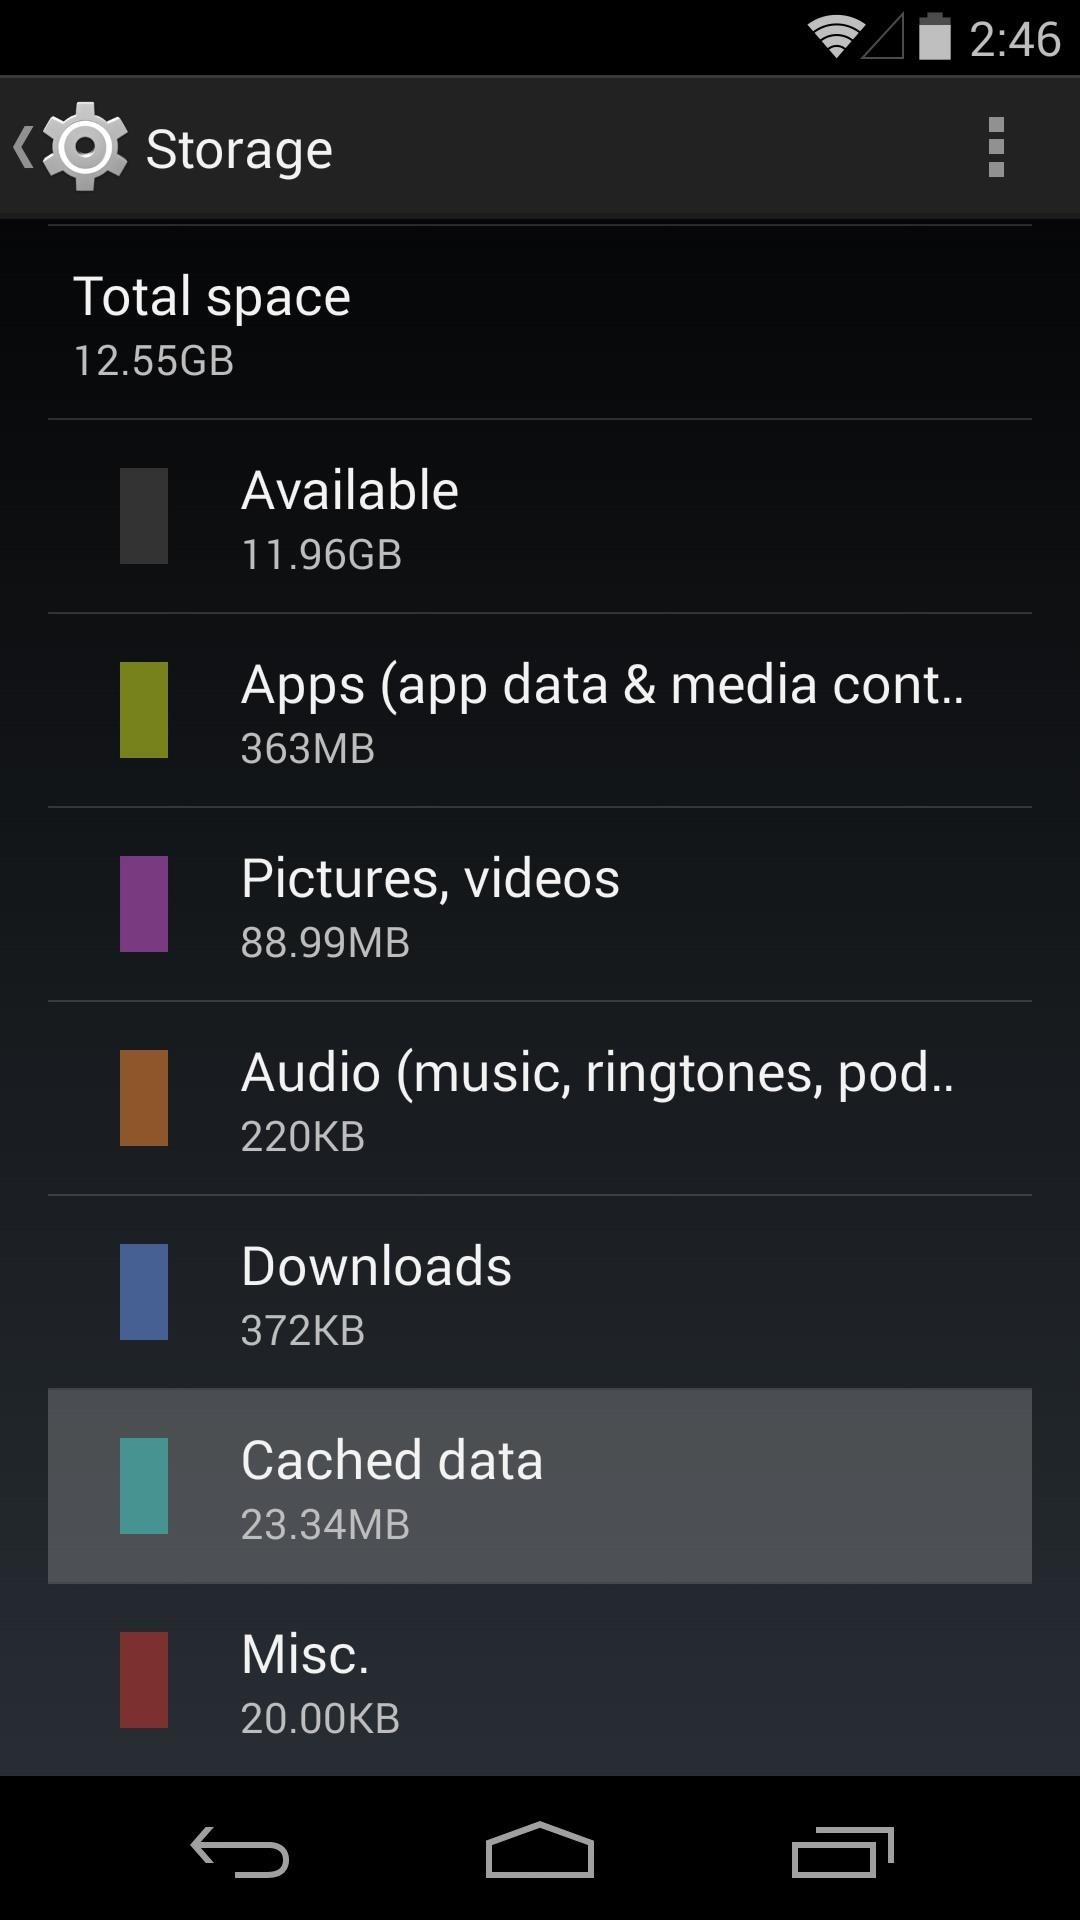
Android devices running 4.0 or higher come with a handy storage management interface. From the Settings app, head into the Storage submenu to get started.

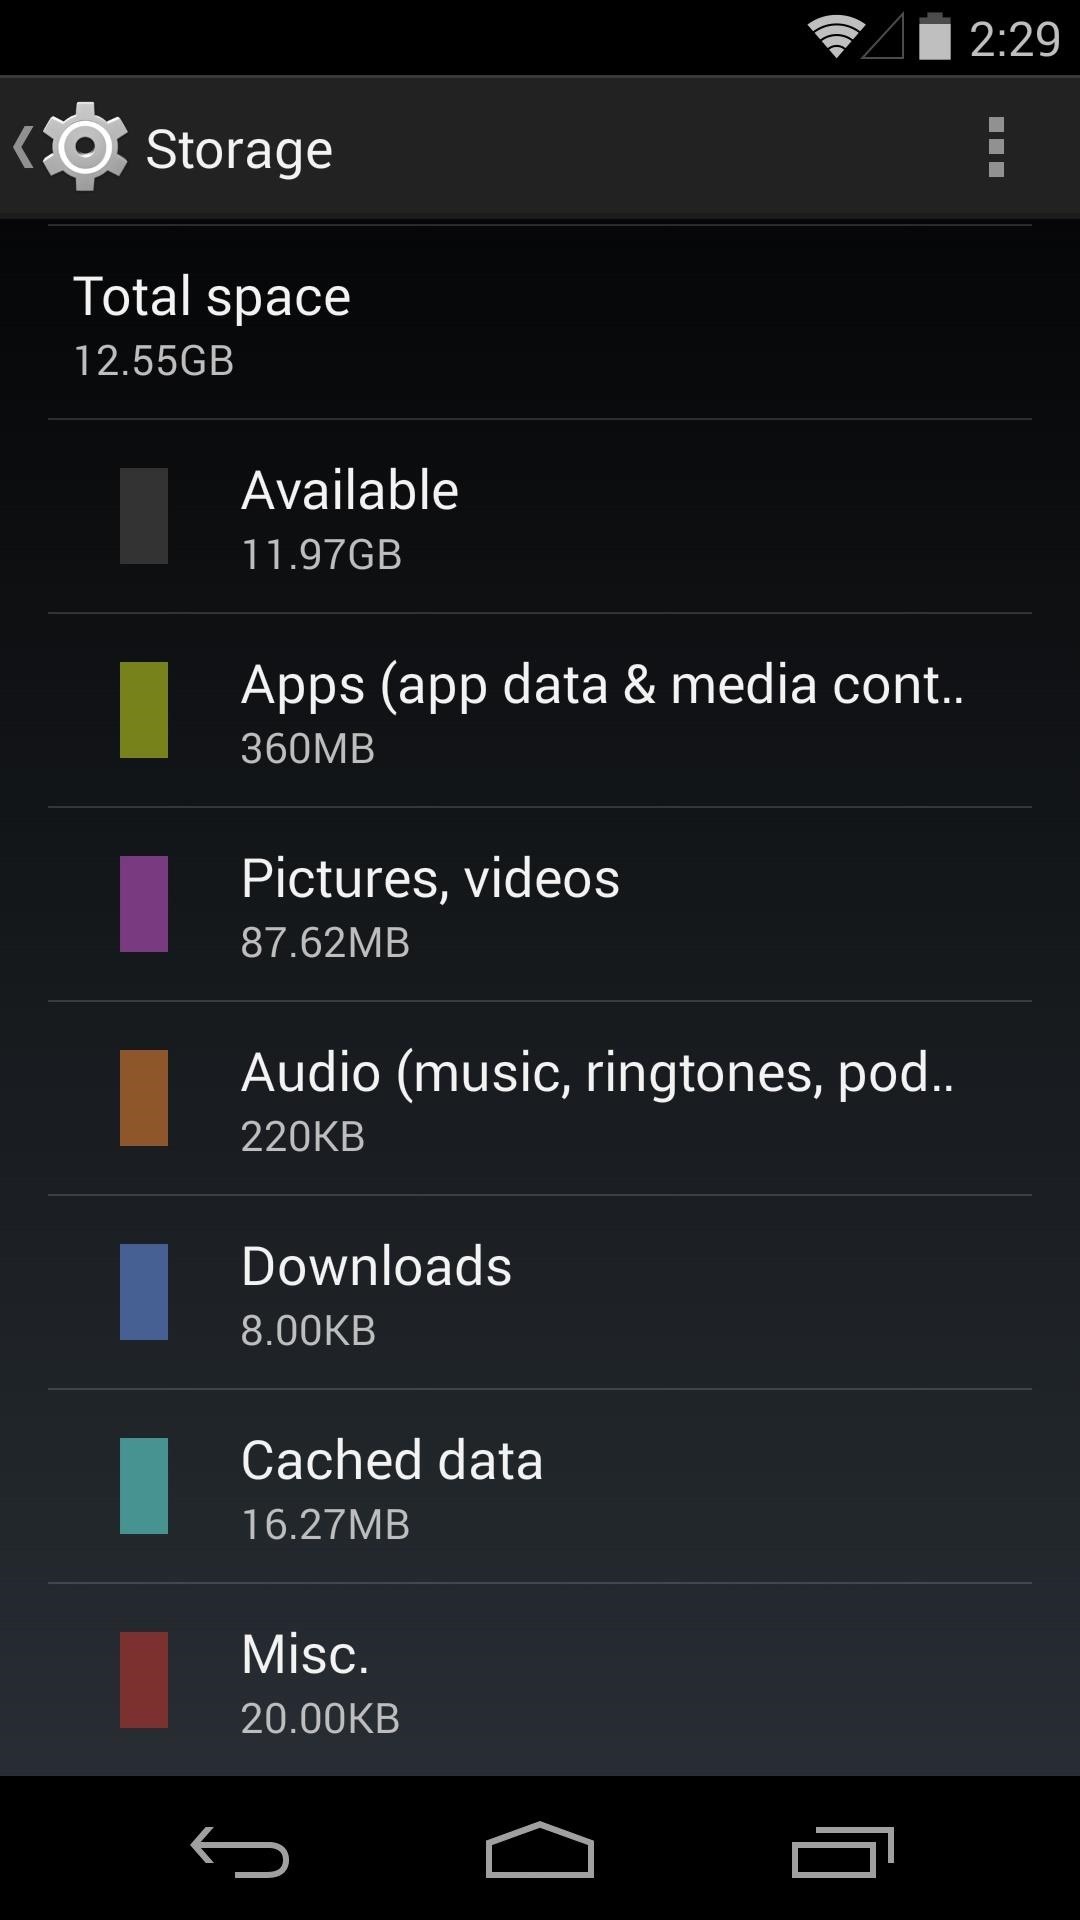
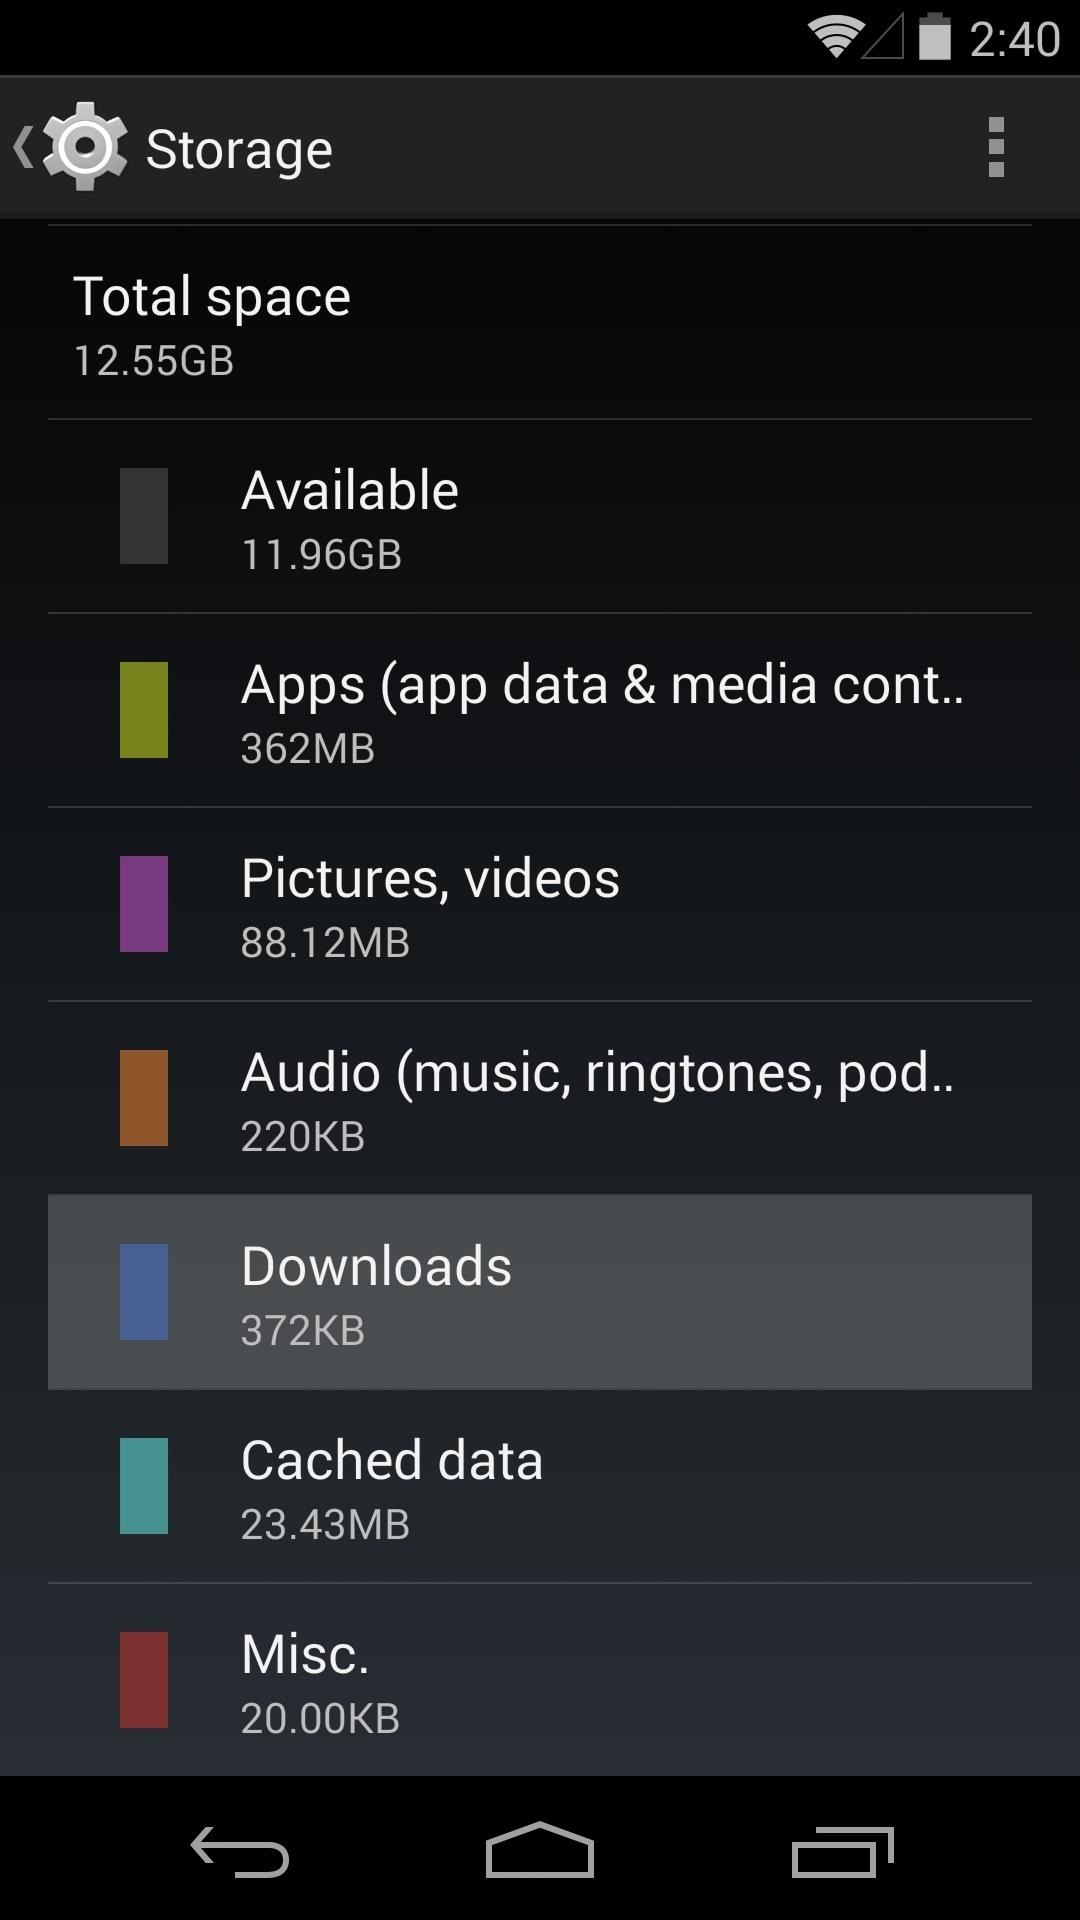
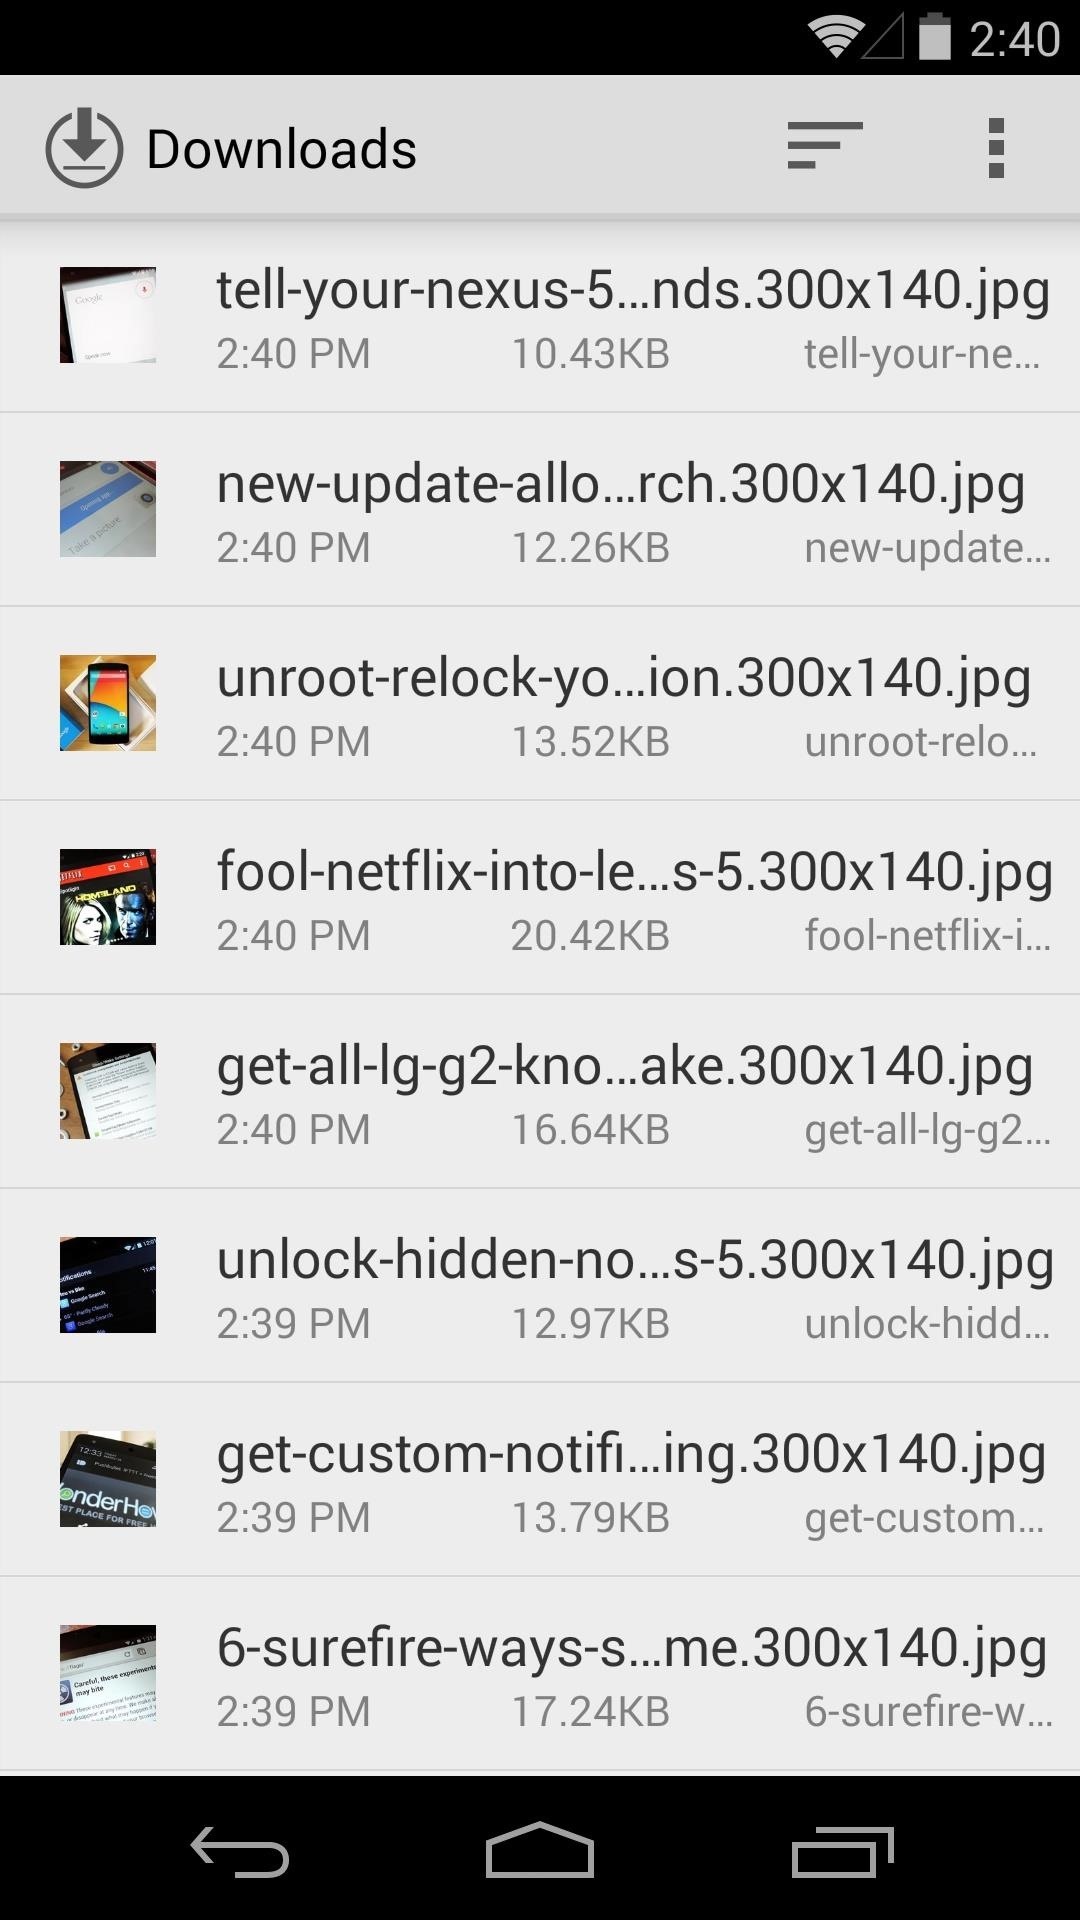
In here, tap Downloads to get started with the cleaning. This will take you to a list of all the files you've downloaded on your device.
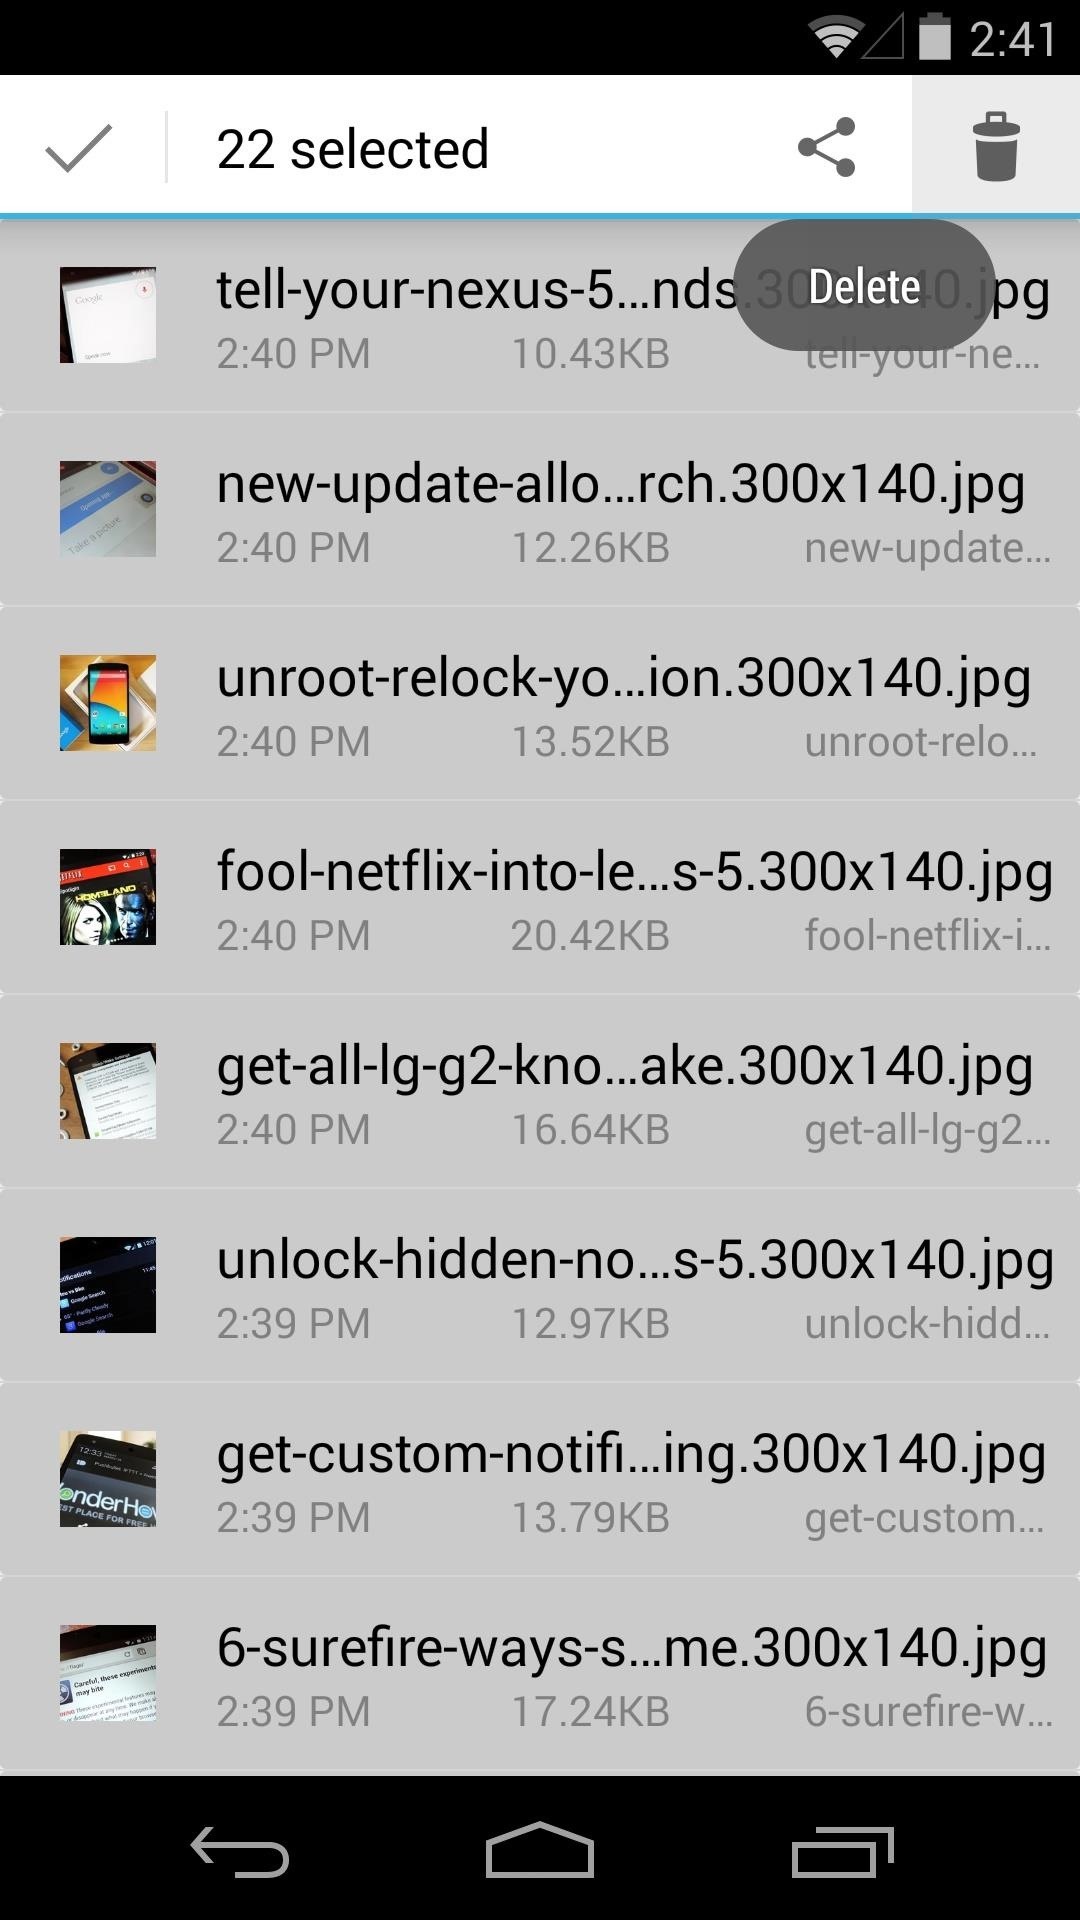
Long-press an unwanted file to select it, then tap any other files that you no longer need. When you're satisfied with your selections, tap the Delete icon at the top to remove these files.
Step 2: Delete Your Cached Data
Now, hit the back button on your device to head back into the storage management screen. This time, tap Cached data and select OK from the dialog box.
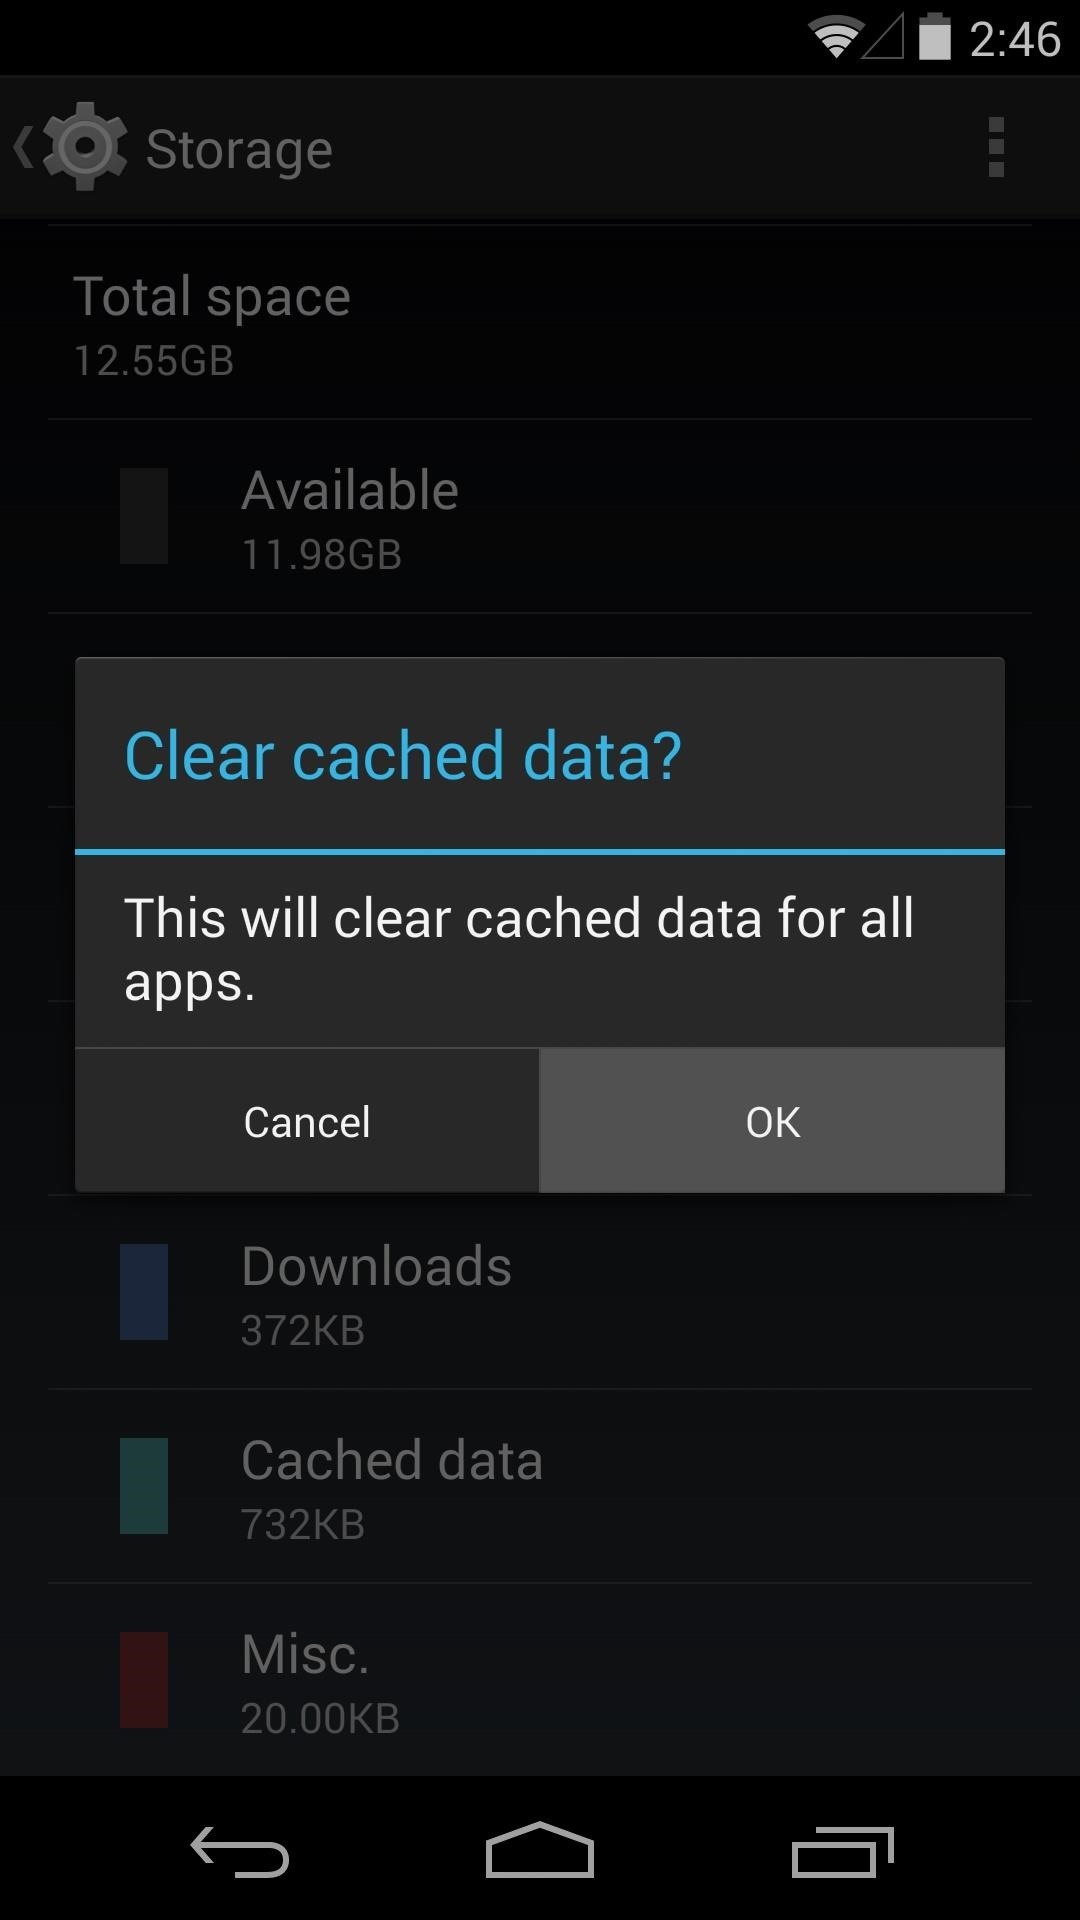
Cache is data that has been stored by your apps, so this one will build back up over time as you continue to use your phone. Come back to this screen from time to time to keep this buildup under control.
Step 3: Store Your Photos & Videos in the Cloud
Amongst the biggest storage hogs are our own personal photos and videos. Of course, we don't want to lose these memories, so we can't outright delete them, but we can store them remotely using the Google Photos app.
This will let us delete the pictures and video from our phones, but still have access to them. What's more, Photos stores these pictures at their full resolution unlike other apps (I'm looking at you, Facebook).
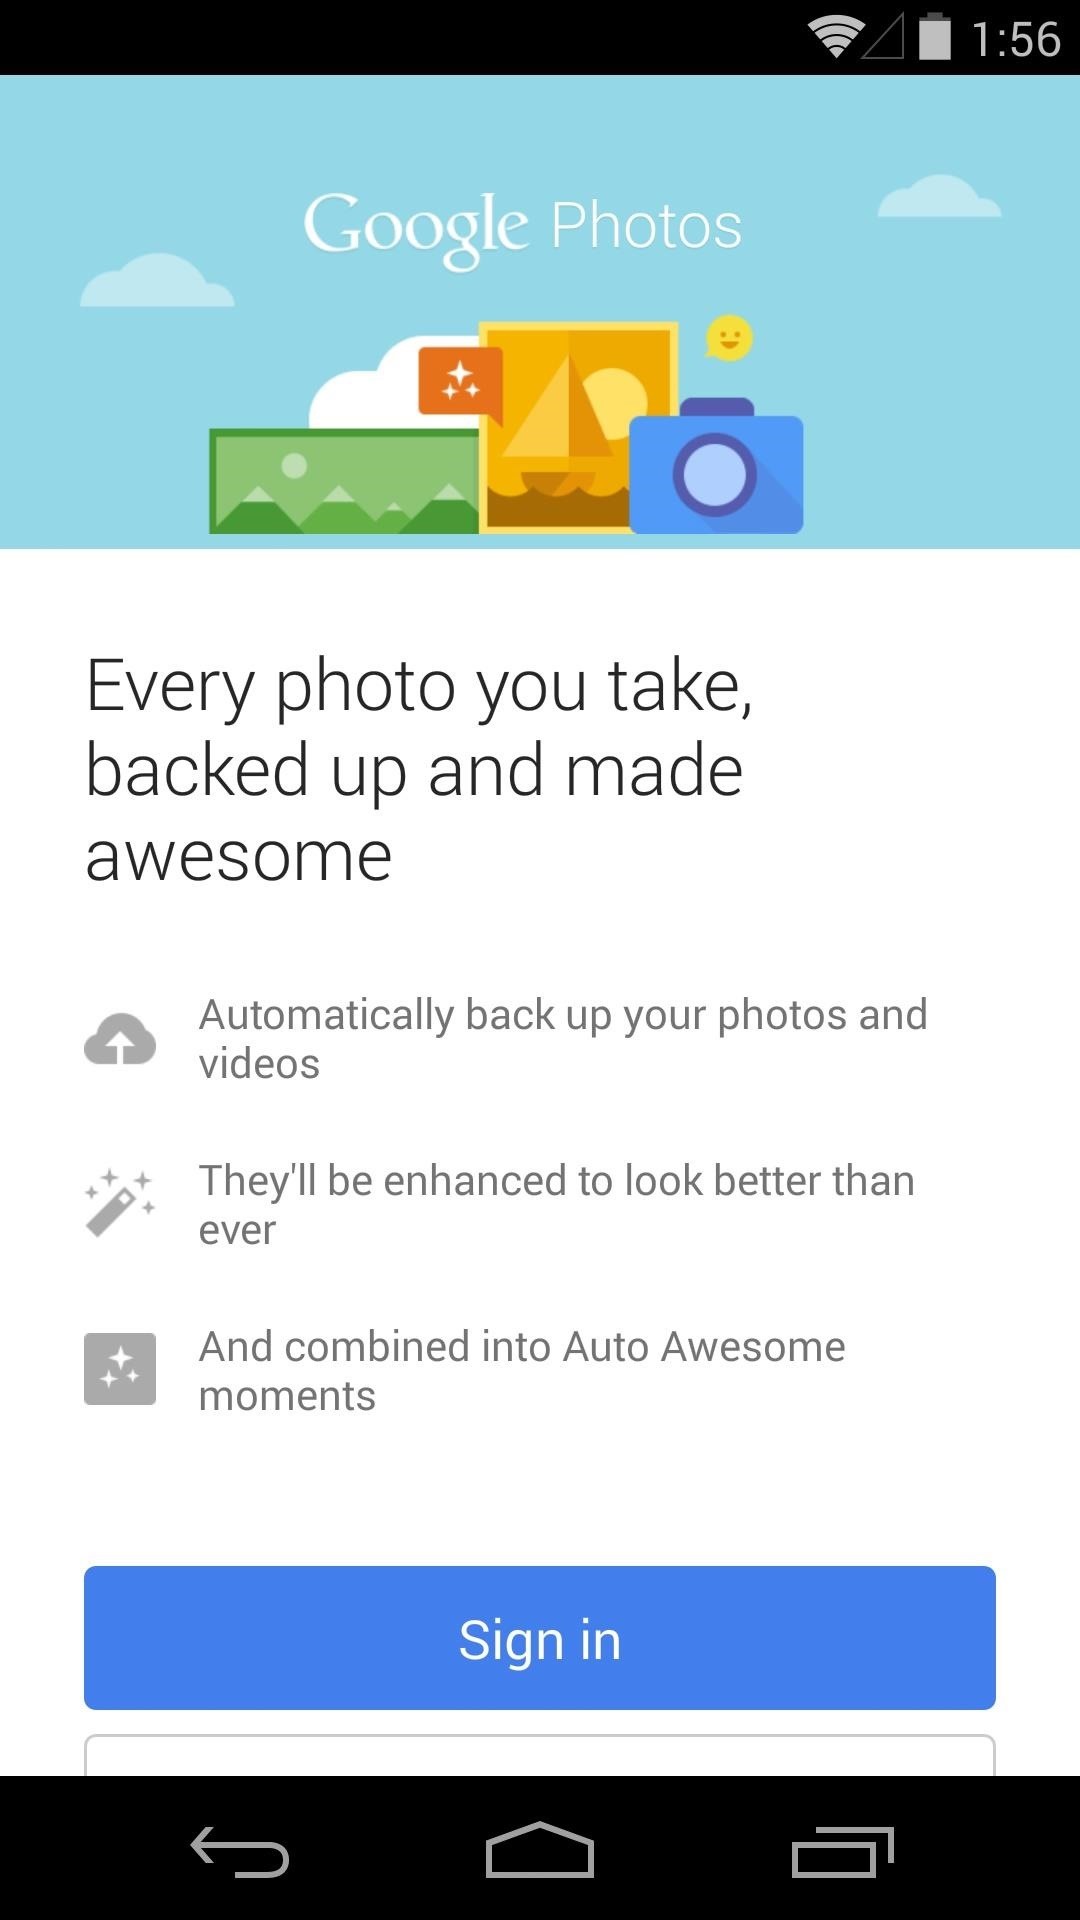
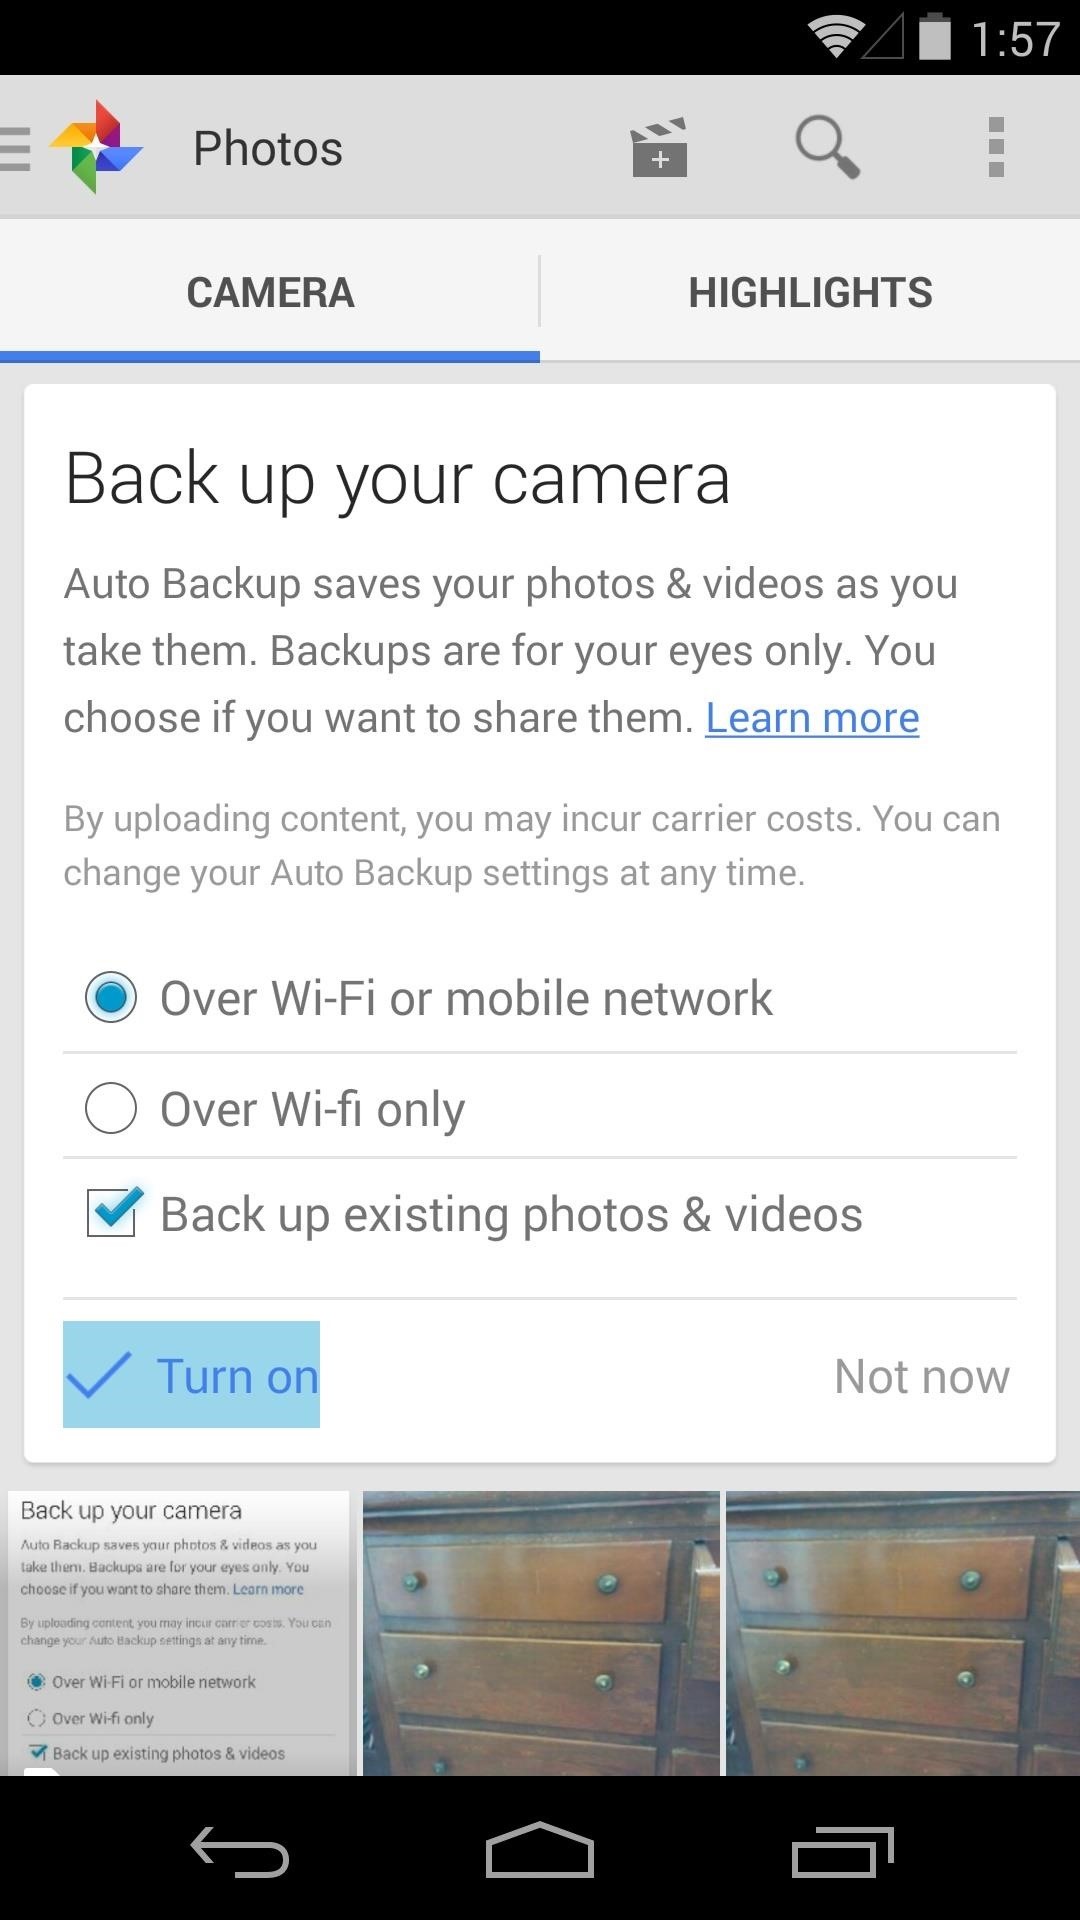
First, fire up the Photos app. If you haven't already done so, it will prompt you to sign in to your Google account. Do that, and you will be greeted with an option to back up your photos. Hit Turn On to enable this functionality, and your photos will begin to sync to Google's servers.
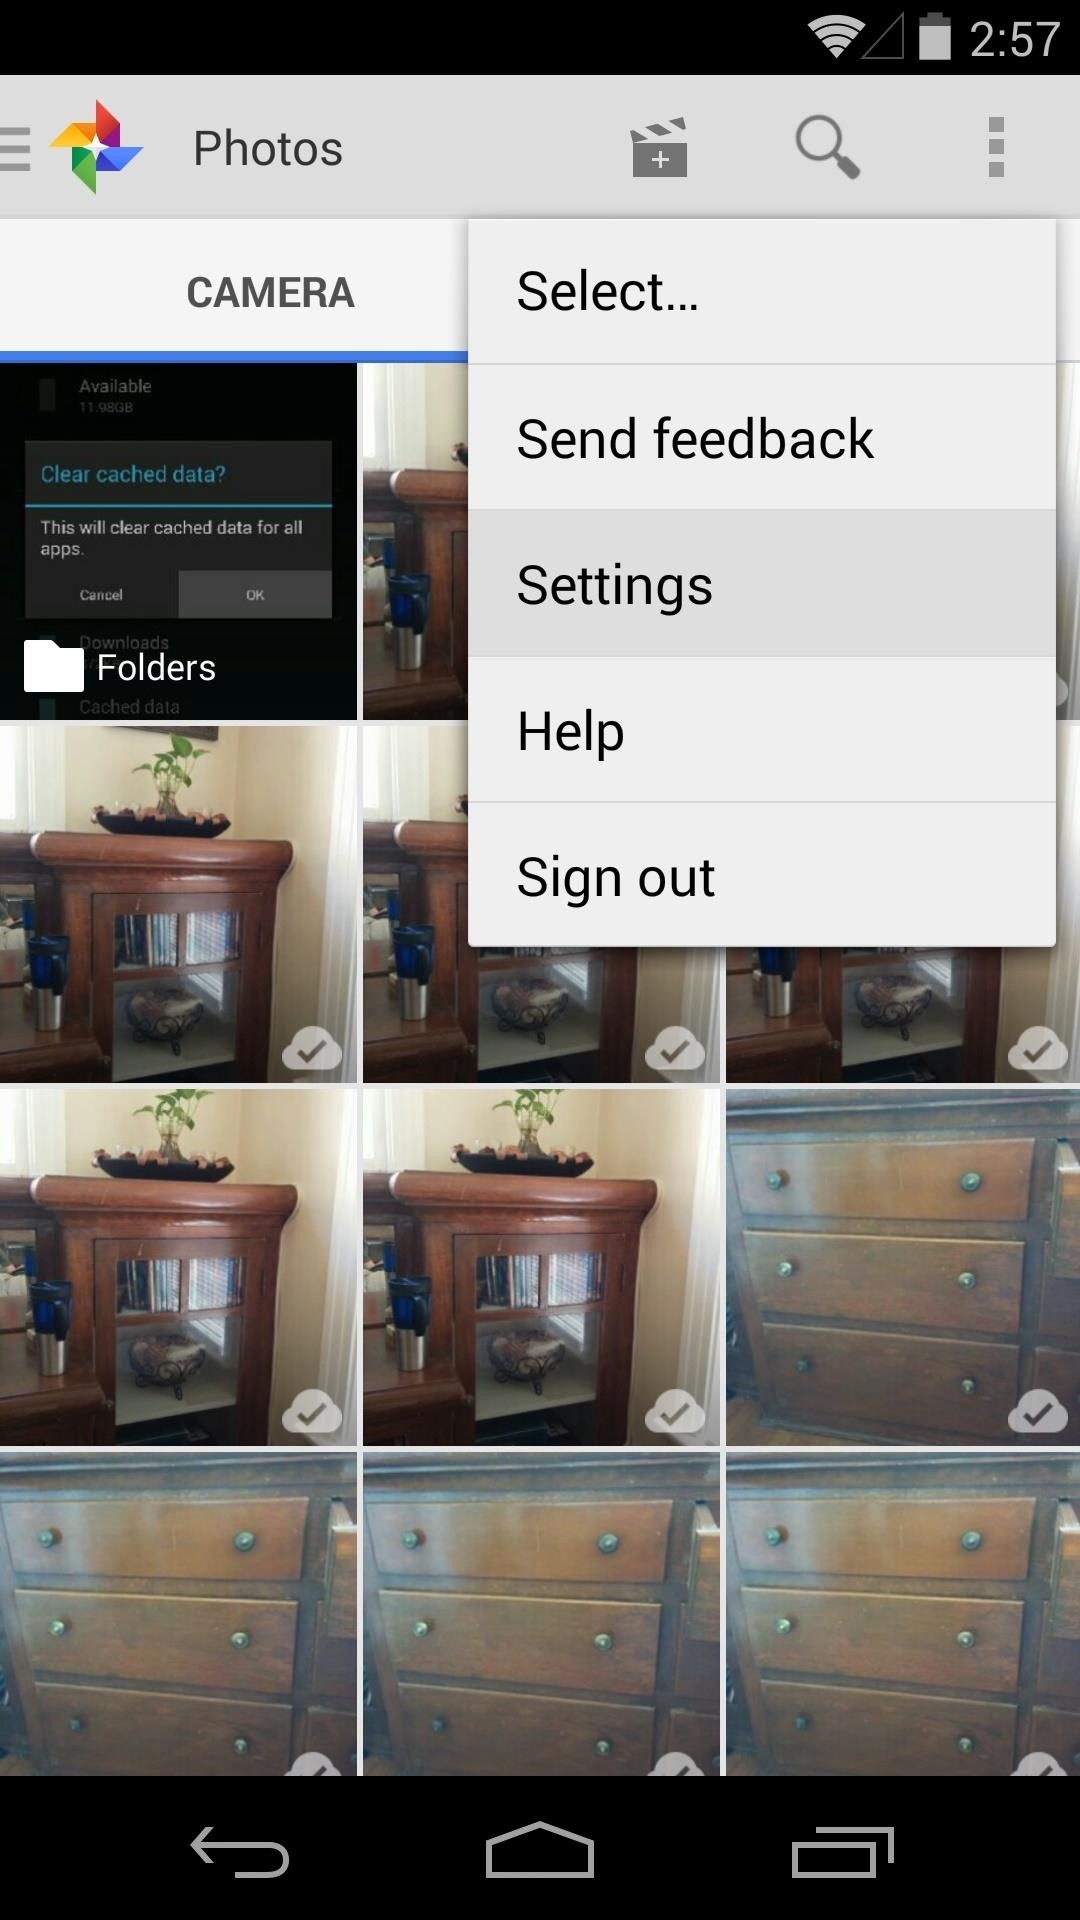
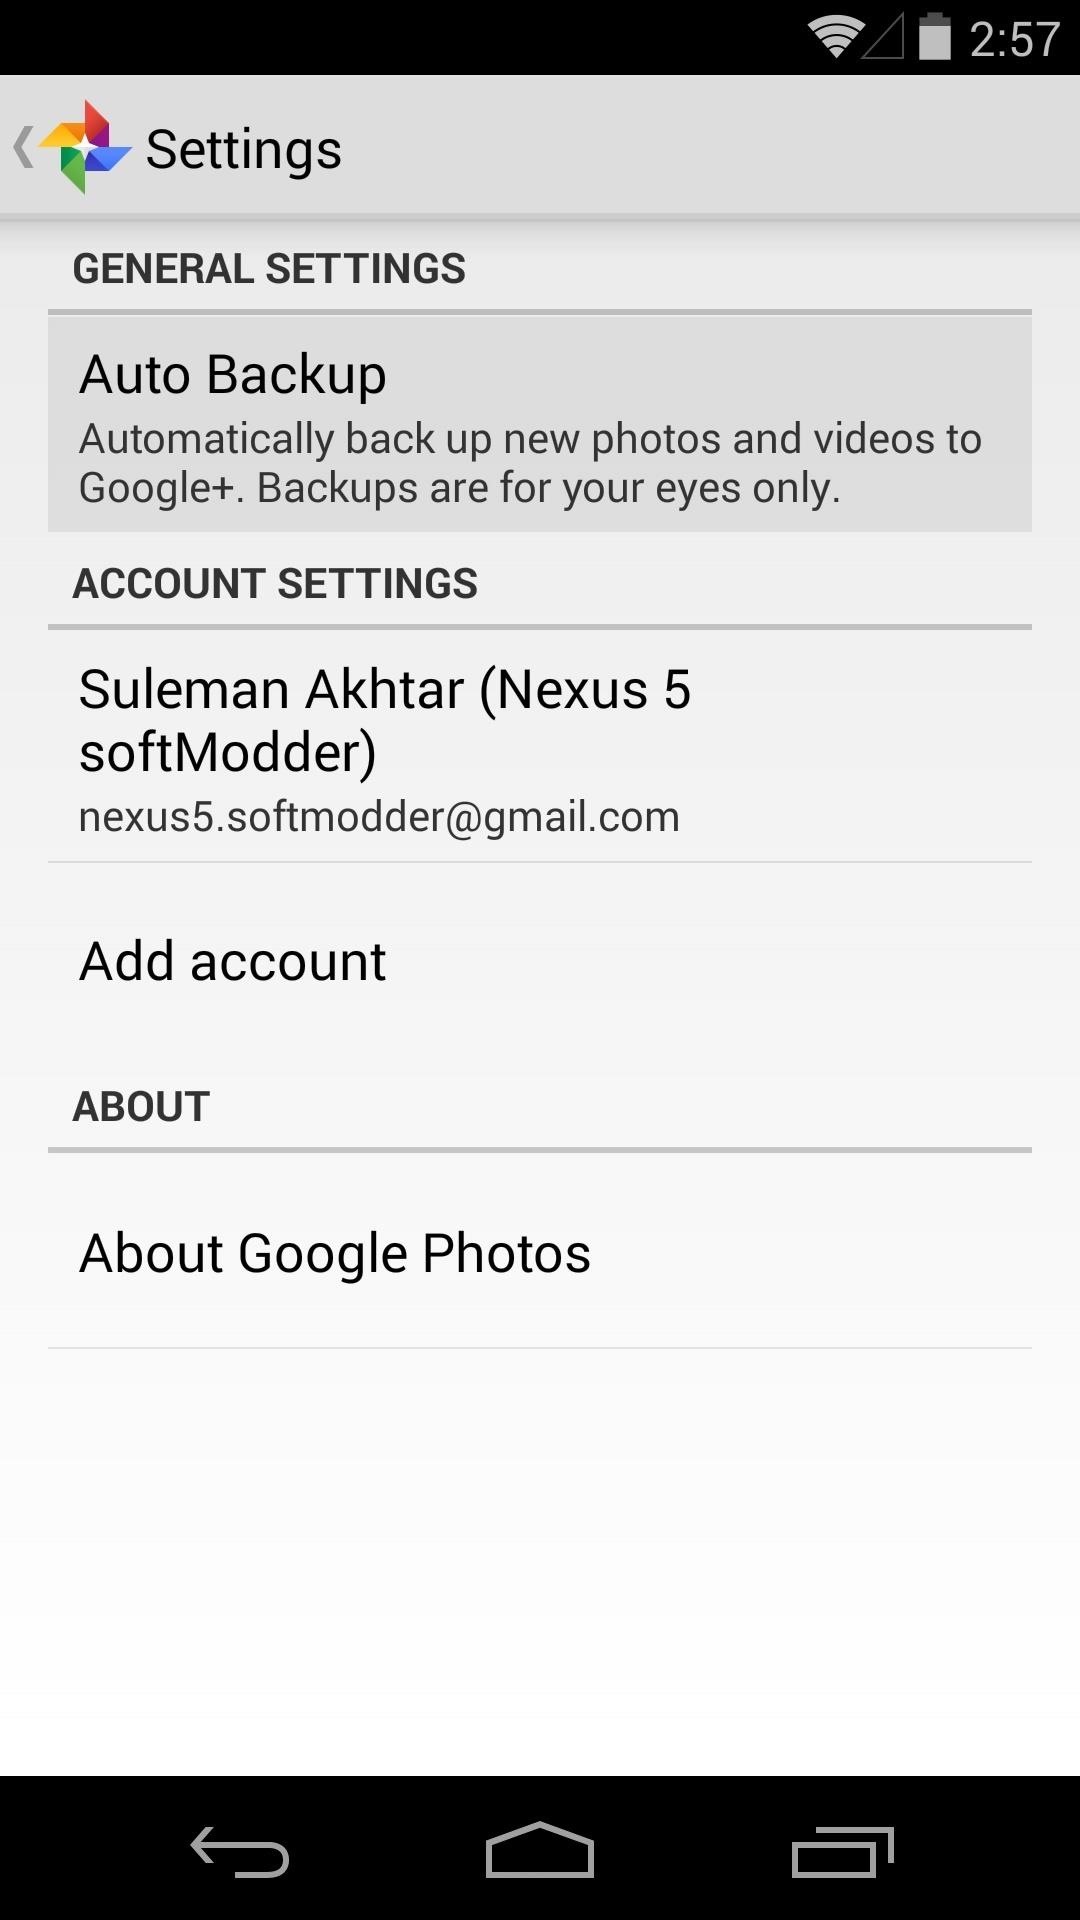
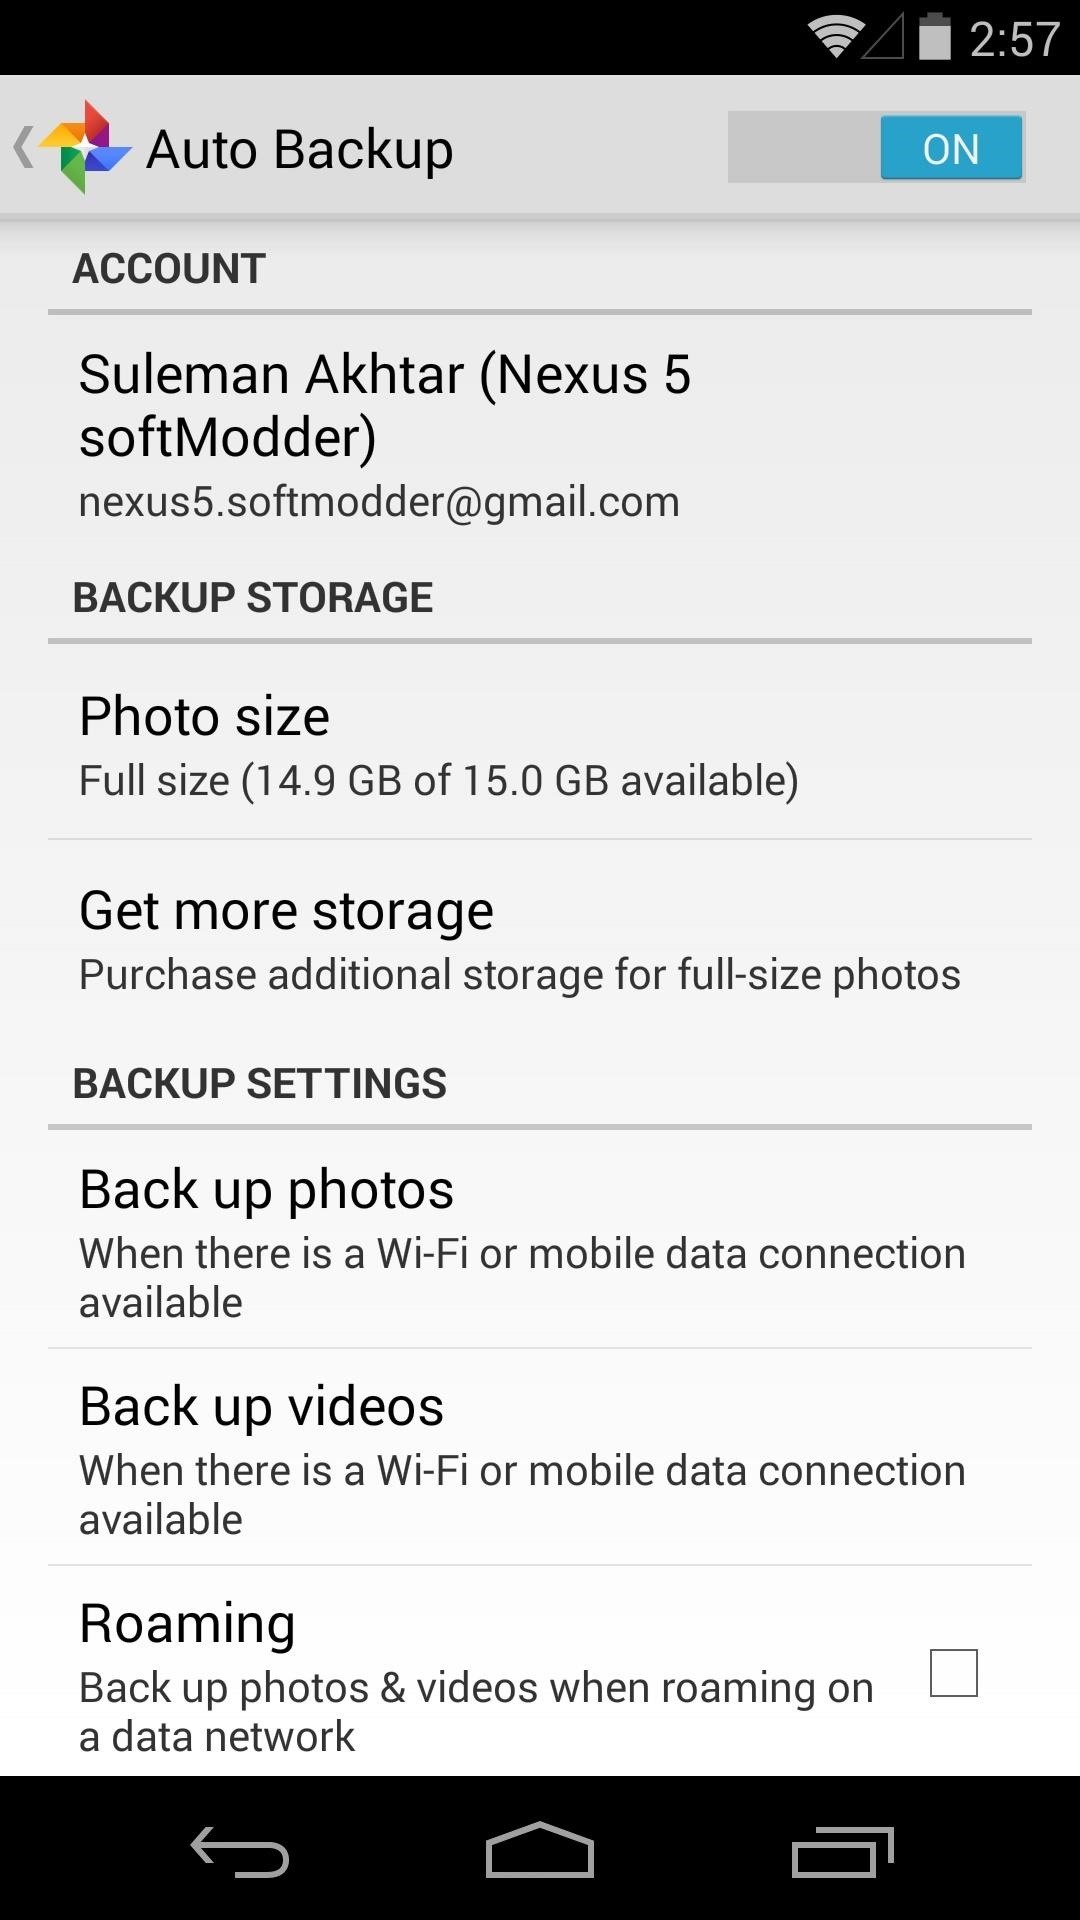
If you've declined this option in the past, it's not too late. You can simply hit the three-dot menu icon, then tap Settings and select Auto Backup. On this screen, use the toggle at the top-right to enable the service.
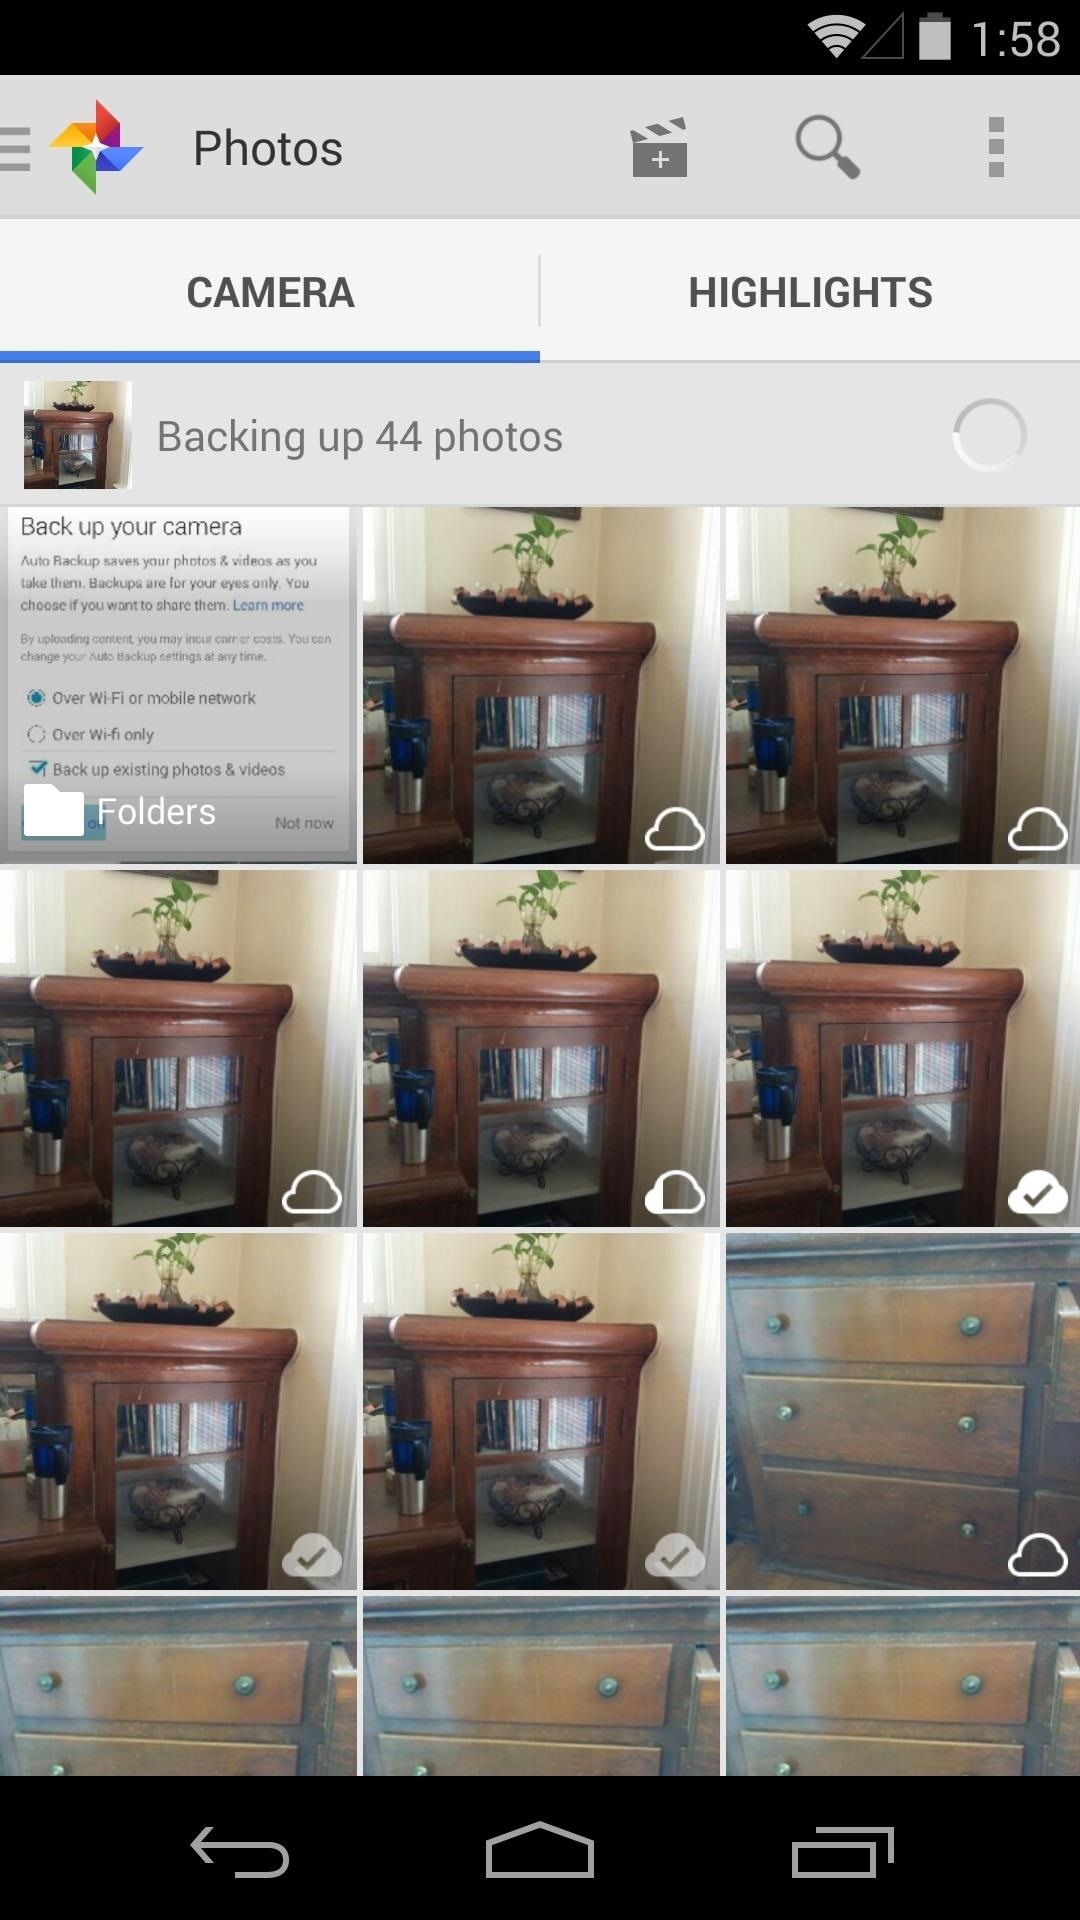
Once your photos have been successfully backed up, the cloud icon at the bottom of each picture will have filled in.

Step 4: Delete Your Local Photos & Videos
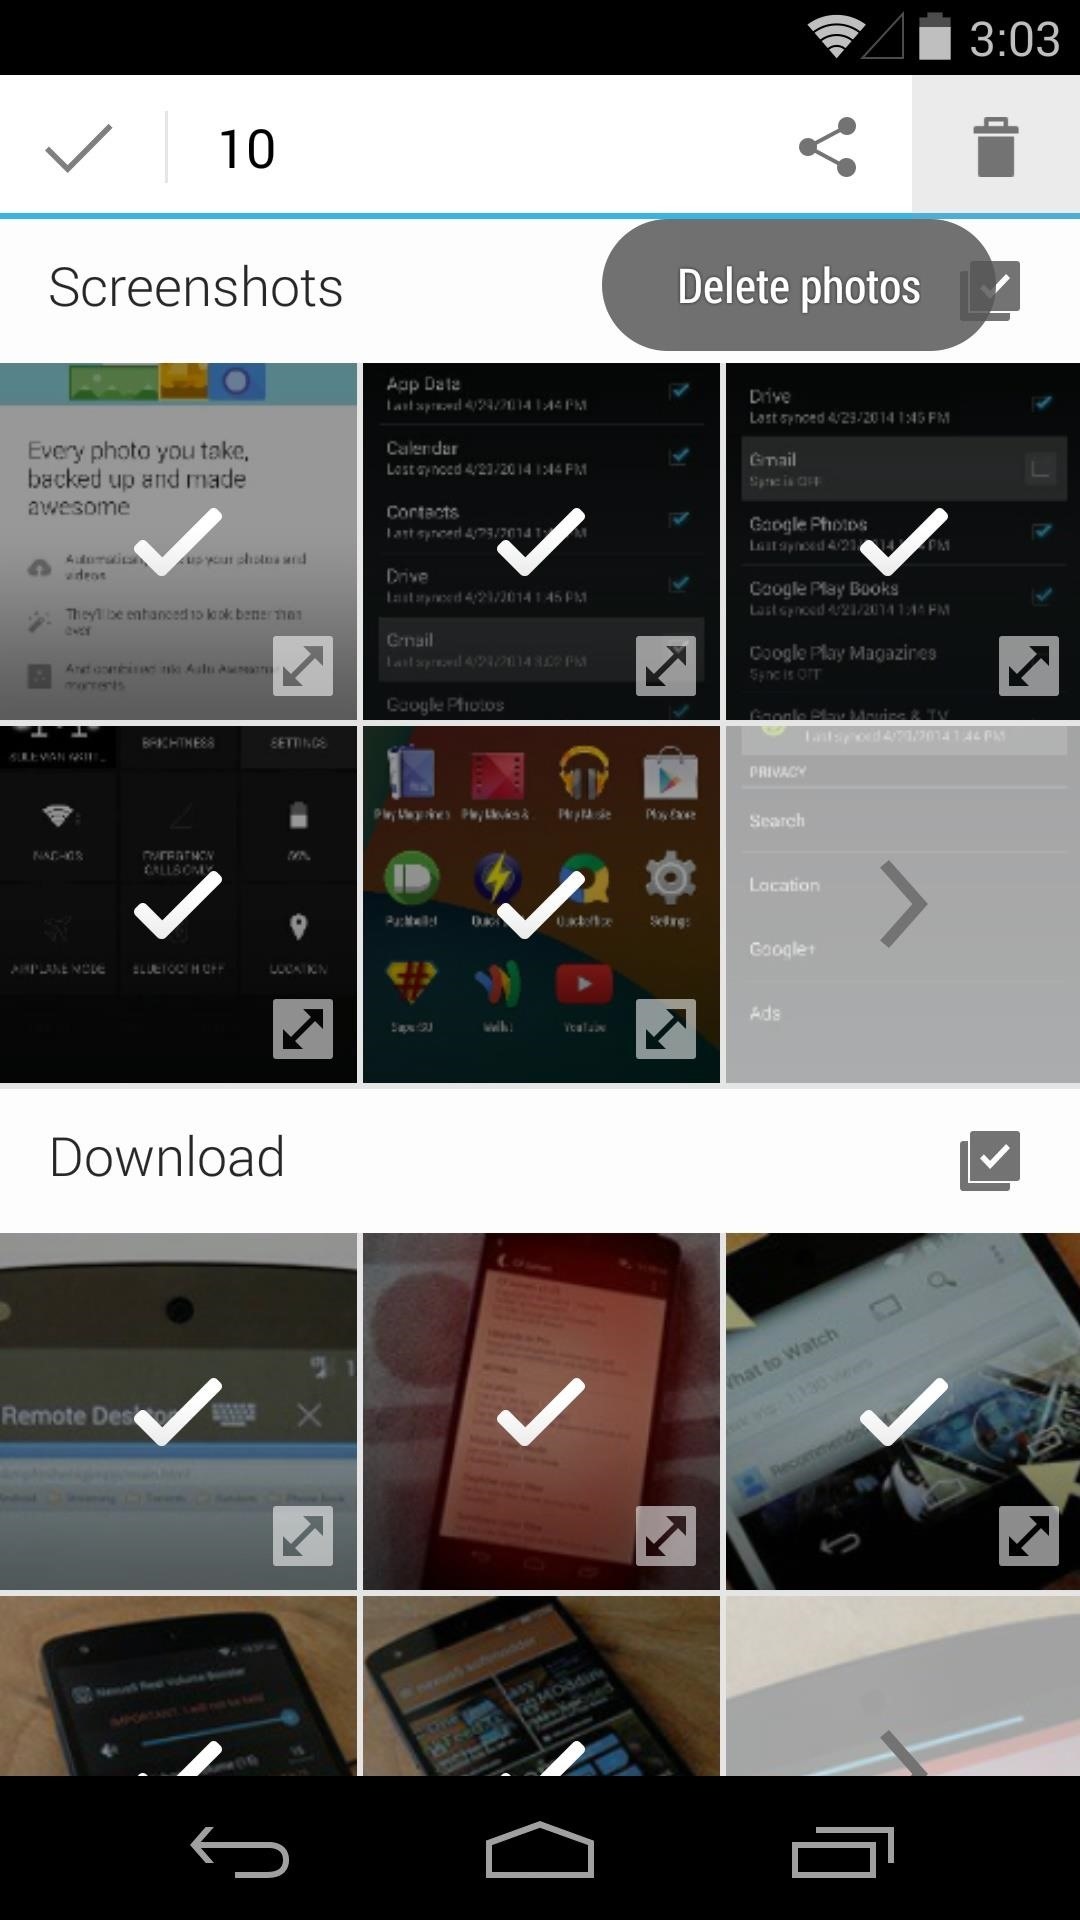
Now that your photos are stored remotely, they no longer need to be taking up space on your device. Delete them by sliding out the side navigation menu on the left, then selecting Folders. From here, long press pictures to select them, then tap the delete icon at the top.

Step 5: Delete Your Photo & Video Thumbnails
Any time you take a photo or screenshot, the camera app automatically creates a smaller version of this picture to be used as a thumbnail in your gallery app. Unfortunately, these thumbnails take up space, and if you've taken many photos over the course of owning your device, they can begin to pile up. What's worse is that these thumbnails don't go away, even after you've deleted the original photos.
But you can easily clean these up using your favorite file browser. I'm using Sliding Explorer here, which is a free app available on Google Play.
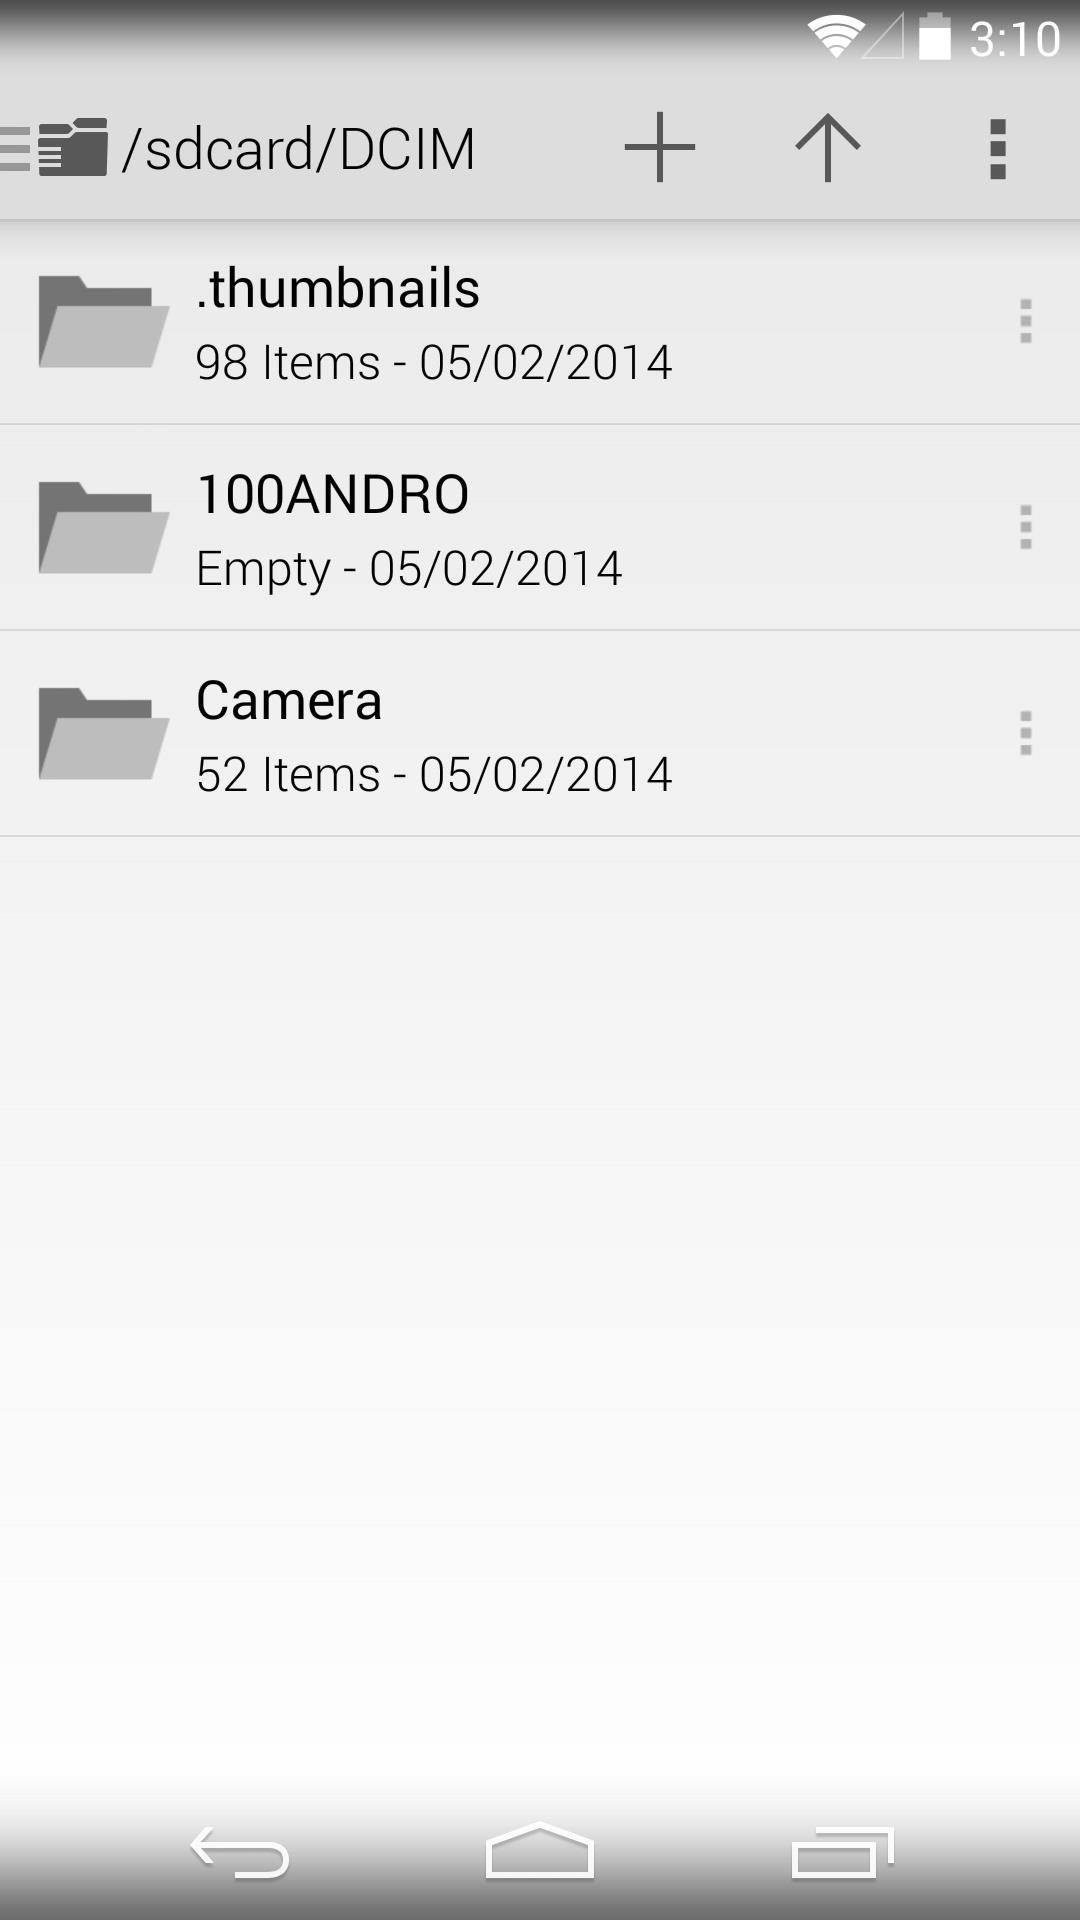
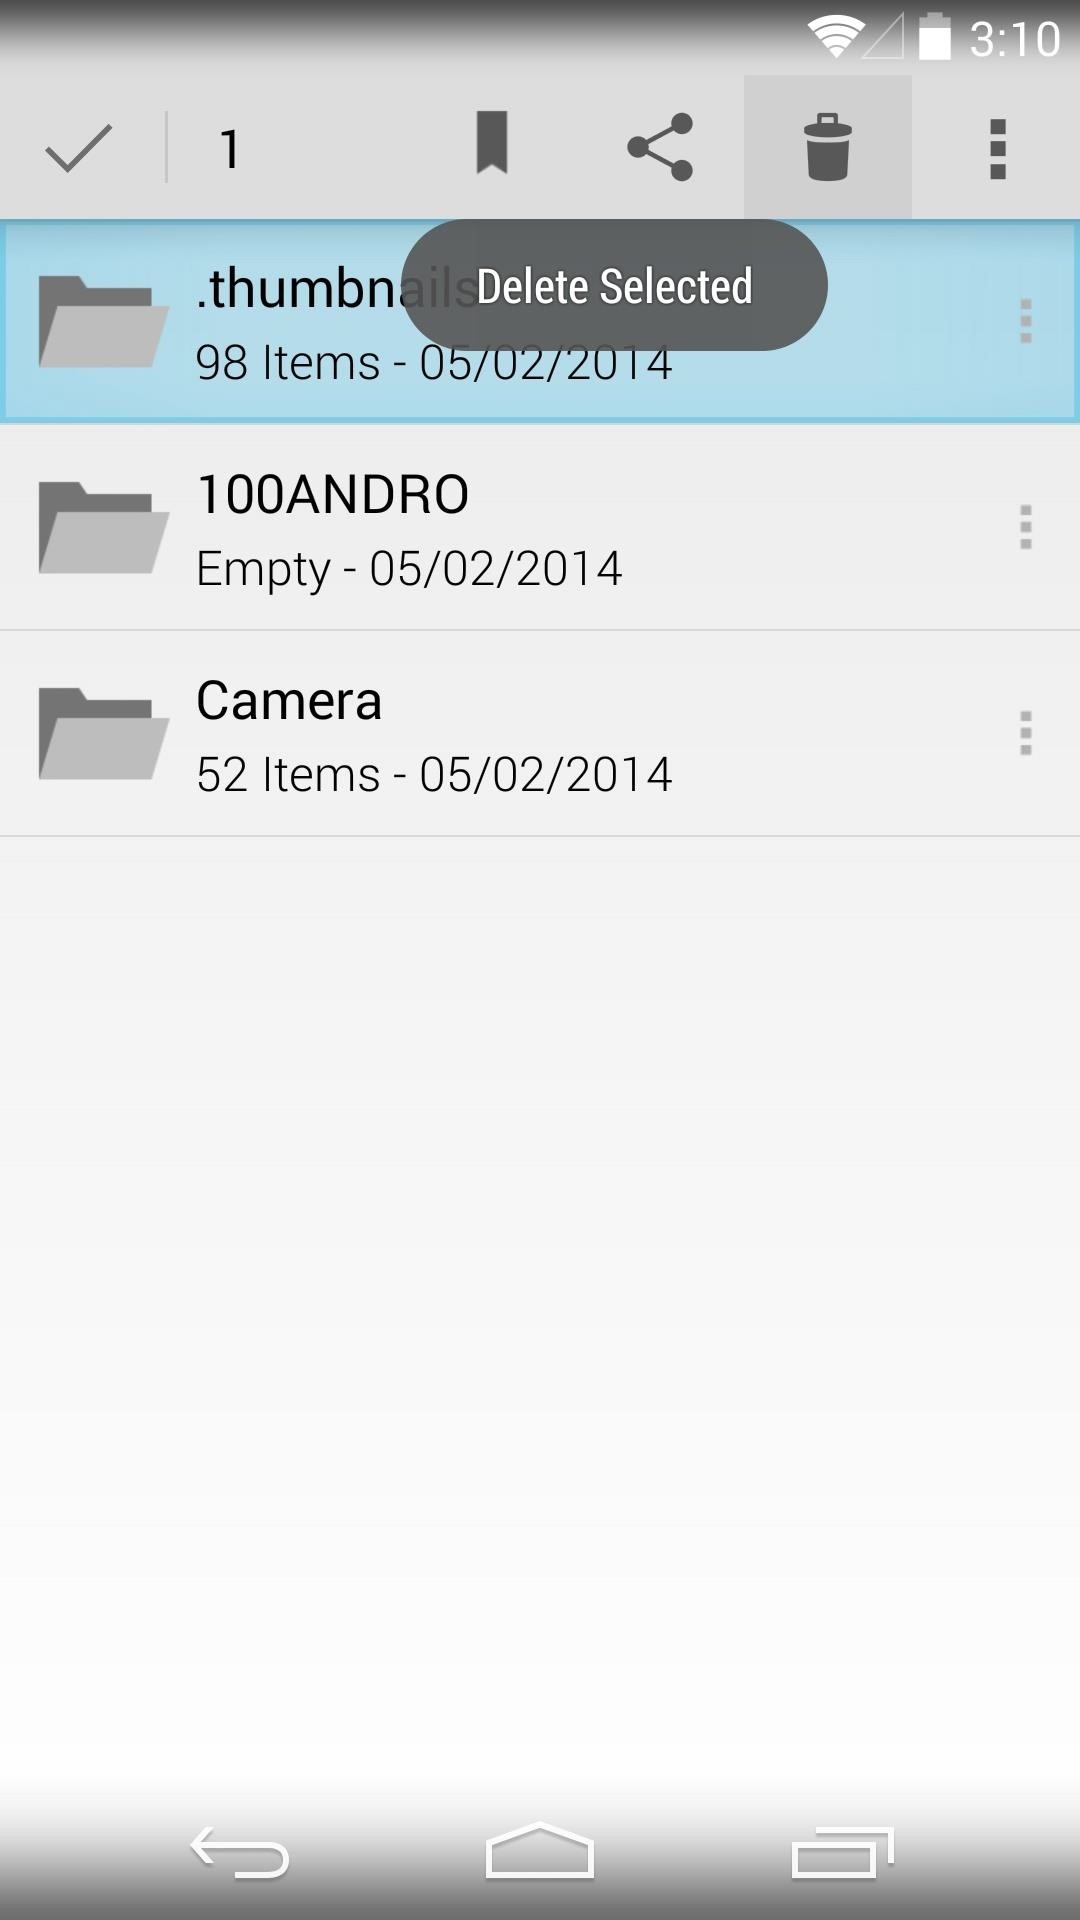
To get started, head to the DCIM folder on your SD card. In here, you'll find a folder named .thumbnails (be sure that your file browser is set to show hidden files). Long-press this folder, then hit the Delete icon to remove it. Doing this on my own Nexus, I was able to save almost a gigabyte of space.
Unfortunately, though, as soon as you take more photos, this folder will be automatically created again. To prevent this, and to continue to preserve the storage space that it would normally occupy, there is indeed a workaround.
Step 6: Block Thumbnail Images from Saving
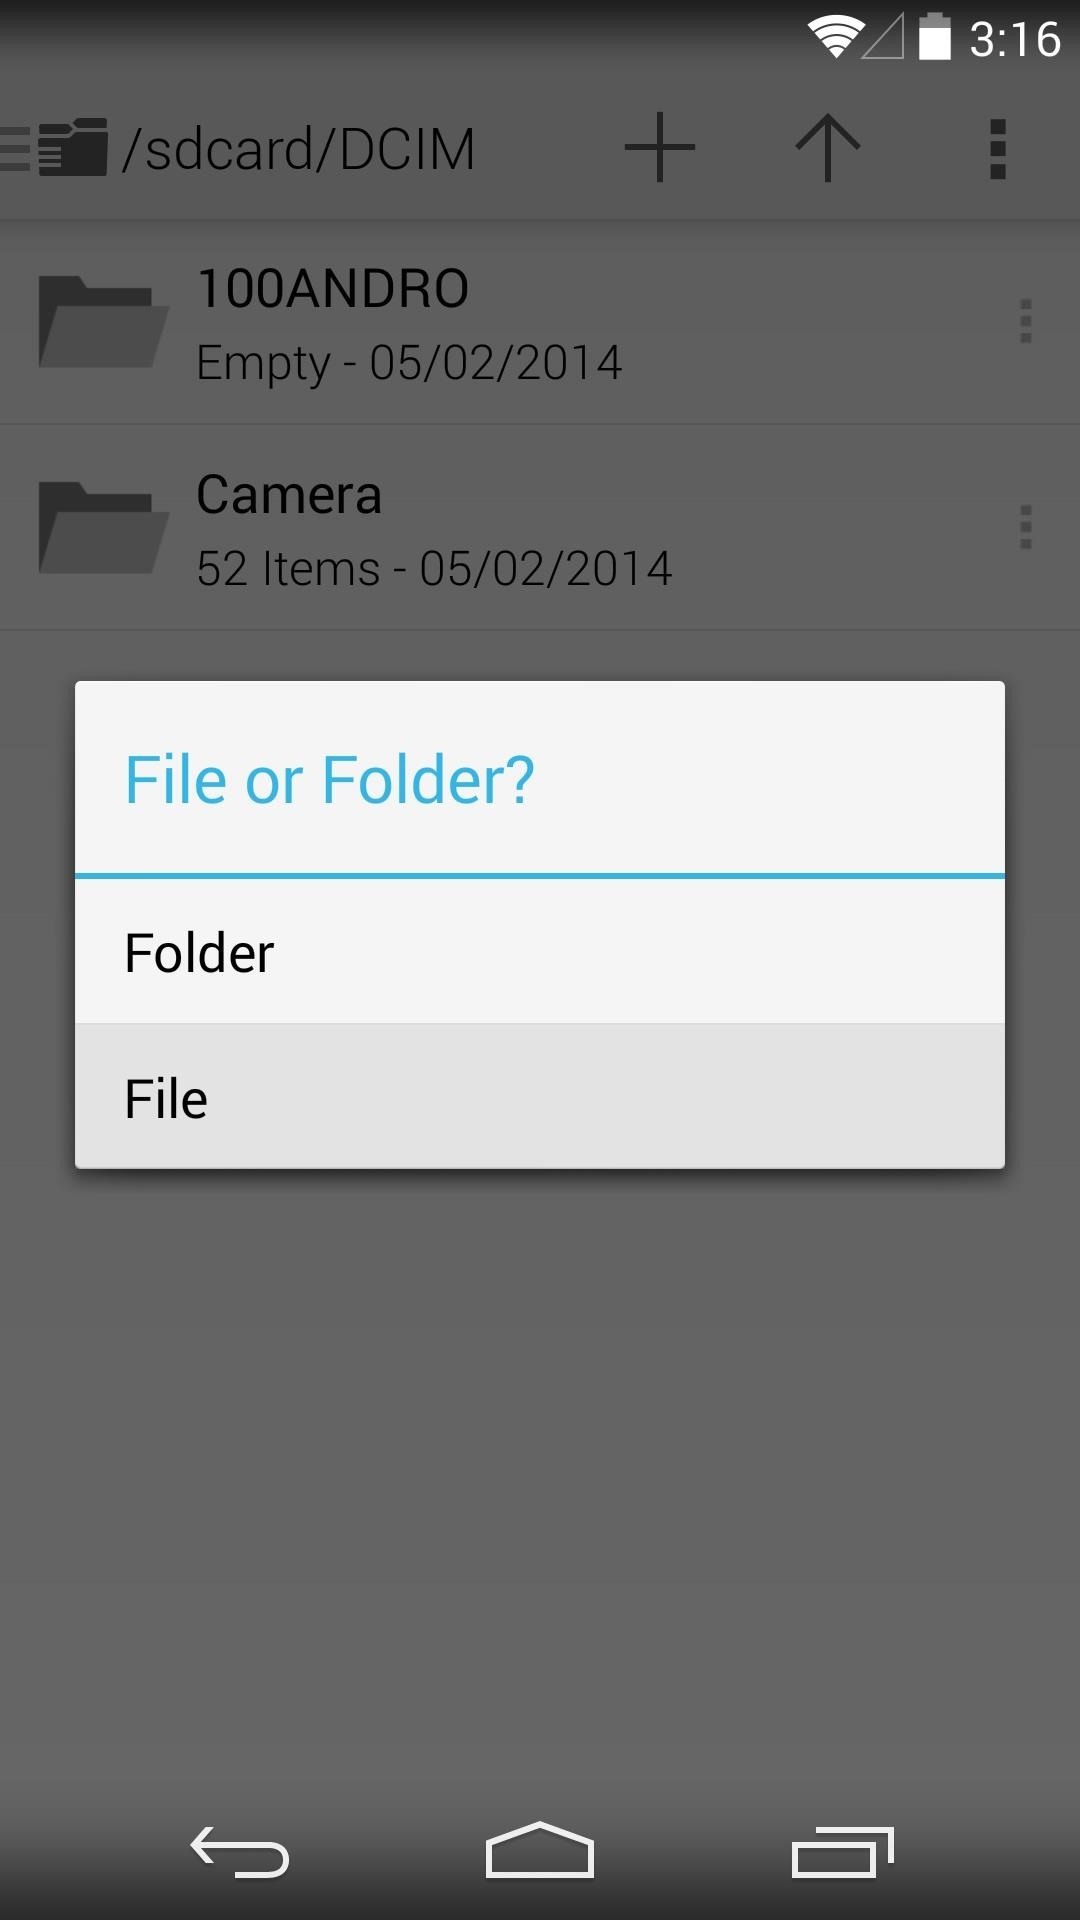
Using your file browser, create a new file. This can usually be done by finding an Add... option in the file browser's menu, or by pressing a + icon from within the DCIM folder and selecting File.

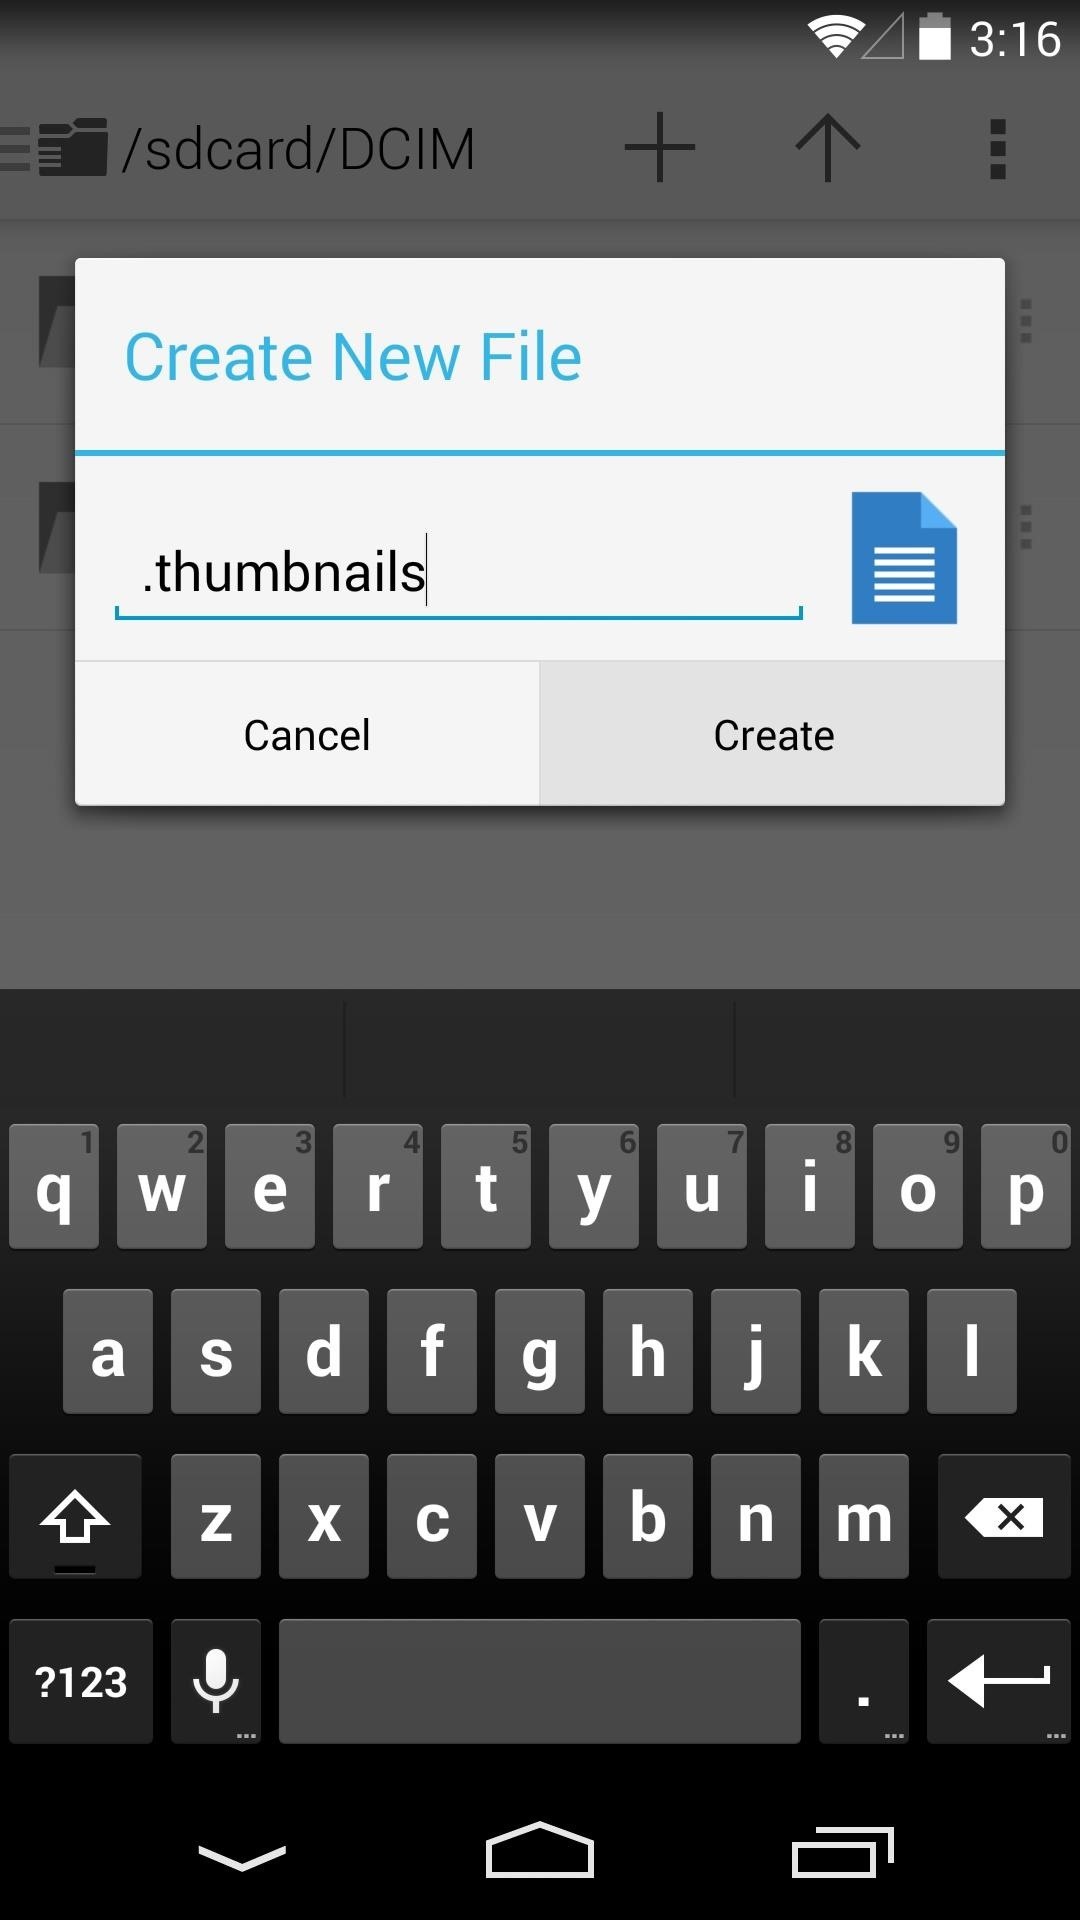
Name this file exactly the same thing that the folder you just deleted was named—.thumbnails—being sure to include the period at the beginning.
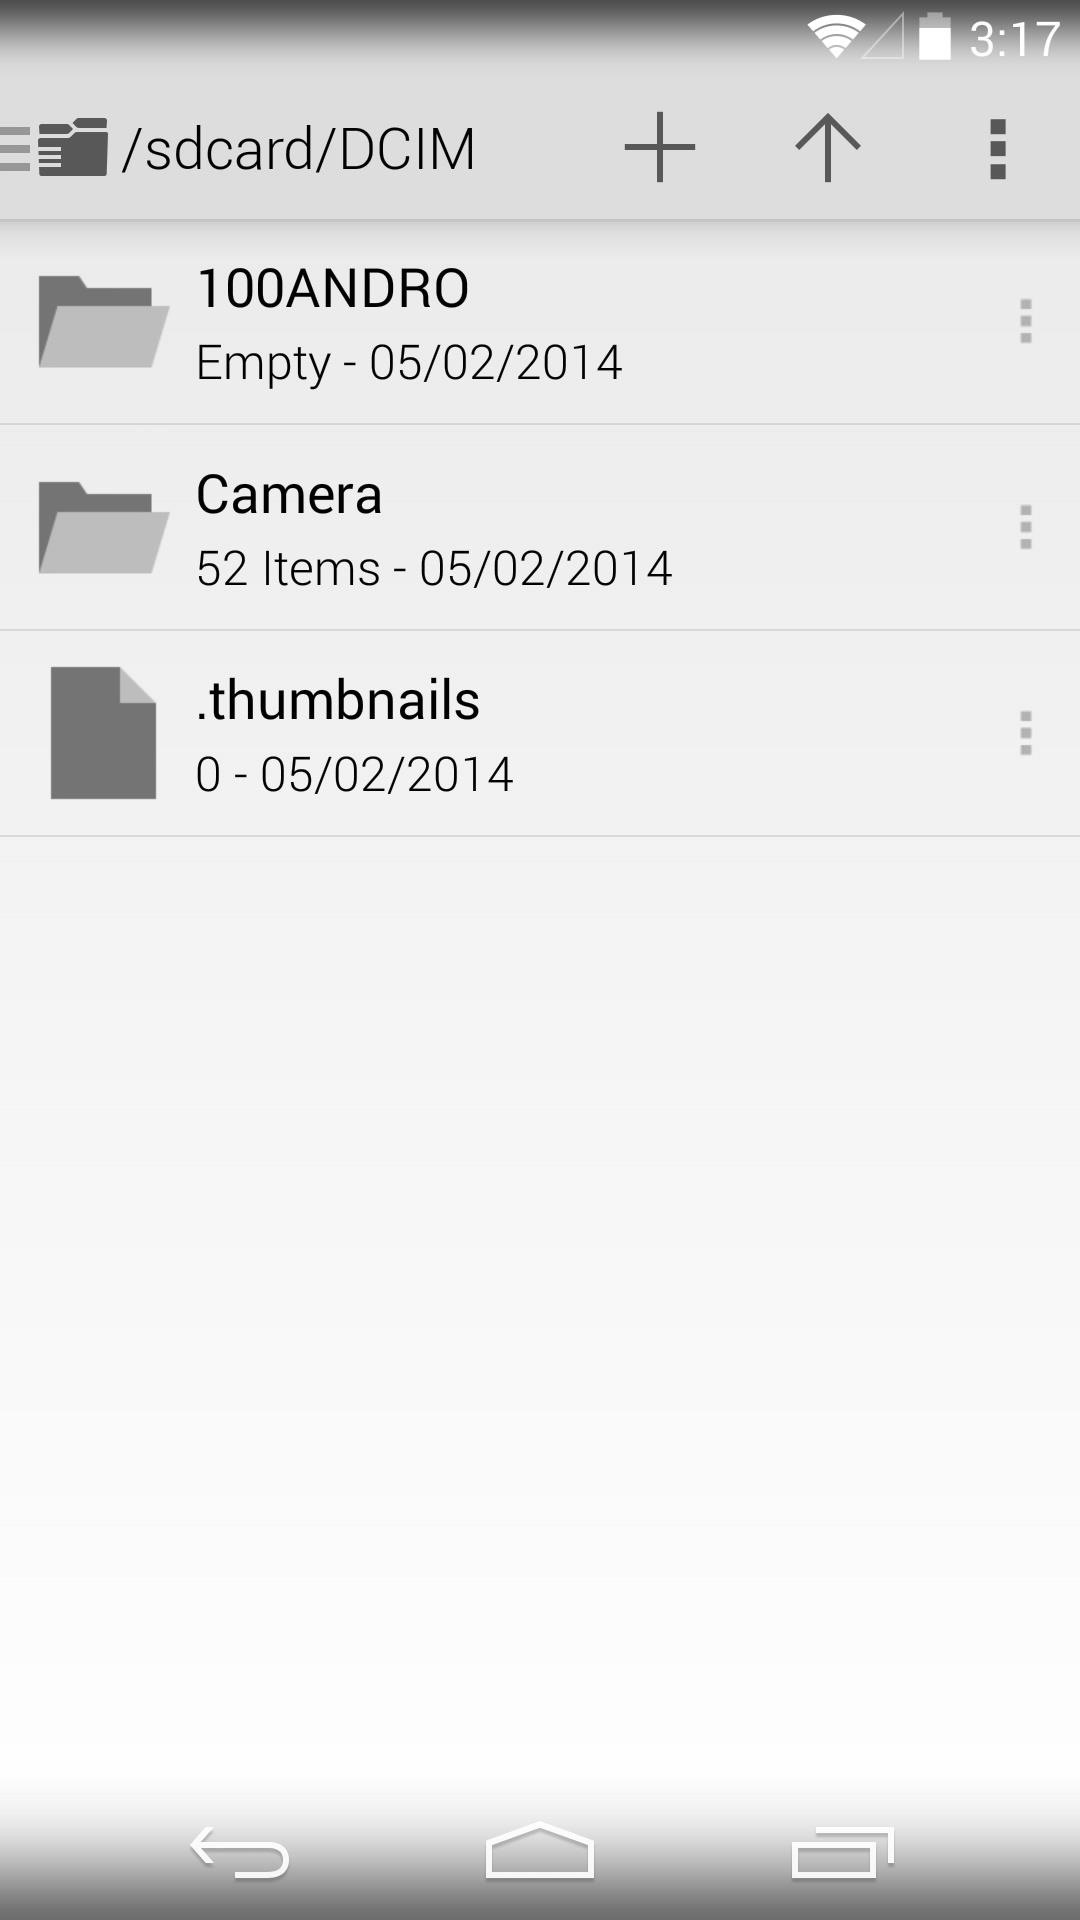
This will prevent a new .thumbnails folder from being created as soon as you take more pictures, since a file with that name already exists in this folder. And since you created a file rather than a folder, new thumbnail images cannot be added inside of it—meaning the space you saved by deleting your thumbnails will continue to be available.
Step 7: Use Cloud Storage Services for All Files
Rather than storing files locally on your device, you can use a cloud storage service to save your files remotely. Much like the Google Photos app we used earlier, these services can free up space by allowing you to delete files from your device.
Amongst the more popular apps for general file storage are Dropbox, Google Drive, and Box. These all offer a decent amount of free storage space that you can access remotely from the Android apps I just linked out.
For cloud-based music, Google Play Music offers free storage of up to 20,000 songs. Visit the webpage from your computer to get started on uploading your music, then use the Android app (which came preinstalled on your Nexus 5) to stream the music to your phone.
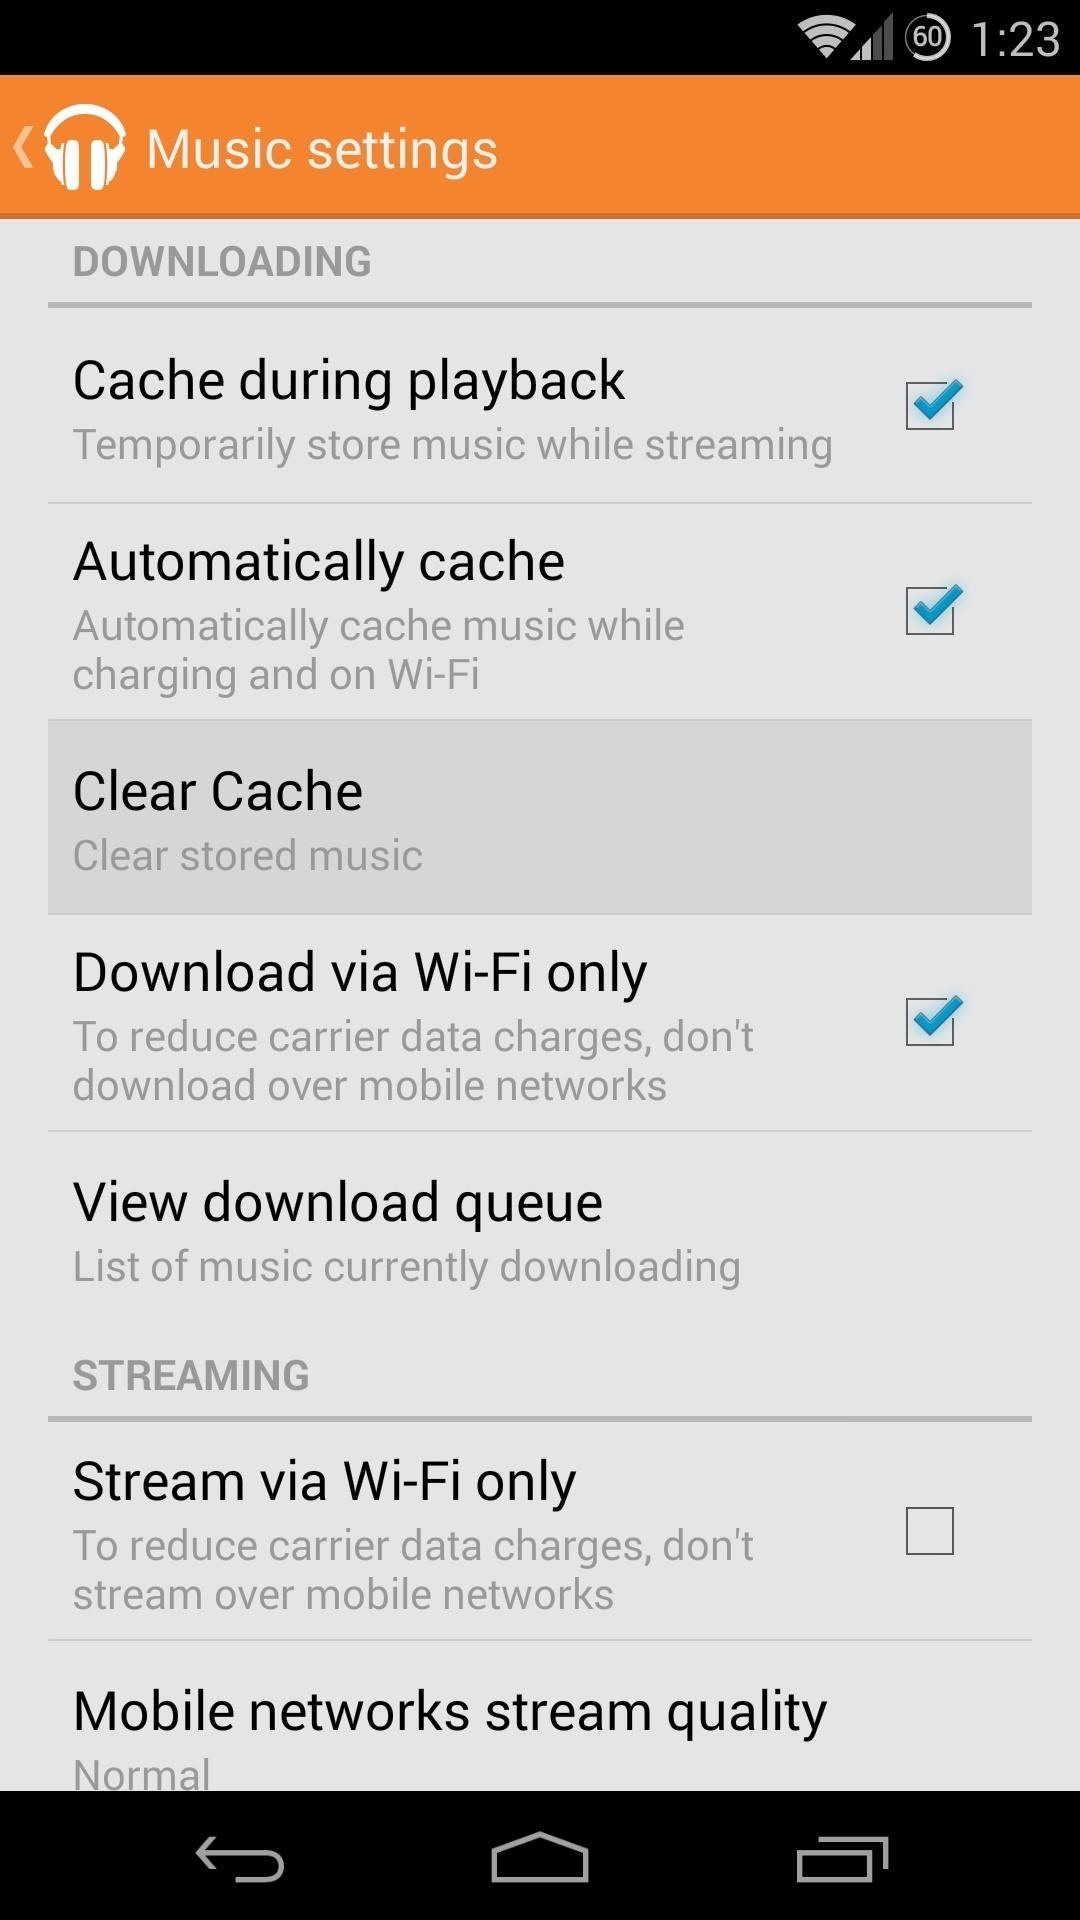
Step 8: Clear Play Music's Cache
One thing to note with Play Music is that the app does indeed cache the songs that you play. To free up space periodically, head into the app's settings, then tap Clear Cache.

Hopefully by now you've freed up at least a few gigabytes of space on your Android device. How much space did you save? Let us know in the comments section below, and let us know if you discover anymore memory hogs we should know about, too.
Who needs a wand? Unlock your magical powers and transform yourself from a Muggle into a Wizard or Witch just by using your Android phone. See how:


12 Comments
I got all the steps done but play music isn't showing any kind of option for cache. Neither do I get the option for radio as in your screenshot.
Are you on the latest version of Play Music. Also, if you are outside the US, it's possible that those options haven't yet reached your locale.
Yes I do have the latest version. Maybe its because of the region then. Thank you.
To save space, i've mounted my Nexus 5 to my PC and I'm physically moving my videos / photos to a local drive.
I tried deleting them piecemeal in the photos app, but found they were being deleted from Google Plus as well. When I restored them Google Plus' bin, they ended up back on my phone. oh well, this way I get back 5GB of space and don't lose any photos or videos.
To delete them from the Photos app, make sure you delete them from the "On Device" tab and not the main tab.
How do i get to the SD card?
Thanks! I freed up over 3GBs of space on my Nexus 5 using your suggestions!
Is there a way that I can delete music files that I've downloaded onto my phone (so I can hear them in the car without using data), without also deleting them from my directory on the Cloud?
is there a way to free storage without deleting the images?
Hi, I did this and only save 0.28 GB, maybe less. I only got my phone on Christmas and my space is low.
How in the world do you delete audio music files in Nexus 4 ??
there is no SD card slot in Nexus 5, I dont undertand step 5 and 6 ...please explain
Share Your Thoughts