
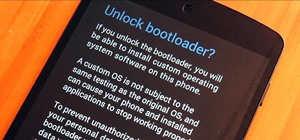
Android uses a set of permissions that apps can request to perform certain actions, and you're notified of these permissions each time you install an app. The problem here is the fact that you aren't given any built-in way to deny apps these permissions (although Danny just showed a workaround for this).
One such permission is the dreaded Wakelock. This allows apps to either keep the screen on or just keep the processor running even when the screen is off. It's a necessary evil in some cases, because it allows apps to keep their data synced even when you're not using them. This comes in handy if an app posts notifications, for instance.
But this functionality comes at a great expense in terms of battery life. When your phone is off, instead of entering sleep mode, you can have several different apps waking up the CPU intermittently and eating away at your battery.
Developer UzumApps has created a great tool for rooted users that can hunt down the most notorious wakelock holders on your Android device so that you can deal with them one way or another—and I'll give you a couple of options after the jump.
Step 1: Install Wakelock Detector
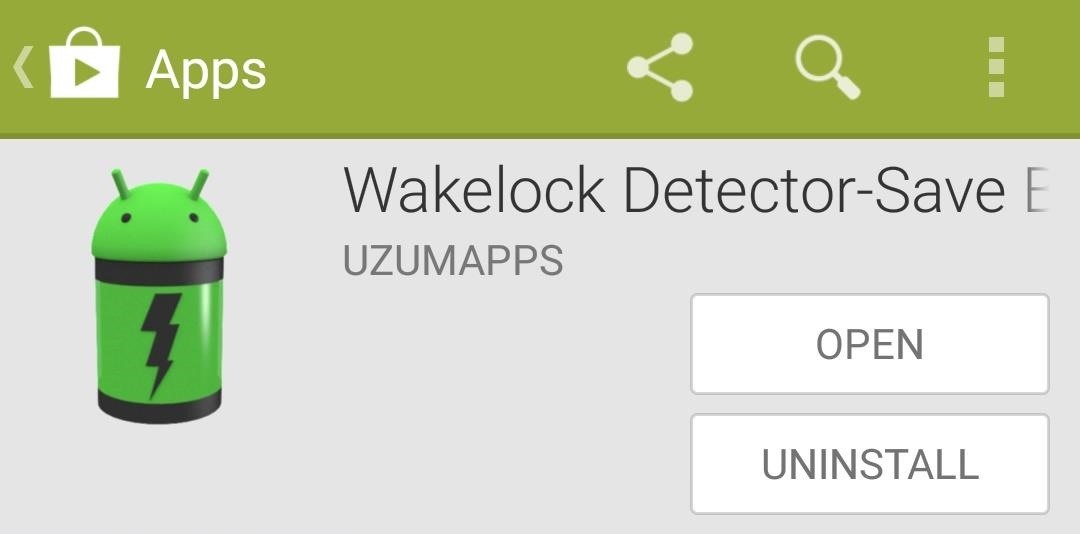
The root app that allows you to track these wakelock-offenders is fittingly named Wakelock Detector. Search your Play Store app to get it installed, or if you're reading this from your Android device, you can simply tap this link to head directly to the install page.
The developer recommends that you charge your phone to at least 90% battery life before running Wakelock Detector for the first time. If you're in a pinch, though, you can simply reboot your phone for the app to gather the data it needs.
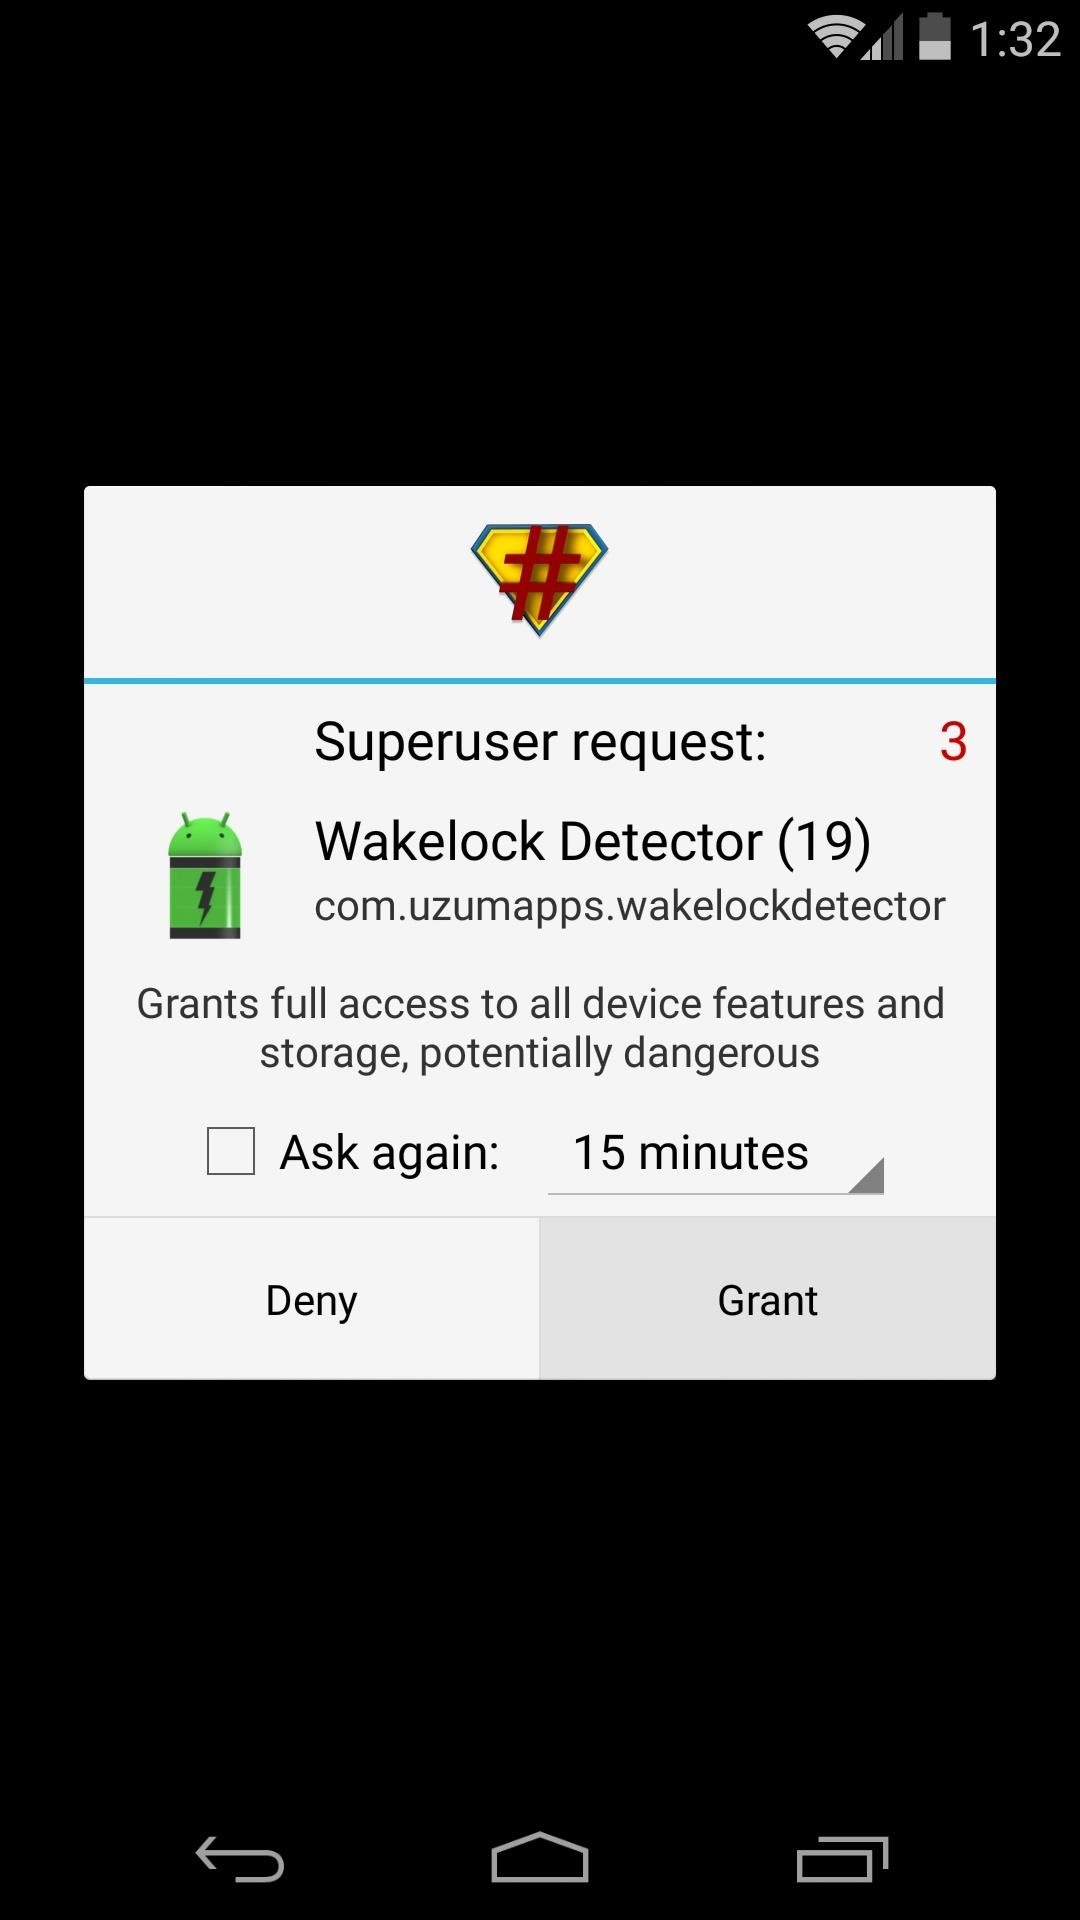
When you get that part out of the way, go ahead and run WLD for the first time. It'll ask for Superuser privileges, so Grant it those.
Step 2: Identify Problematic Apps
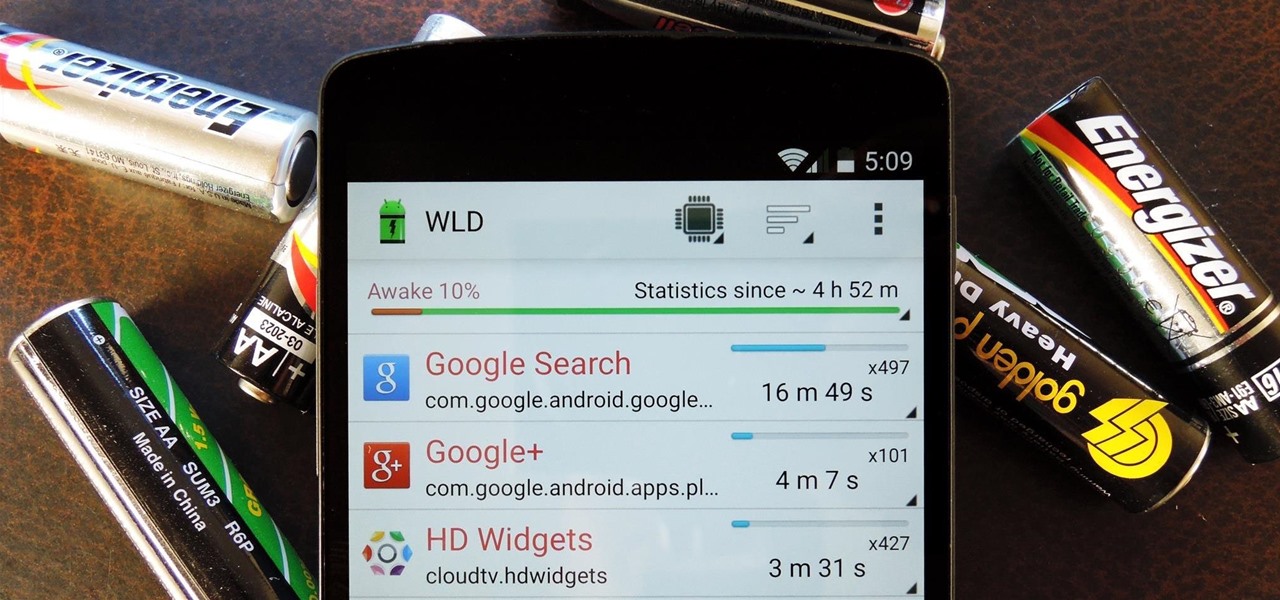
Wakelock Detector's premise is simple—it identifies apps that have woken your device from sleep mode using their wakelock permission.
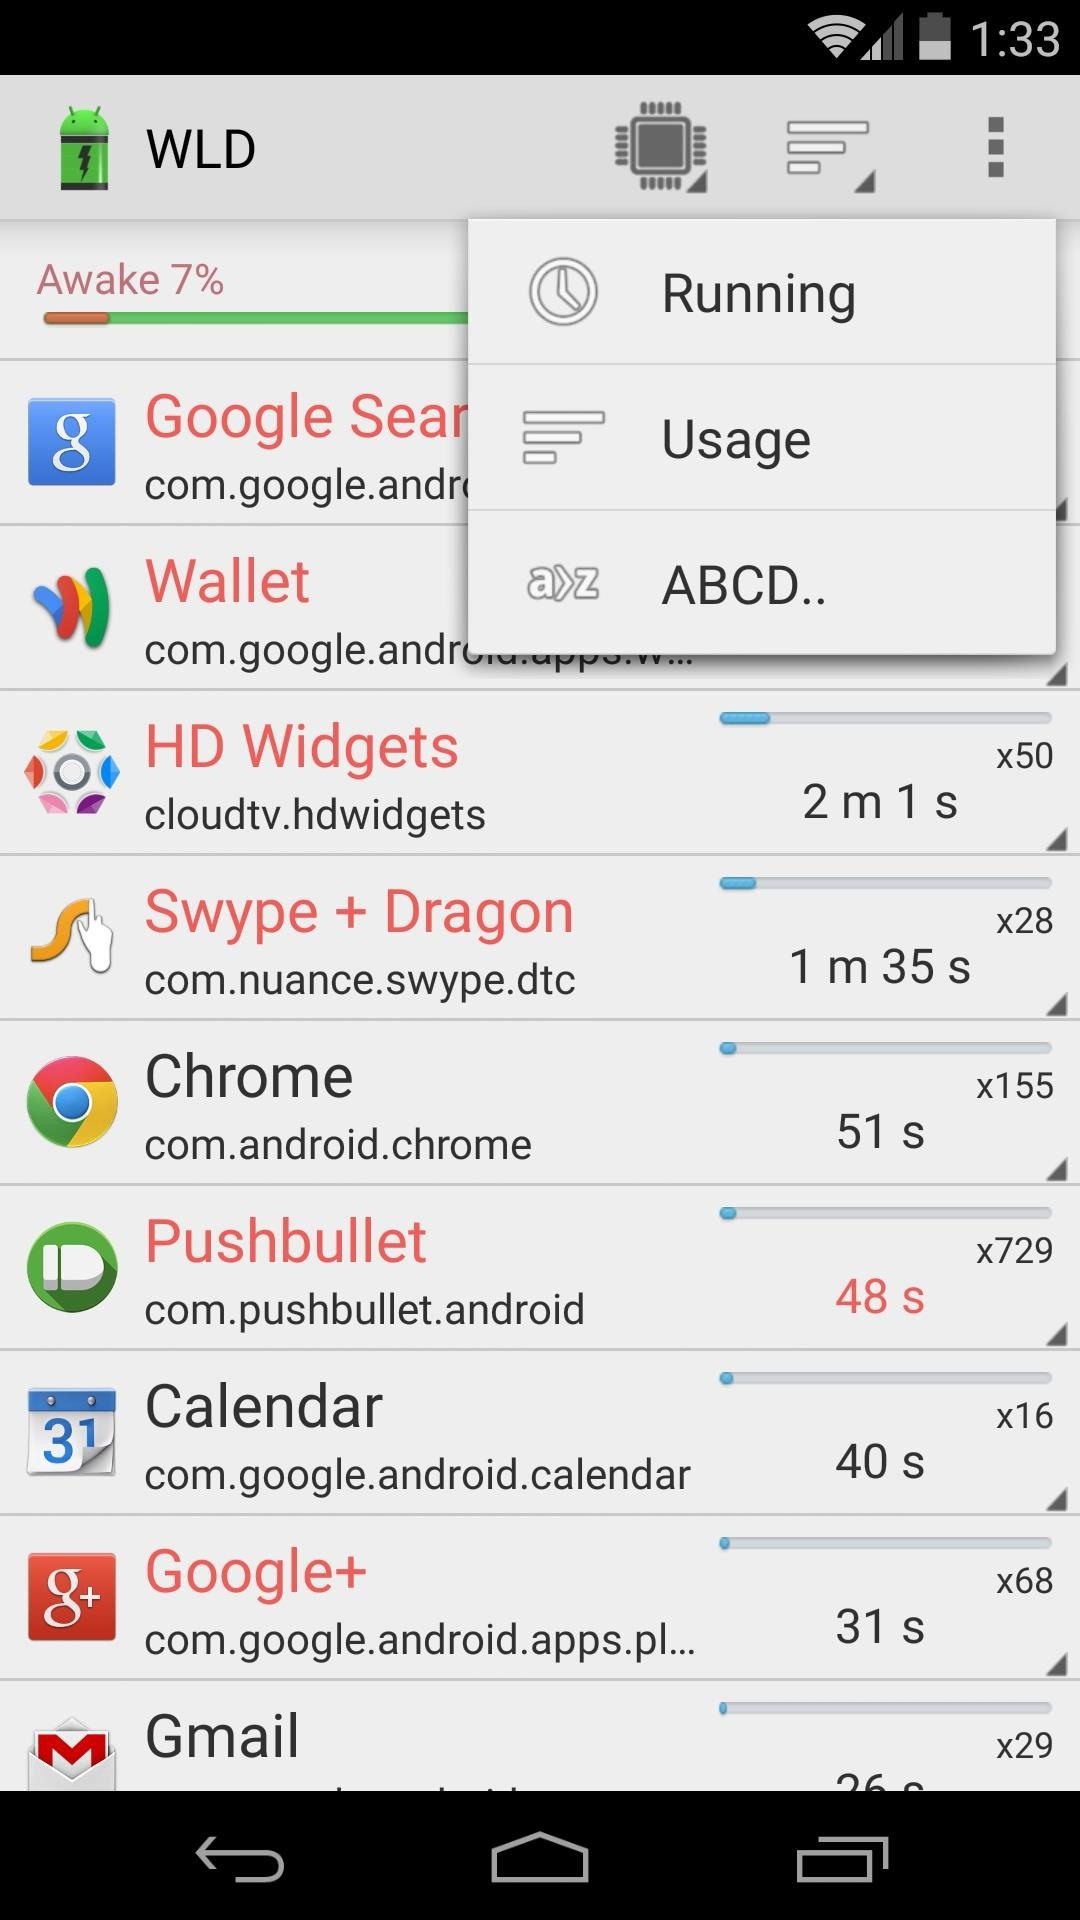
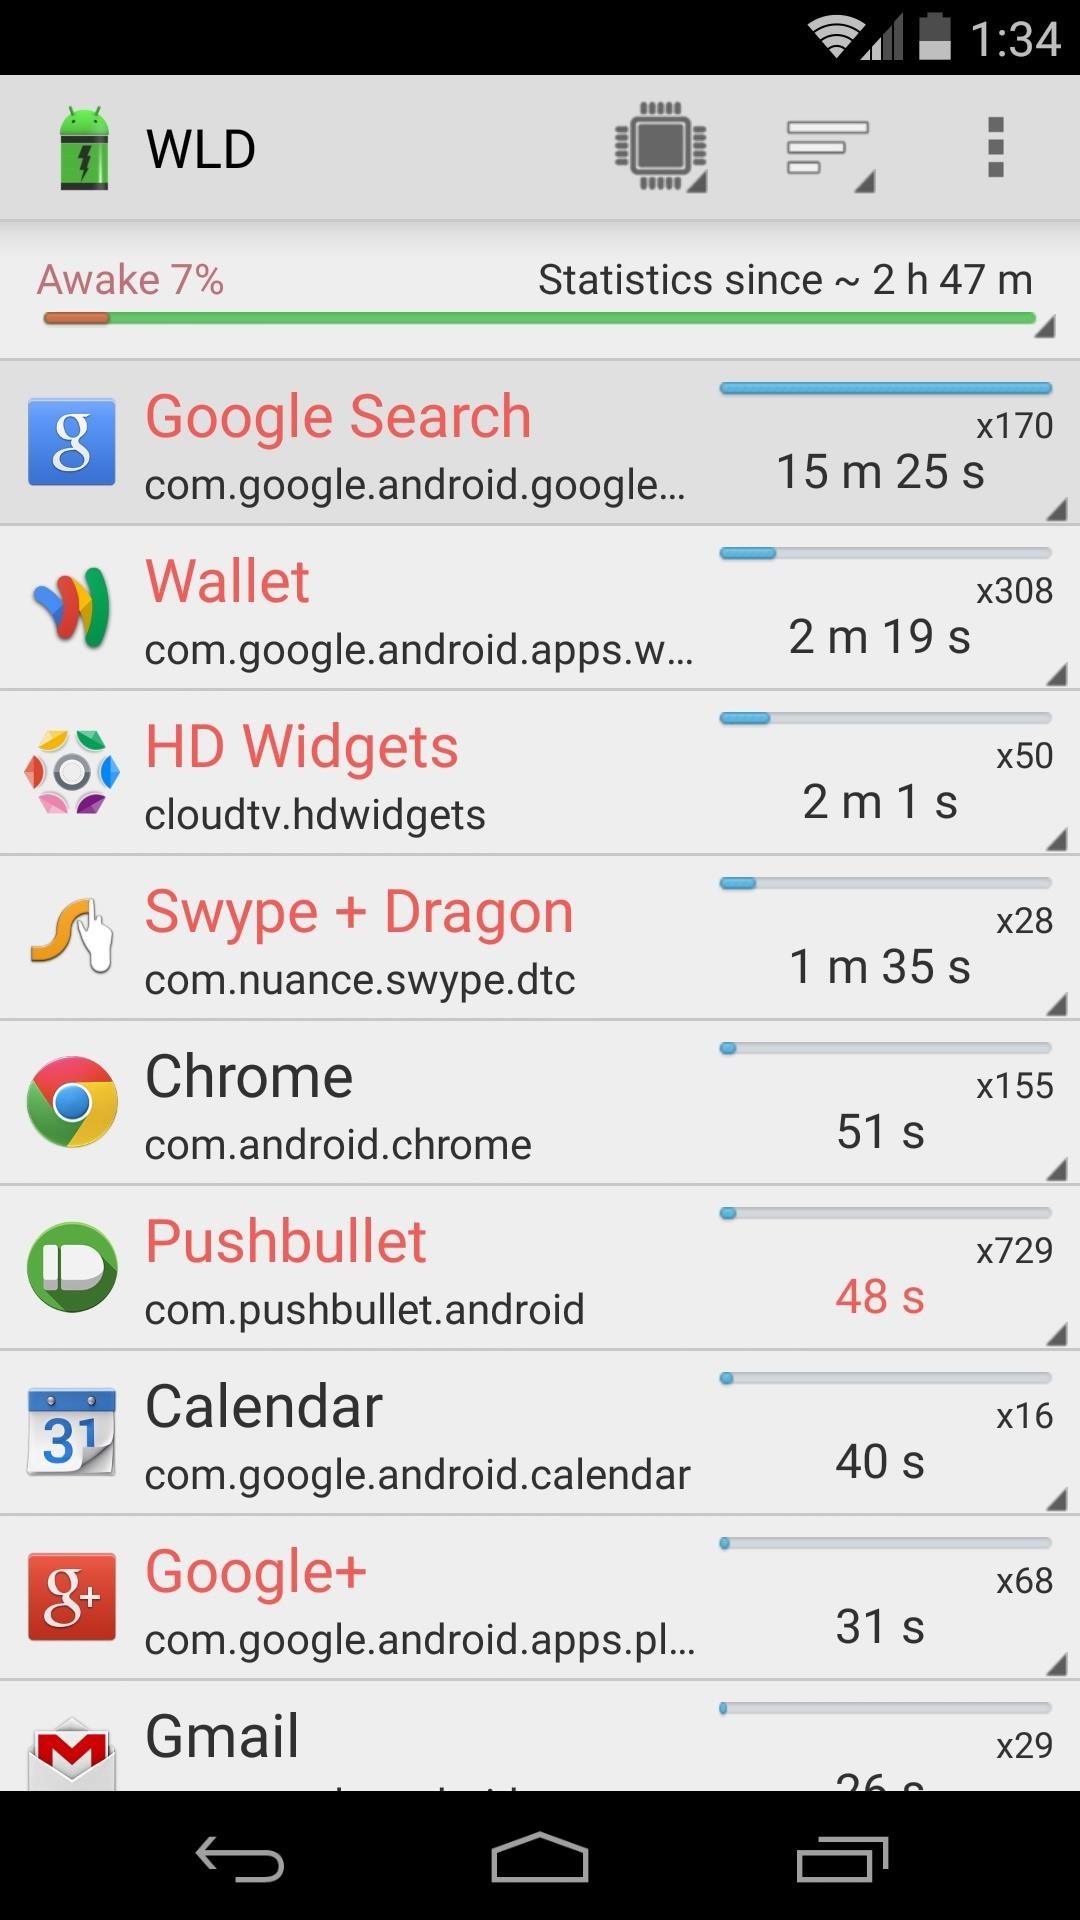
It presents these apps in the form of a list, which by default, is sorted by amount of time spent holding a wakelock of any kind. There are additional sorting options available at the top of the list if you would like to analyze this data in a different way.
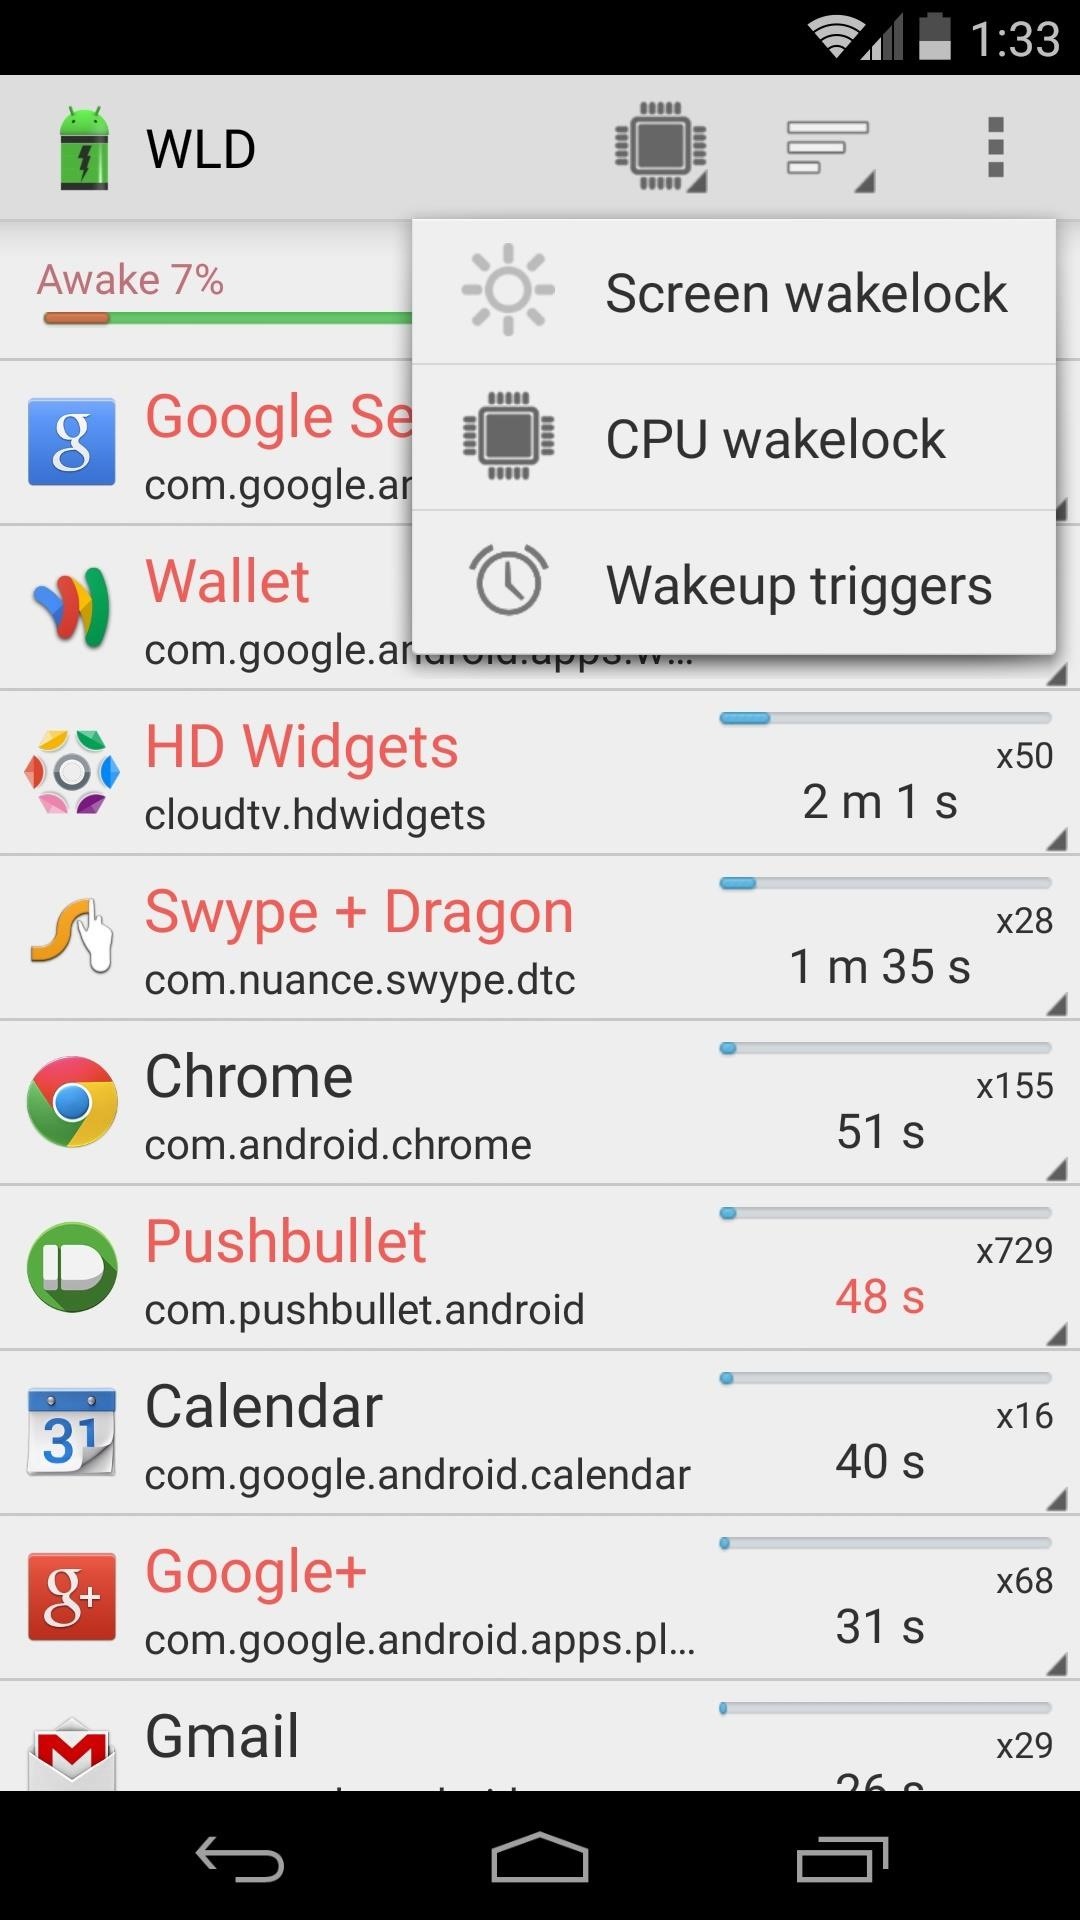
To see more wakelock data, you can tap any app and WLD will show you all of the services this app has used to request a wakelock. These items are also sorted by total time spent holding a wakelock.
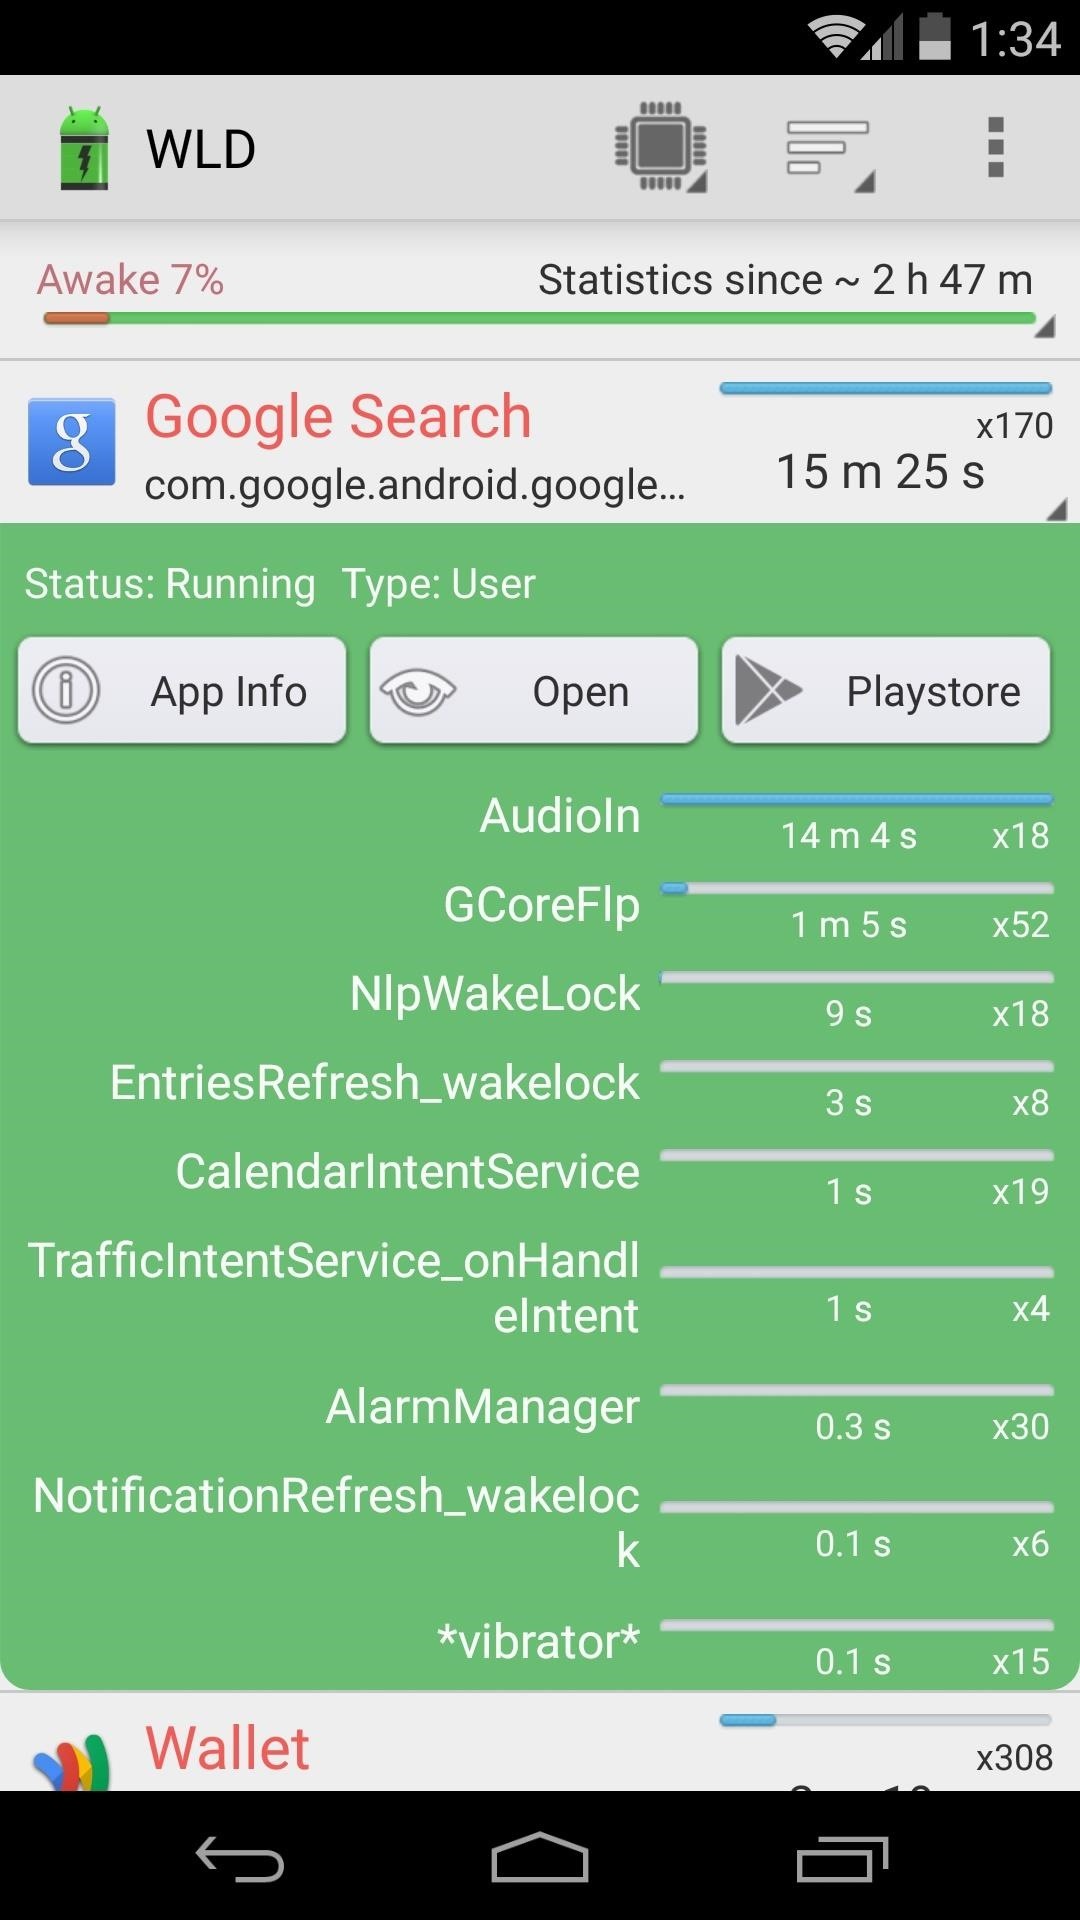
Use this information to figure out which apps have been keeping your device from entering deep sleep the most. When you have identified all of the problematic apps, there are some steps you can take to remedy the situation and help conserve your battery life.
Step 3: Dealing with Problematic Apps
There are several different options for you to consider when it comes time to handle one of these problematic apps. The simplest of all options is to simply uninstall the app in question. If there are alternative apps that perform the same function, try installing one of them to see if they hold fewer wakelocks. If the app has a mobile website that you can use instead (e.g., Facebook/Twitter), that would be the optimum solution.
Since wakelock is a permission that apps can acquire, there are root solutions available that can revoke this permission. Be advised, though, that apps may not work as intended without all of their permissions enabled.
With the release of KitKat, Google removed the App Ops functionality in Android that allowed for granular permissions management. As Justin explains in this article, there is an Xposed Module to get this feature back, called AppOpsXposed.
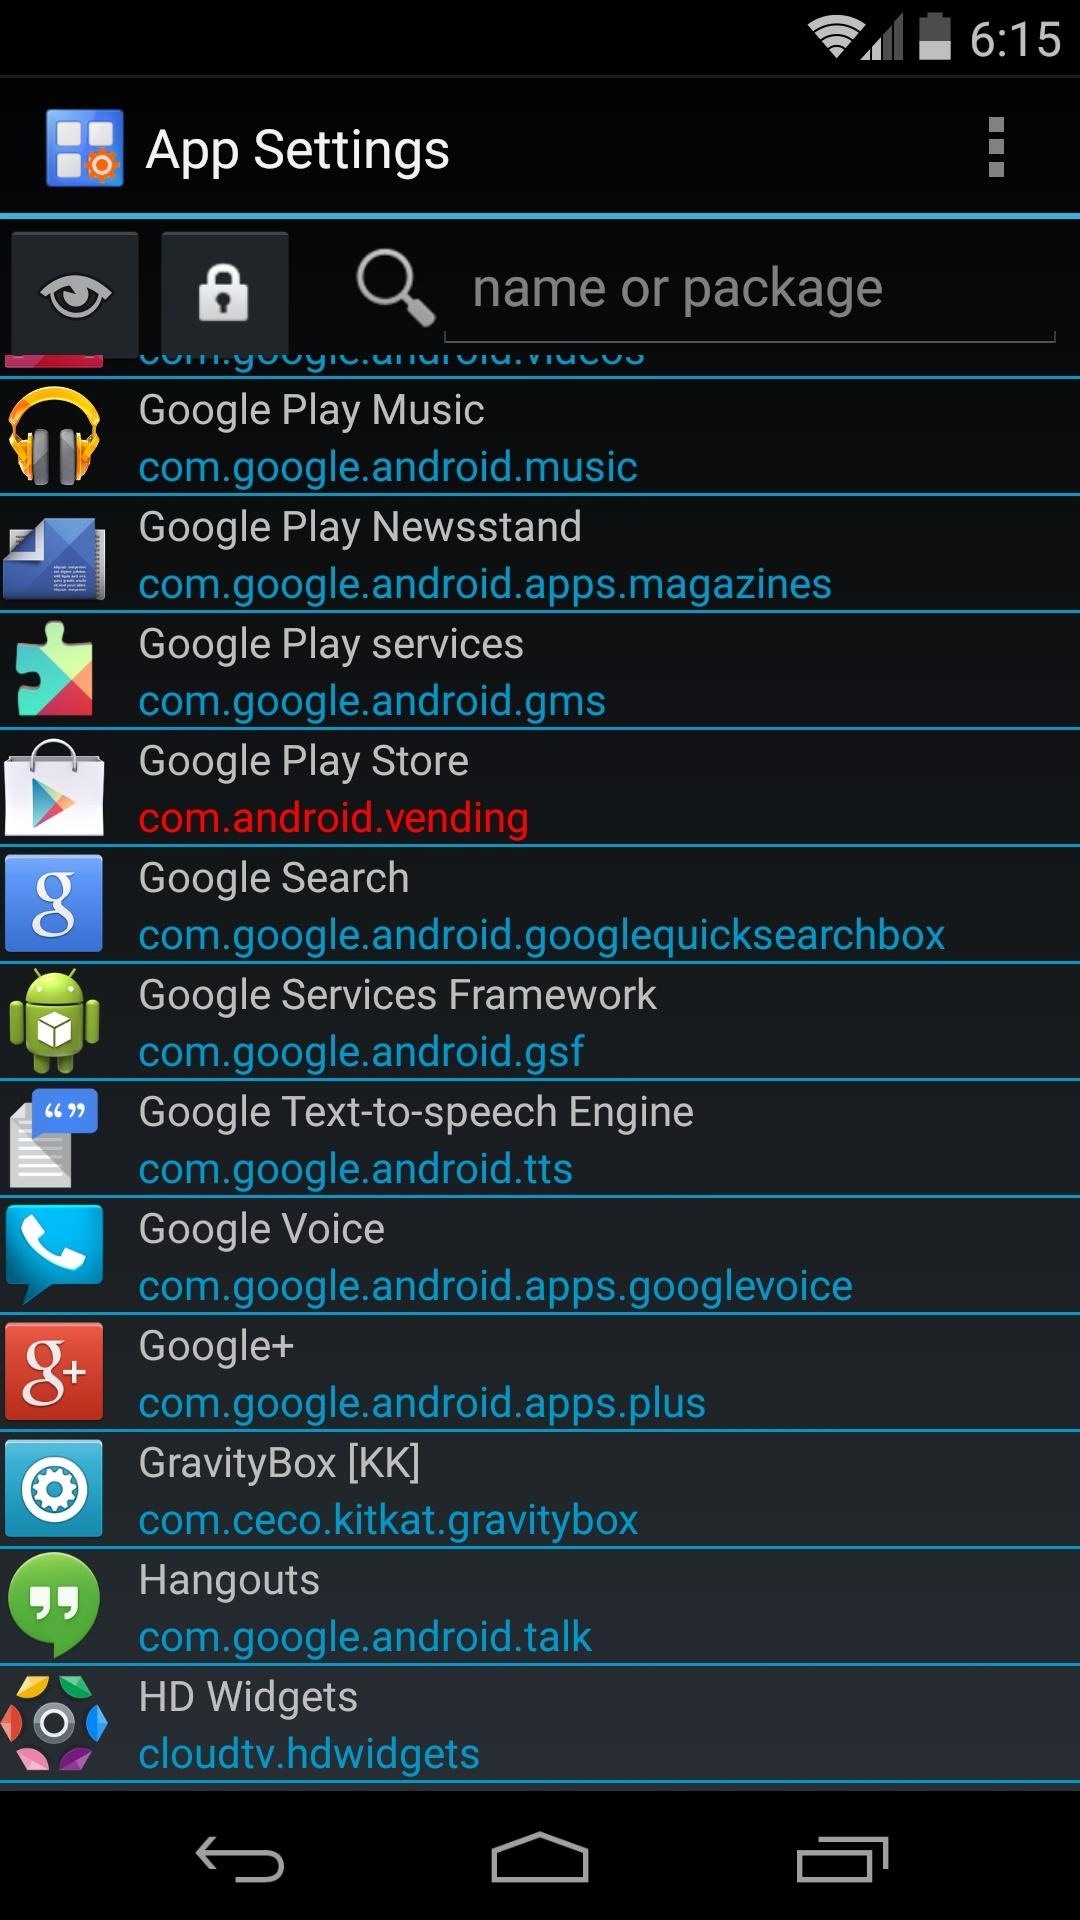
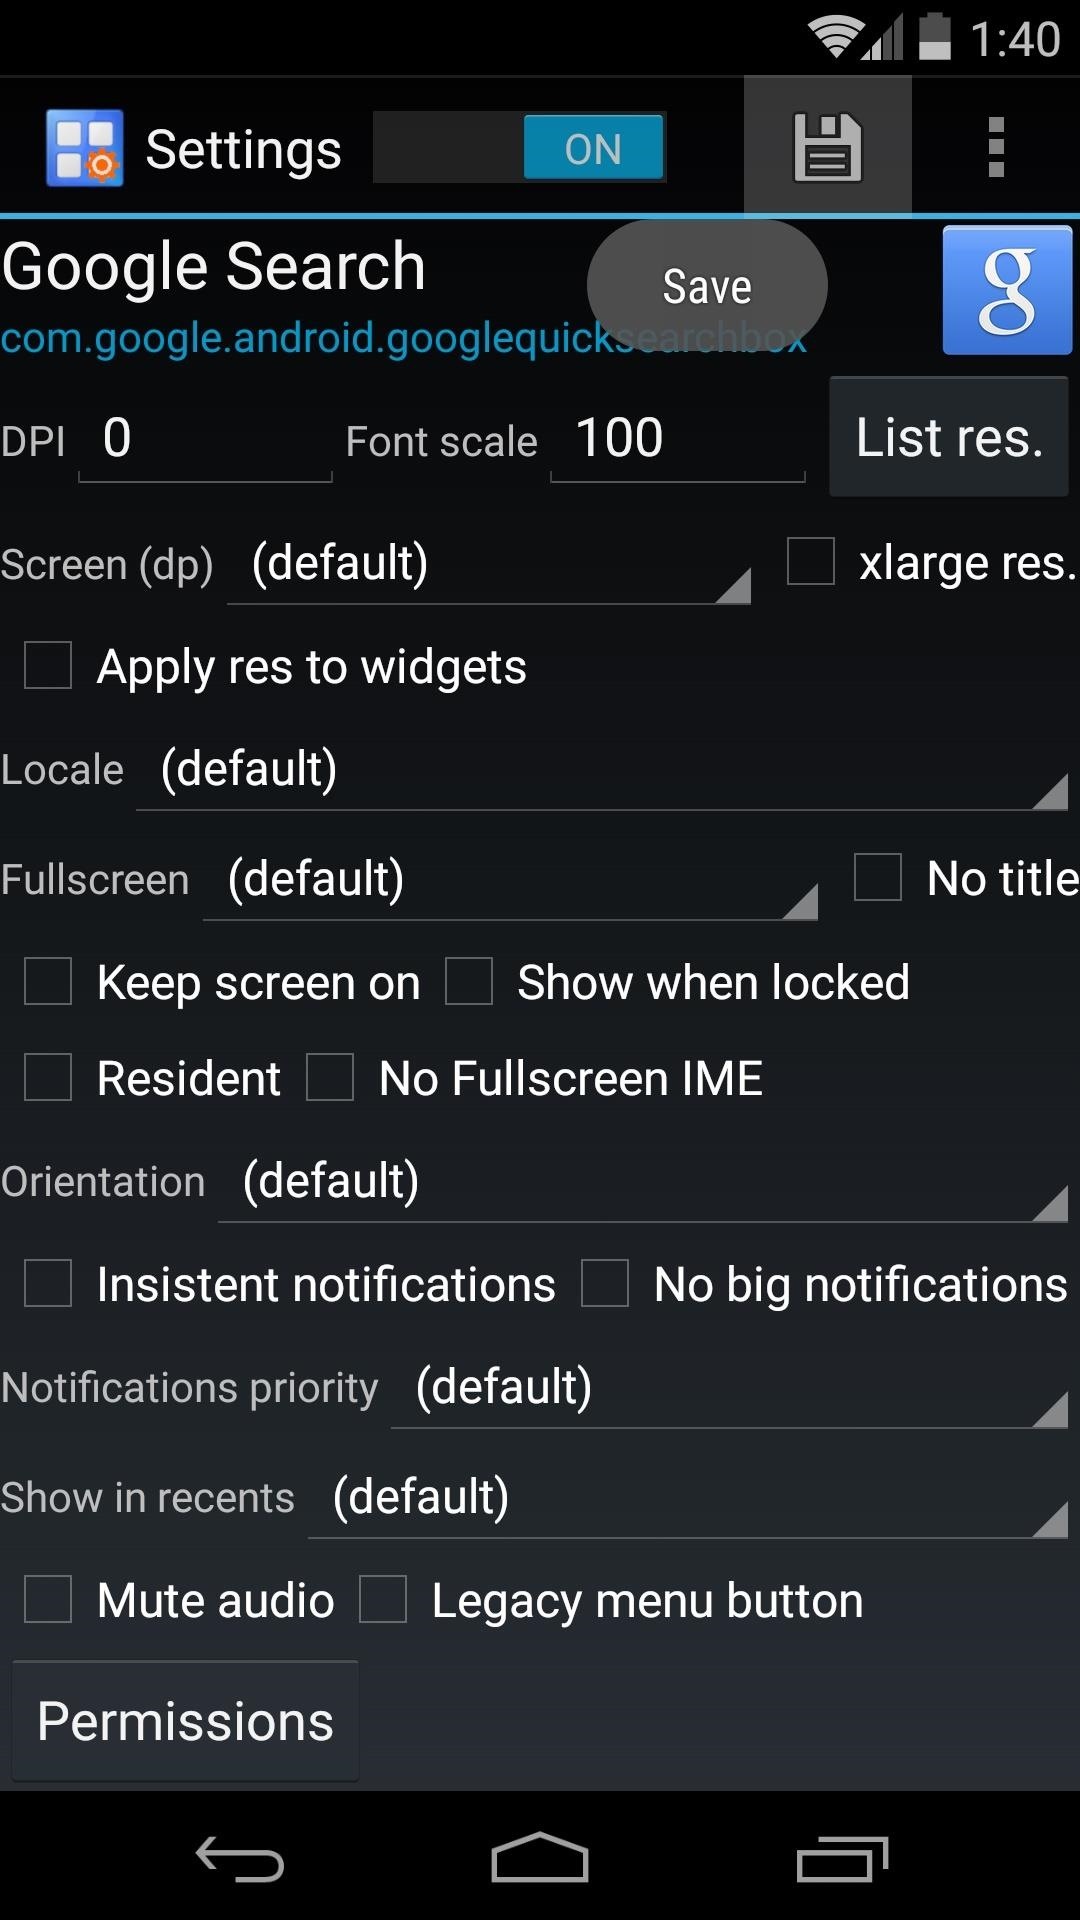
Step 4: Install App Settings
A personal favorite of mine in this category of apps is the Xposed module App Settings. In addition to the functionality offered by AppOpsXposed, it allows you to perform other per-app modifications such as forcing "Tablet View" or Immersive Mode. Either way you go, the process is similar—start by choosing the problematic app from the list.

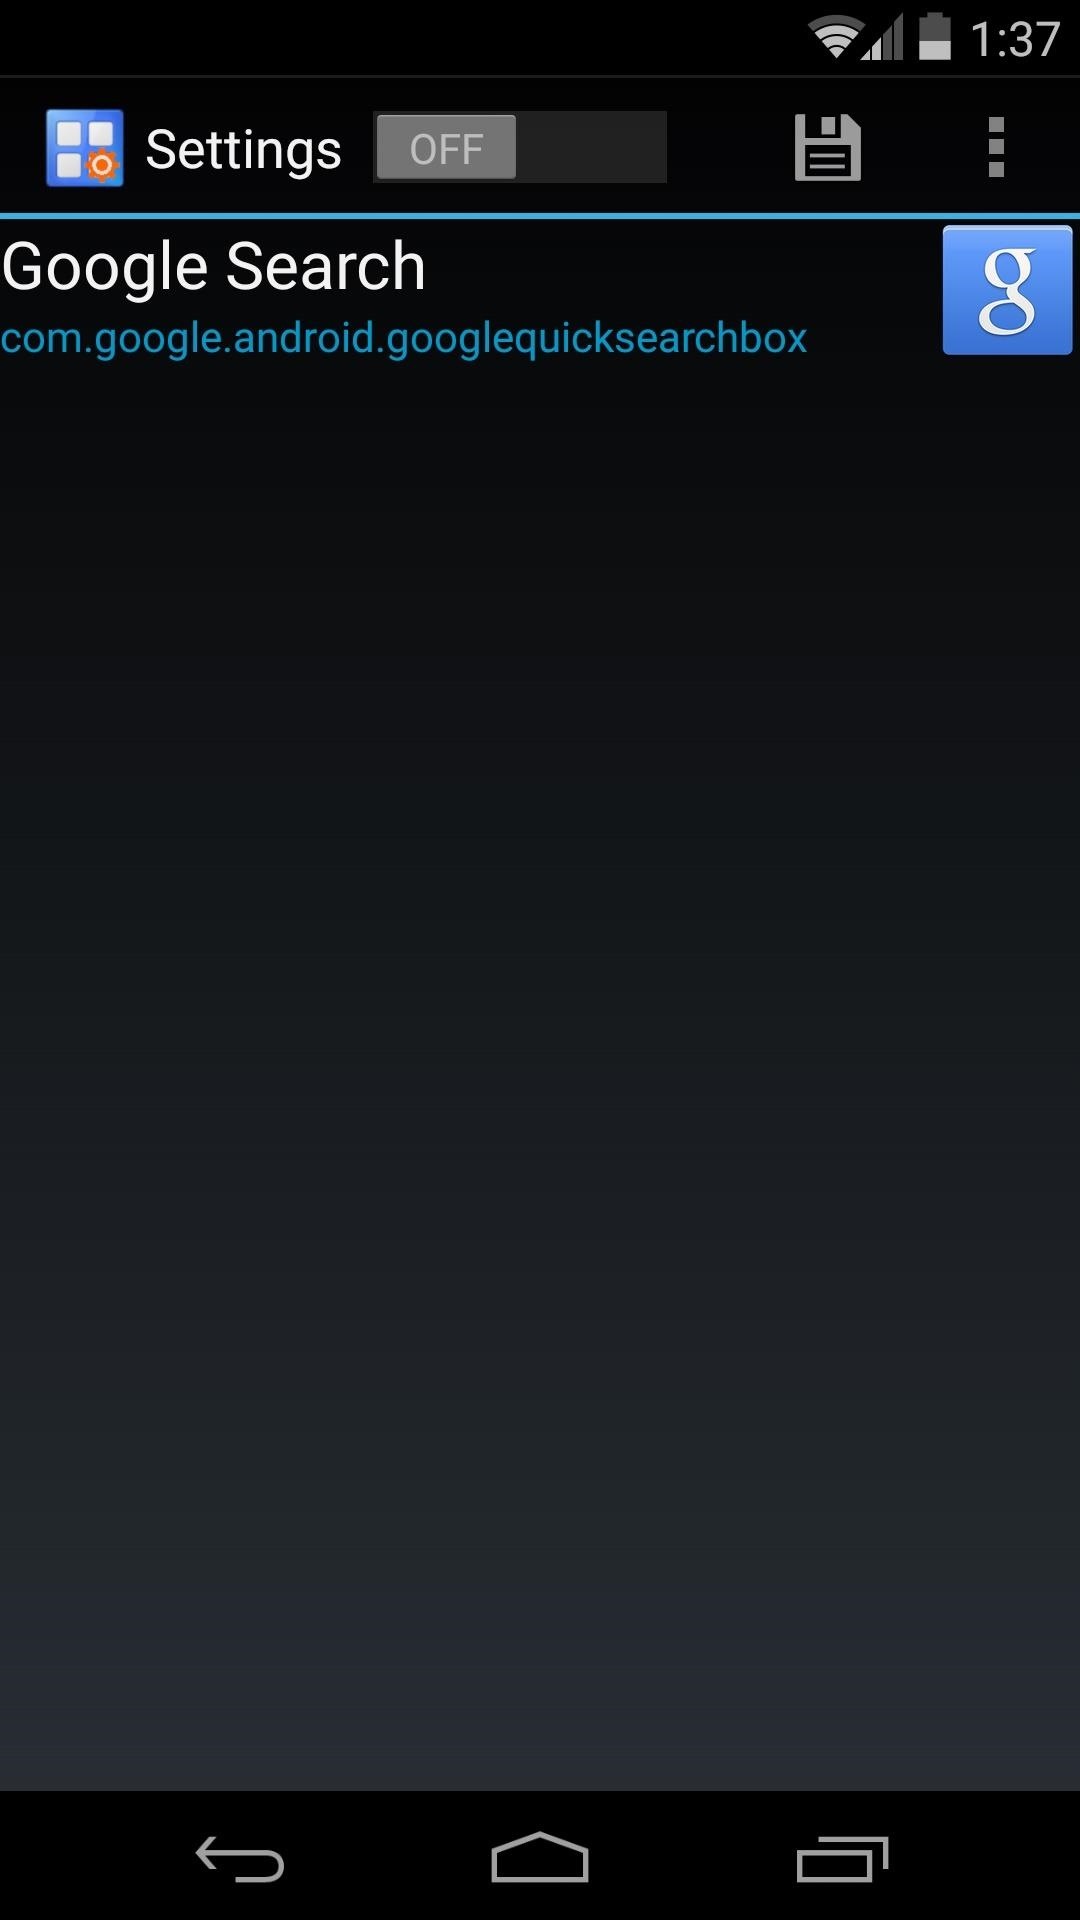
Step 5: Adjust Per-App Permissions
With App Settings, the next step is to toggle the switch at the top of the screen to On. This will reveal all of the options available for a particular app.
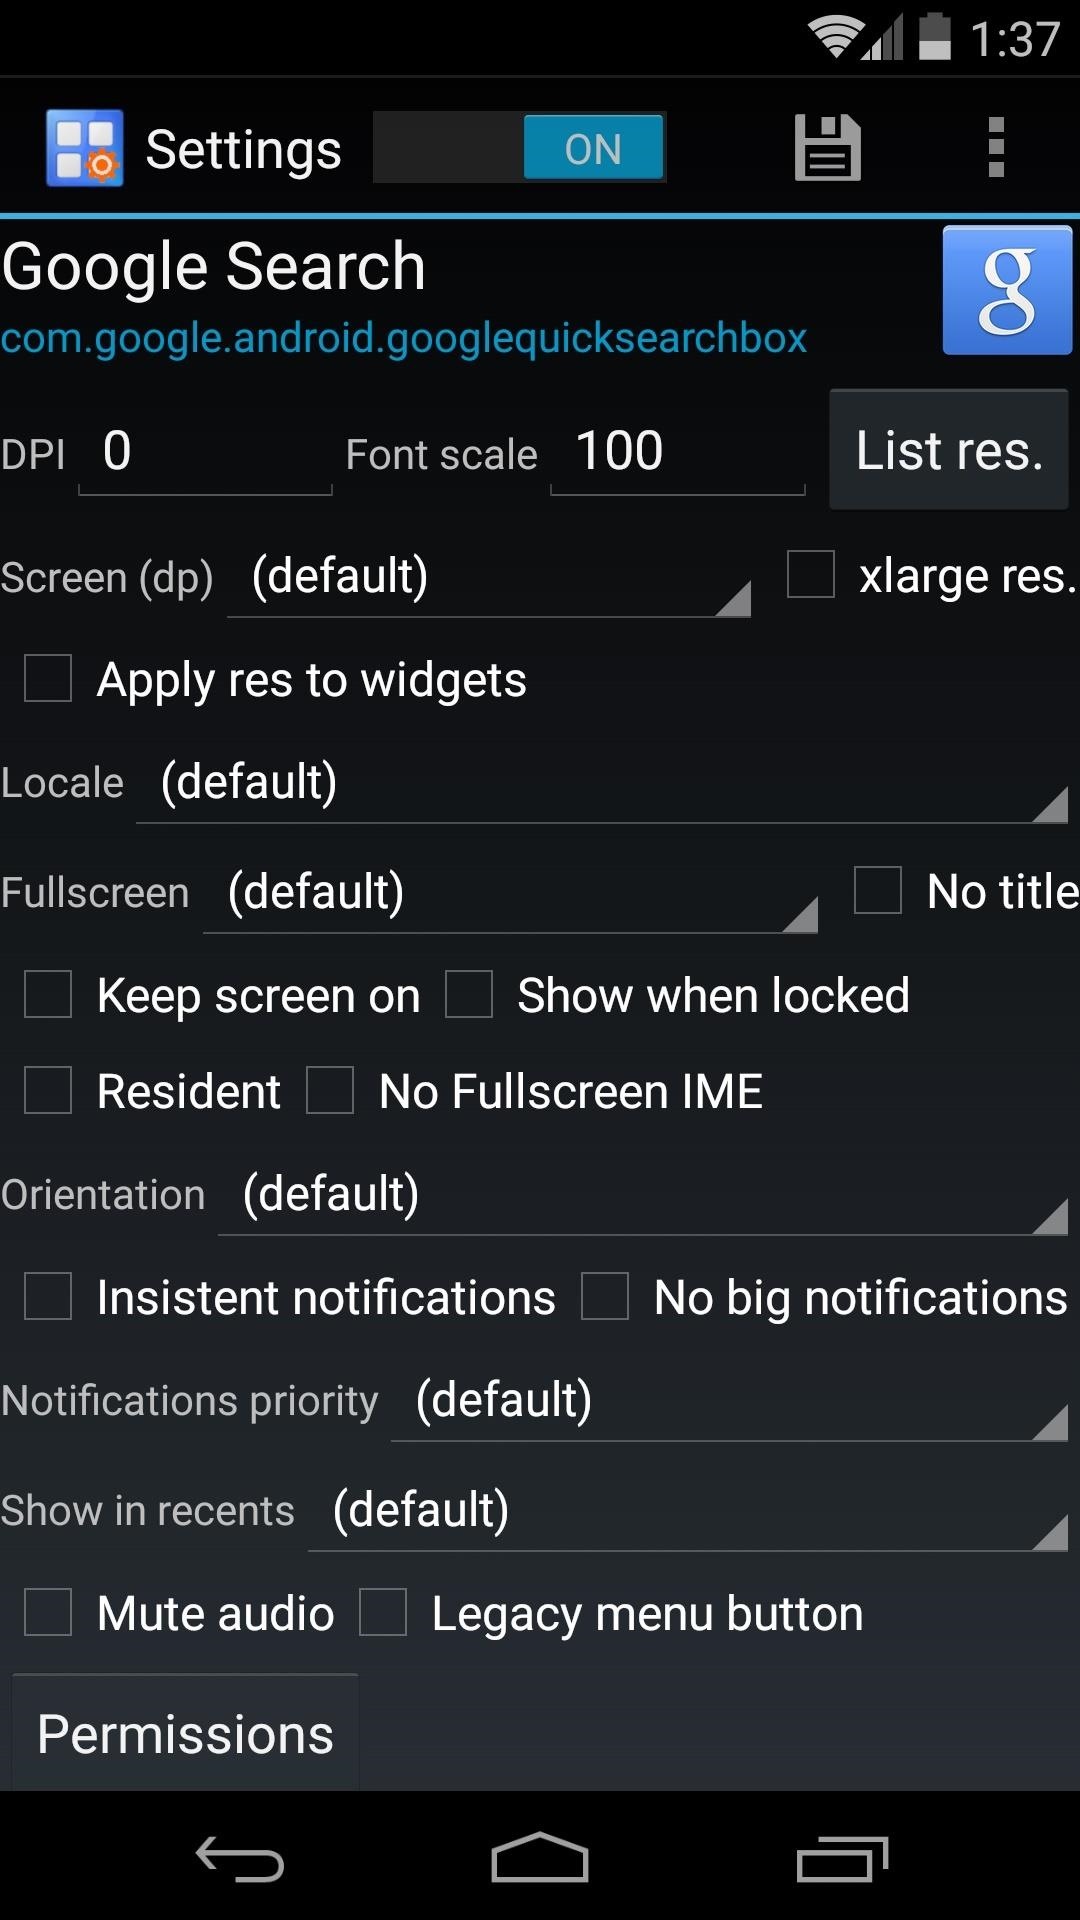
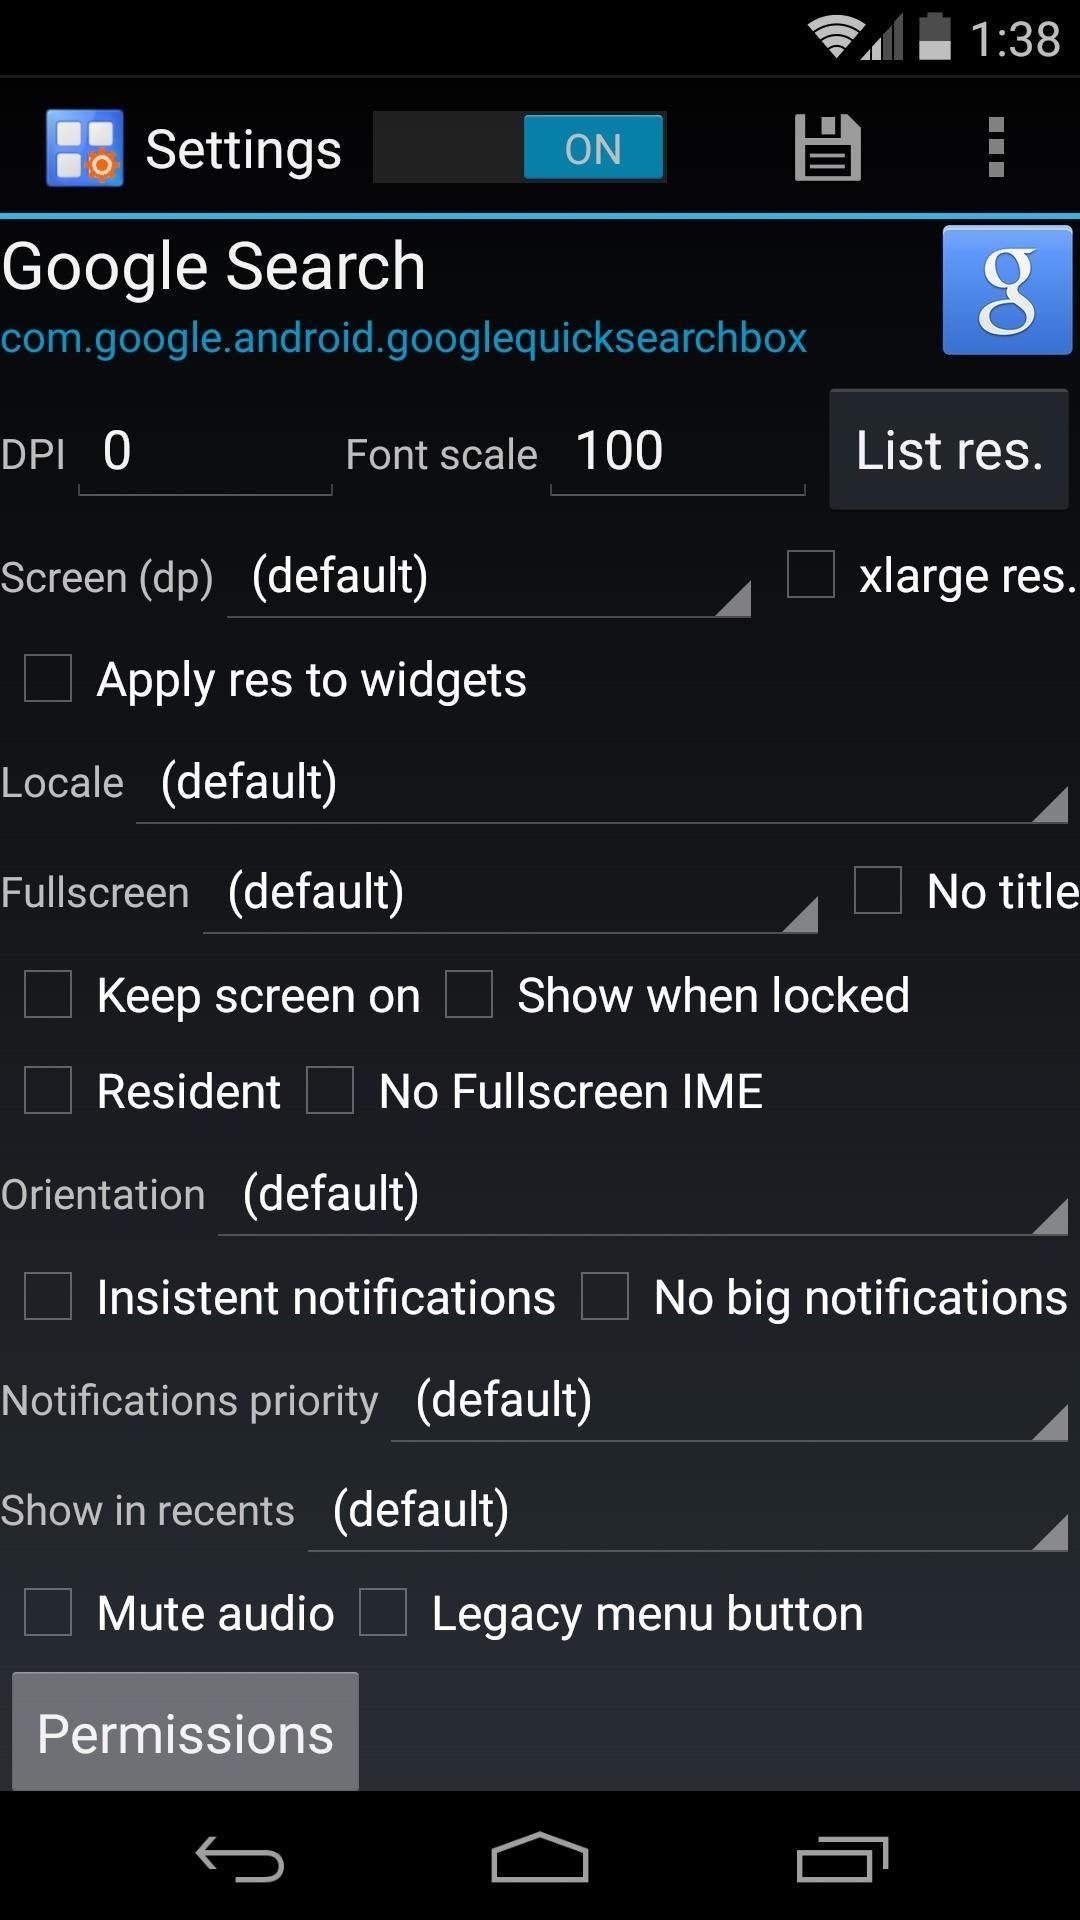
The only option you'll need here is right at the bottom—tap Permissions, then you'll be taken to a menu that allows for the revoking of individual permissions.
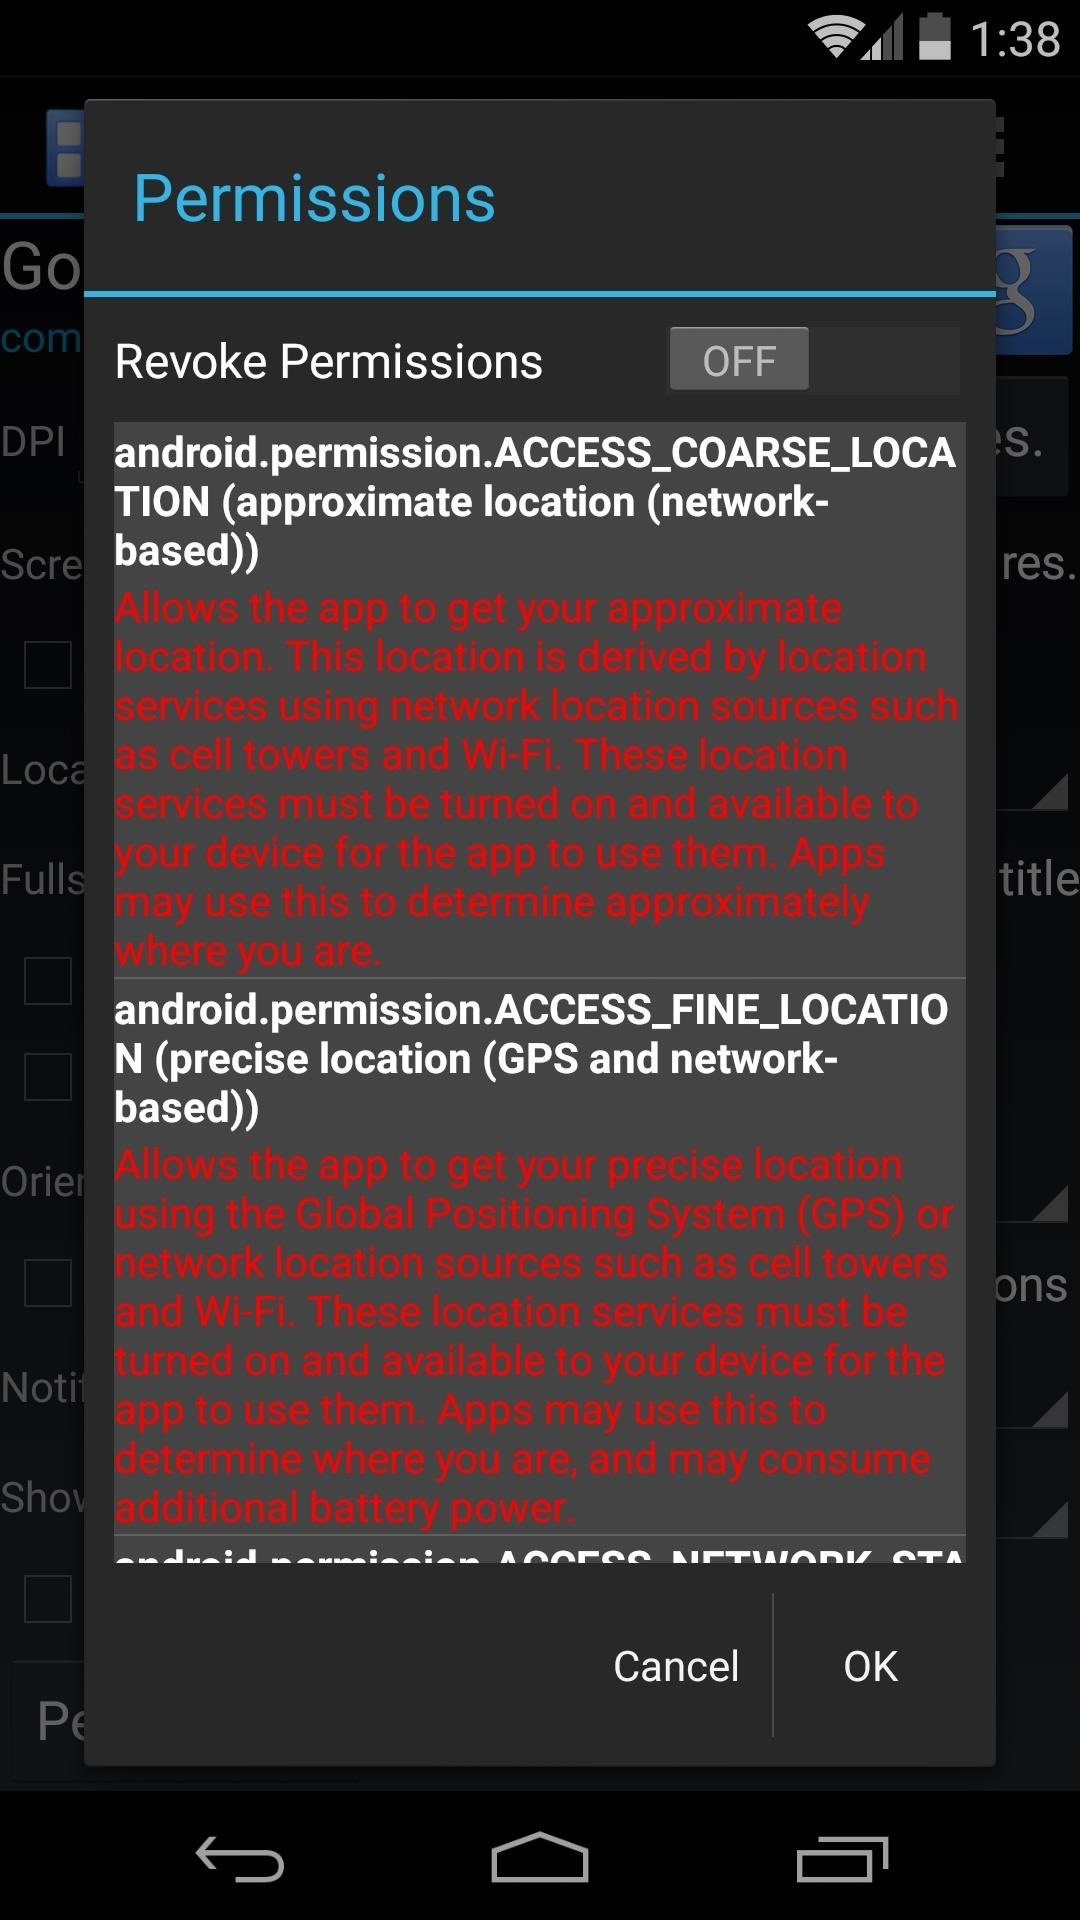
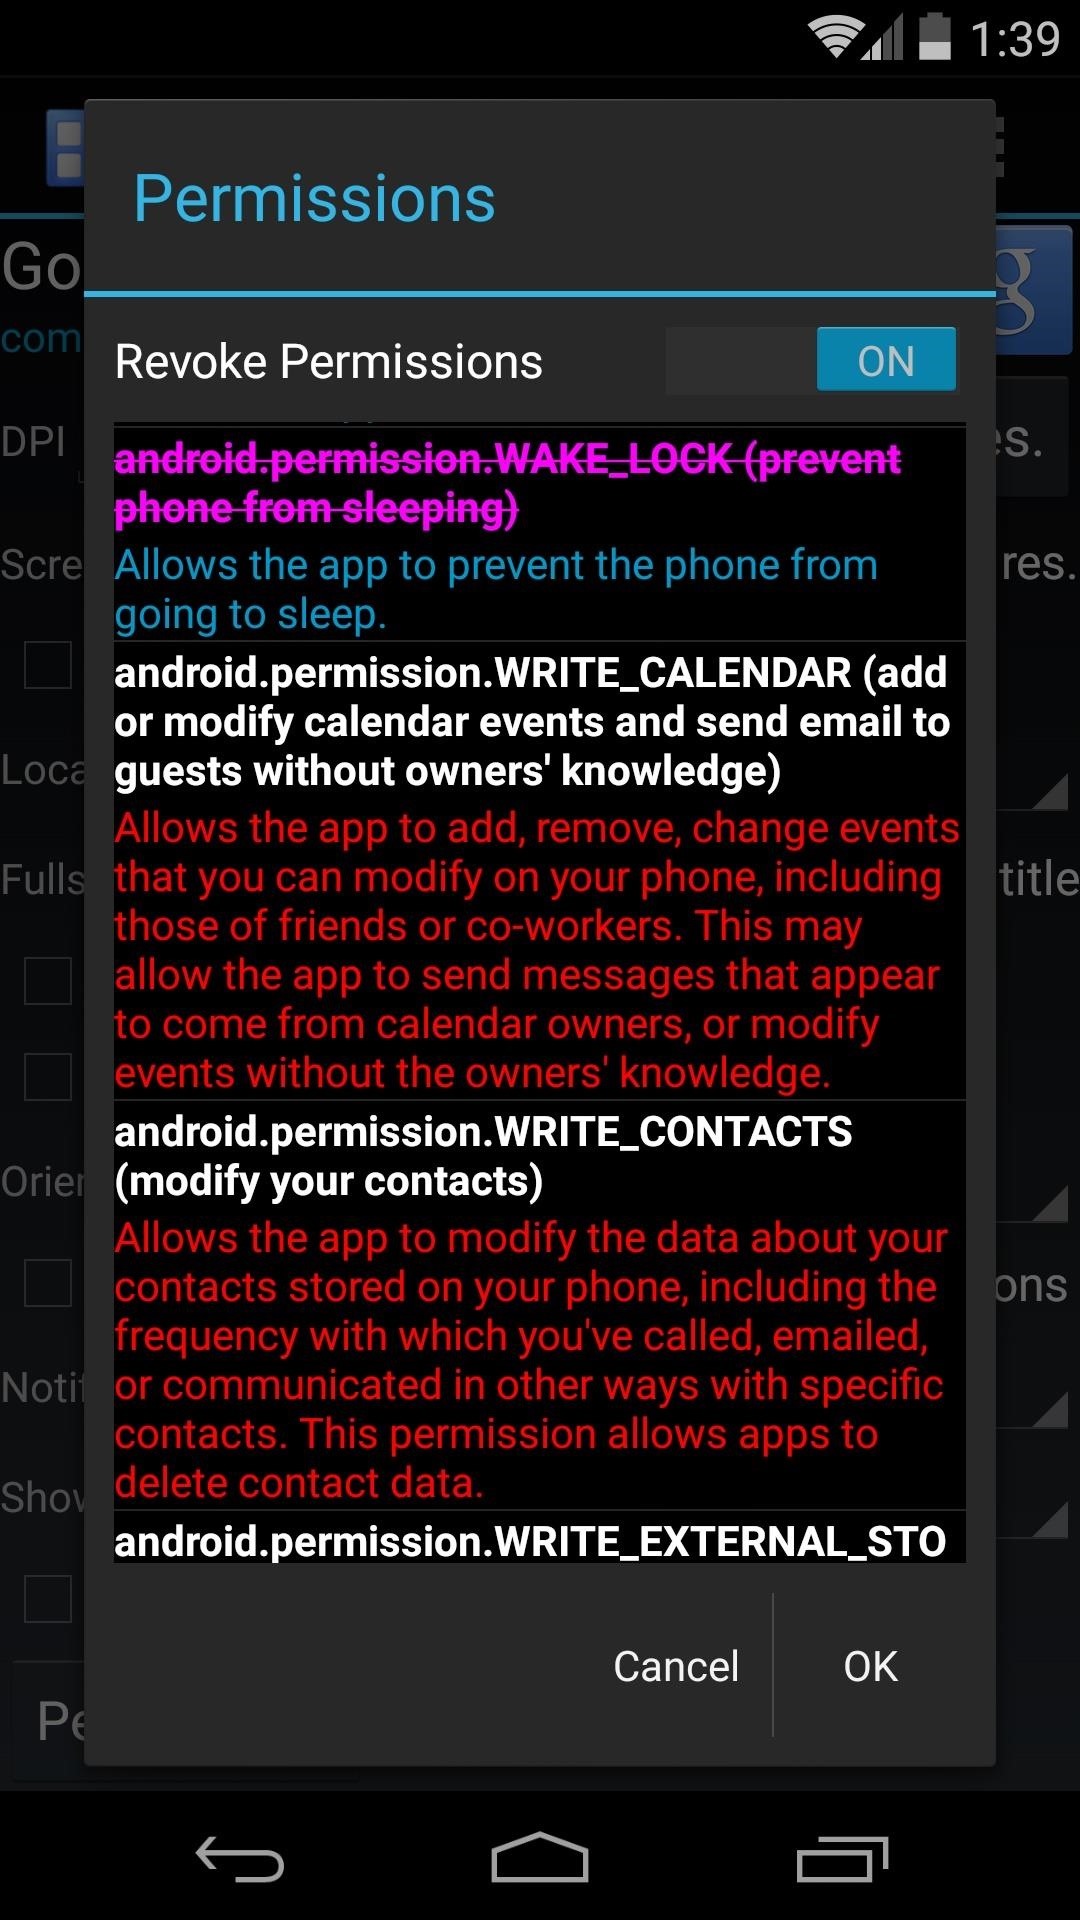
Next, toggle the Revoke Permissions option to On. Scroll through this list until you find the android.permission.WAKE_LOCK. Tap this entry, and you'll see the permission get crossed out.

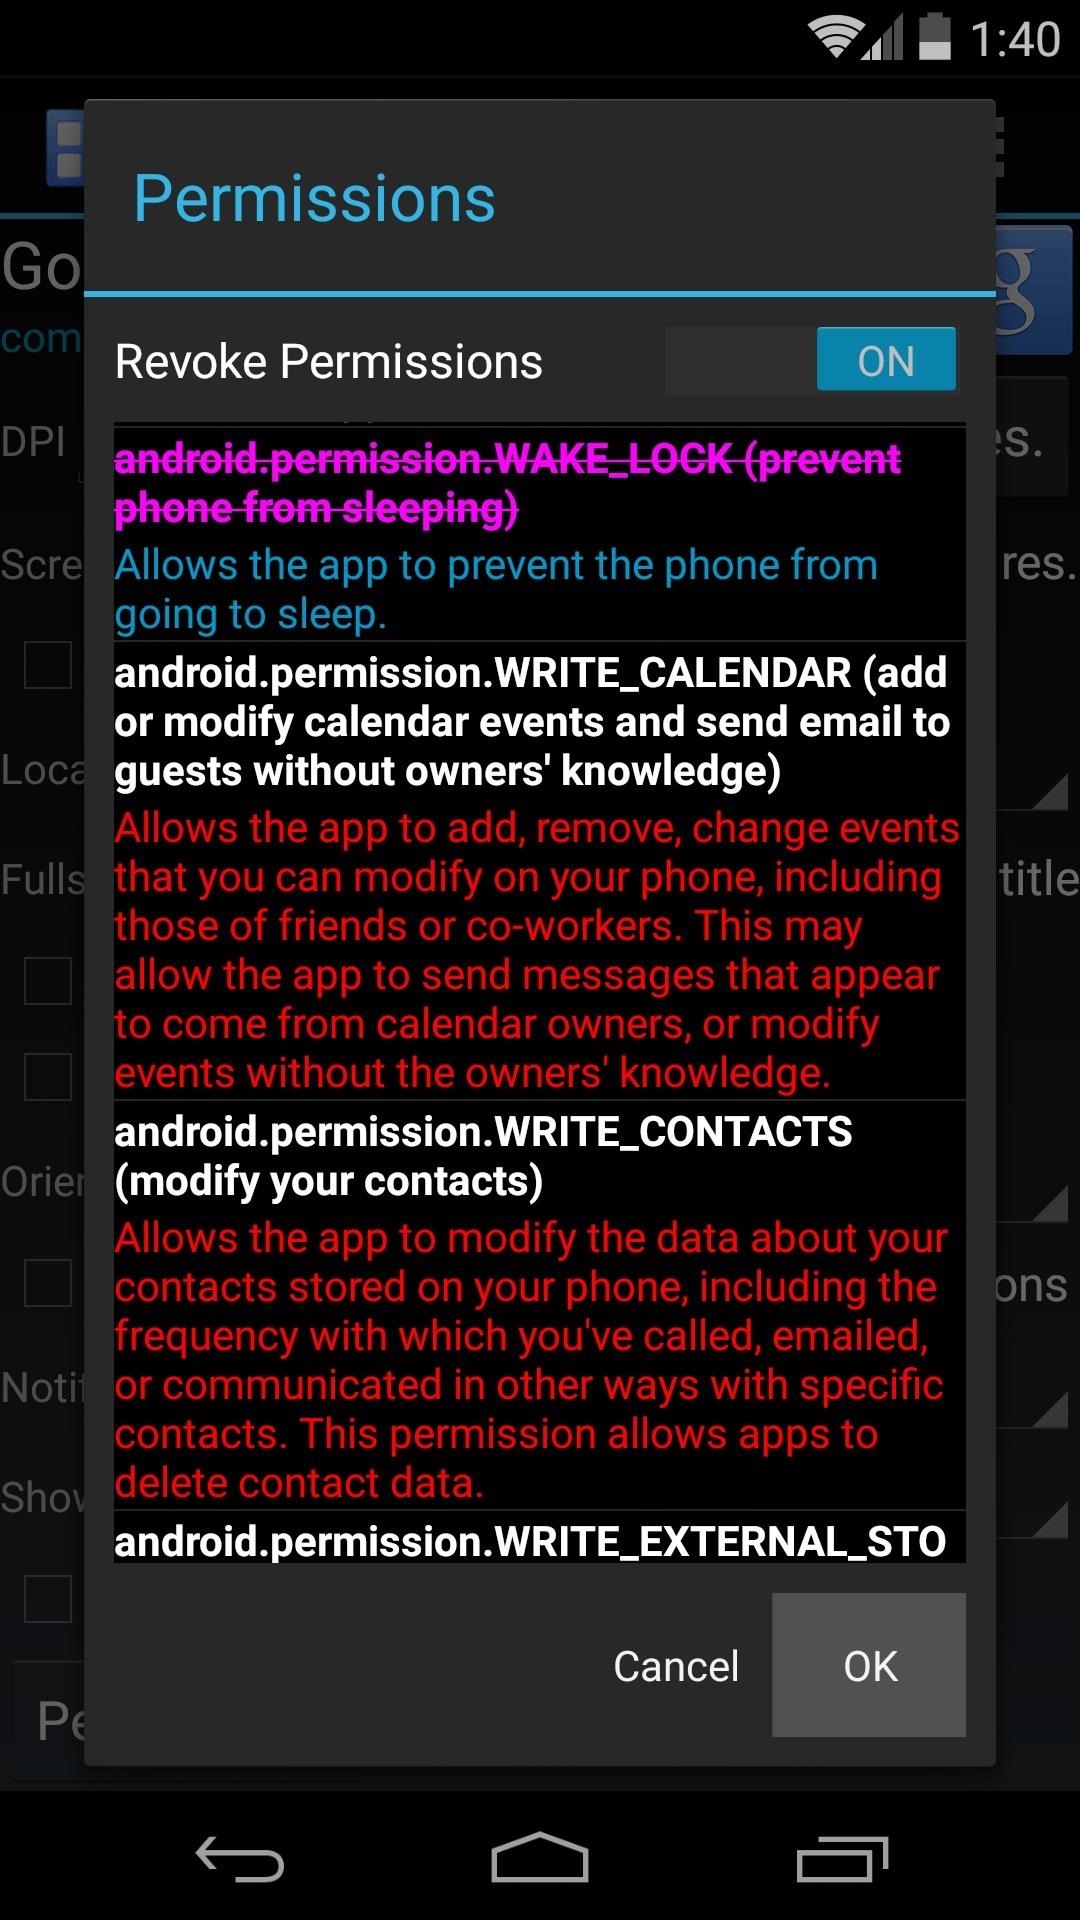
Next, tap OK at the bottom of this window, then hit the Save icon at the top of the next screen. A dialog box will appear asking you if you'd like to restart the app so that the new permissions will become active. Choose OK here. You can repeat this process as needed for any other problematic apps.

Now the app should no longer be able to hold a wakelock, thus allowing you to keep using the app without the massive battery drain.
The app won't be able to transmit or receive data when your phone is asleep, so be aware that notifications will not work as intended any more for that particular app. But this is a trade-off that you'll have to make to keep juice-sucking apps installed on your device without them constantly draining your battery.
What apps held the longest wakelocks on your device? How much battery life are you saving now? Let us know in the comments section below.
Just updated your iPhone? You'll find new emoji, enhanced security, podcast transcripts, Apple Cash virtual numbers, and other useful features. There are even new additions hidden within Safari. Find out what's new and changed on your iPhone with the iOS 17.4 update.


1 Comment
What exactly is Greenify and is it with downloading? Also after I rooted my phone my battery would charge really quickly. However it has slowed down now. I am worried that if I leave my phone to charge overnight it may cause motherboard problems. This is what happened with my old phone after rooting. It's motherboard schist circuited. Is this true and what can I do to stop this?
Share Your Thoughts