
Straight out of the box, the Nexus 5 is an awesome device, but even it can be faster with better battery life. Luckily, one of the things that makes it so awesome is that there are tons of developers creating mods for it, since it runs stock Android by default. When it comes to gaining speed and better battery life, flashing a custom kernel is the way to go.
Created by developer flar2, the ElementalX custom kernel is one of the most downloaded and flashed mods for the Nexus 5 ever. But it doesn't stop there—ElementalX is also available for the HTC One (M7, M8, and S), the Nexus 7, and the Motorola Xoom.
It has a wide feature set, ranging from overclocking and undervolting to custom wake gestures like knock-to-wake and swipe-to-sleep. Battery life improvements and a whole host of under-the-hood tweaks make this the go-to custom kernel for most modders. For this how-to, I'll guide you through installing the kernel and how to get the most functionality out of it.
Prerequisites
- Rooted Nexus 5
- Custom recovery with an unlocked bootloader
- Xposed Installer (optional, only for custom wake and app gestures)
Make sure you have all the requirements met before you continue on with this tutorial. You must have your bootloader unlocked with TWRP (or another custom recovery) installed so the custom kernel can be flashed.
Custom Kernels 101
A kernel is essentially the central nervous system of your phone. Whenever anything is done, like turning down your screen brightness or making a call, Android talks to the kernel and then it connects it to the phone's hardware.
A custom kernel has been modded with additional features and speed improvements not found on stock versions. They are usually made using Google's own source code released to developers, then built with mods added in.
Step 1: Make a Full Backup
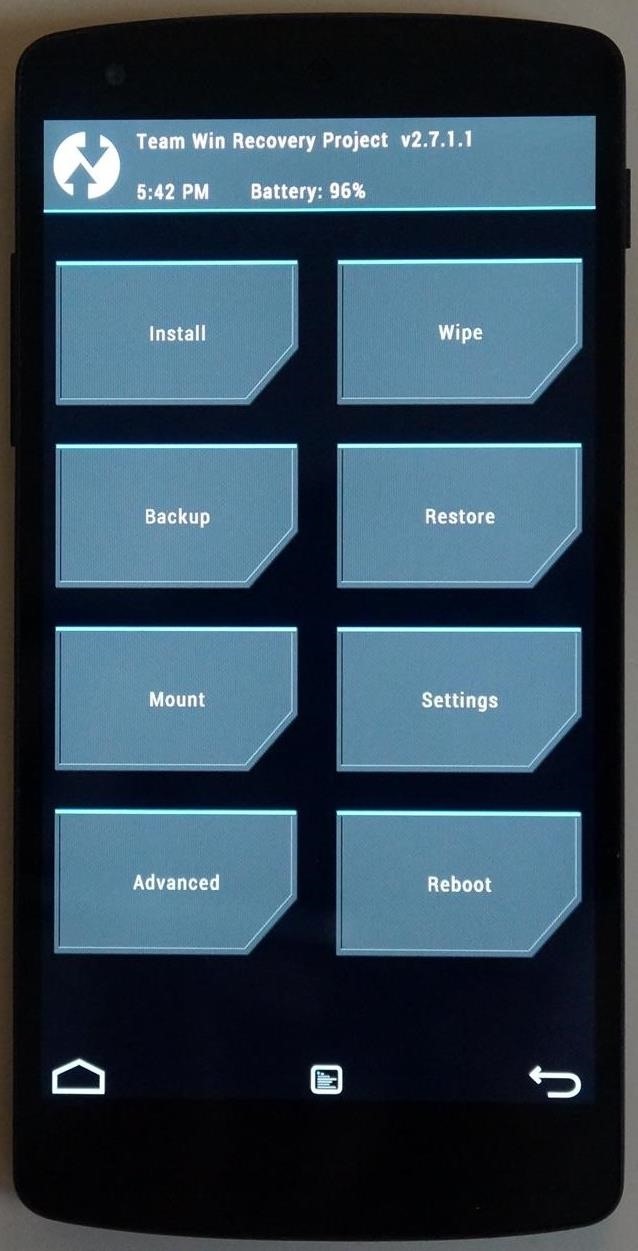
As with any system mod, having a working backup of your phone is important. Boot into TWRP by choosing Recovery in your power menu if you have a custom ROM.
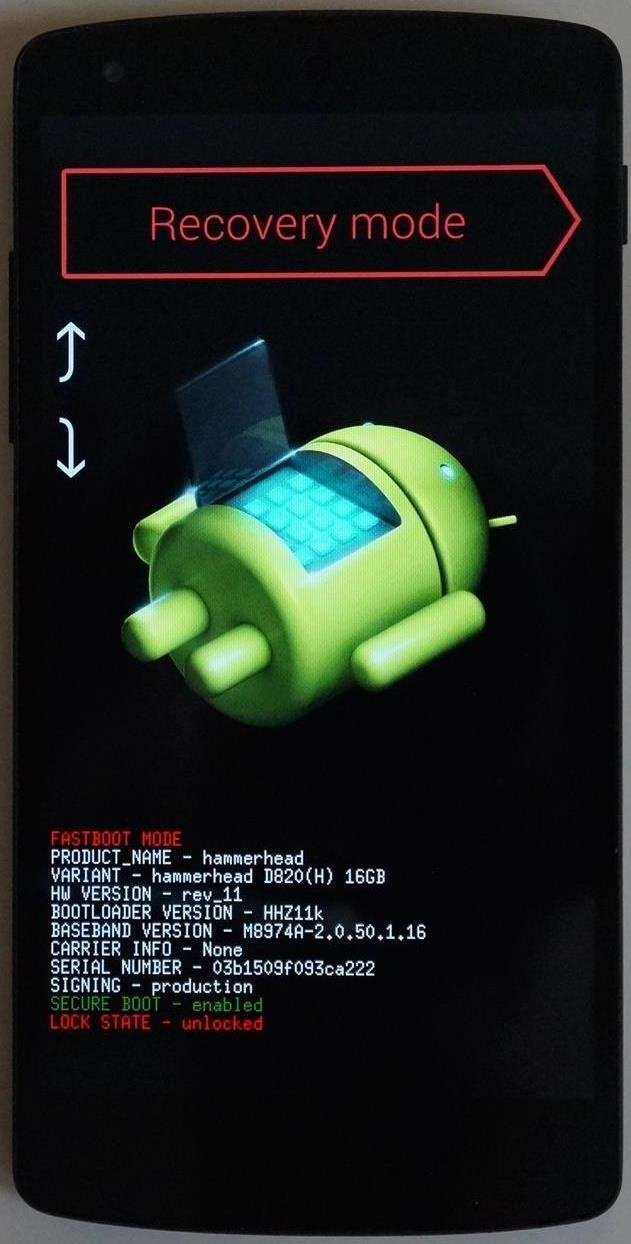
If you're running stock, boot into TWRP manually by turning off your phone and then pressing Power + Volume Down to get into the fastboot menu. From there, press the Volume keys until Recovery mode is chosen, followed by the Power button.
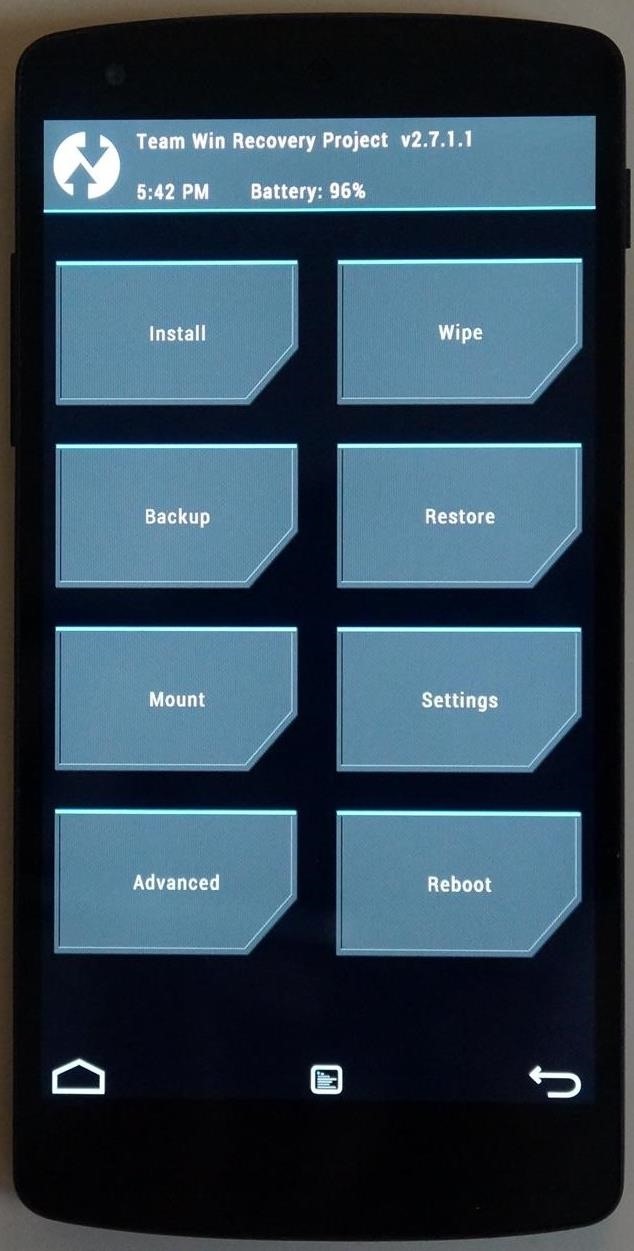
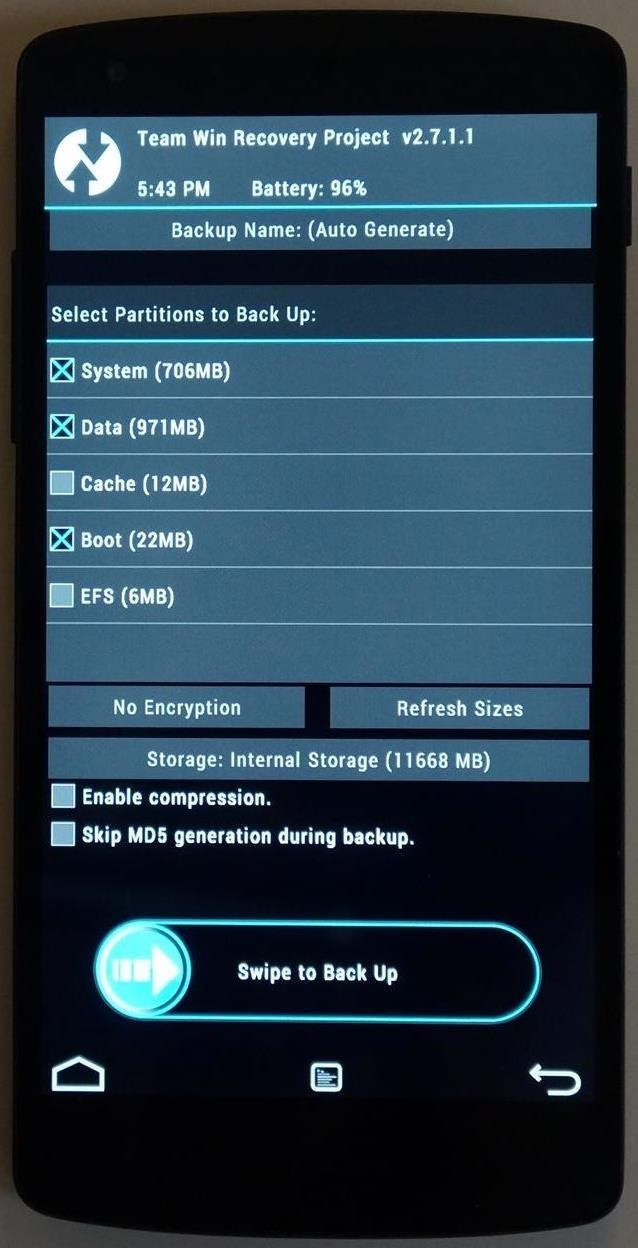
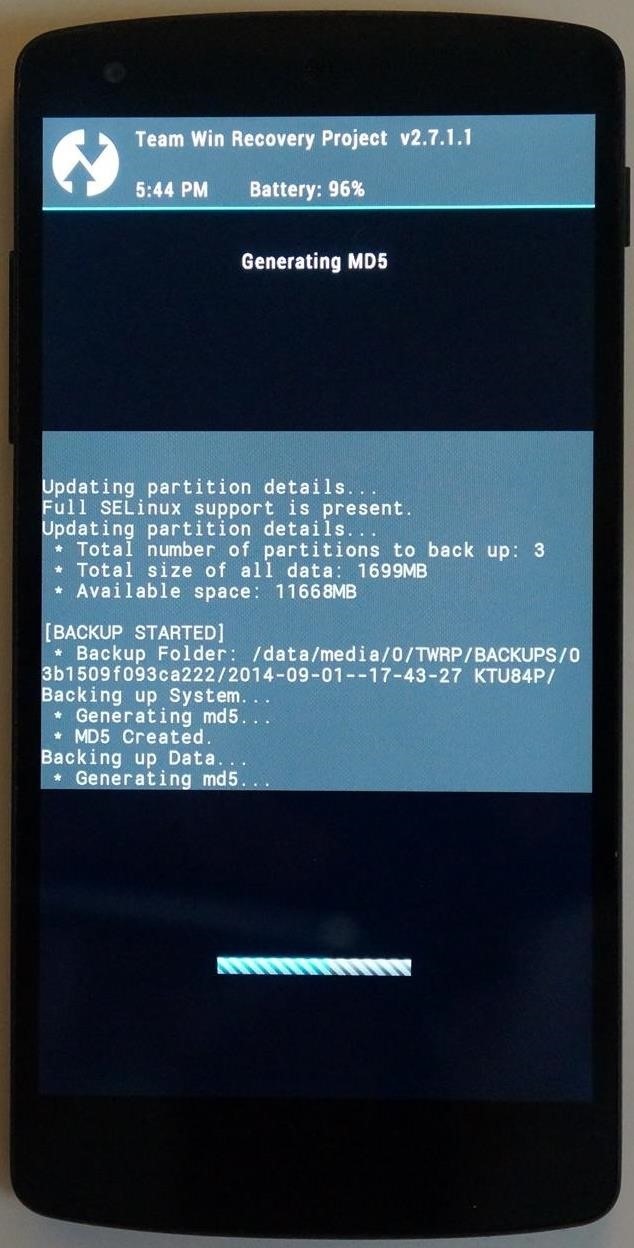
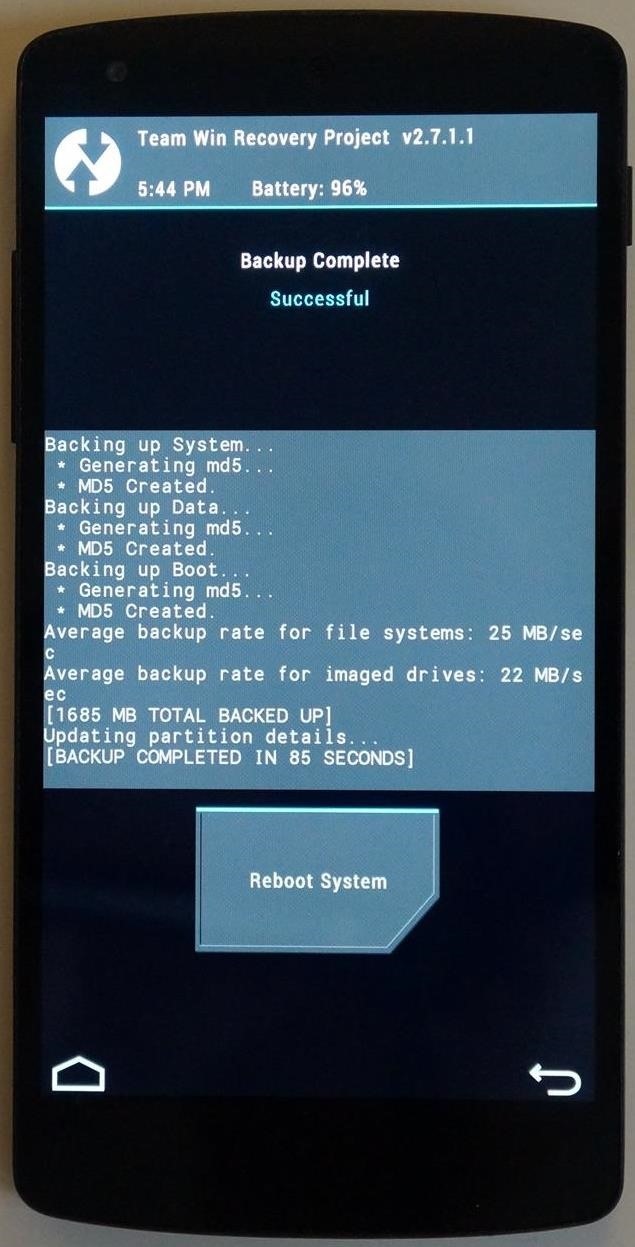
From within TWRP, tap Backup, then swipe right in Swipe to Back Up. Once that finishes, tap Reboot System.
Step 2: Download ElementalX
Now that you have a backup made, it's time to download ElementalX. If you're running a stock Android 4.4.4 ROM like I am, download the latest version by tapping here and choosing the latest update under Stock/AOSP.

I recommend the version without "express" in the file name, so that you can customize the kernels settings while installing. If you want a quick-and-easy install without having to pick and choose settings, then download the express one.
If you have CyanogenMod installed on your phone, download the latest update under Cyanogenmod/CAF. With CyanogenMod being the exception, most custom ROMs will use the custom kernels listed under Stock/AOSP. To find out which kernel applies to your Nexus 5, look for the words AOSP or CAF in the release thread on XDA for your custom ROM.
Here's a brief list of which kernel to install for some popular ROMs:
- Stock Android 4.4.4 - Stock/AOSP
- CyanogenMod - Cyanogenmod/CAF
- SlimKat - Stock/AOSP
- OmniROM - Stock/AOSP
- ParanoidAndroid - Stock/AOSP
Downloads for HTC Ones and Motorola Xooms can be found here.
Step 3: Install ElementalX
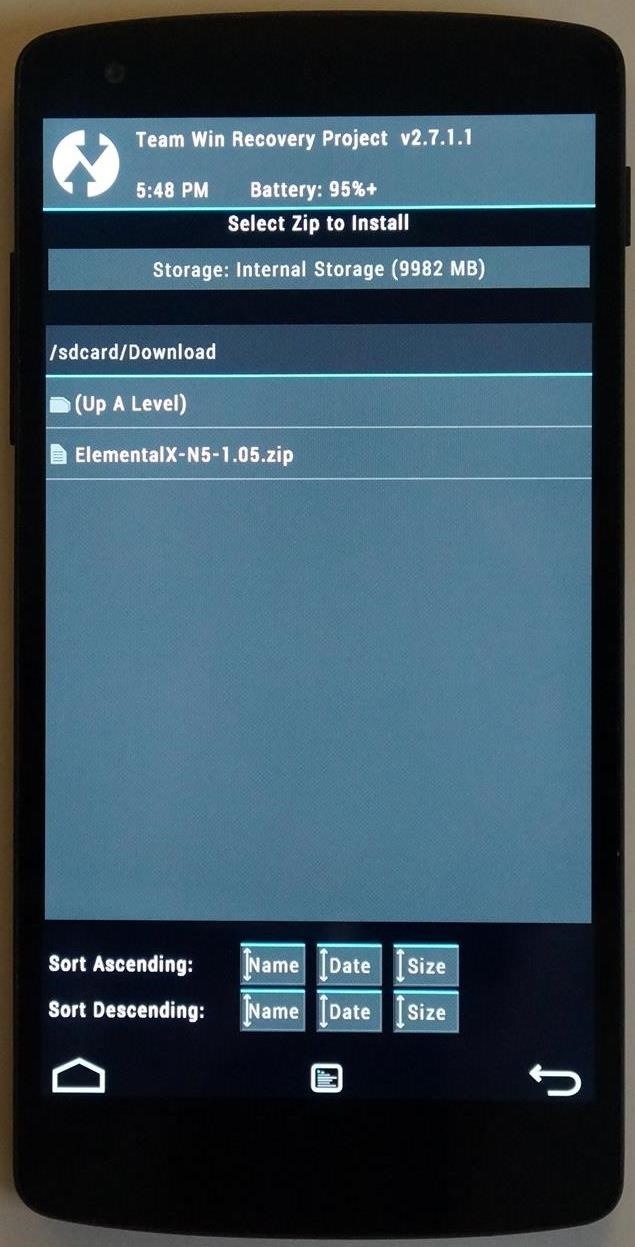
With the ElementalX kernel downloaded, boot back into TWRP. Tap Install, then navigate to sdcard/Download and select the ElementalX-N5-#.##.zip file to begin installation.
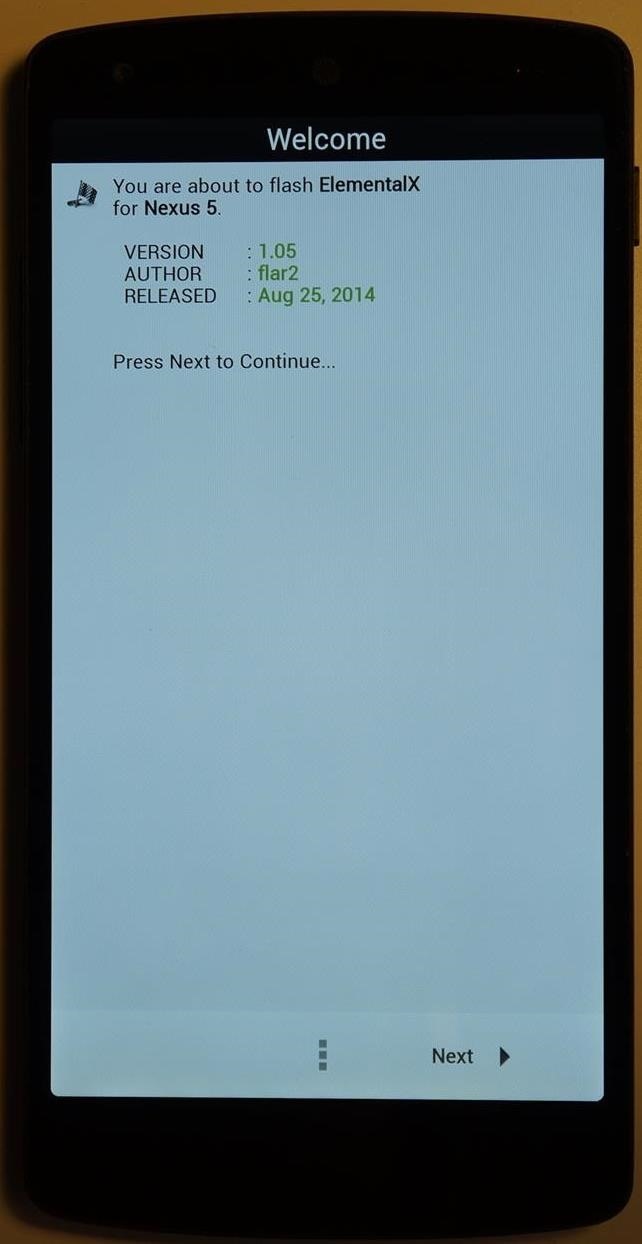
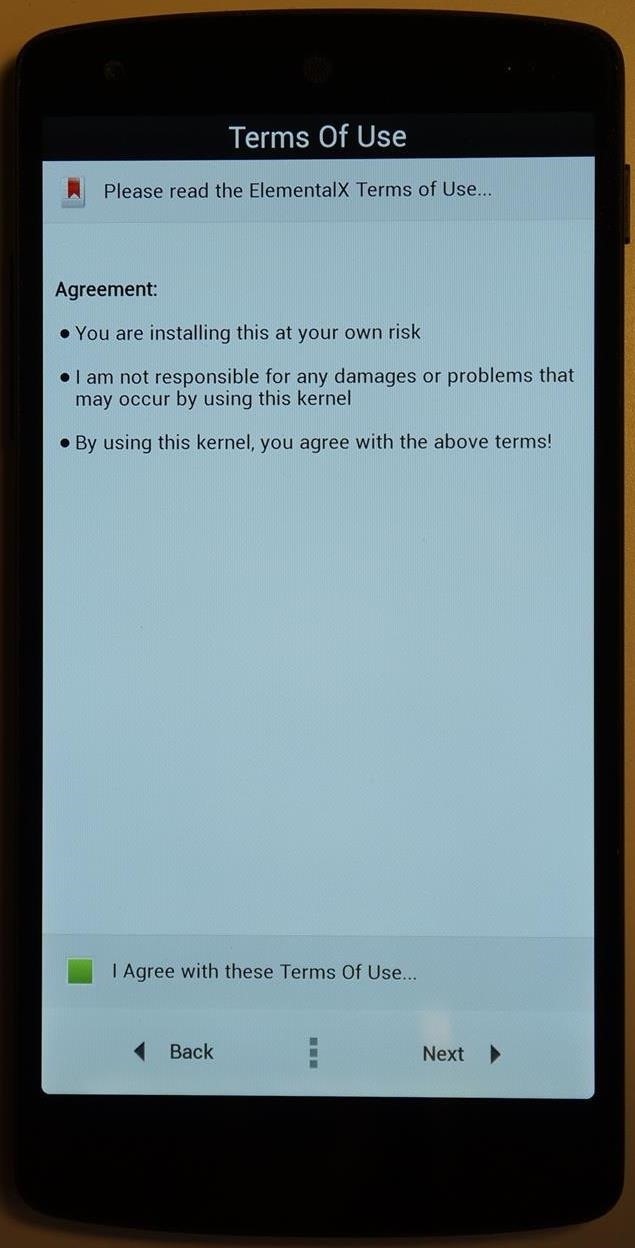
ElementalX will begin guiding you through all of the options and settings that can be customized—select Next on the first screen, followed by checking the box for I Agree with these Terms Of Use... and tapping Next again.
Step 4: Tweak the CPU, CPU Frequency, & Undervolting
In this step, we'll be adjusting the CPU settings to speed up your Nexus 5, along with improving battery life. Below are images of the three menus we'll be working with, which correspond to the sections below.
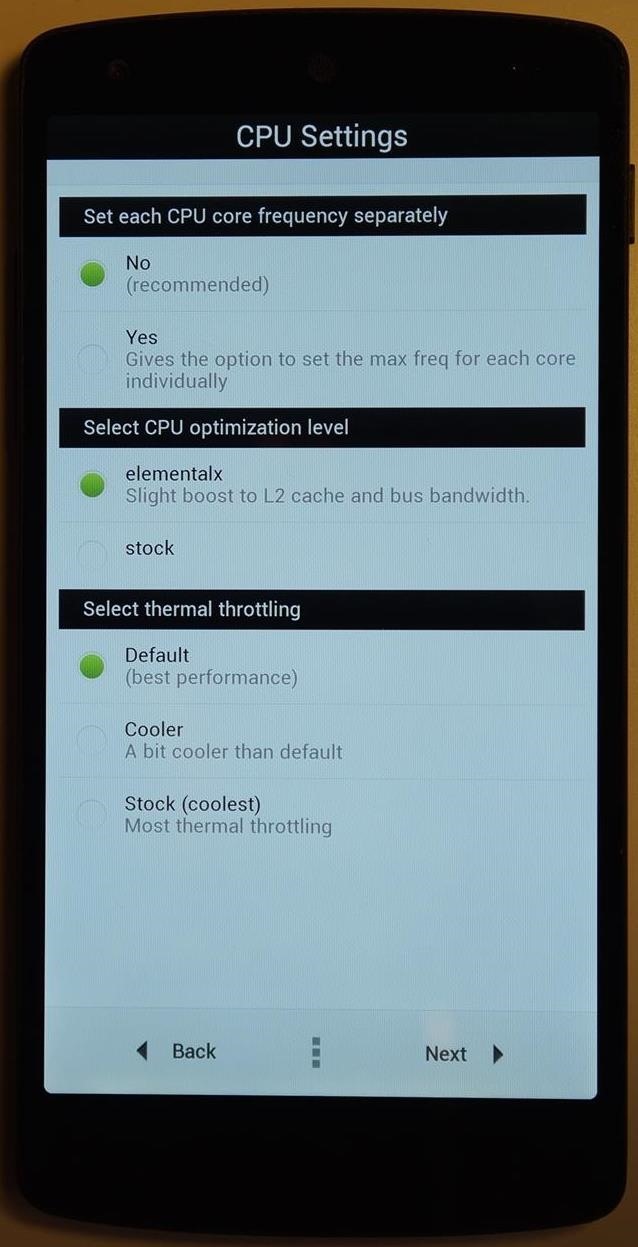
1. CPU Settings
In this menu, you can choose to set each CPU core's speed individually, but I recommend choosing No. Under Select CPU optimization level, choose elementalx for better speed and performance. In Select thermal throttling, leave it at Default.
Thermal throttling is the amount of heat that's allowed by the CPU before it lowers its clock speed to cool down. What this means is more cooling leads to slower speeds, while less cooling will have higher performance.
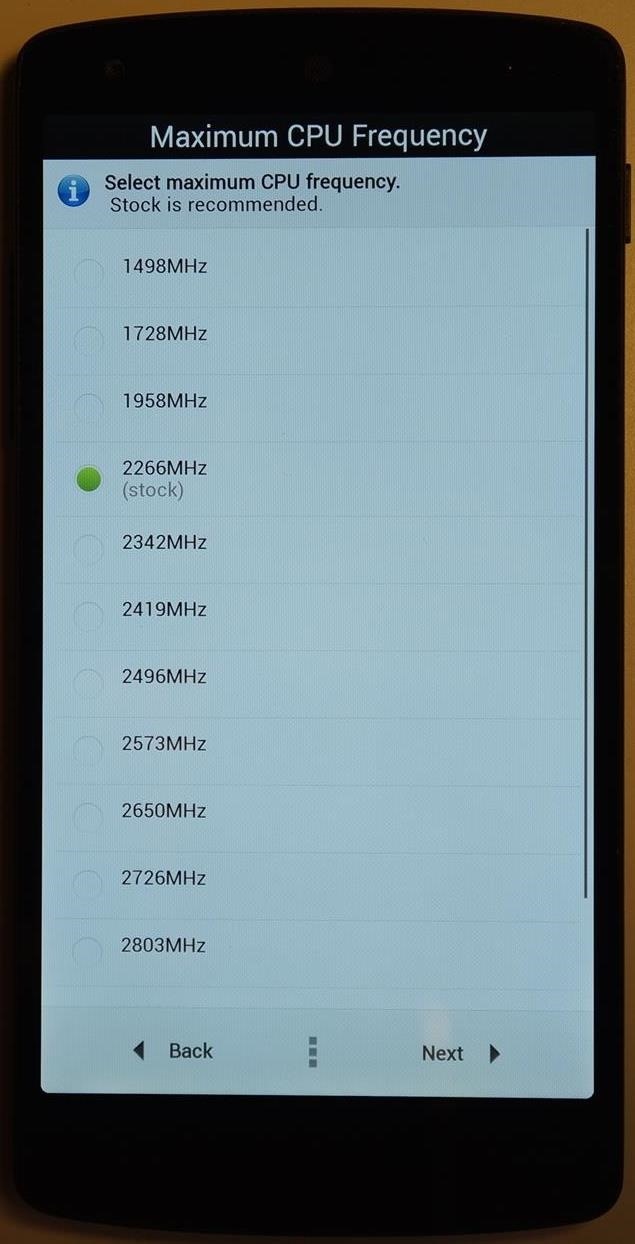
2. Maximum CPU Frequency
In this menu, you can overclock (make your CPU run faster than normal) or underclock (make it run at a slower speed). Overclocking will increase speed, but drain battery faster. Be careful with overclocking because choosing too high of an overclock will lead to random reboots and crashes, so don't automatically pick the fastest speed at 2957 Mhz. Underclocking on the other hand will save battery, but your phone runs slightly slower.
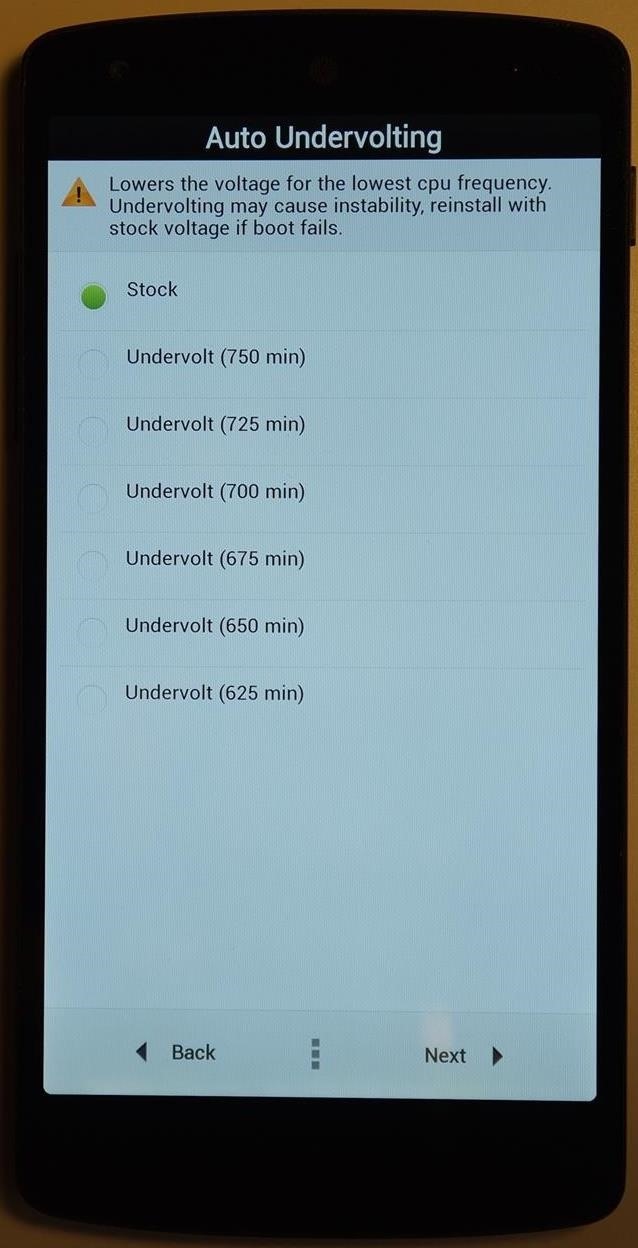
3. Auto Undervolting
In this menu, you can lower the amount of power that a CPU core uses. This can help with battery life, but not all phones are the same and can be undervolted. I always leave this at the default level, but try out one of the other settings on your phone. If your phone is unstable afterwards, just reflash ElementalX kernel and choose Stock.
Step 5: Tweak Disk Settings & Custom Wake Gestures
In this step, we'll be managing
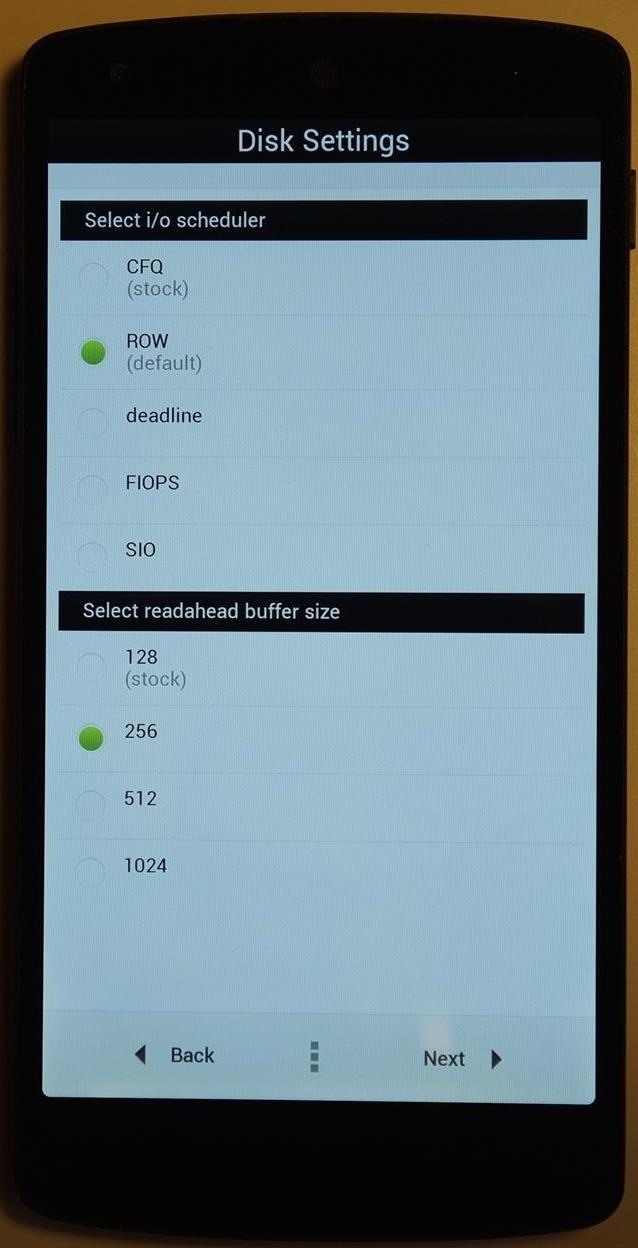
1. Disk Settings
I/O scheduling is how your phone manages processes and user requests. Processes are random, so I/O scheduling is a way of managing and ordering them. I recommend just the default setting by ElementalX.
Buffer readahead is how much data your phone reads ahead of time so that it can be retrieved quickly. The default 256 setting is fine, but I usually like 512 for helping my phone play music off the SD card faster.
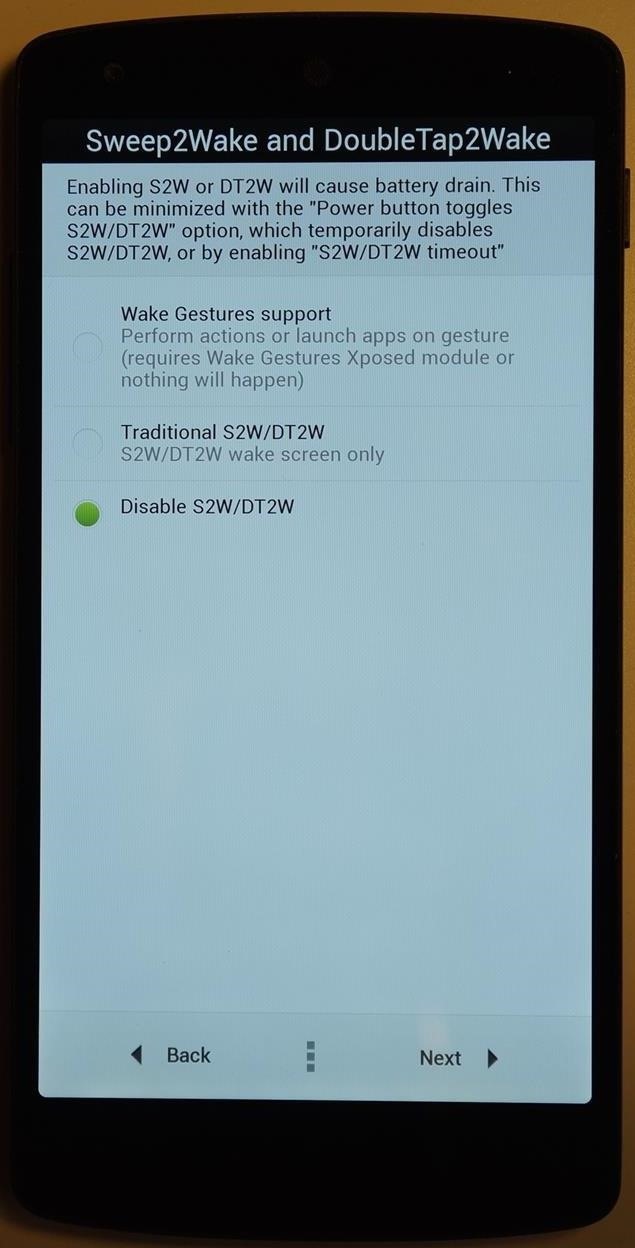
2. Sweep2Wake / DoubleTap2Wake
Sweep2Wake (S2W) and DoubleTap2Wake (DT2W) with ElementalX are my favorite mods. S2W will wake your phone by just swiping over your screen. DT2W wakes your phone by tapping twice when it's sleeping, which is just like knock-to-unlock on LG's own line of flagship smartphones. Just note that enabling Traditional S2W/DT2W will use up a lot of battery.
Custom wake and app gestures can be set by choosing Wake Gestures support and installing an additional Xposed module. If you enabled this setting, scroll down for how to fully set this up (after Step #7).
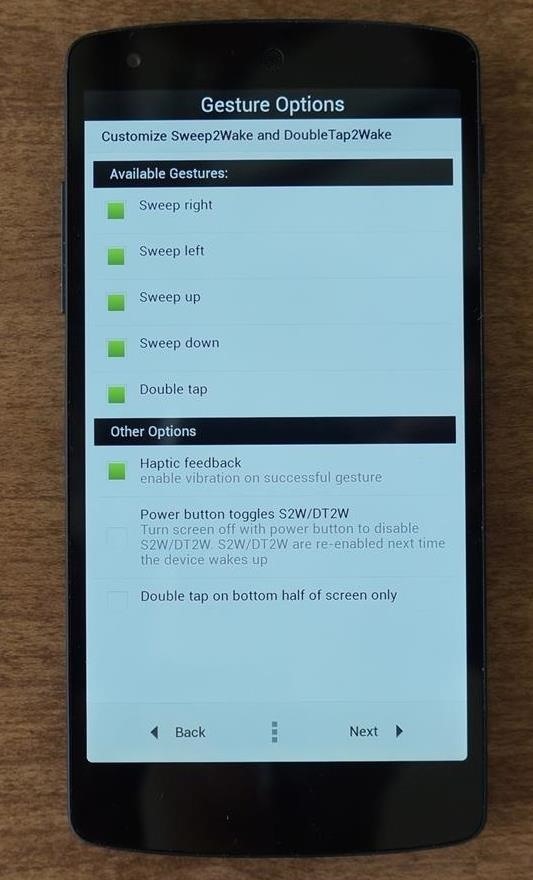
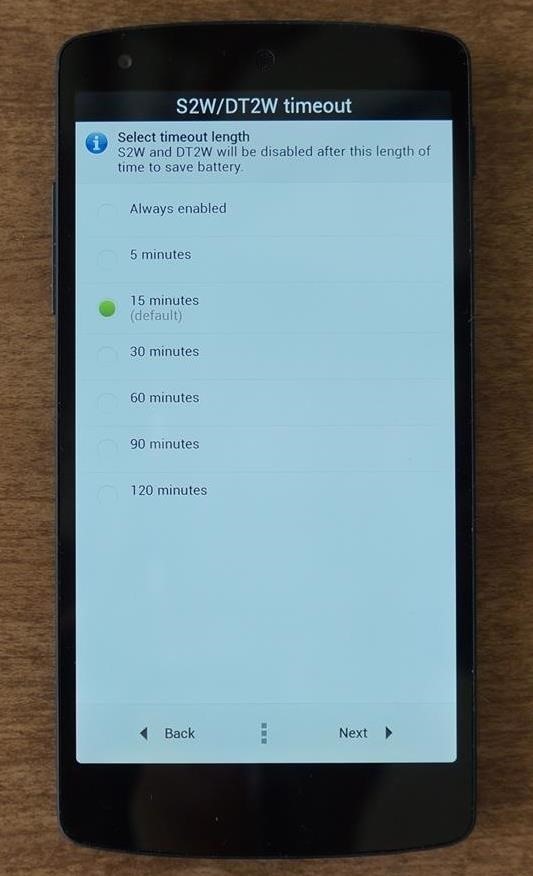
Check all the gestures you want enabled in the kernel. If you'd like to have haptic feedback (a small vibration) when you do a gesture, enable it here, too. In the next screen, leave the S2W/DT2W timeout settings alone and tap Next.
Step 6: Enable Swipe2Sleep & Other Kernel Settings
In this step, we'll be adding swipe-to-sleep and checking out a ton of other kernel settings that we can enable.
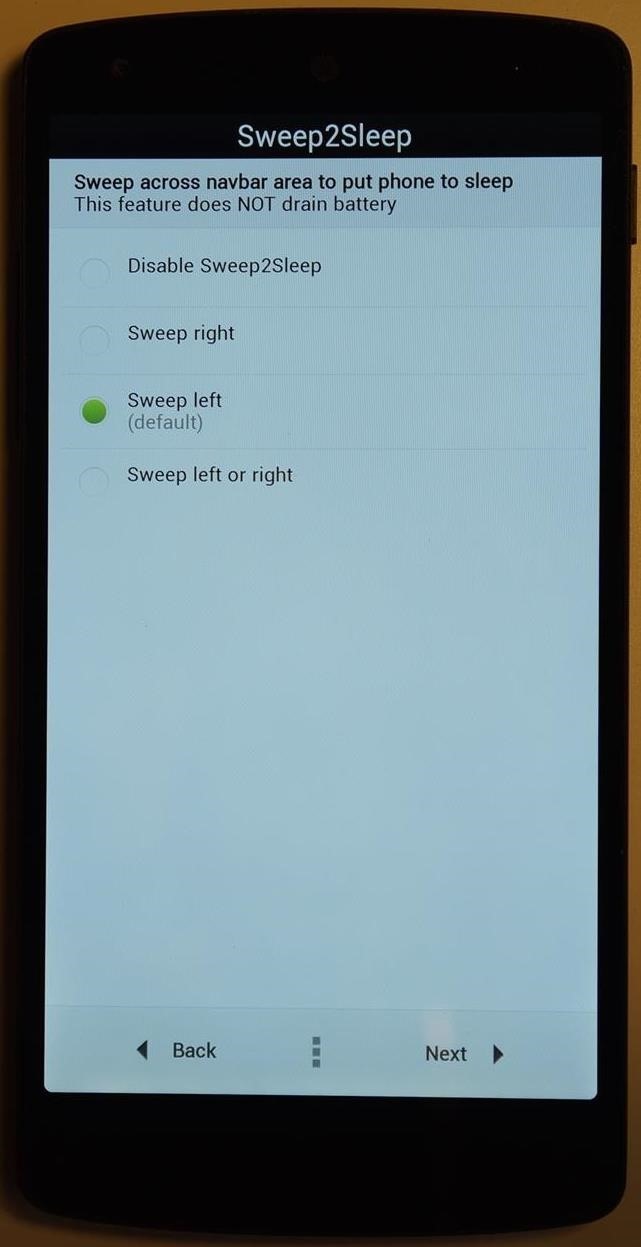
1. Swipe2Sleep
This will put your phone to sleep by swiping across the on-screen navigation buttons. Unlike Sleep2Wake or DoubleTap2Wake, this does not cause battery drain. I find myself using this feature a lot, so enable it and give it a try.
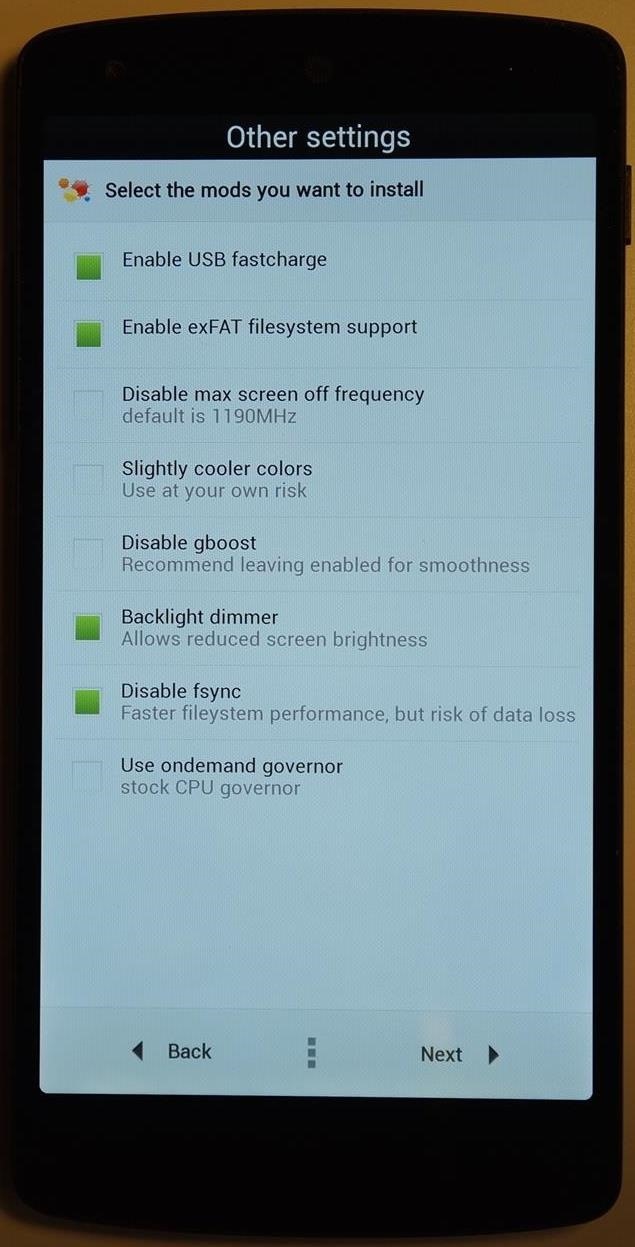
2. Other Settings
In this menu, additional tweaks can be enabled in the kernel. Here are my recommended settings to enable and what they all do:
- Enable USB fastcharge
If you find your Nexus 5 charges too slowly with some power adapters, this allows the phone to draw more power from USB to charge your battery faster. Just a warning, this may reduce the life of your battery, but I haven't noticed any problems yet.
- Enable exFAT filesystem support
Enabling exFAT support will allow your phone to read and write to exFAT filesystems. Windows has support for this and some USB drives are formatted as exFAT. If you have a USB OTG cable, connecting your exFAT formatted drive to your phone can now have files read and written to.
- Backlight dimmer
This option allows the screen to become even dimmer than default. Personally, I find the stock lowest brightness to be still too bright, so this option is another one of my favorites.
- Disable fsync
Fsync is a process where data is buffered ahead of time in case there is a crash, but it slows down your phone. Disabling fsync puts your phone at a slightly greater risk for data loss if it crashes, but I haven't experienced issues leaving this off.
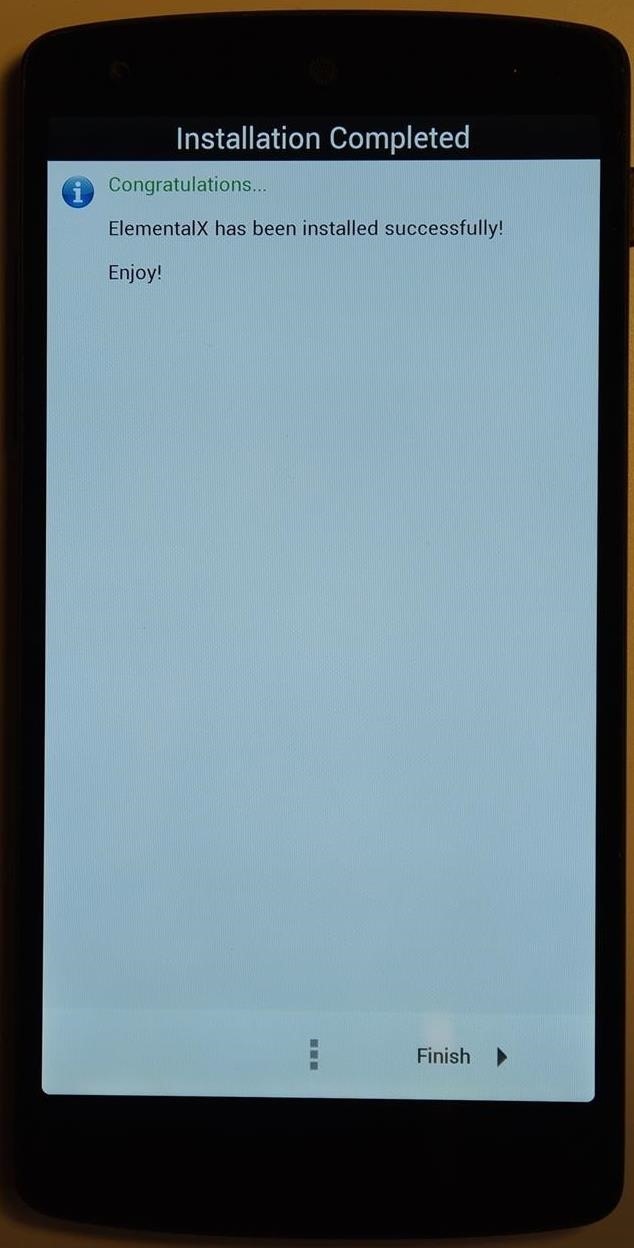
Step 7: Finish the ElementalX Install
Now that we have gone over all of ElementalX's kernel settings and features, you can now Install ElementalX to finish up the process. When finished, you'll be sent back to TWRP where you can select Reboot System.


Optional Steps
You're all done now, but if you want to get even better performance out of your Nexus 5, check out the optional steps below.
Step 8: Set Custom Wake & App Gestures (OPTIONAL)
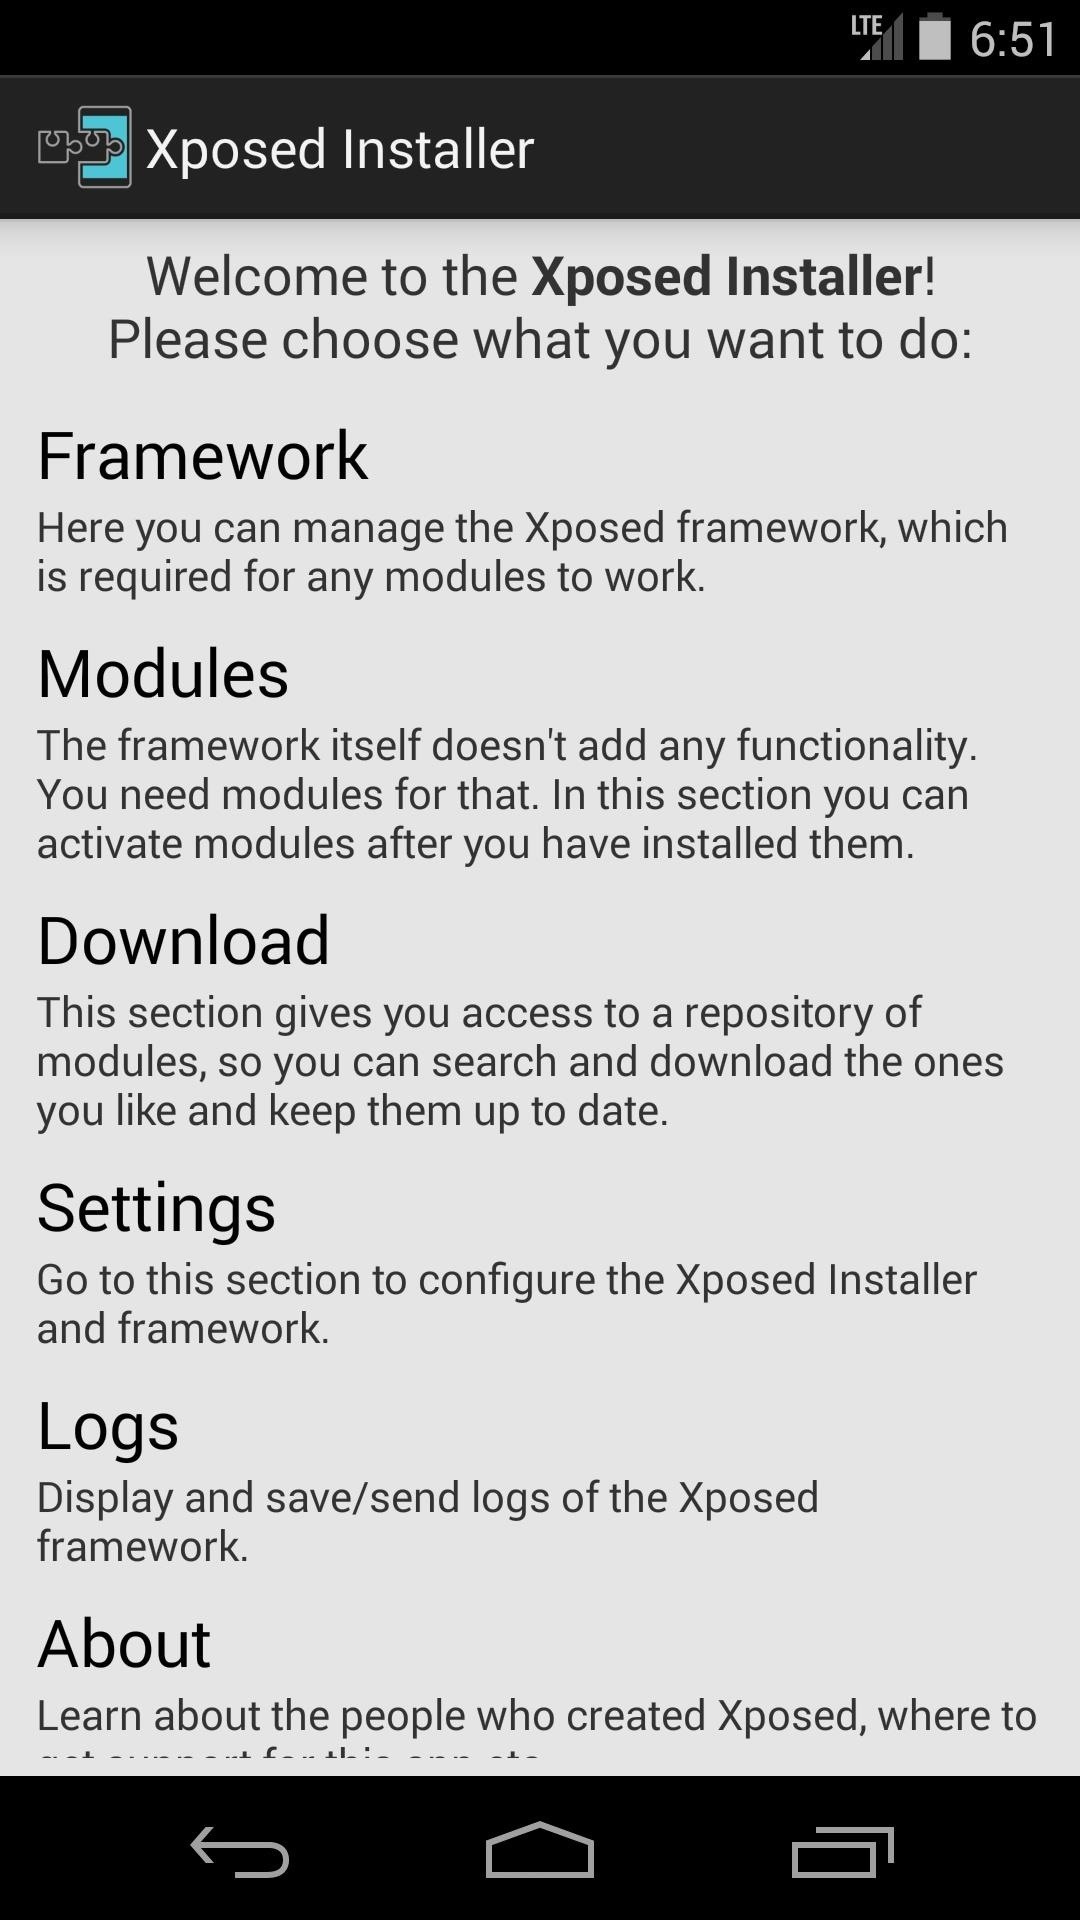
For those who enabled custom wake and app gestures in Step #5, here's how to set that up. You'll need to have the Xposed Framework on your phone, so if you don't have it, click the link back at the top of the page to get that done.
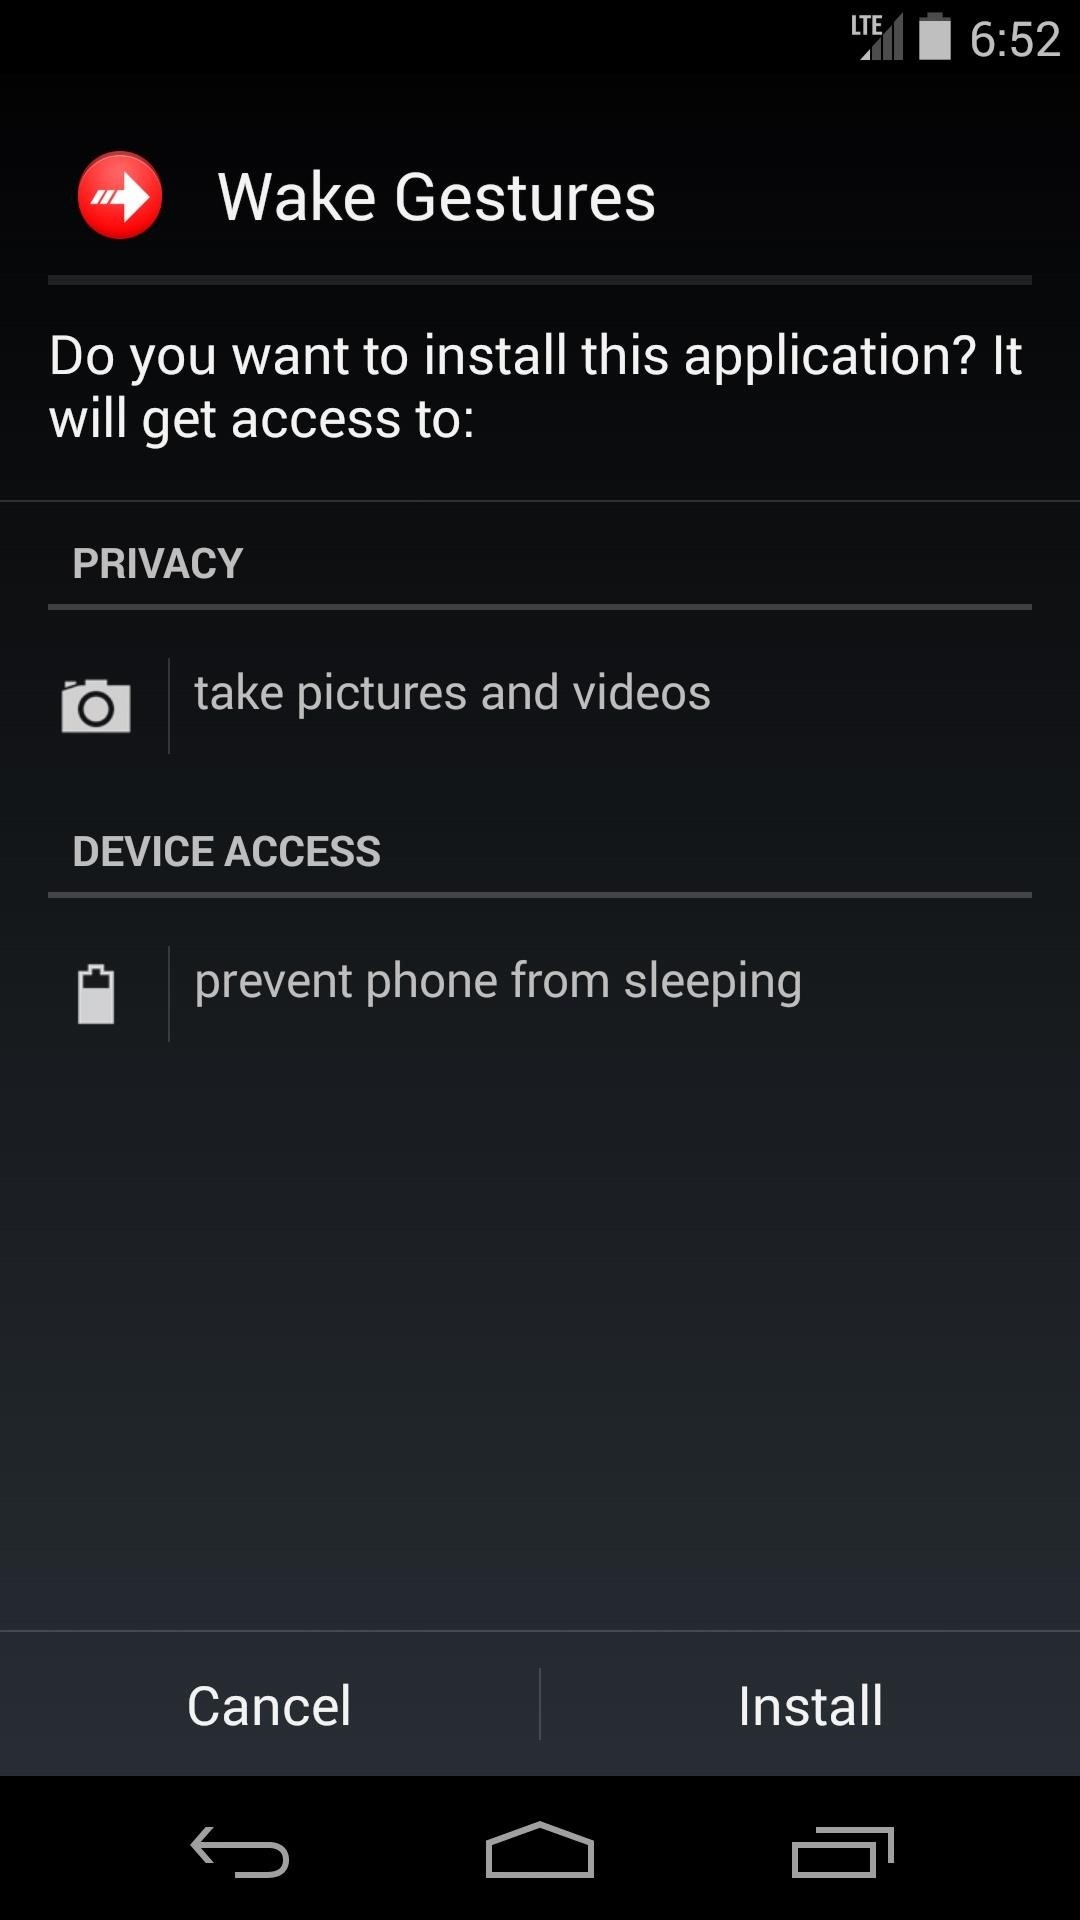
In the Xposed Installer app, tap Download, then search for Wake Gestures by developer C3C076.
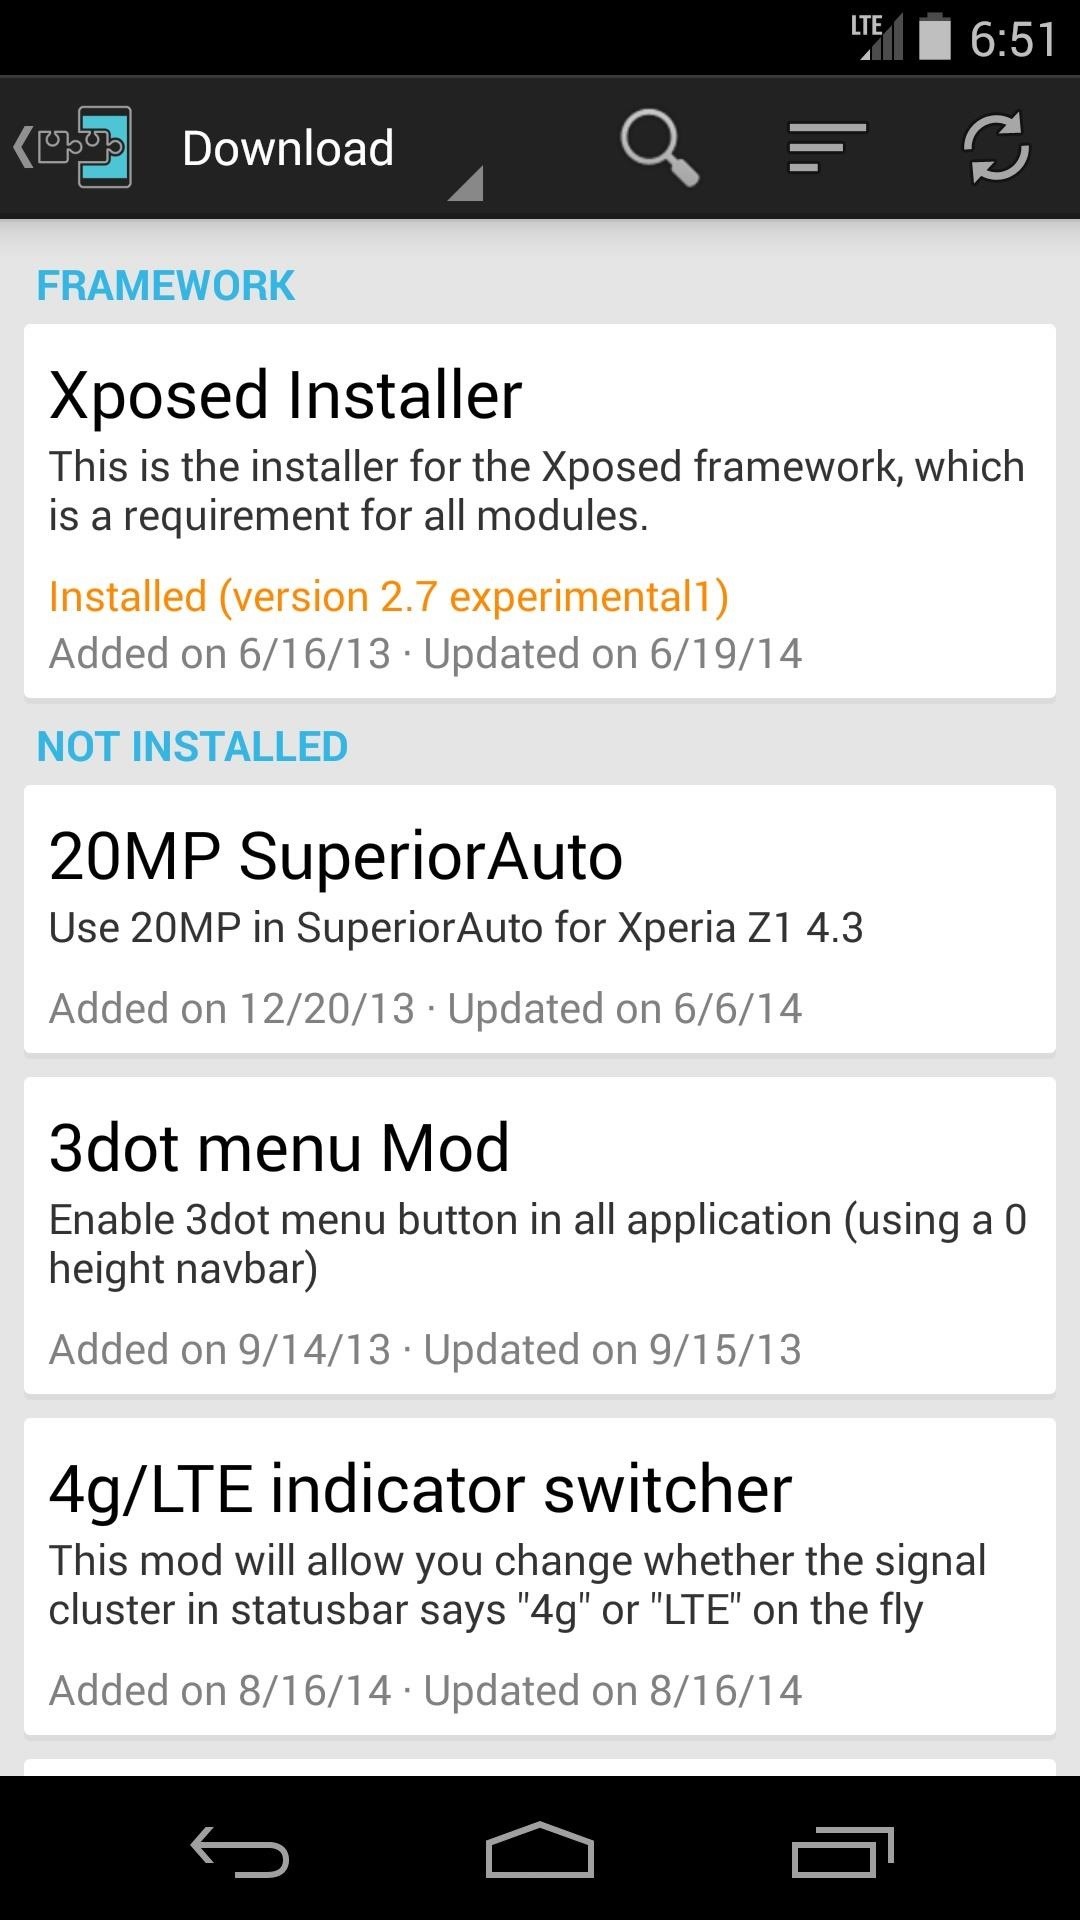
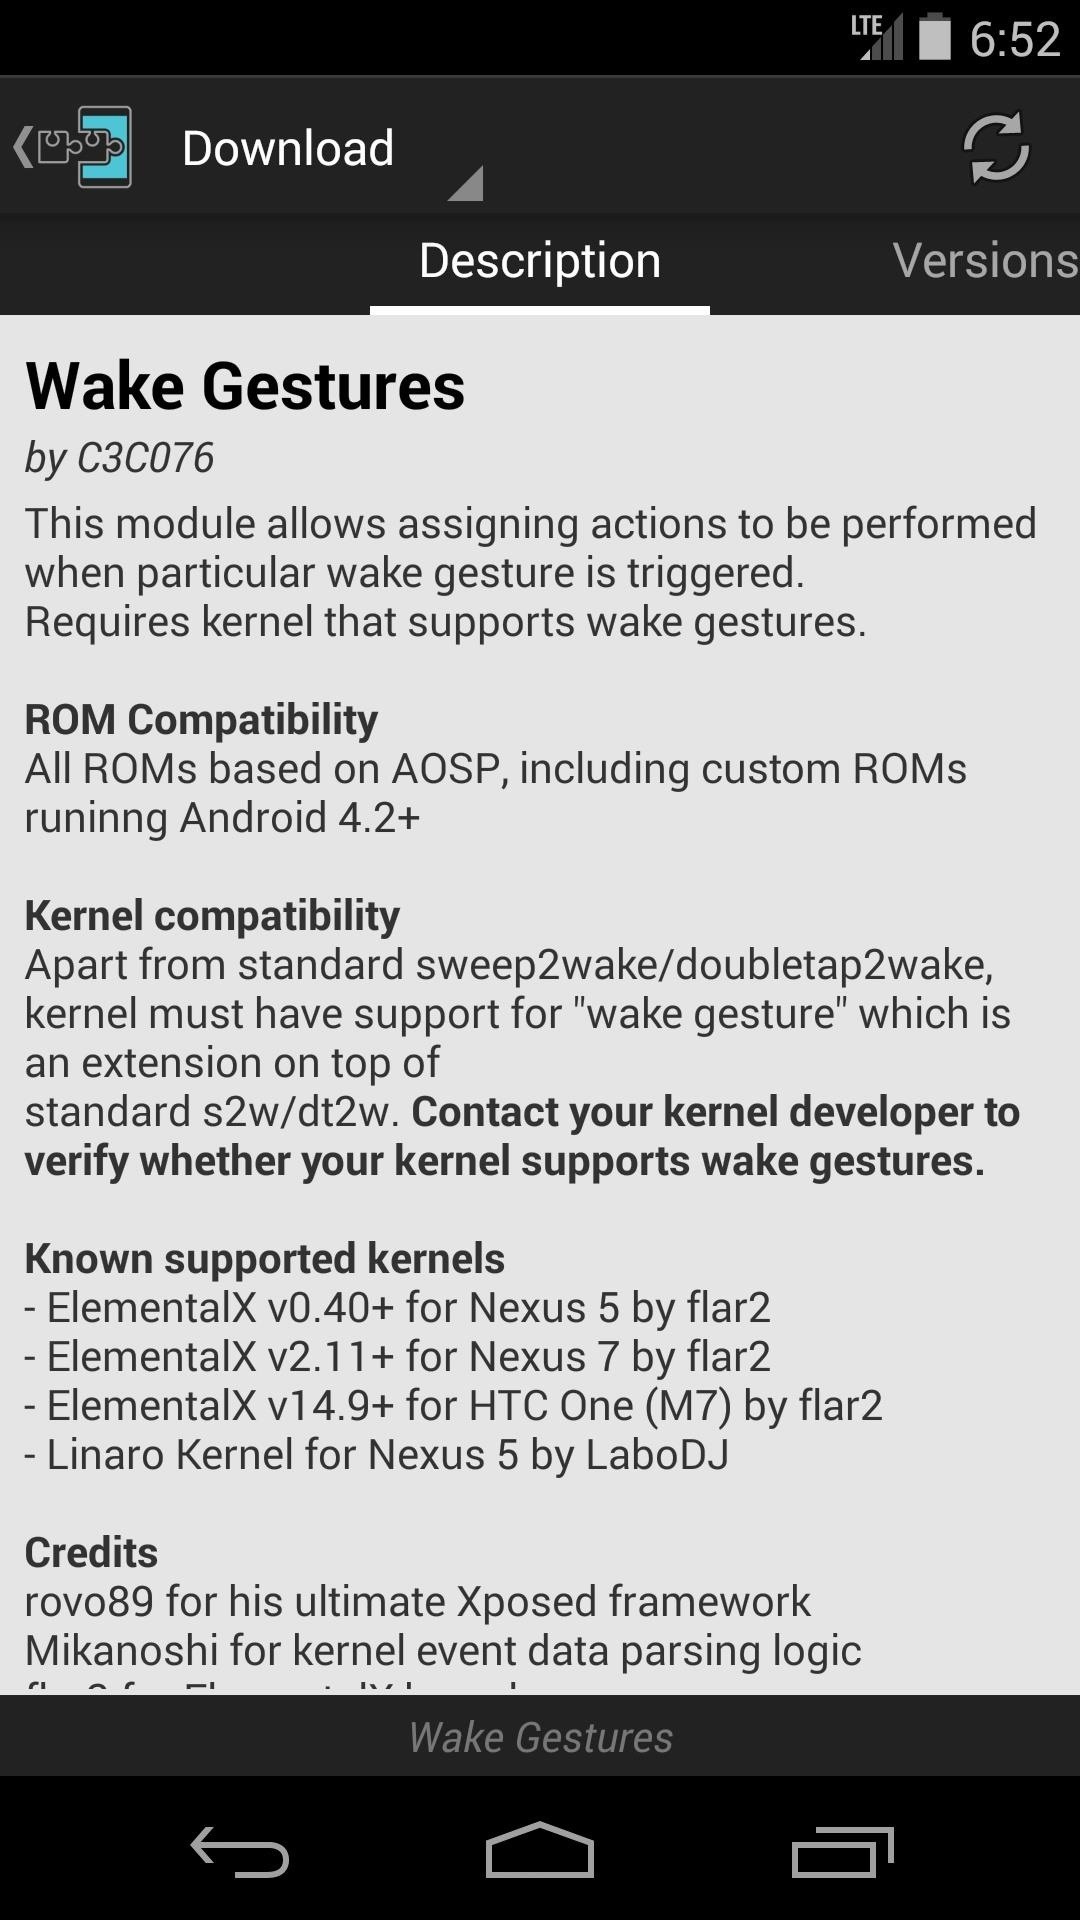
From there, swipe over to Versions and install the latest update of the module.

Once it's done, enable it in Modules from within Xposed.

You'll be prompted to reboot, so do that by tapping Framework, followed by Reboot.
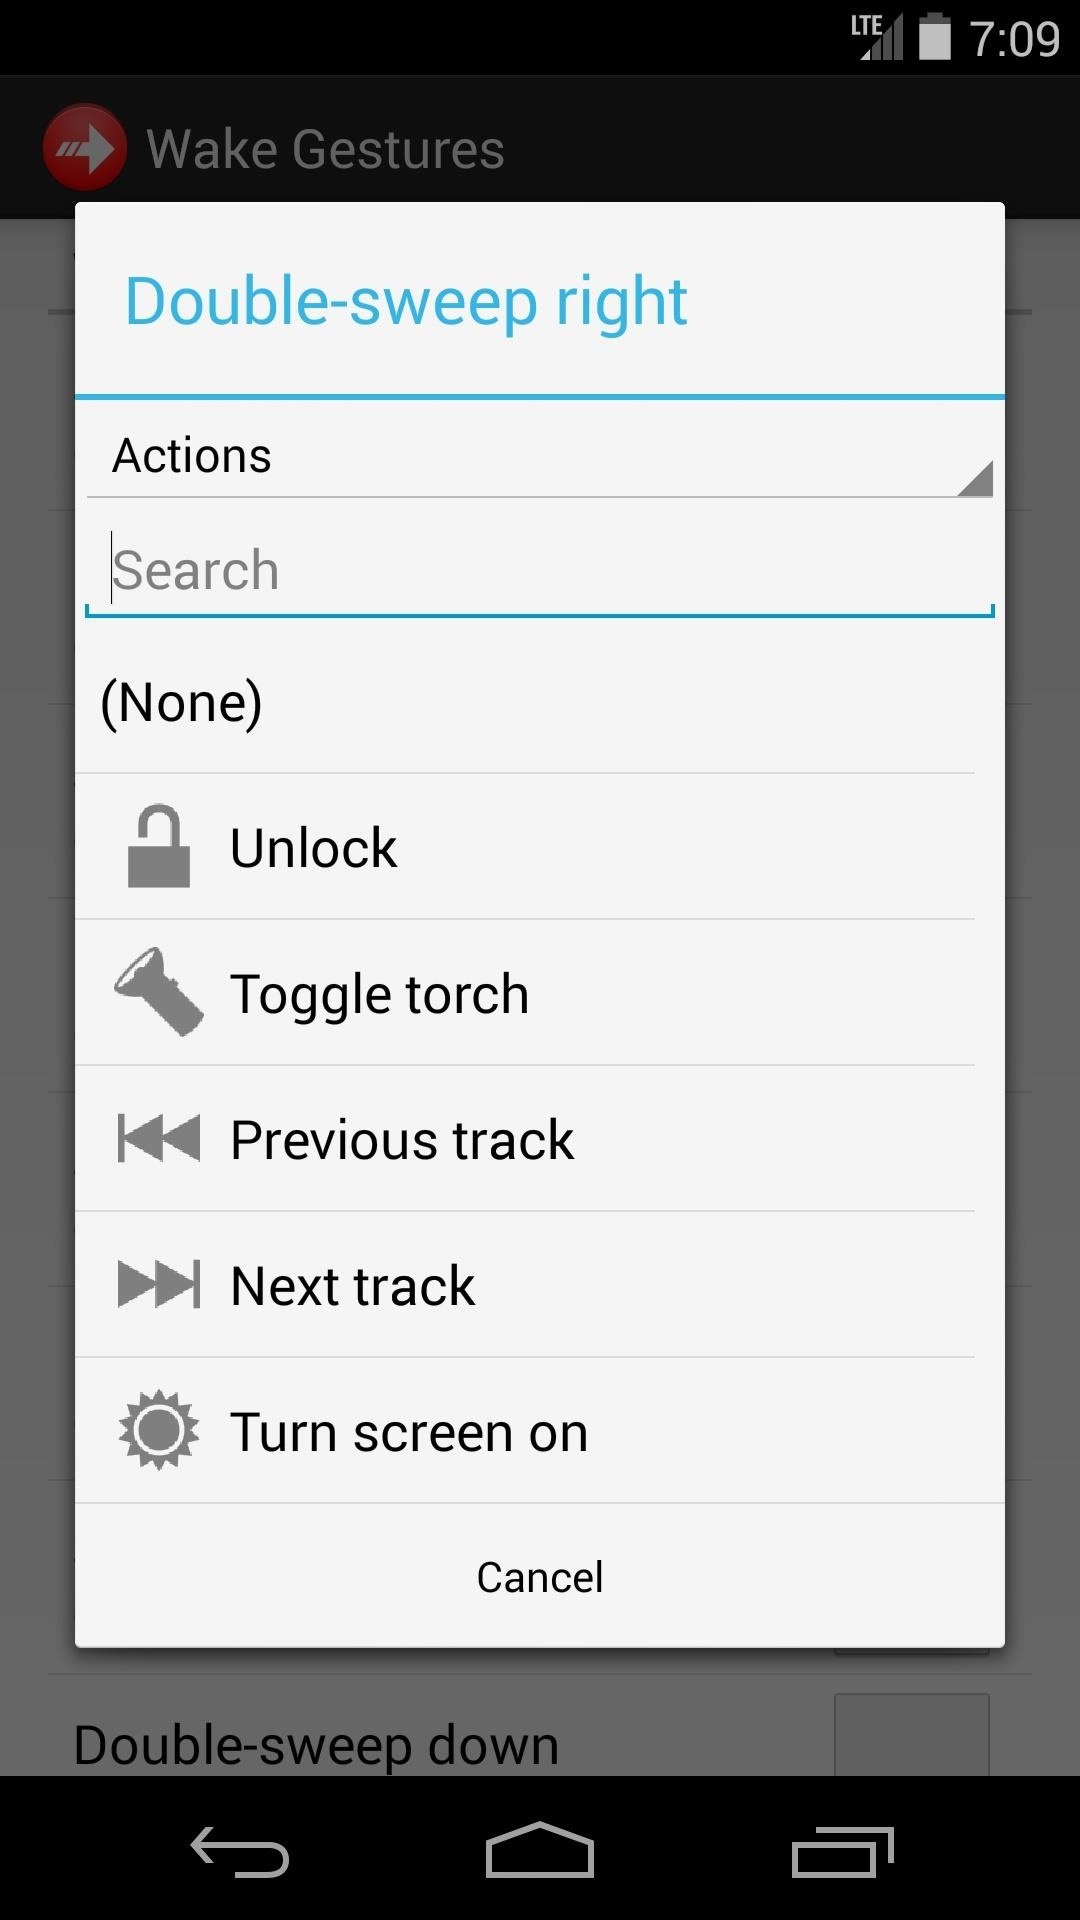
Once you're booted back up, open your app drawer and launch Wake Gestures. Now, it's as simple as picking and choosing which gesture does what. I like to have Google Play Music launch with the swipe up gesture and skip tracks with the left-right gestures. Having double-tap set to unlock makes getting into my phone a breeze.
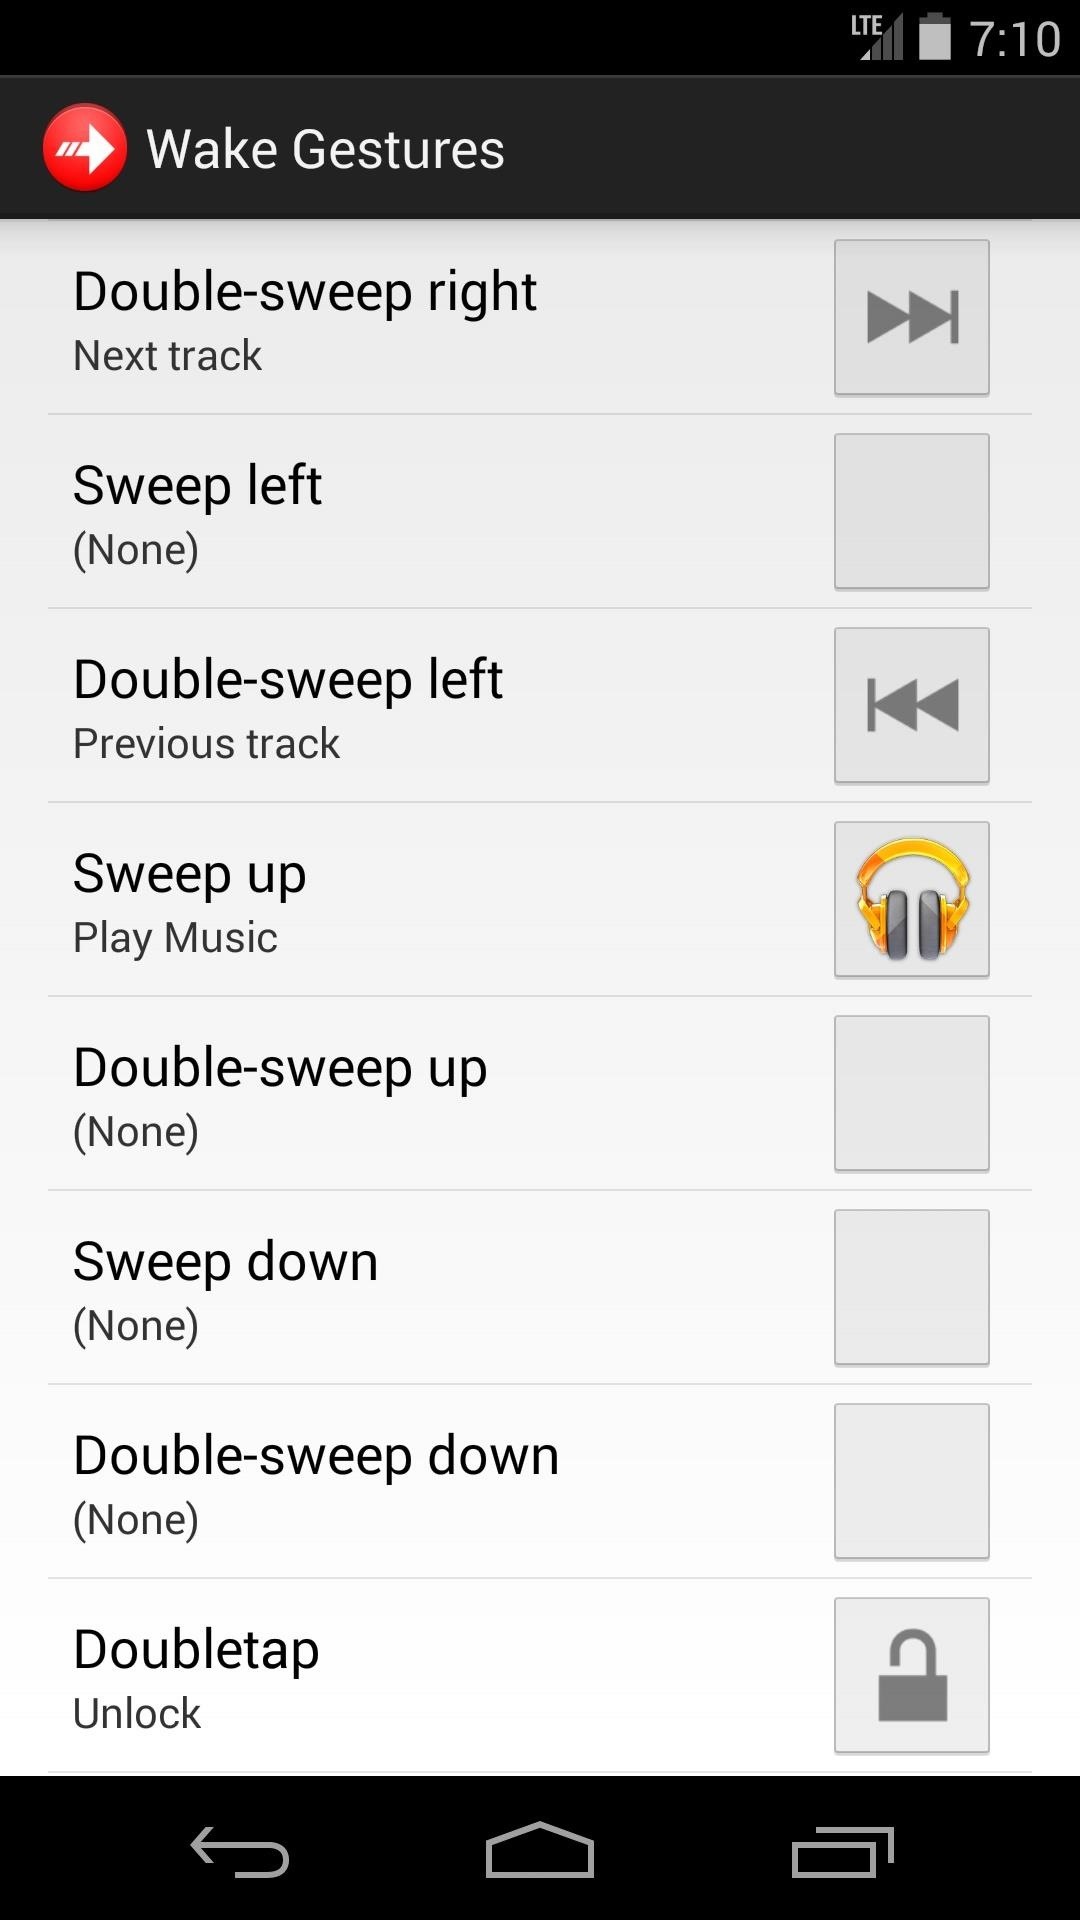
Once everything is set how you like it, just quit the app and try them out. That's all there is to it!
Step 9: Boot CD Images (OPTIONAL)
One feature that often goes unmentioned with ElementalX is its support using your Nexus 5 to boot CD images from a computer. That's right—you can set it to imitate a flash drive for USB installs of your operating system.
To get this done, download and install DriveDroid from Google Play. Developed by Softwarebakery, it allows your phone with a supported kernel to be used to boot CD images with a computer.
If you feel like supporting the developer for their app, there's a paid version here for $2.70 without ads.
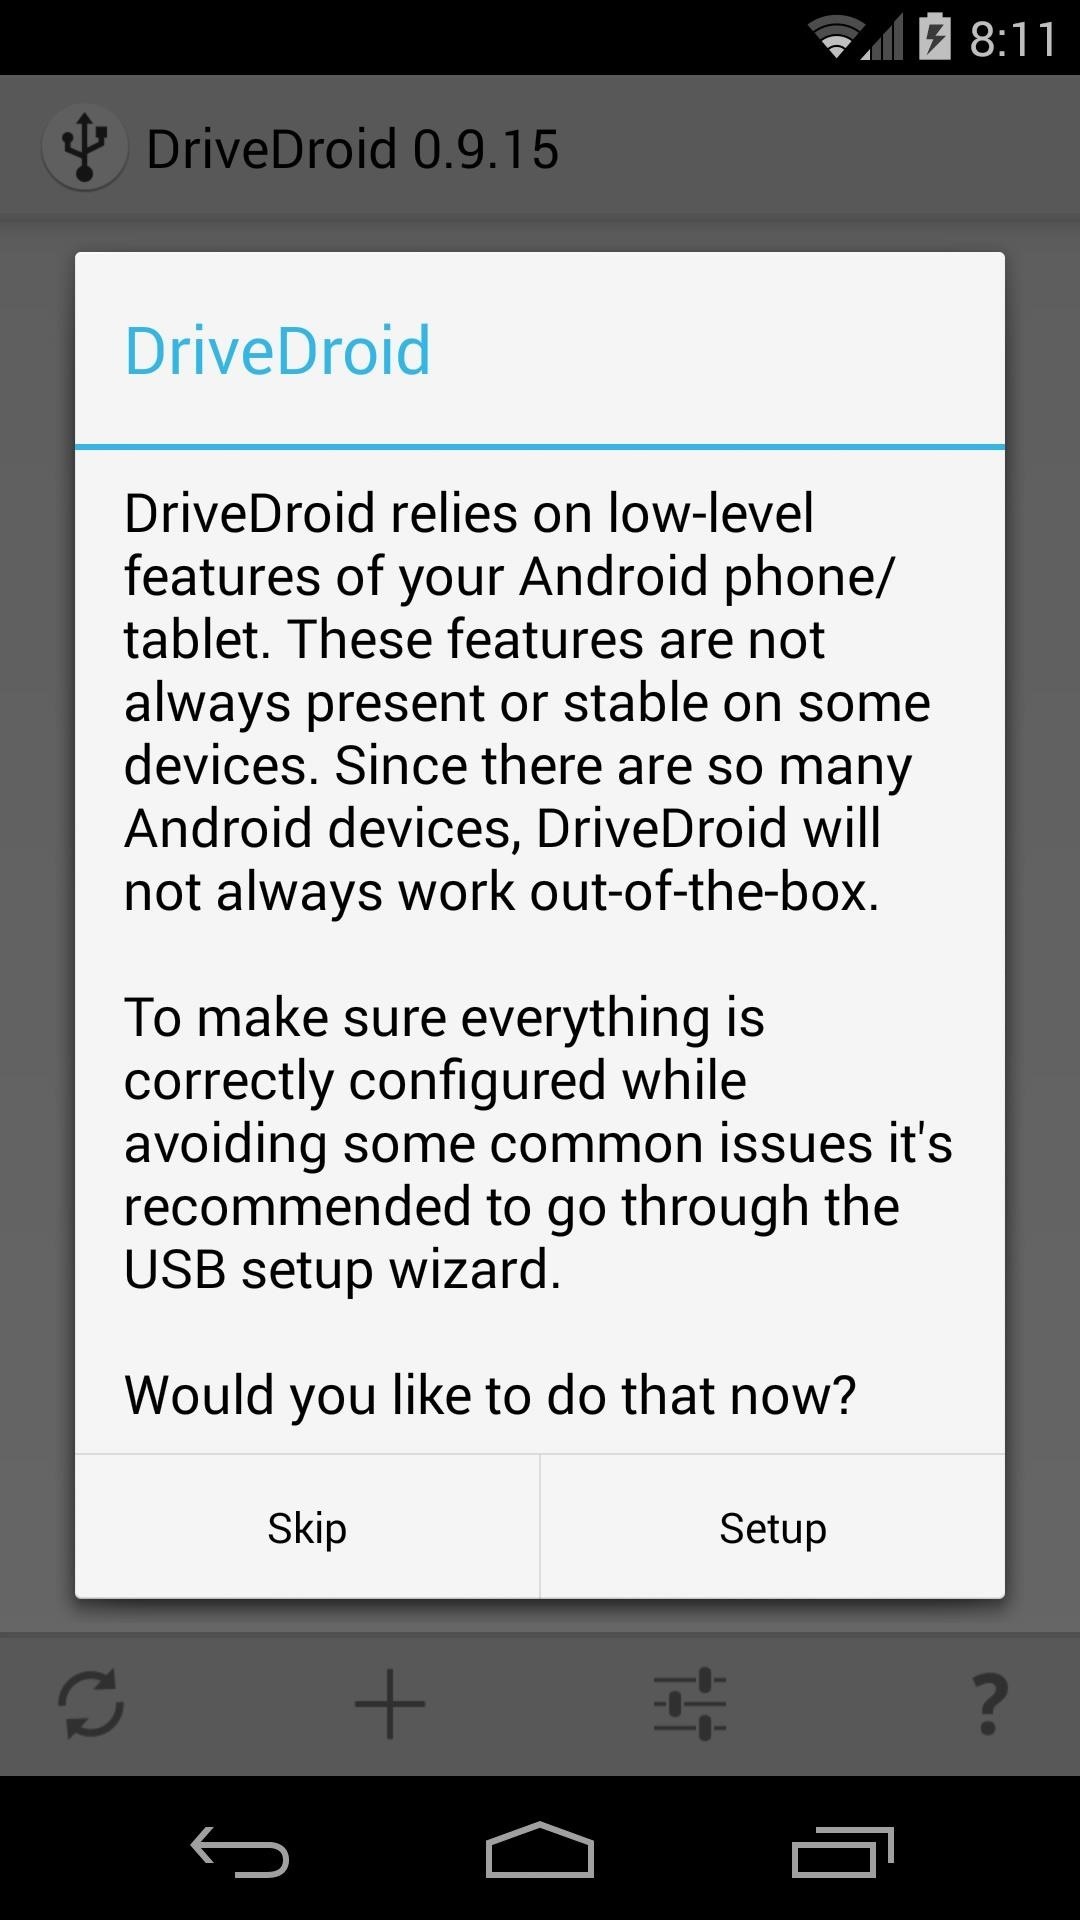
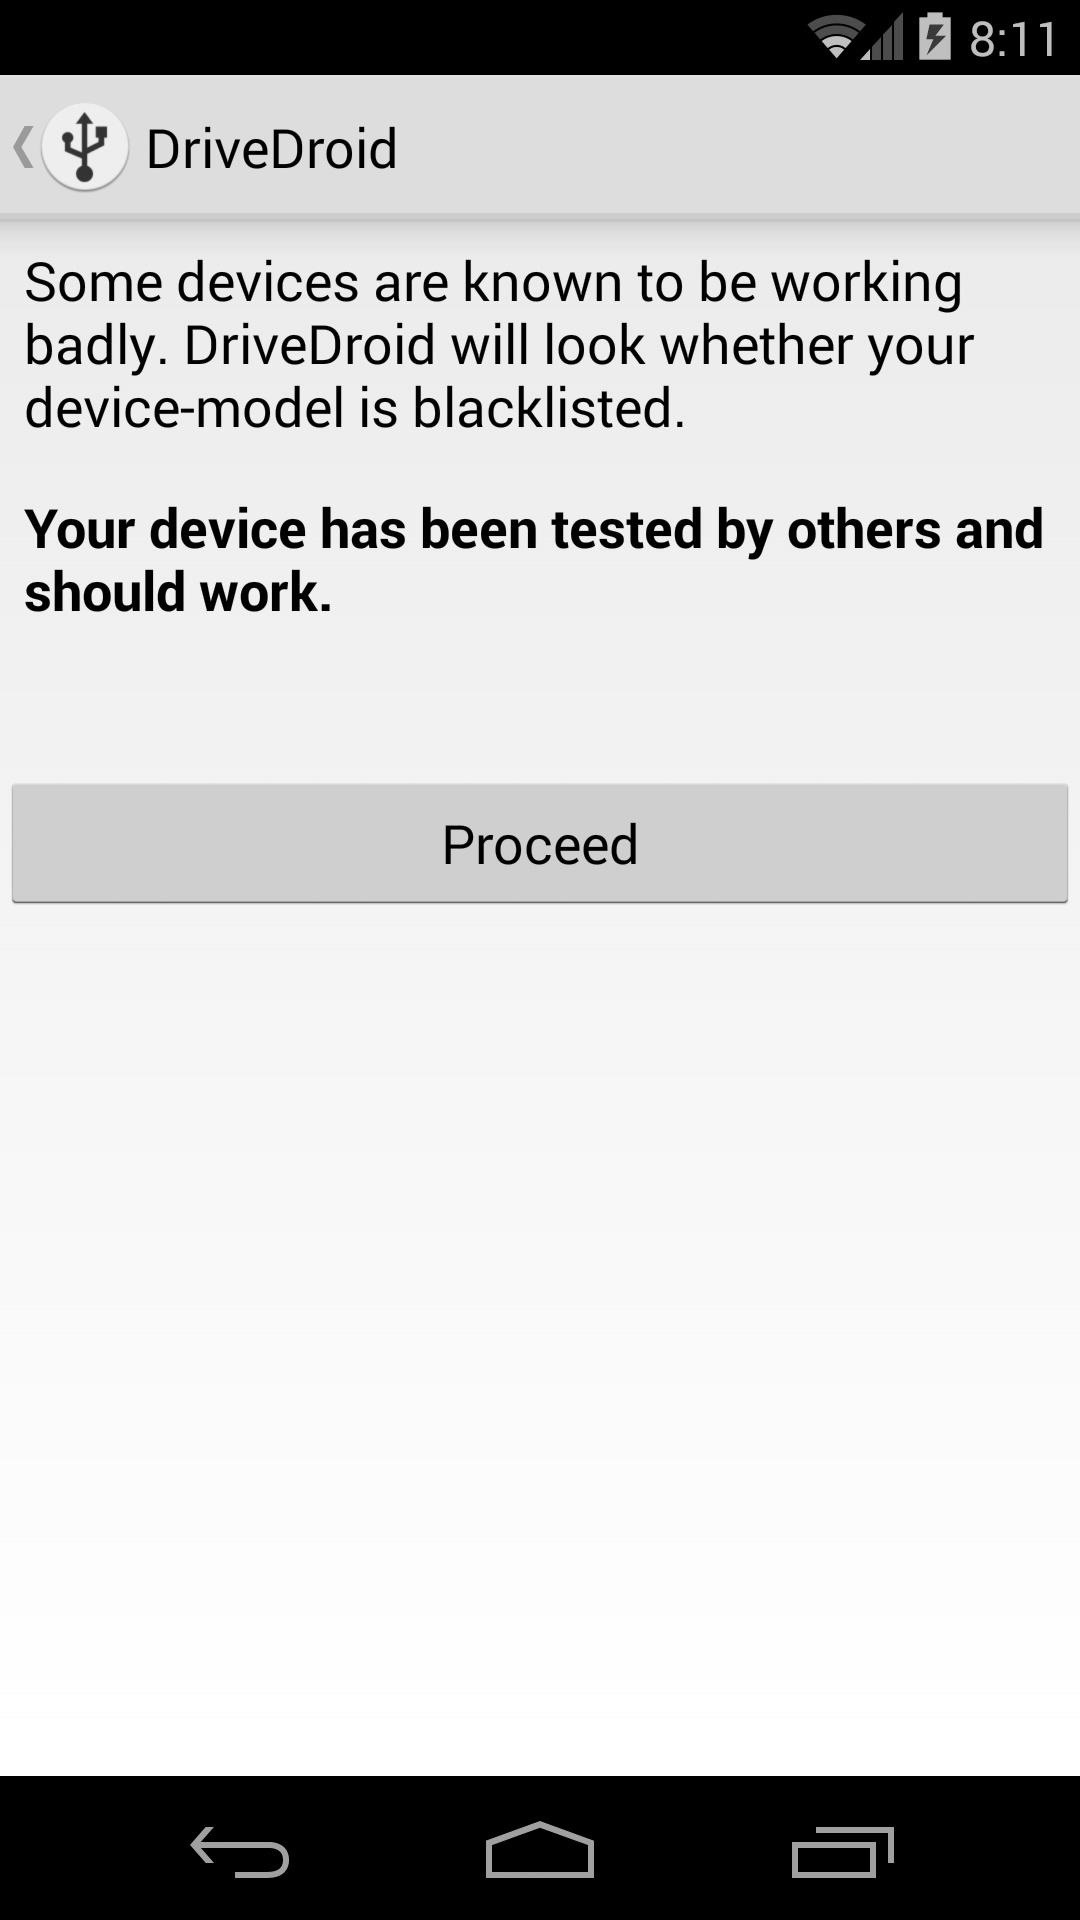
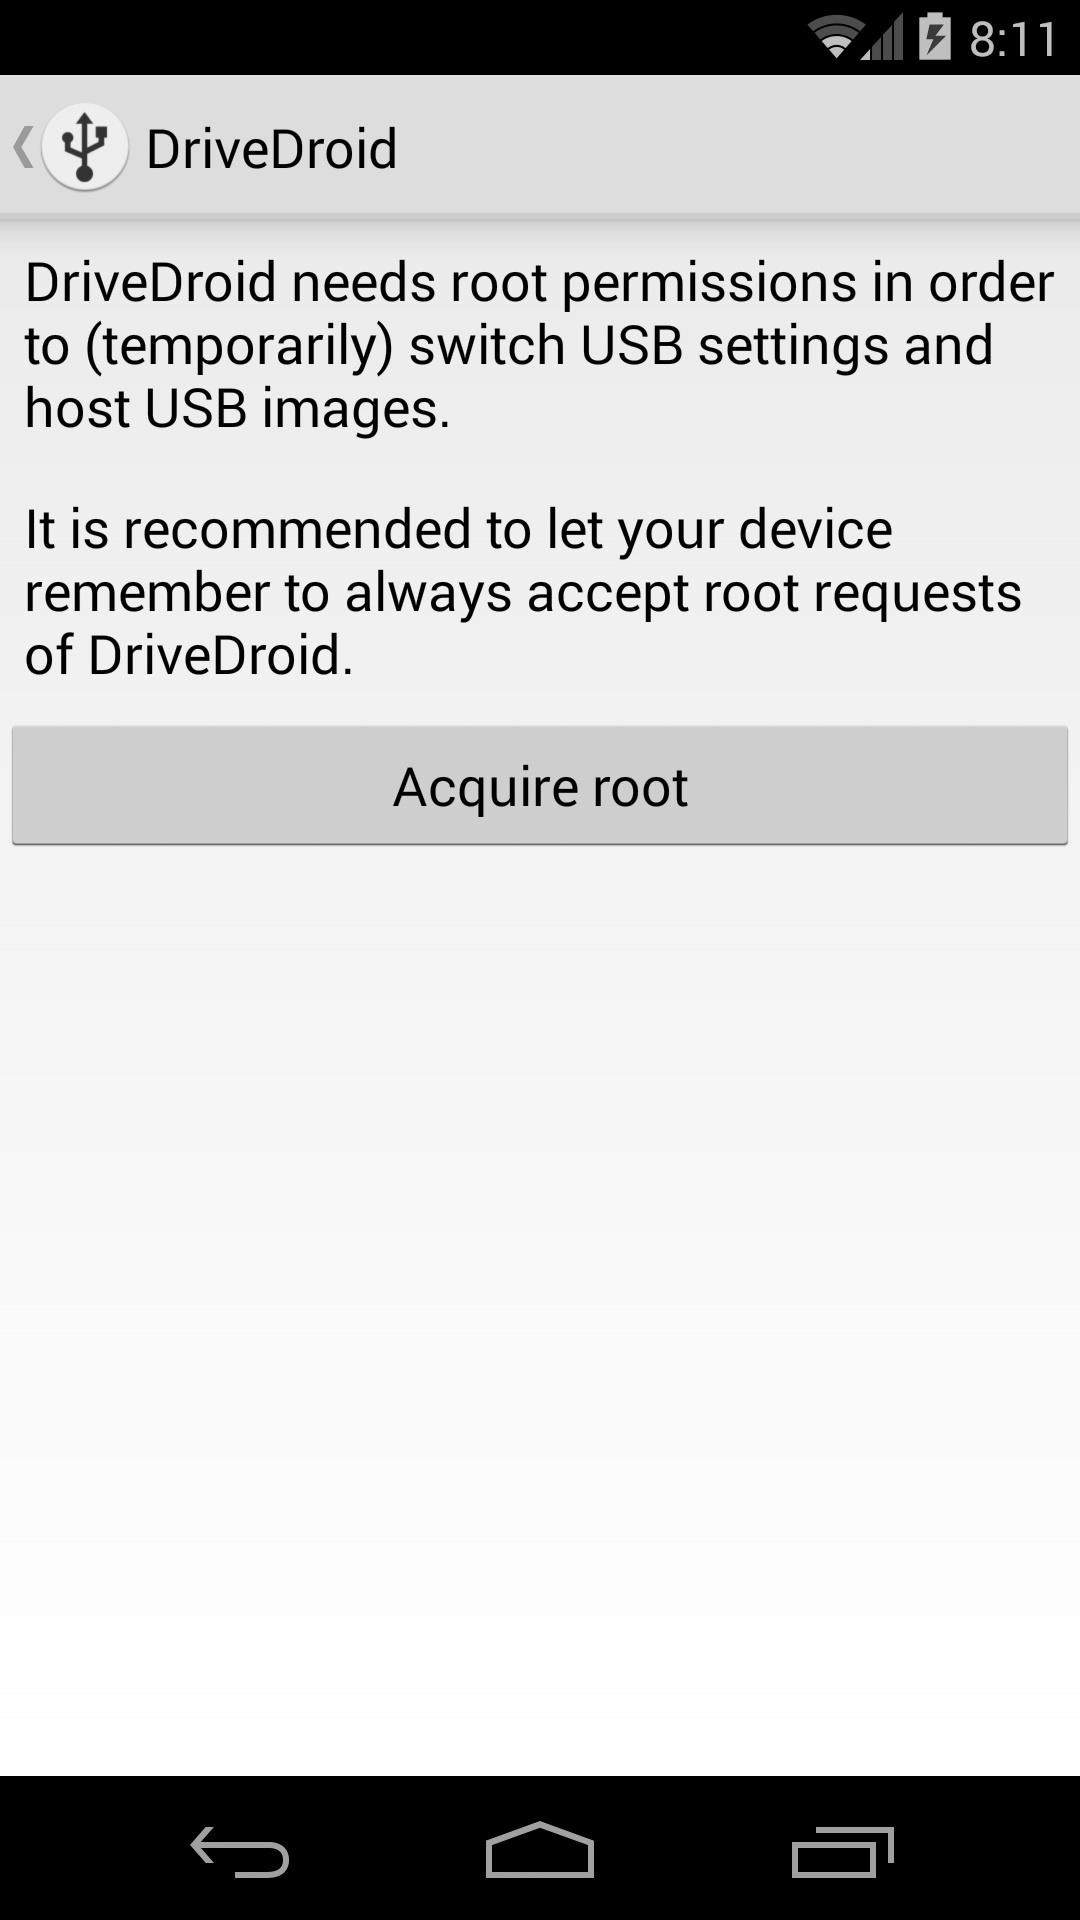
With DriveDroid installed, launch it and tap Setup. In the next window, tap Proceed and then Acquire Root. SuperSU will ask for root permissions, so grant them.
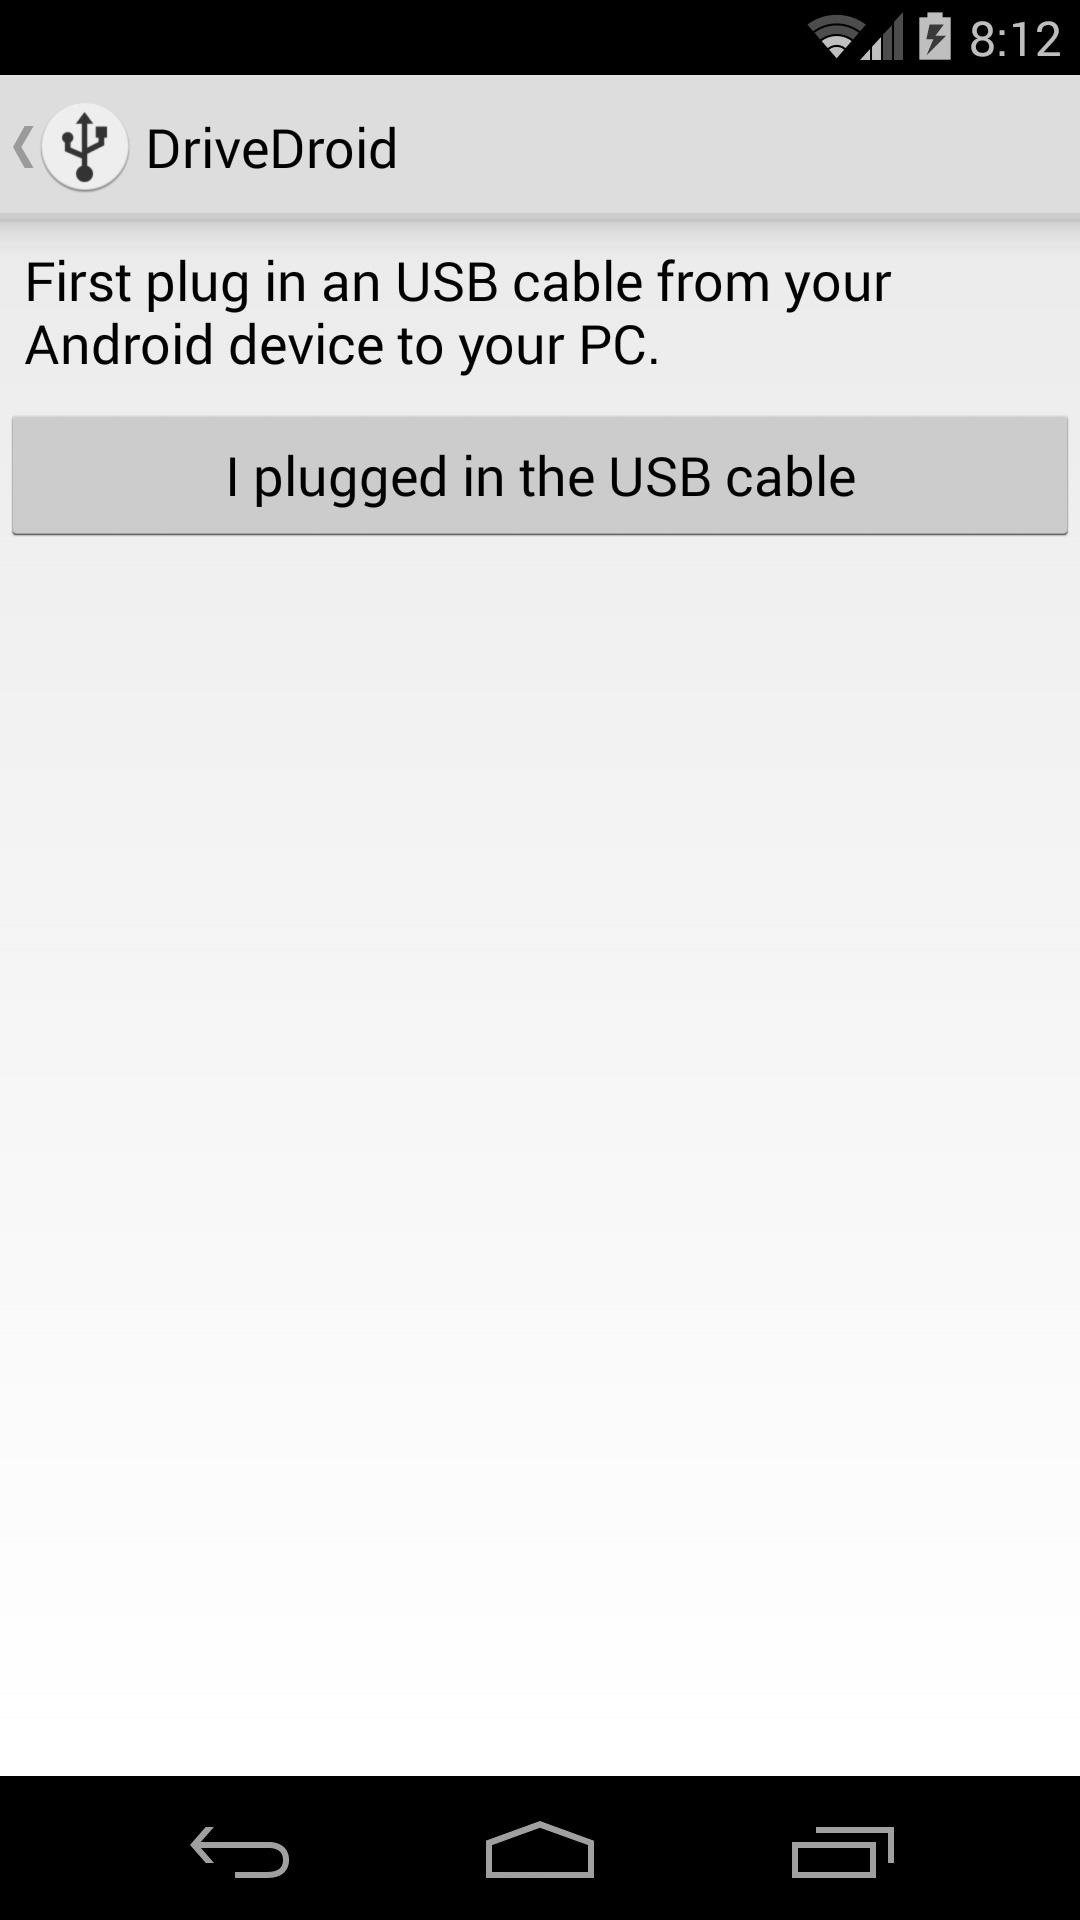
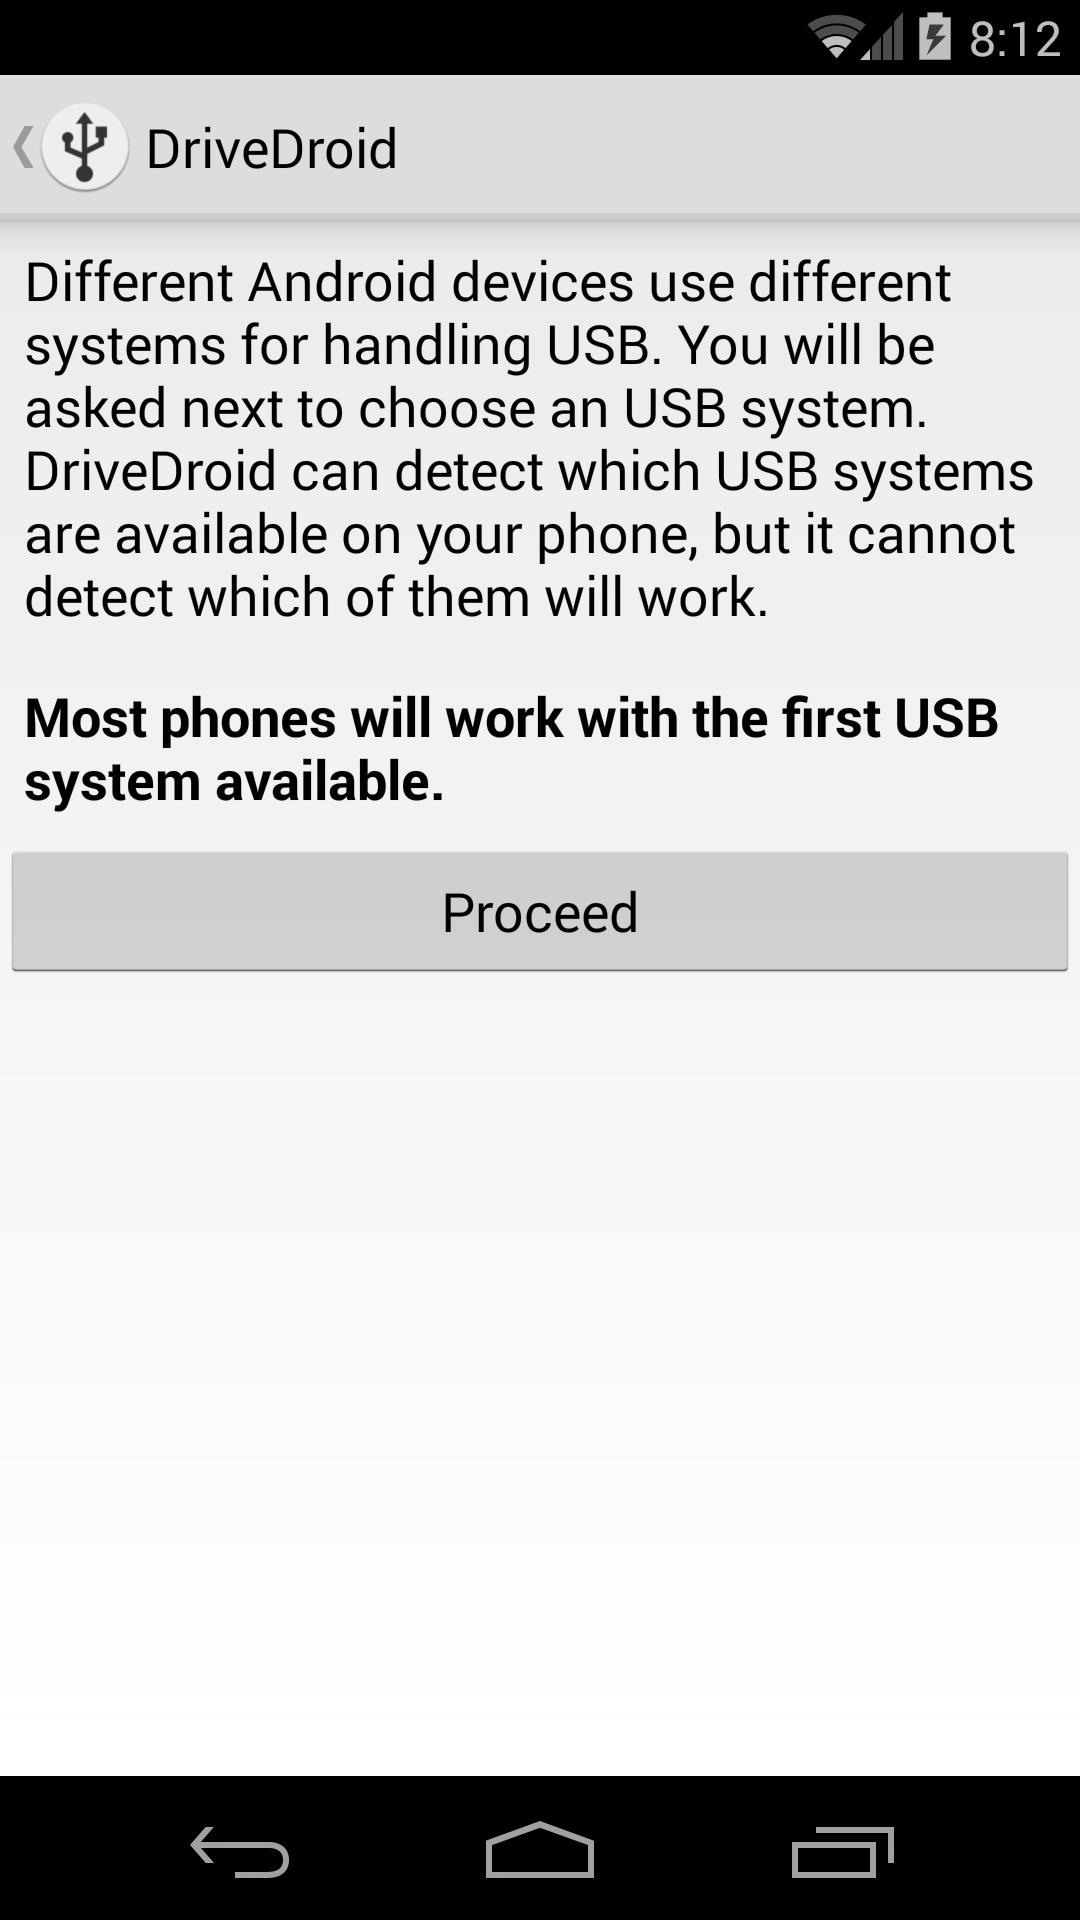
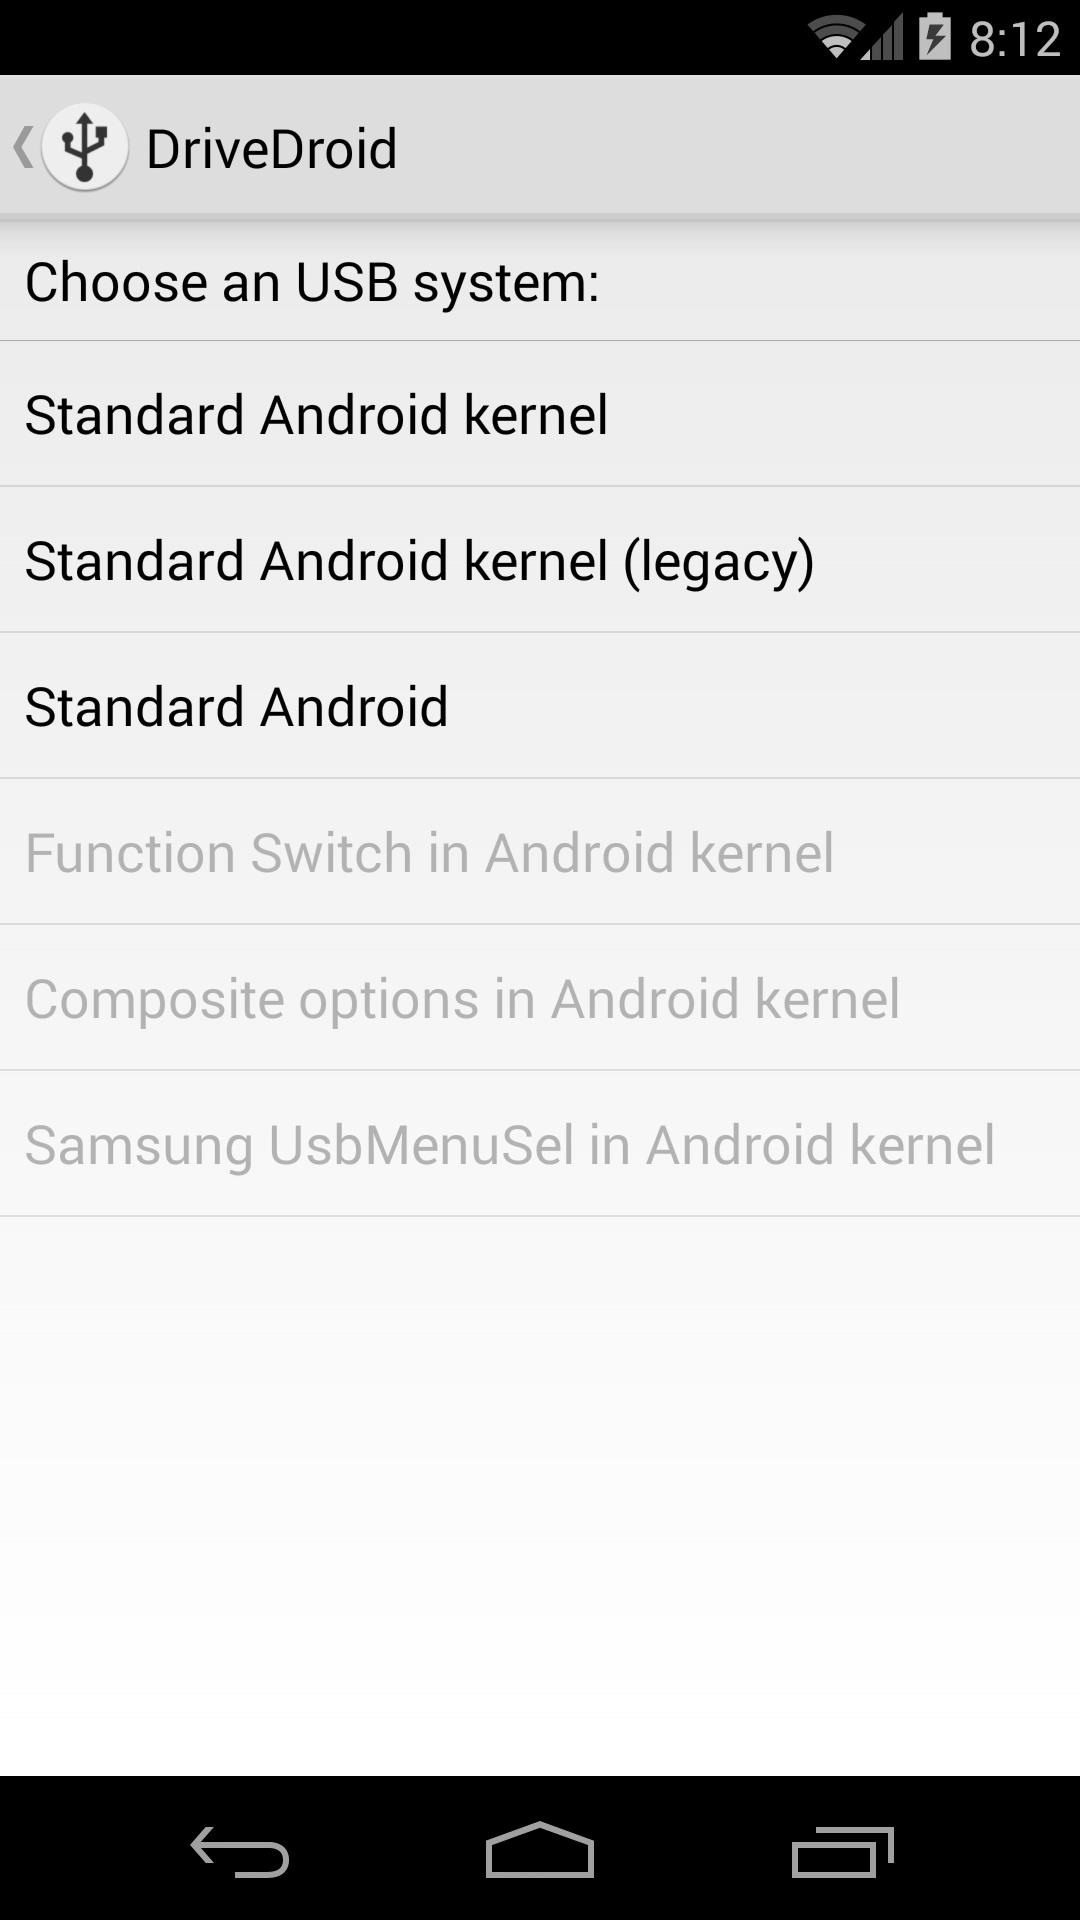
Once that's done, plug in your USB to your computer and tap I plugged in the USB cable to continue (leave it plugged in). In the next window, tap Proceed, then choose Standard Android Kernel. Don't worry if your computer pops-up with a "drive inaccessible" message. You're now ready to start booting CD images from your phone.
Depending on if you want to boot Windows, MacOS X, or Linux, look for your specific OS under the appropriate heading below.
Booting Mac OS X
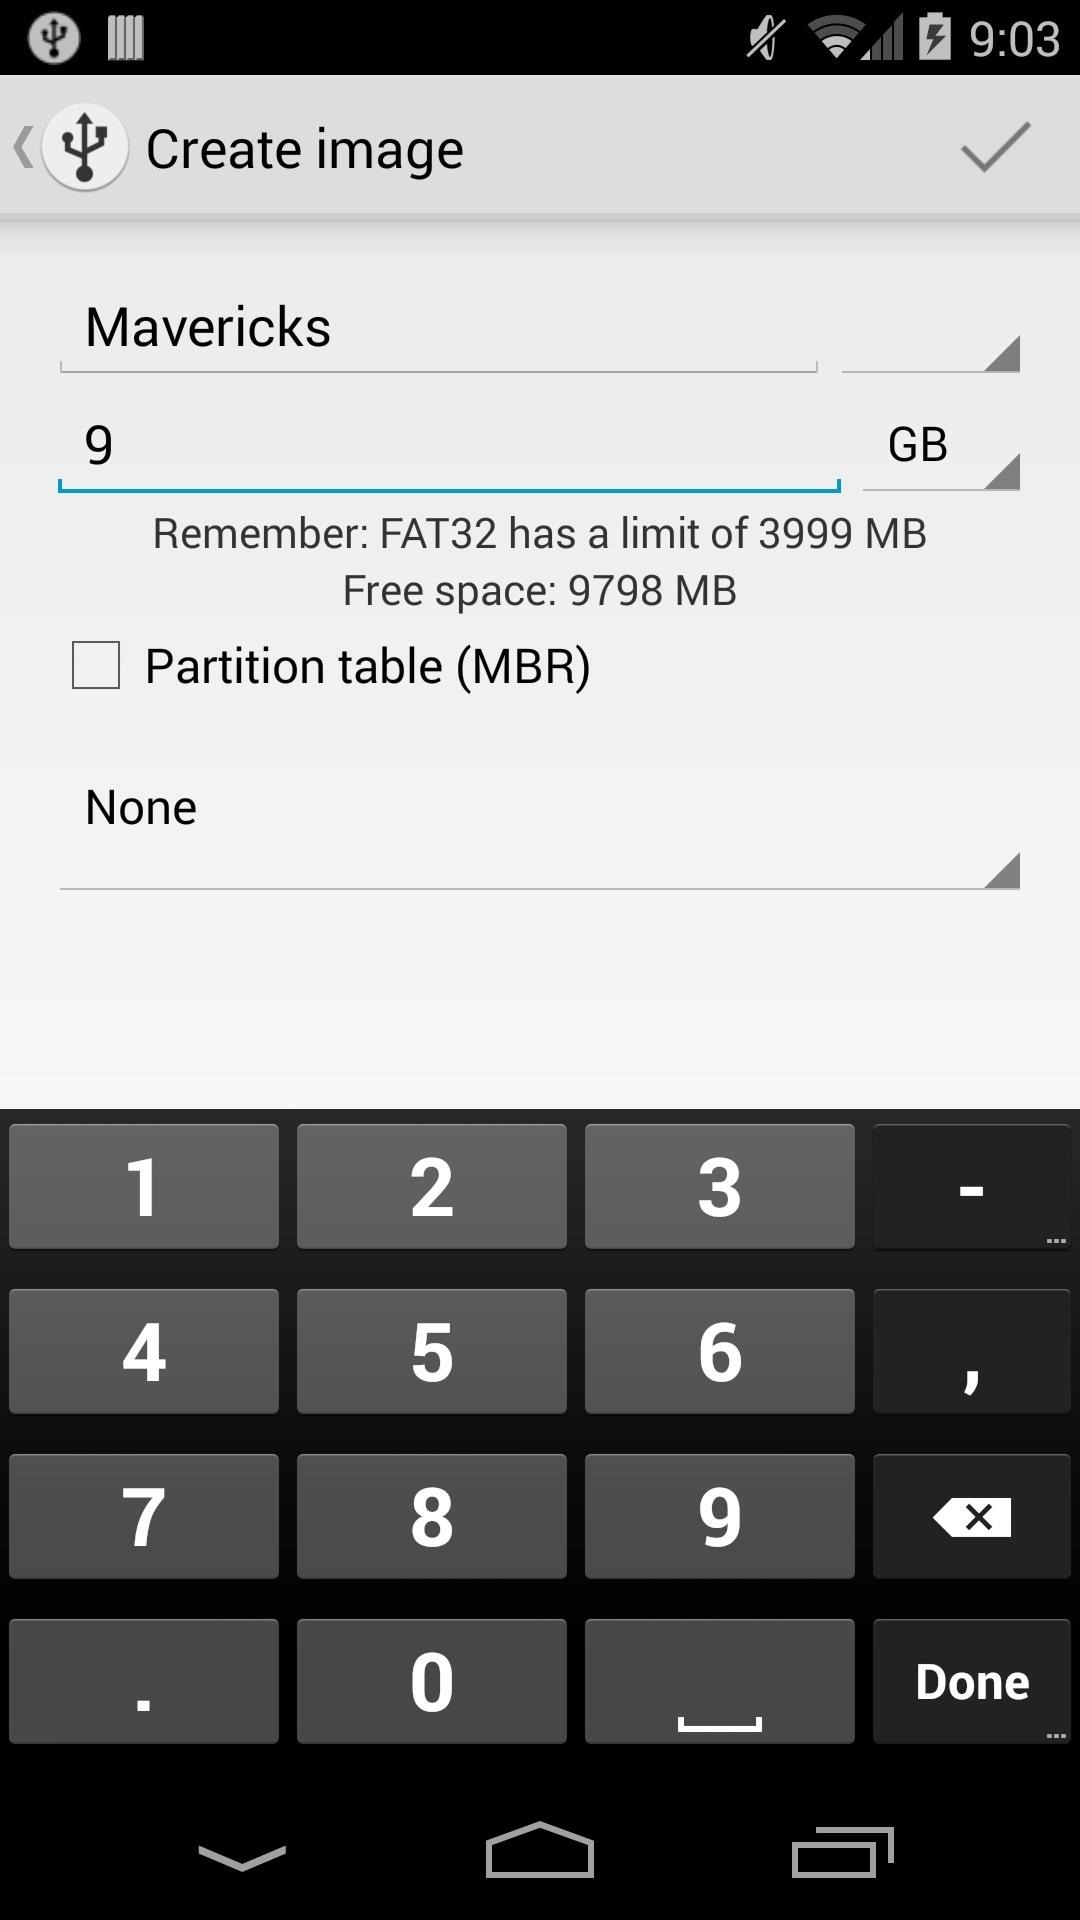
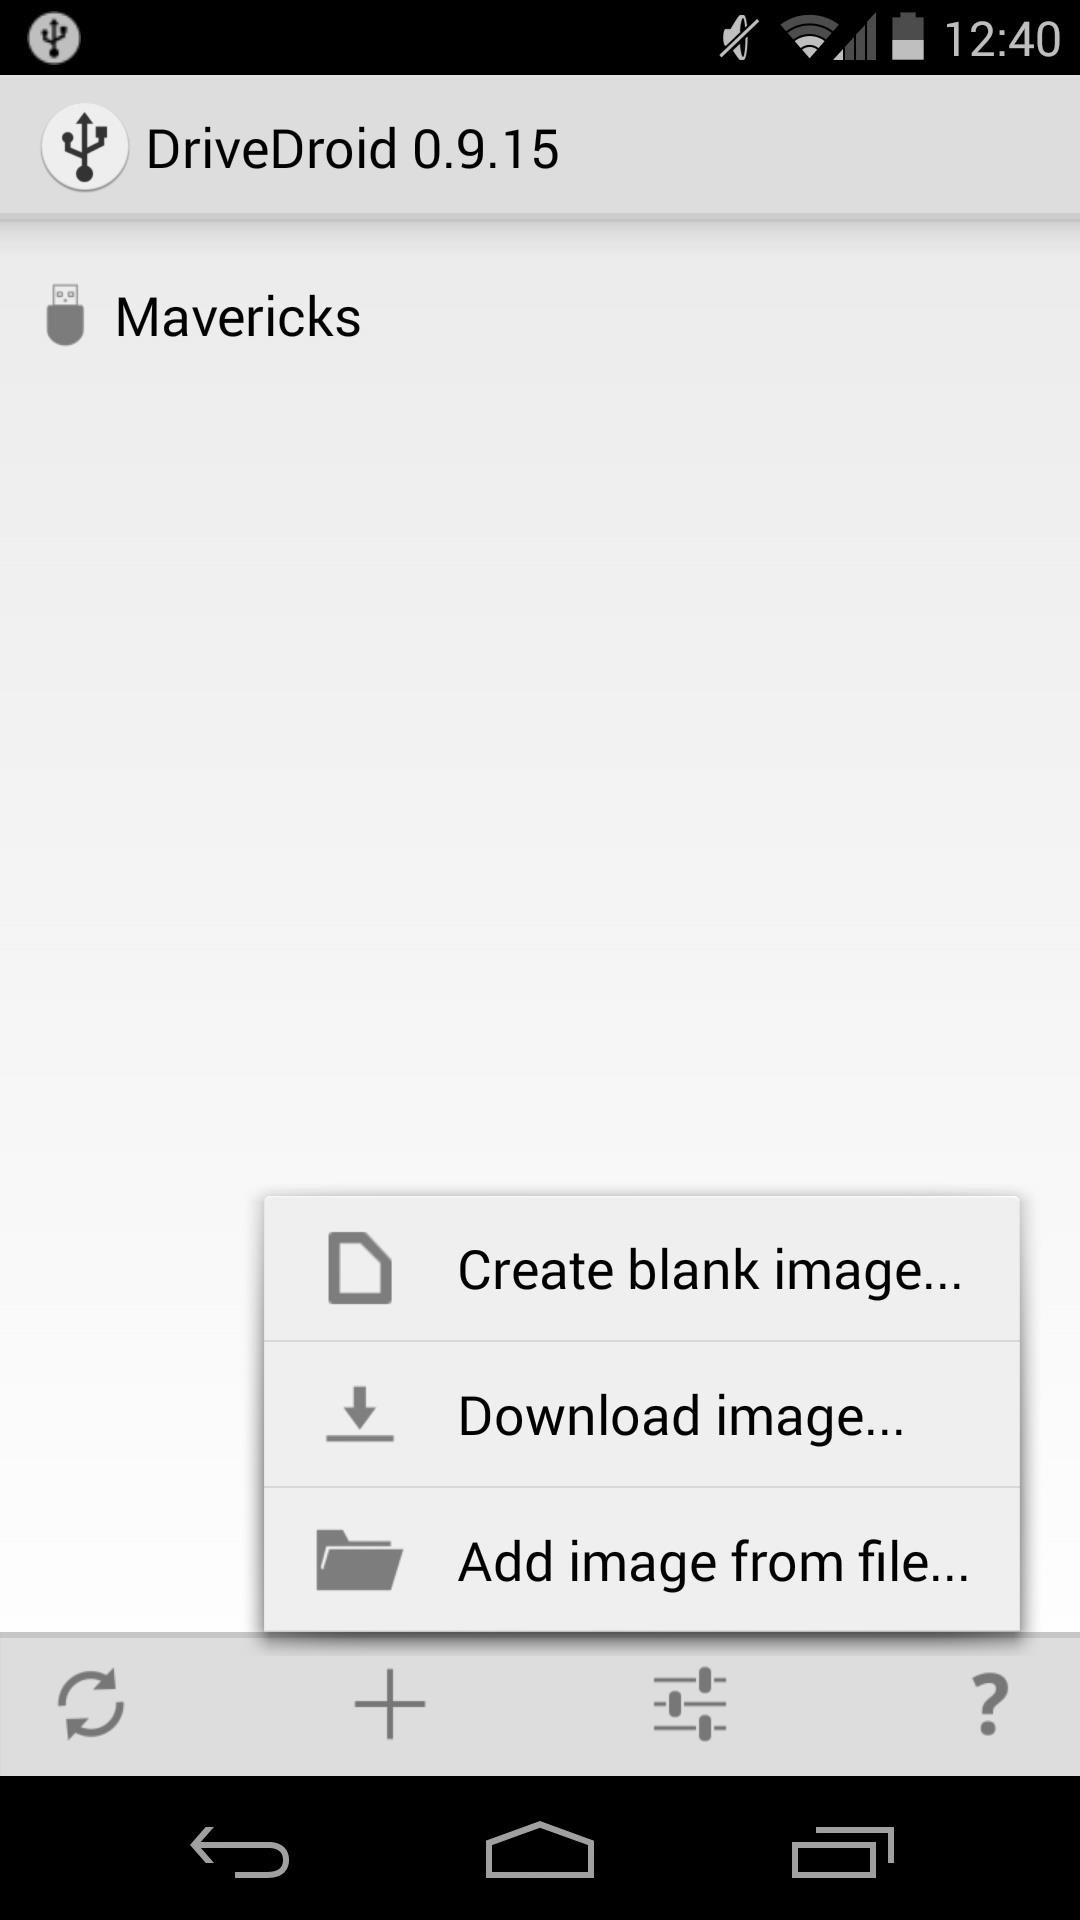
Booting OS X takes a few steps, but it's not too complicated. In DriveDroid, tap the add icon to create a new image with the following parameters:
- 9GBs in size
- Name it Mavericks
- Uncheck Partition table (MBR)
- Set the filesystem from FAT to none
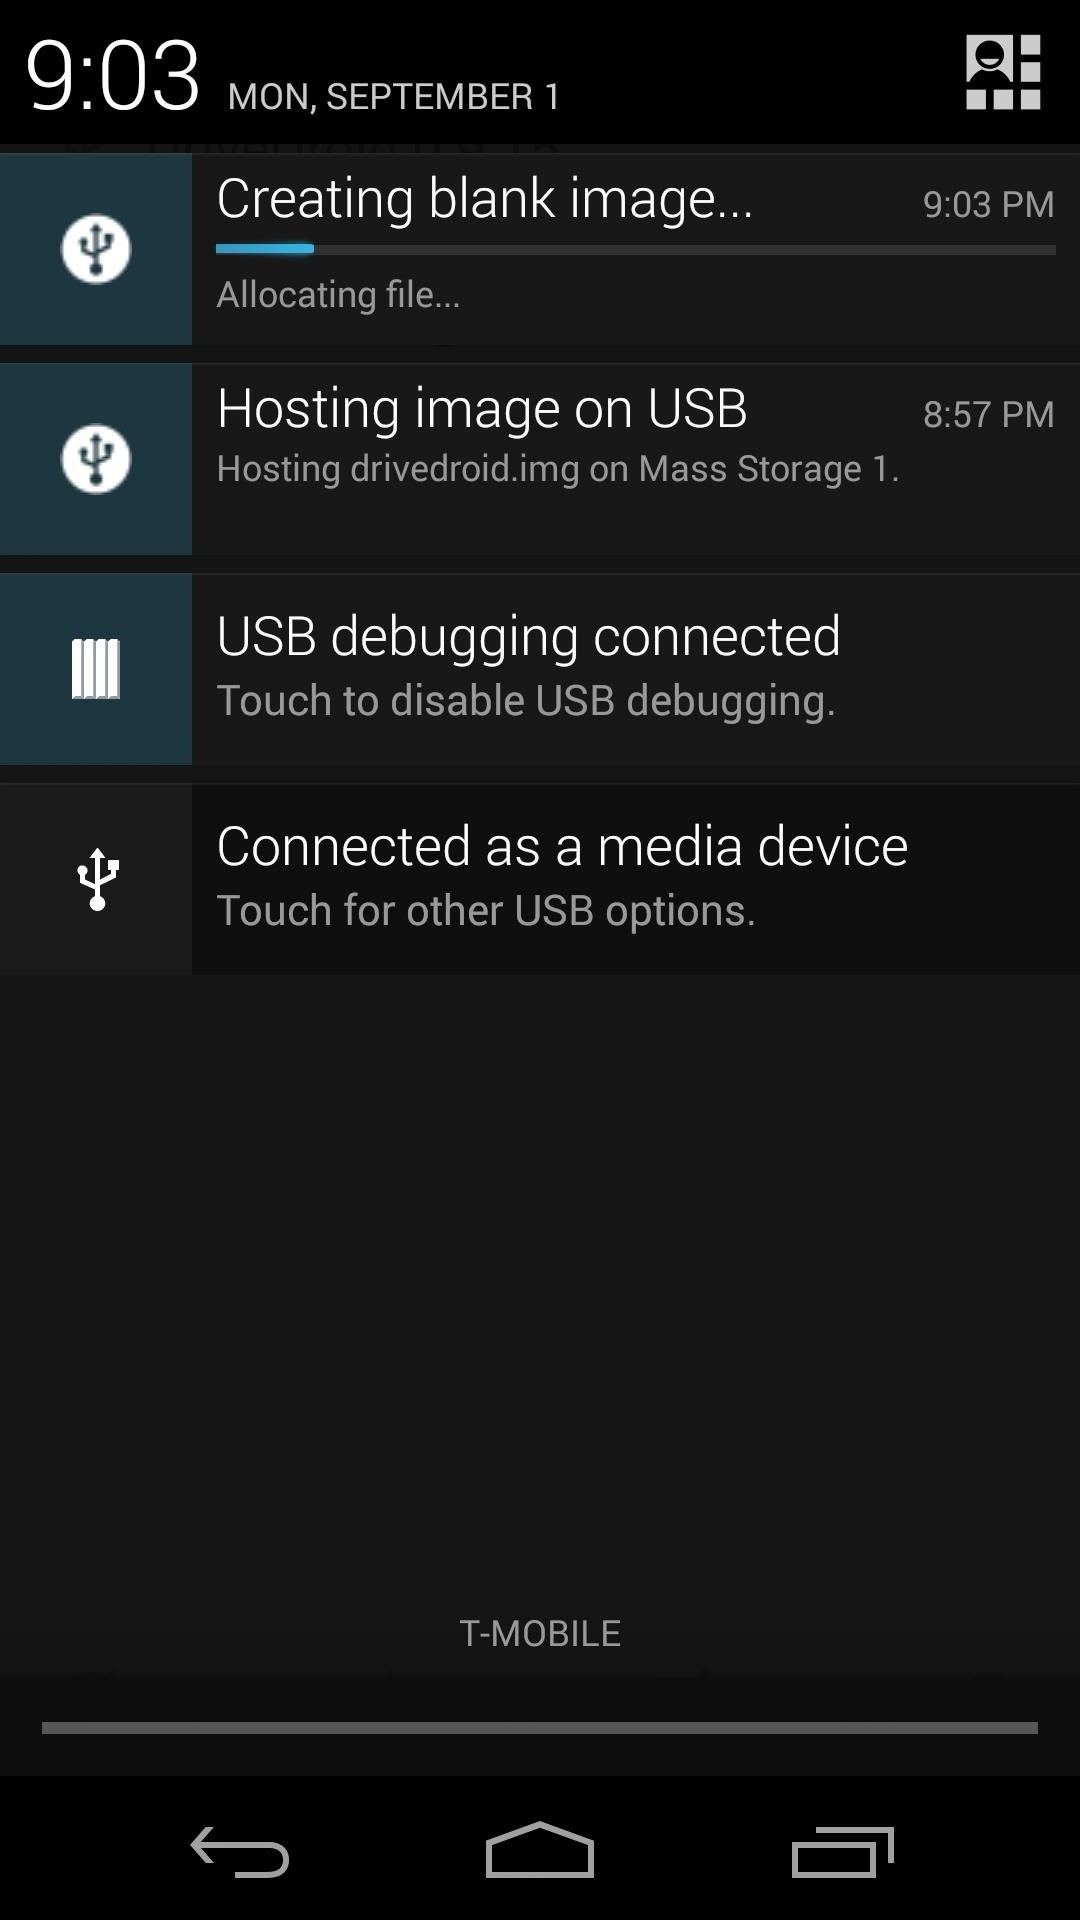
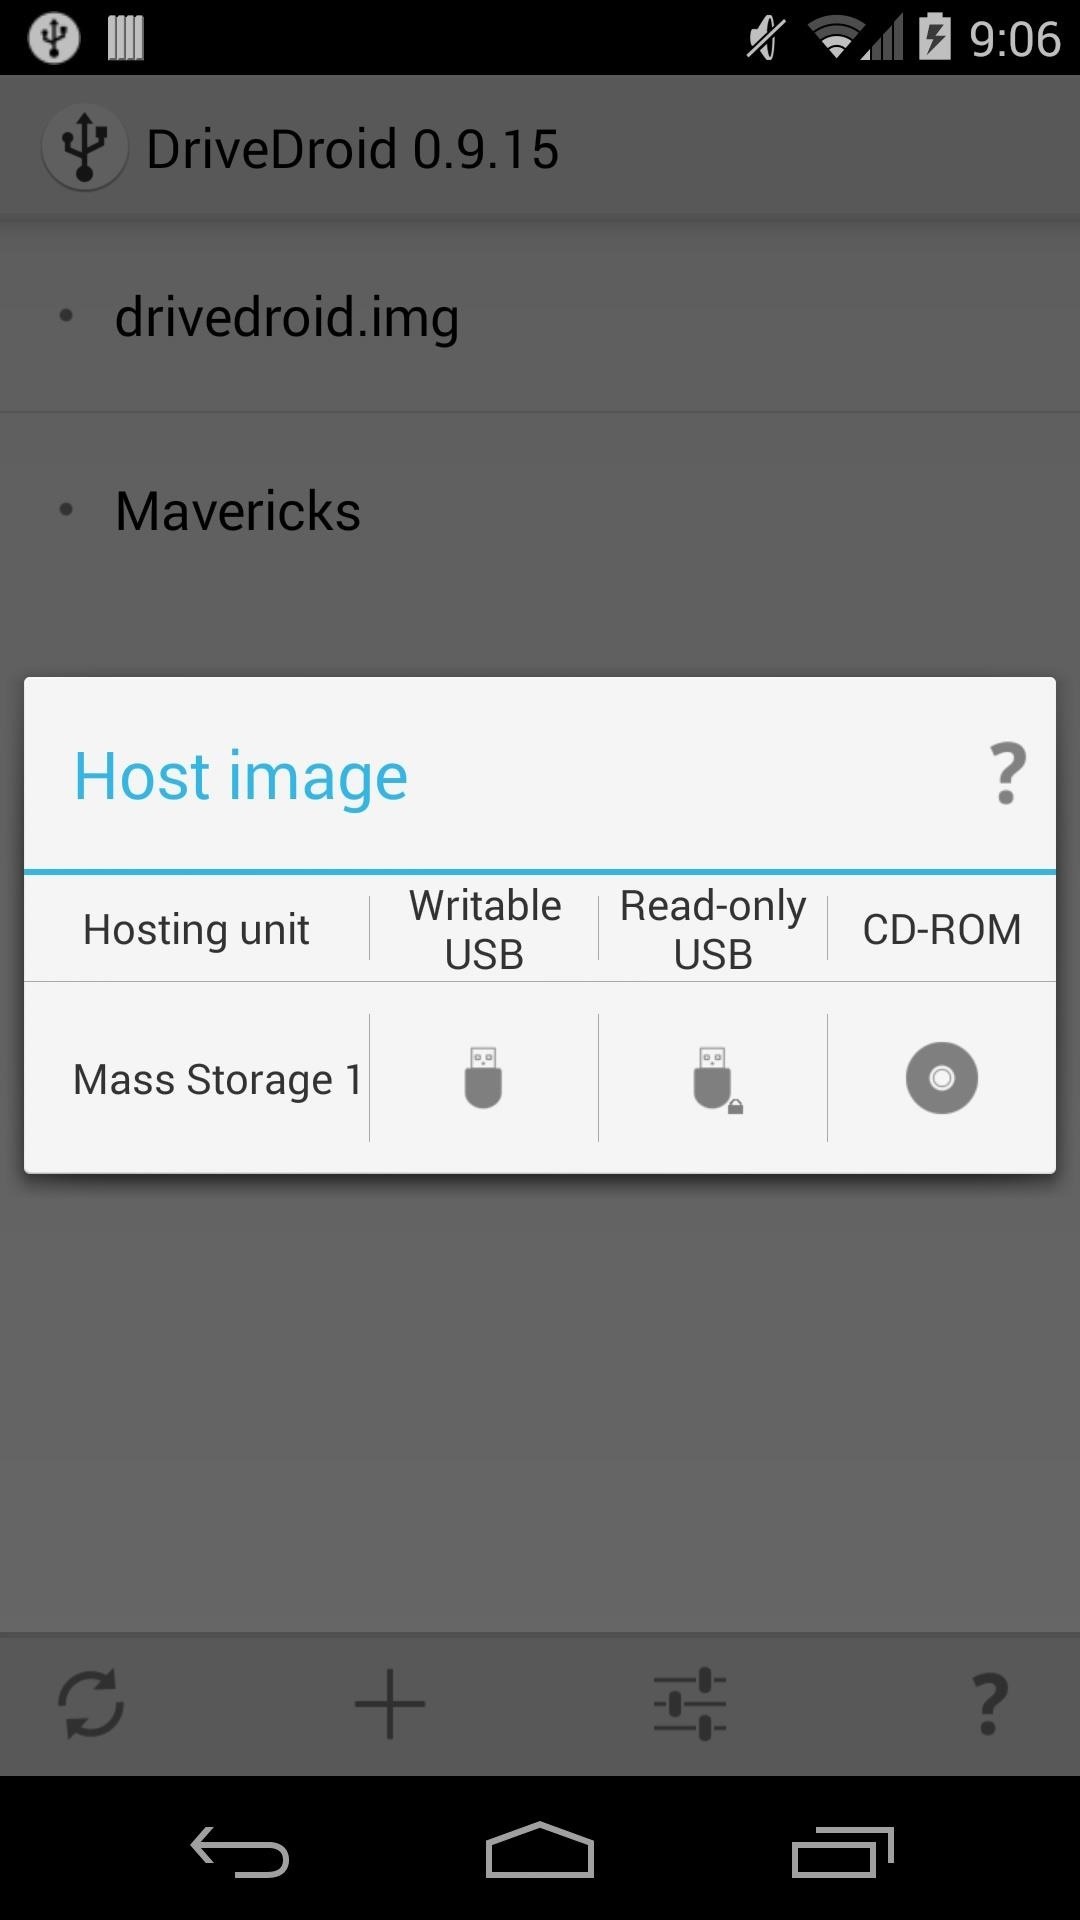
Once it's set up, tap the check icon at the top right and let it make the image. When the blank image is done being made, tap Mavericks in DriveDroid. From there, tap the option for Writable USB under Host image.
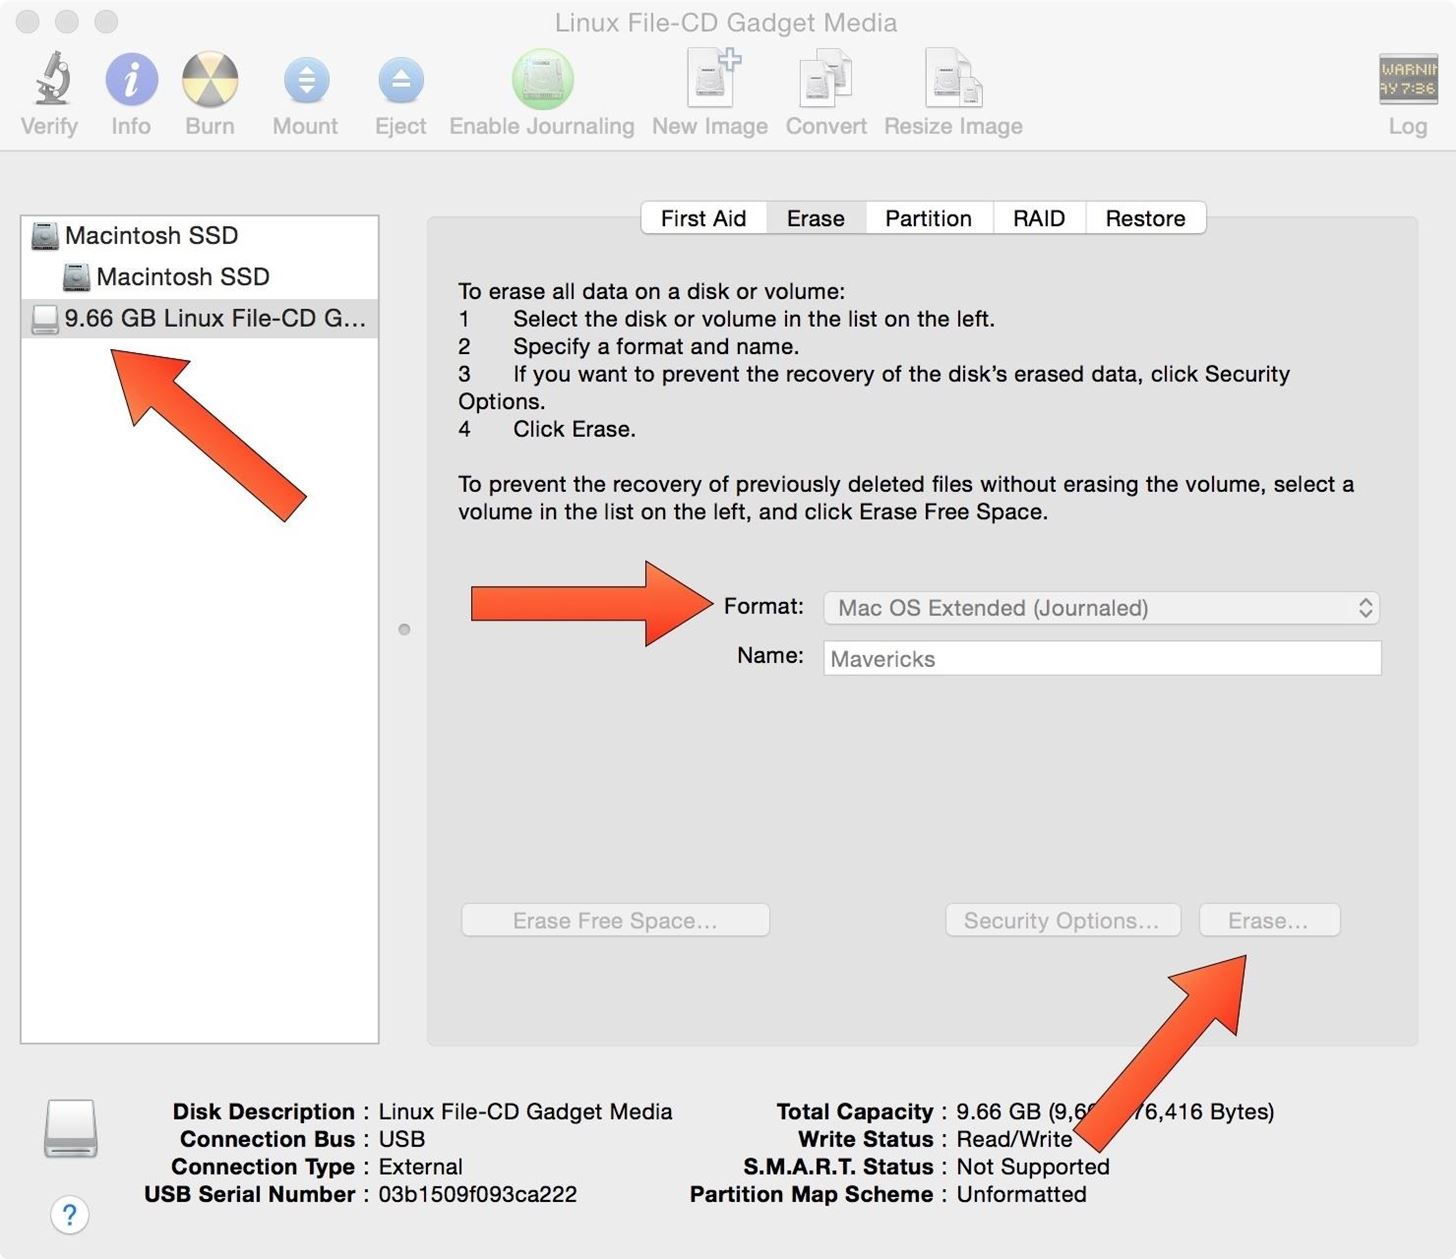
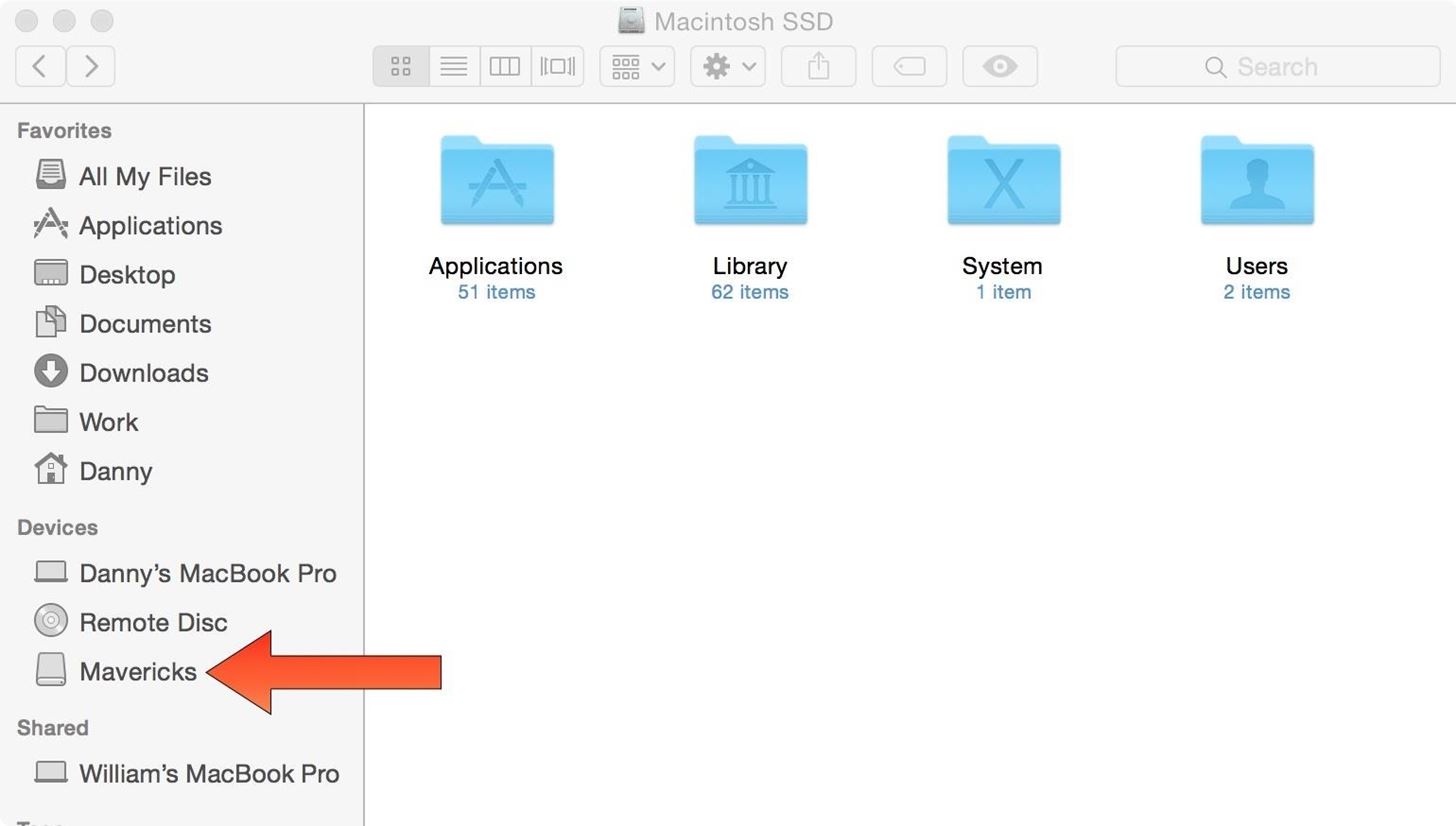
We're now done with everything on our Nexus 5. To finish, head over to your Mac and open Disk Utility. In the left sidebar, you'll see a # GB Linux File-CD Gadget Media—click on that and choose the option for Erase. Next, set the format to Mac OS Extended (Journaled) and name it Mavericks, then click Erase.
After that, exit out of Disk Utility and you will see a new USB drive appear in Finder.
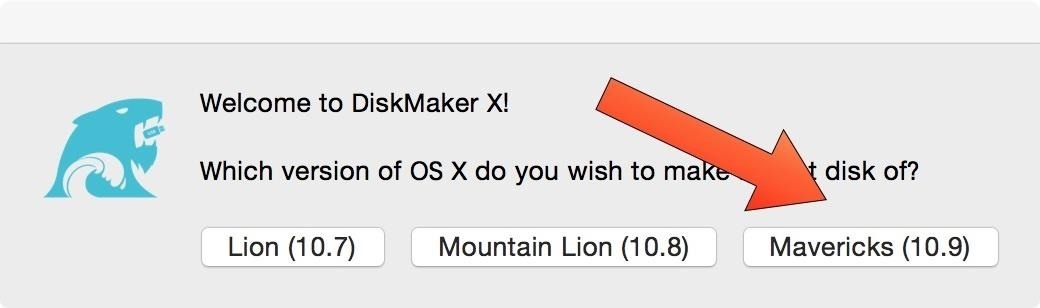
Now, just download Mavericks from the App Store. Download and use DiskMaker X to put it on your USB drive.
Launch DiskMaker X and choose Mavericks (10.9). It will find your download of Mavericks to transfer over. Select your Mavericks USB drive and wait for the process to finish.
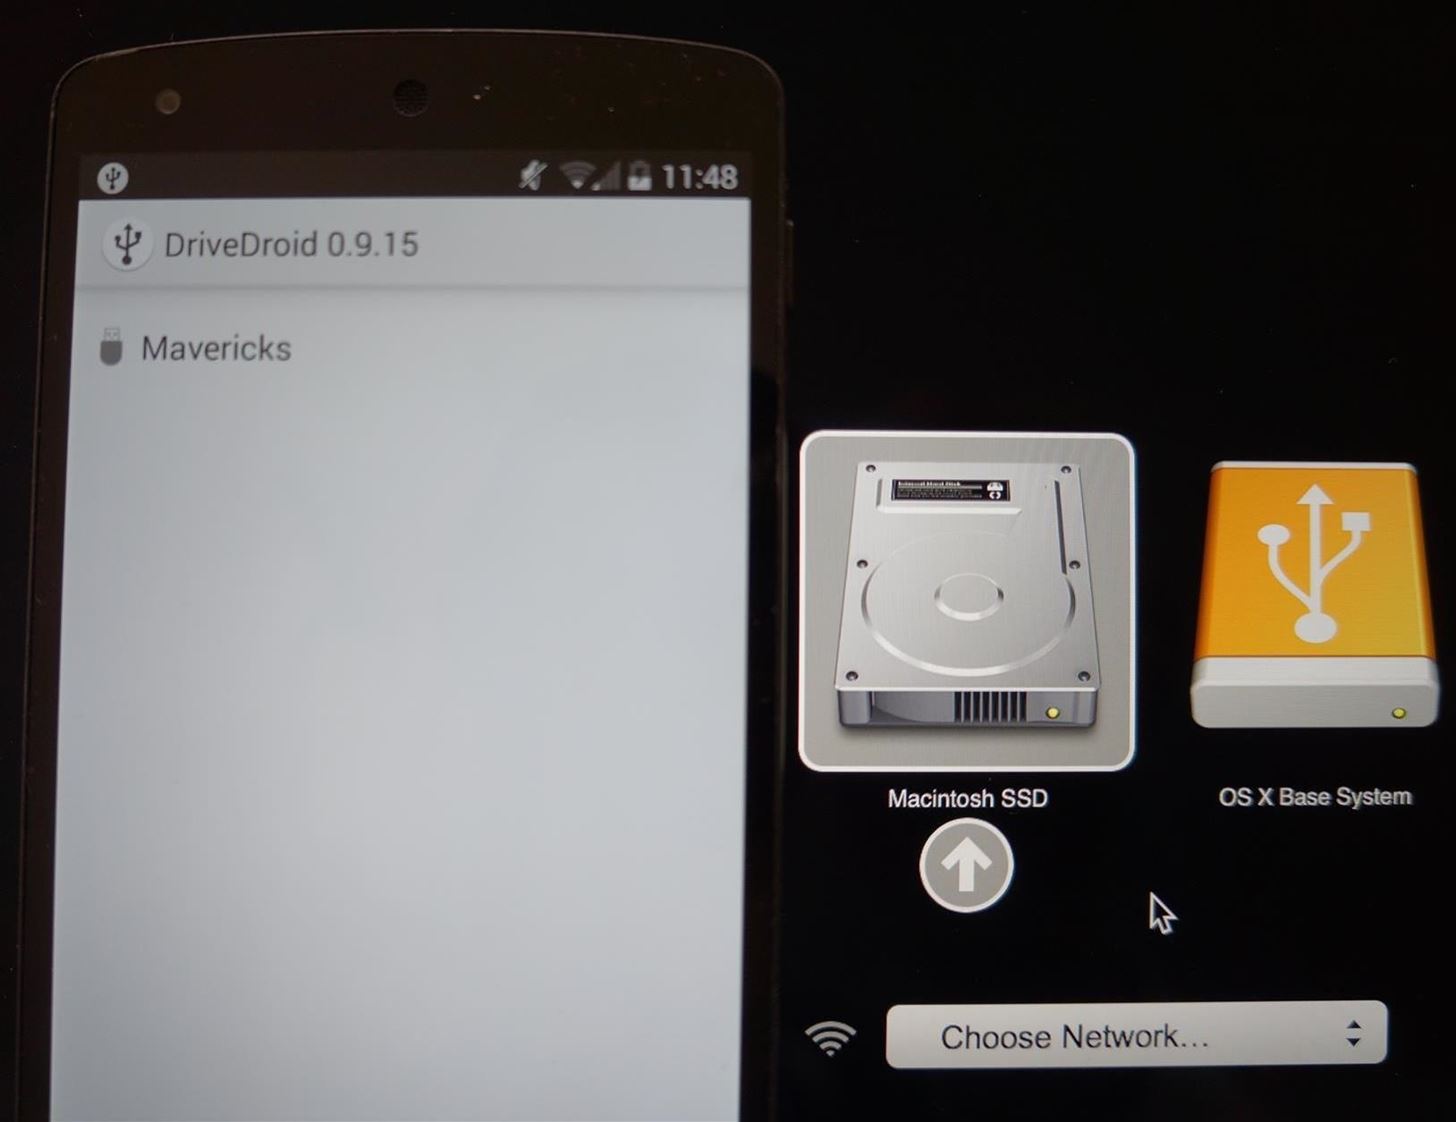
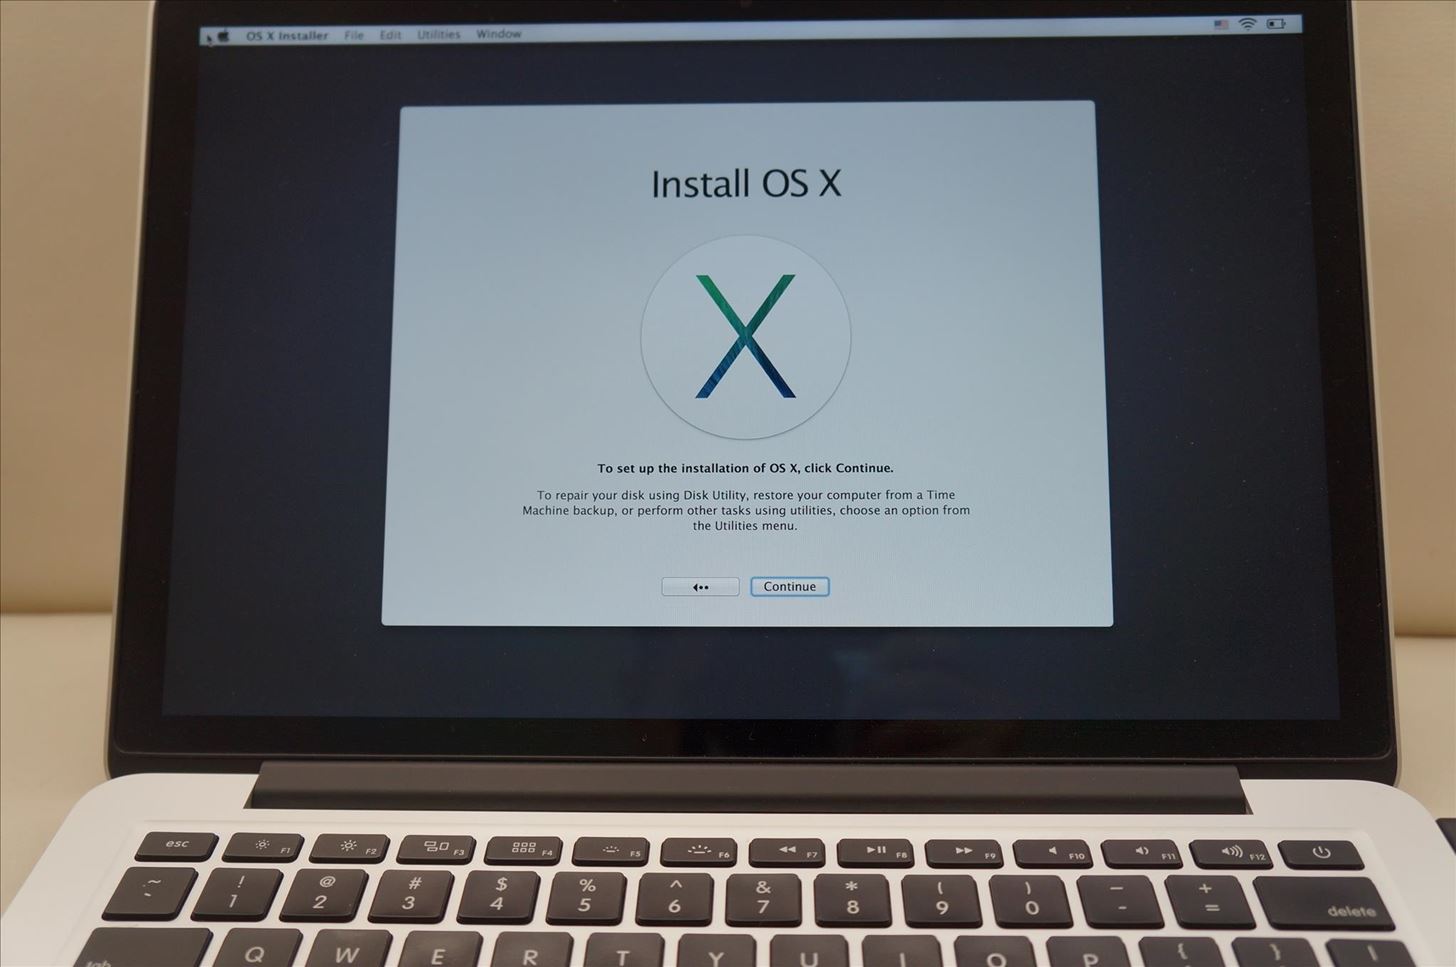
Now, that it's done, switch off your Mac and plug in your Nexus 5. Make sure you have selected Mavericks in DriveDroid once it's plugged in. When turning on your Mac, press and hold down the Option key. In the menu that appears, select your USB drive and press enter. You can now do a USB install of Mavericks using your phone!
Booting Linux
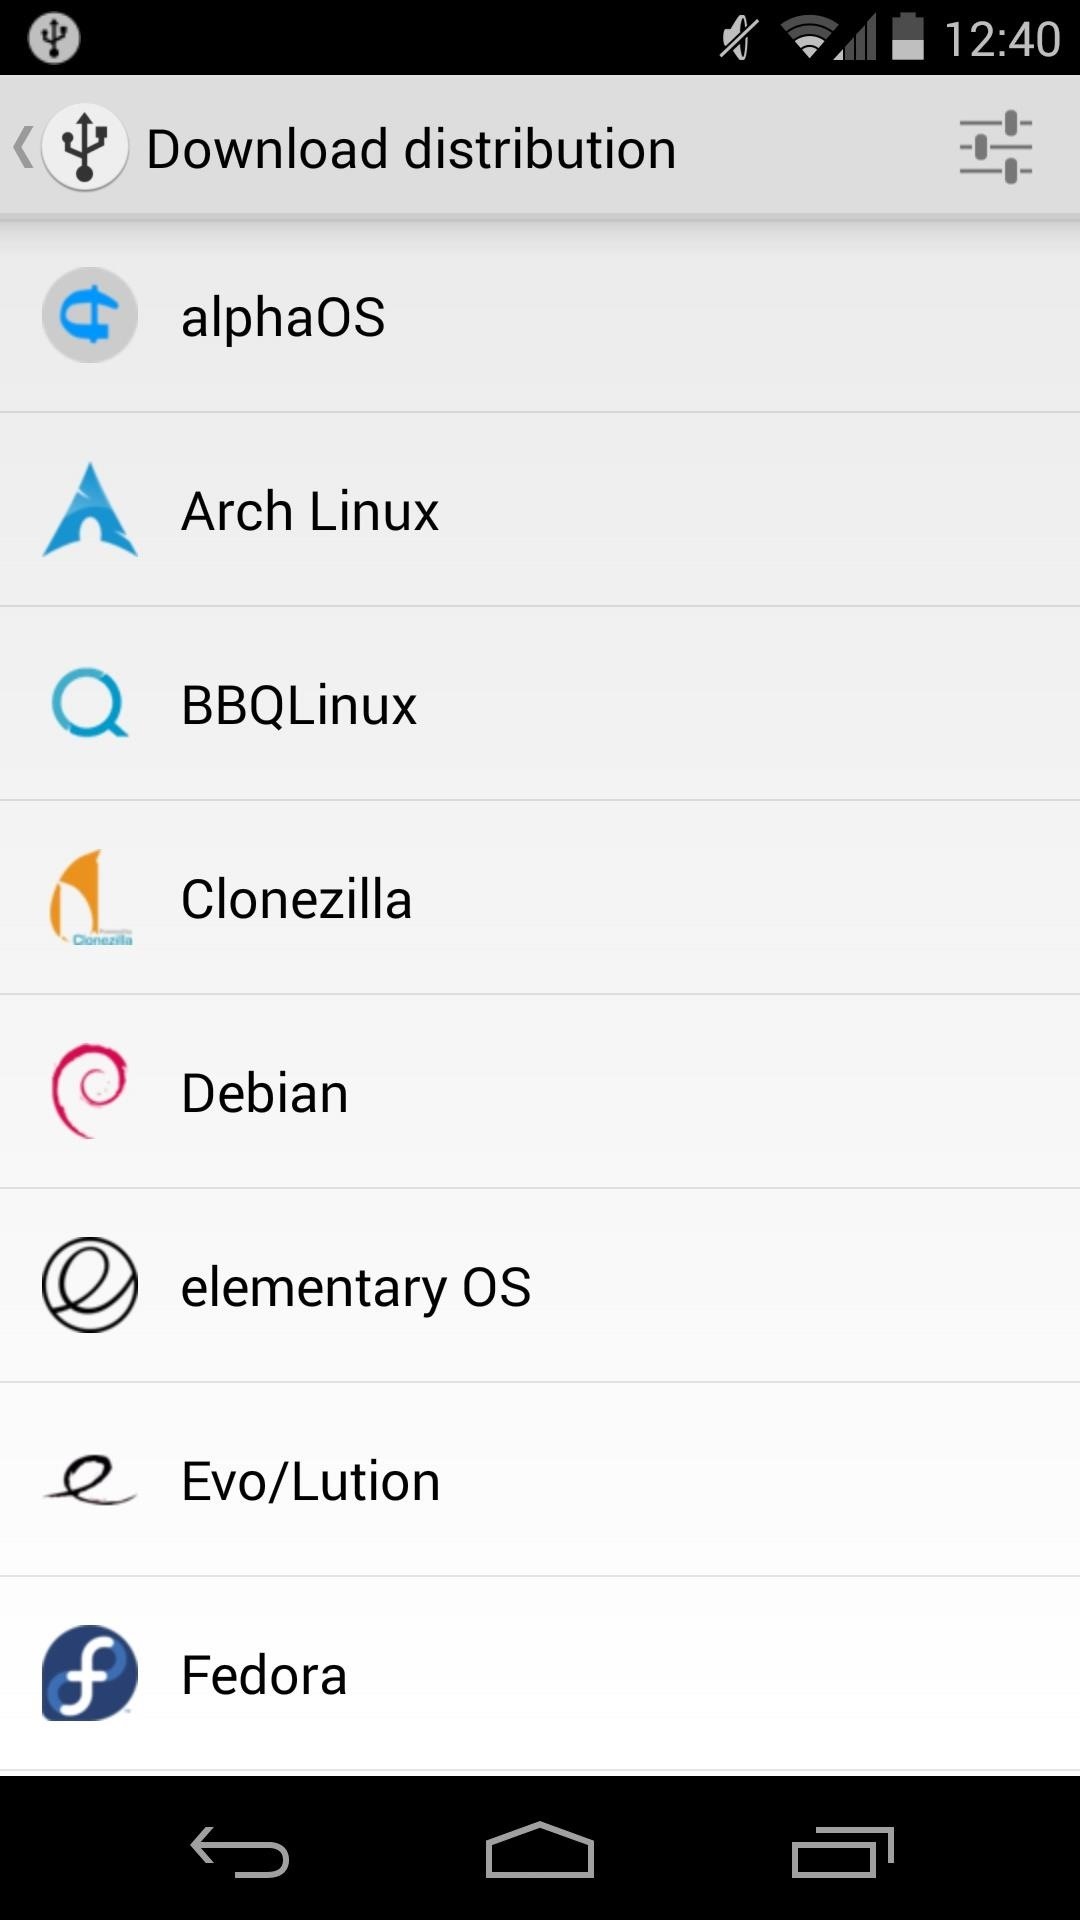
Getting Linux set up is by far the easiest. Launch DriveDroid, tap the add icon, and select Download image. Now just select your Linux distro and let DriveDroid download it. Once that's done, just tap on the distro to enable it, then plug in your phone to your computer and have it boot from USB when it turns on in the splash screen. That's it!
Windows
The process for creating a Windows bootable drive is not nearly as painless as it is for Mac and Linux, but Softwarebakery has a great guide for getting Windows on your phone here. It's lengthy, but if you're scrambling to look for a USB flash drive, it works in a pinch.
ElementalX is a phenomenal kernel and I hope you give it a try on your phone. There are a ton a features and it's constantly being updated by the developer. Keep an eye on it and tell us how you like the kernel in the comments below, or on Facebook or Twitter.
Just updated your iPhone? You'll find new emoji, enhanced security, podcast transcripts, Apple Cash virtual numbers, and other useful features. There are even new additions hidden within Safari. Find out what's new and changed on your iPhone with the iOS 17.4 update.


1 Comment
Hey i do use that kernel as well, can you tell me the settings you use with tha kernel? also i would like to know what feature is Faux sound? i heard it can be adjusted from Viper4Android app? thanks for the detail guide :)
Share Your Thoughts