

Desktop users have taken advantage of dual-booting operating systems for decades now. If your core system software is lacking in any regard, dual-booting a secondary OS can give you access to those features that you're missing out on.
When it comes to Android devices, there's only one real dual-boot solution: developer Vojtech Bocek's MultiROM (unless, of course, you joined us for some Android and iOS April Fool's Day fun). The developer has finally brought his mod over to the Nexus 6, so if you've ever wanted to try a custom ROM without losing the stability of stock, you can now do so.
Getting Started
Before you install MultiROM on your Nexus 6, there are a few things you should be aware of. First and foremost, you'll need to be rooted with a custom recovery installed and Unknown Sources enabled to get this one going.
Beyond that, the ROM or firmware your Nexus 6 is currently running will need to support either the stock Nexus 6 kernel, or CyanogenMod's CAF kernel. This is because MultiROM requires a modified kernel to run, and for now, support is limited to just these two options. Luckily, though, almost all ROMs for the Nexus 6 support one of these two kernels. If you're running the stock firmware, CyanogenMod, or any AOSP-based custom ROM, you'll be fine.
You should also be aware that if you haven't disabled forced encryption on your Nexus 6, you will have to enter a password when booting into any of your ROMs. If you haven't set up lock screen security on your device, "default-password" will be the password.
If you have lock screen security enabled and your Nexus 6 is still encrypted, your boot password will be the same as your lock screen password. Since MultiROM's boot manager interface is rather basic, a pattern-style lock screen will cause issues. As such, I'd recommend that you set your lock screen security up with either a password or PIN, since this will be much easier to enter when booting into one of your ROMs.
Step 1: Download MultiROM Manager
Now that you've learned the basics, you're ready to get started. First up, point your Nexus 6's web browser to this link to download the latest test version of the MultiROM Manager app.
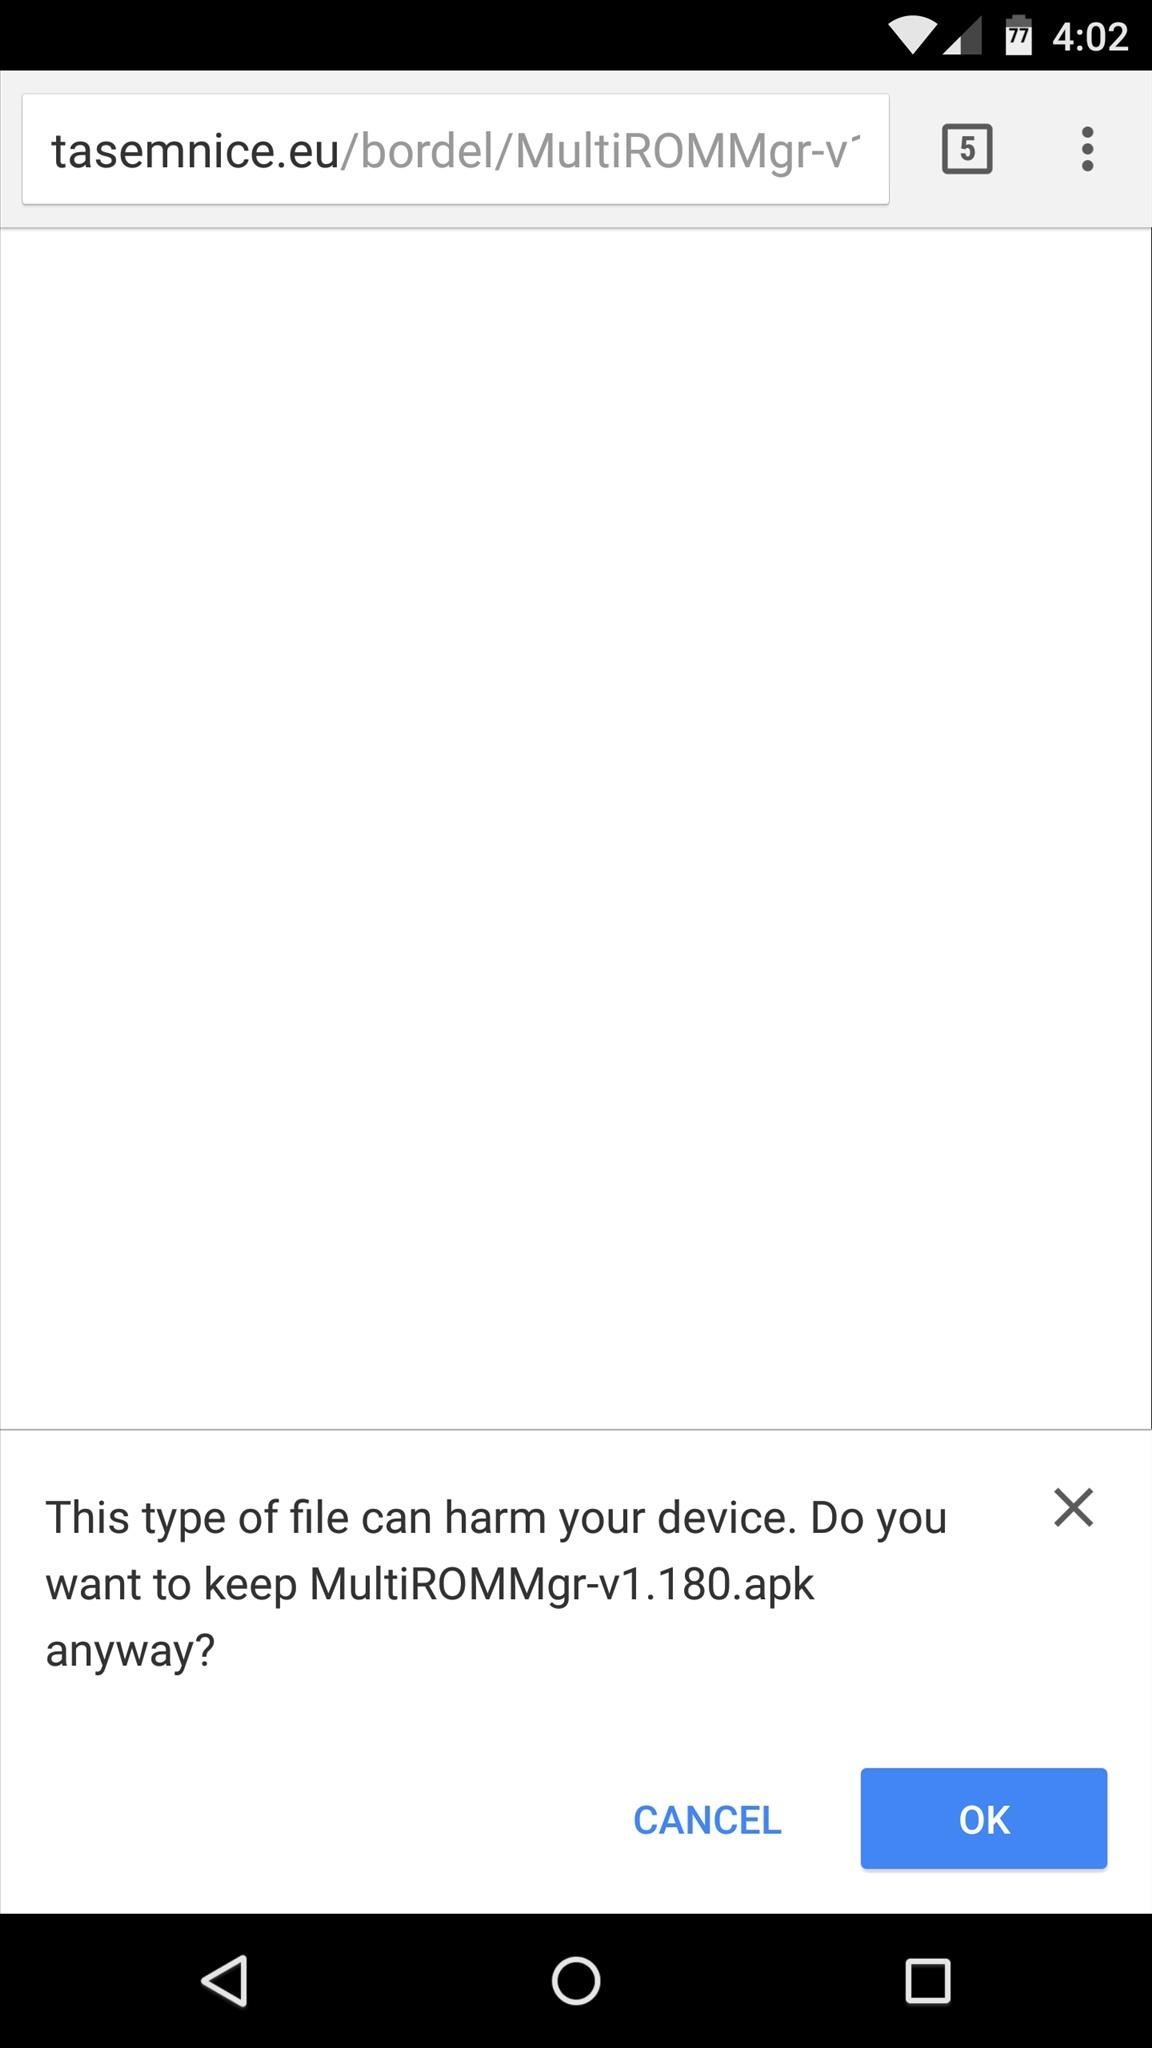
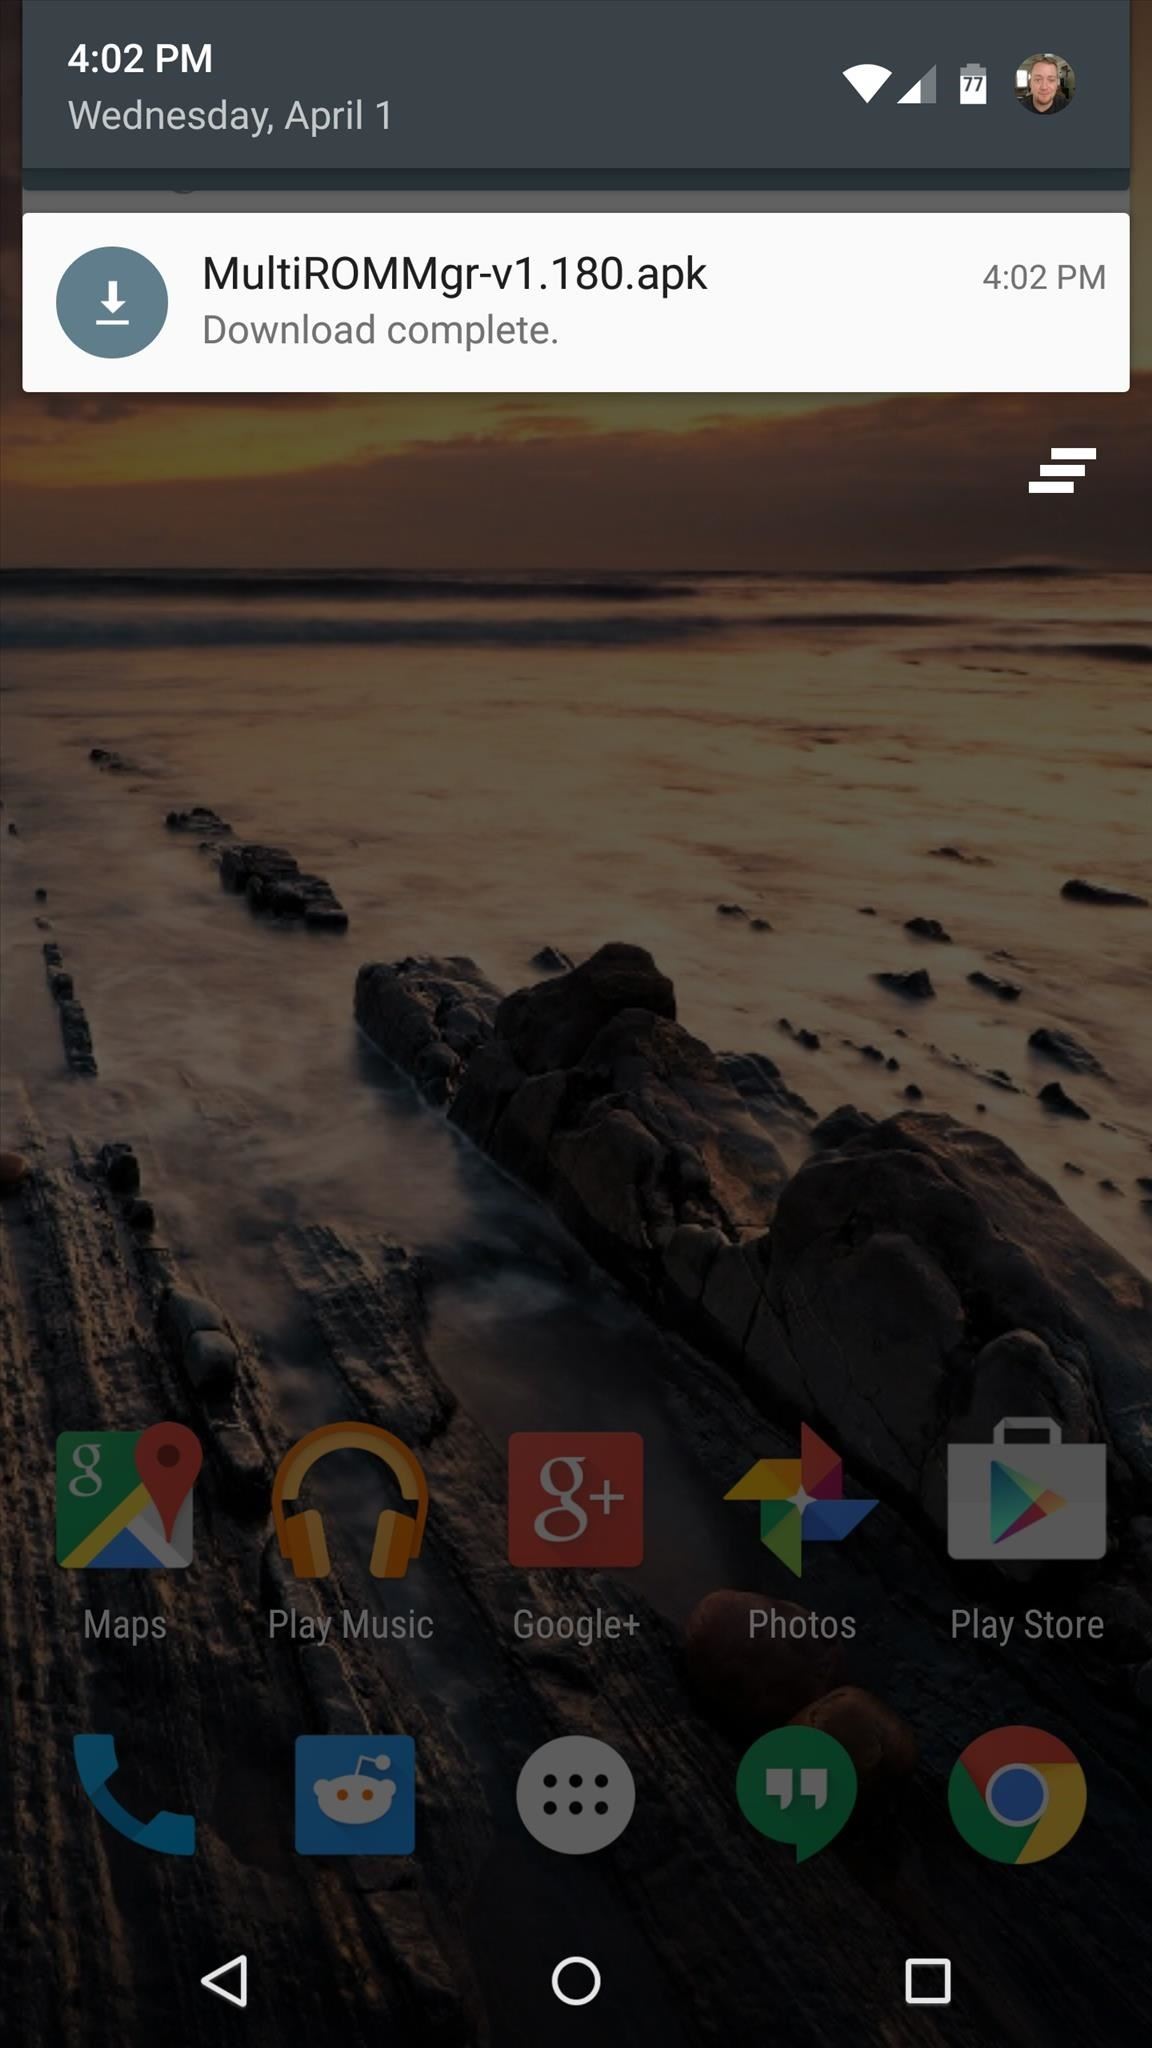
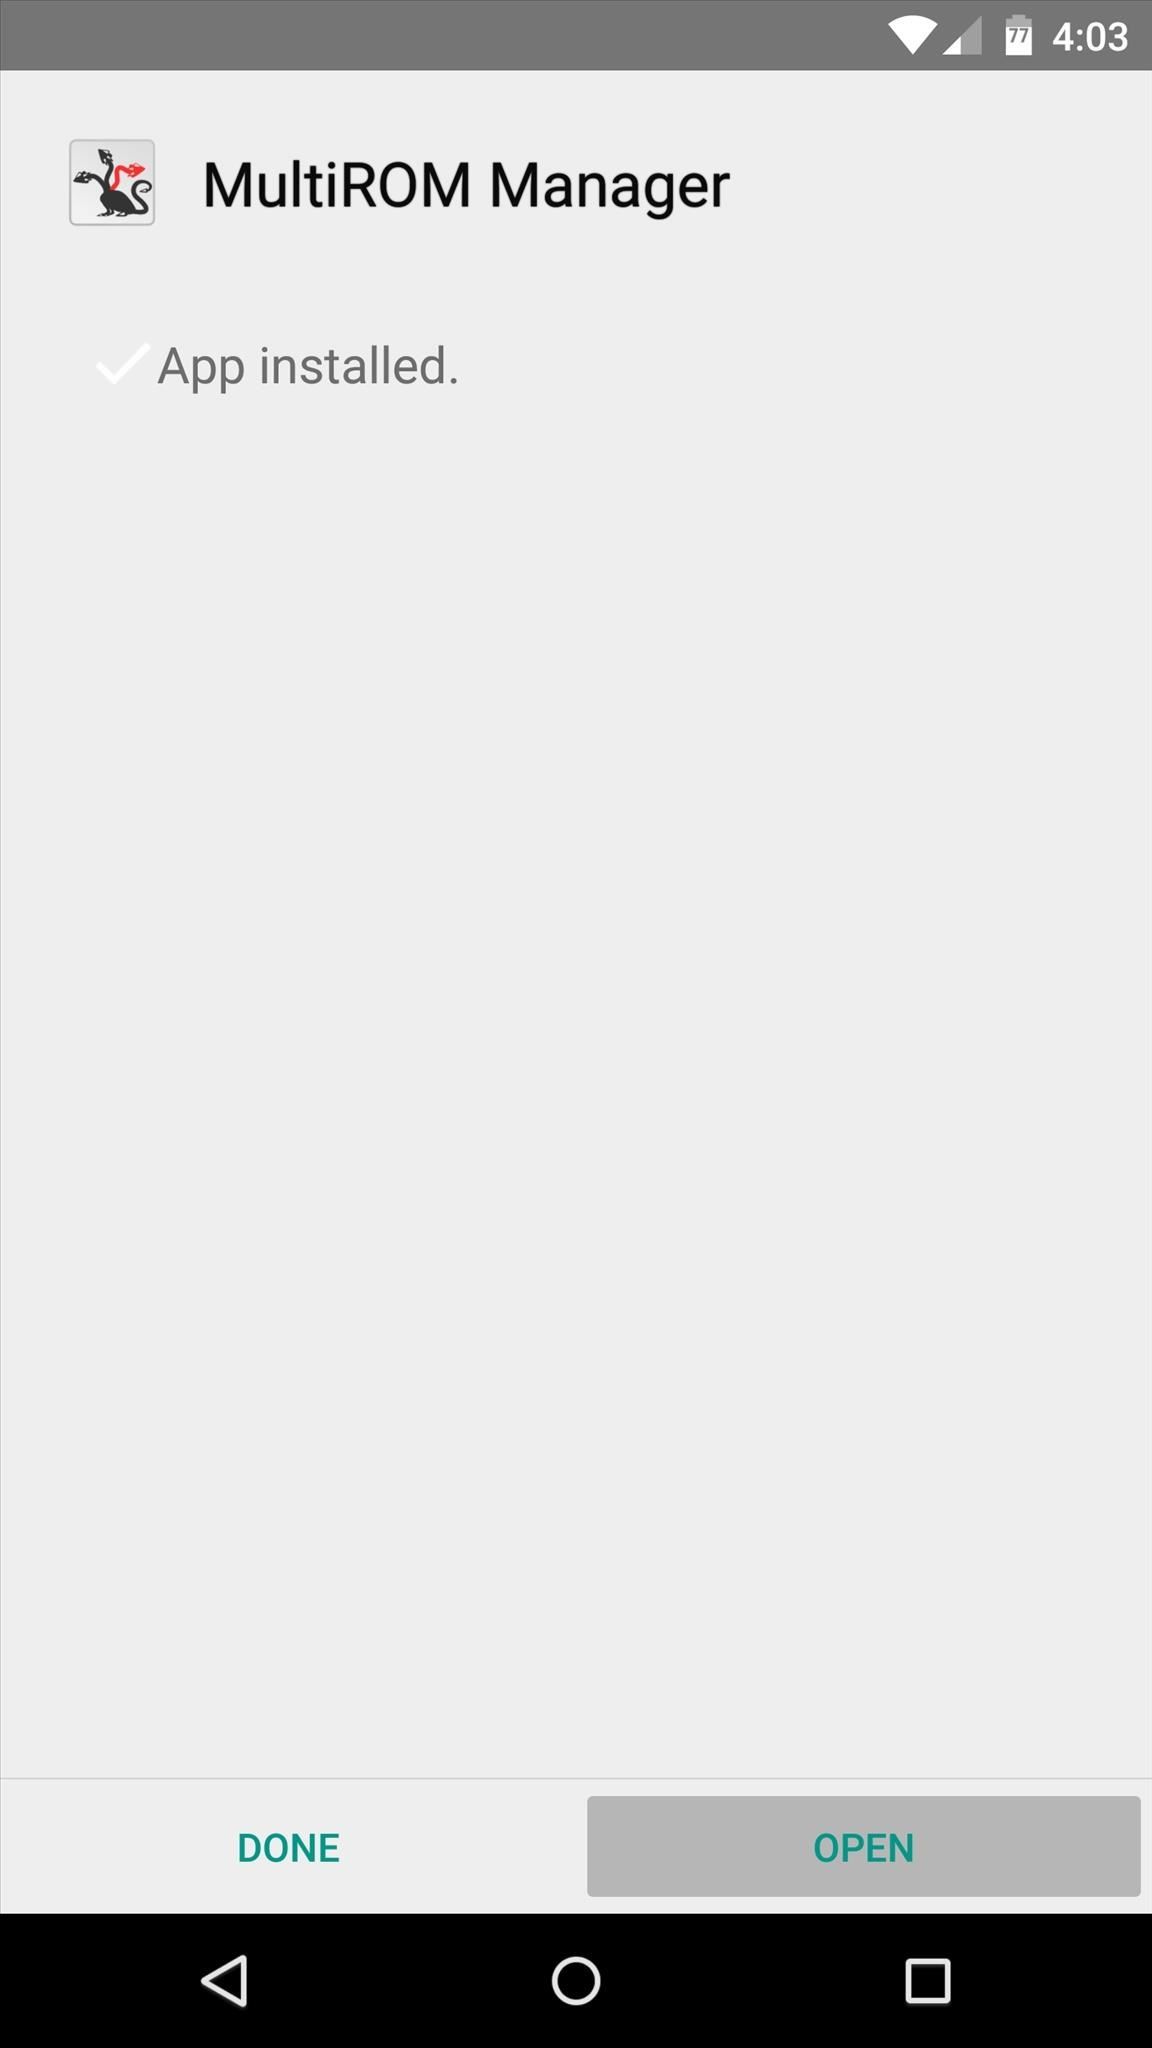
When that's finished, tap the Download Complete notification to launch the installer file. From here, press "Install," and when that's finished, tap "Open."

Step 2: Enable Test Build Options in MultiROM
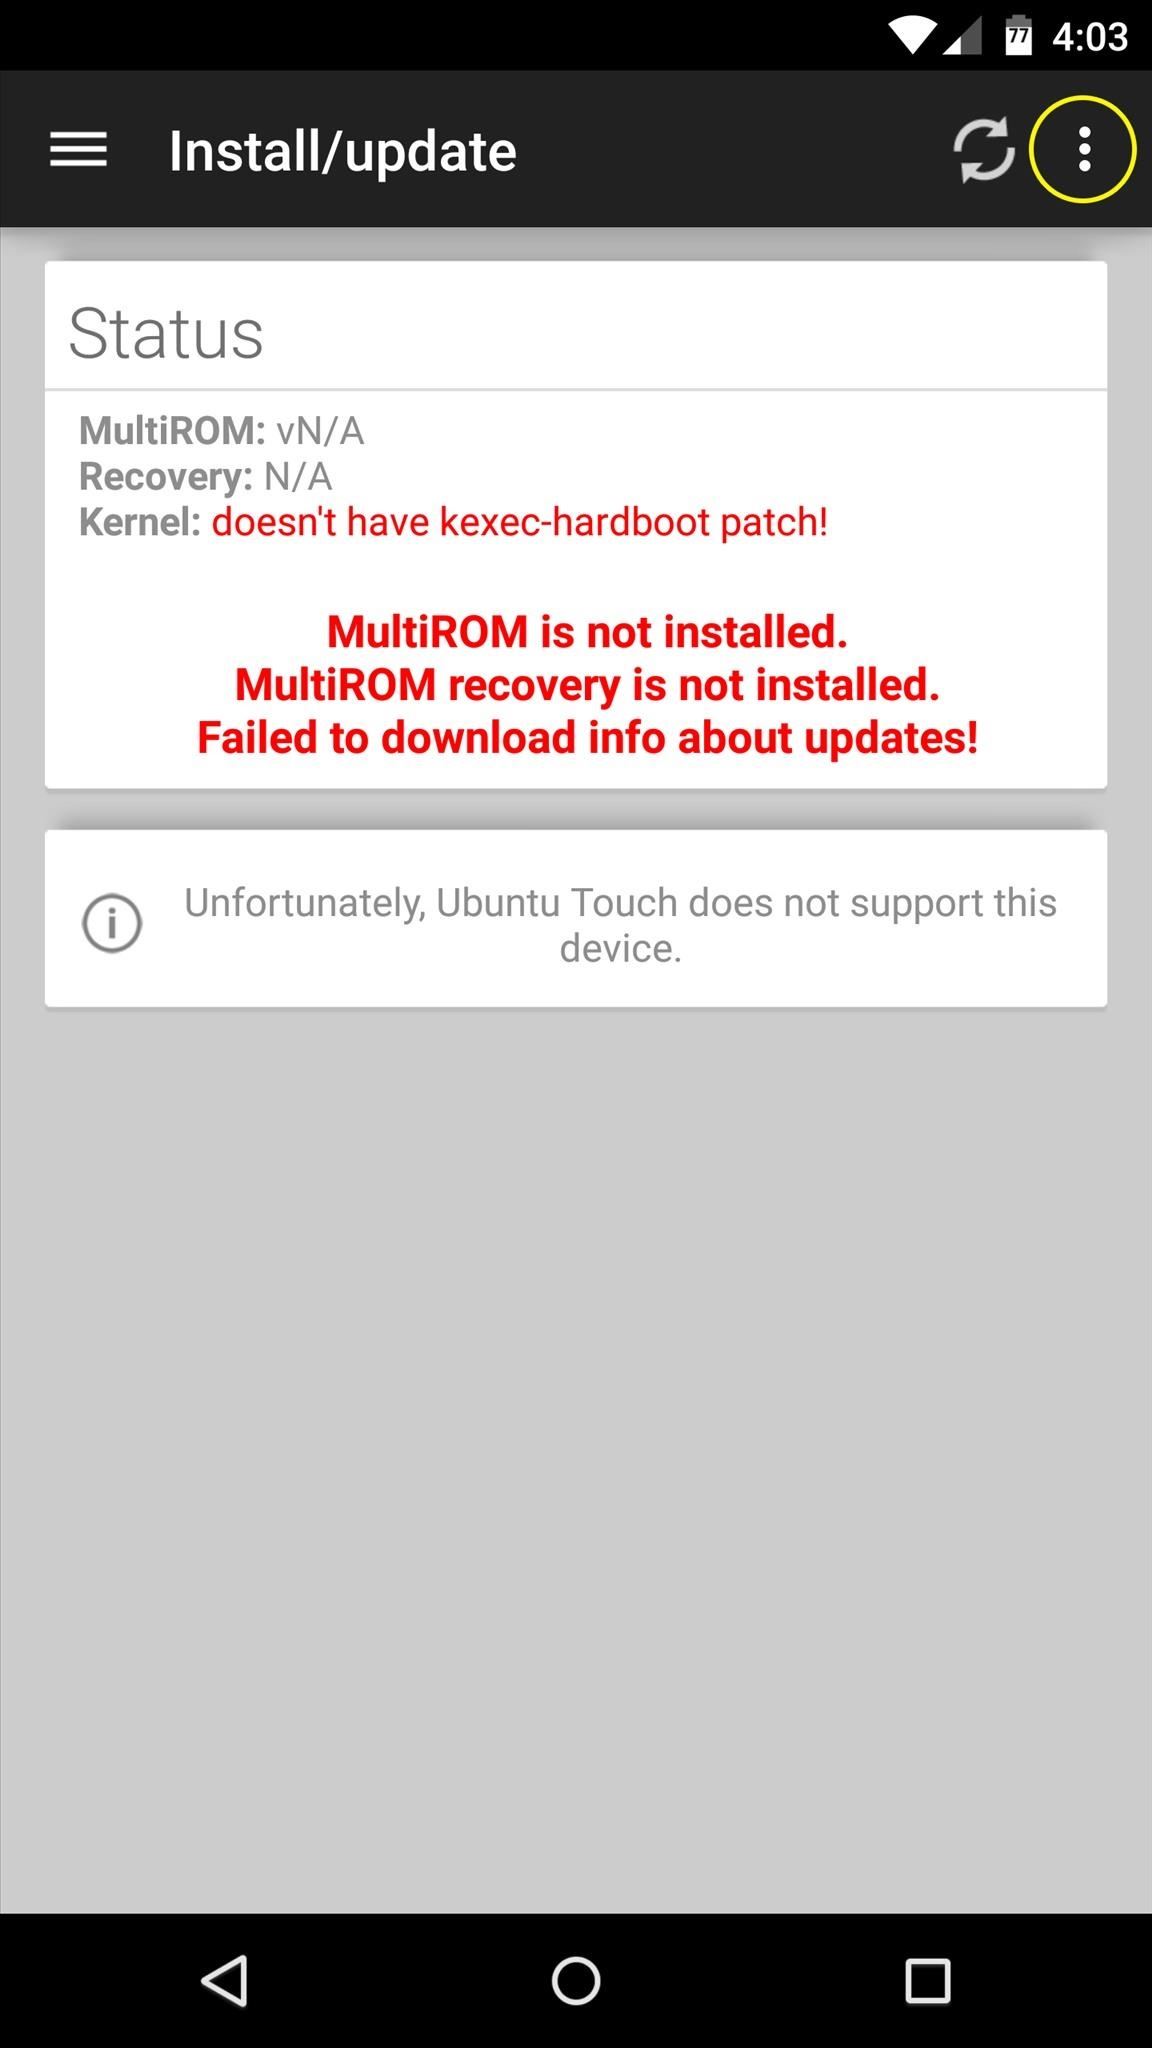
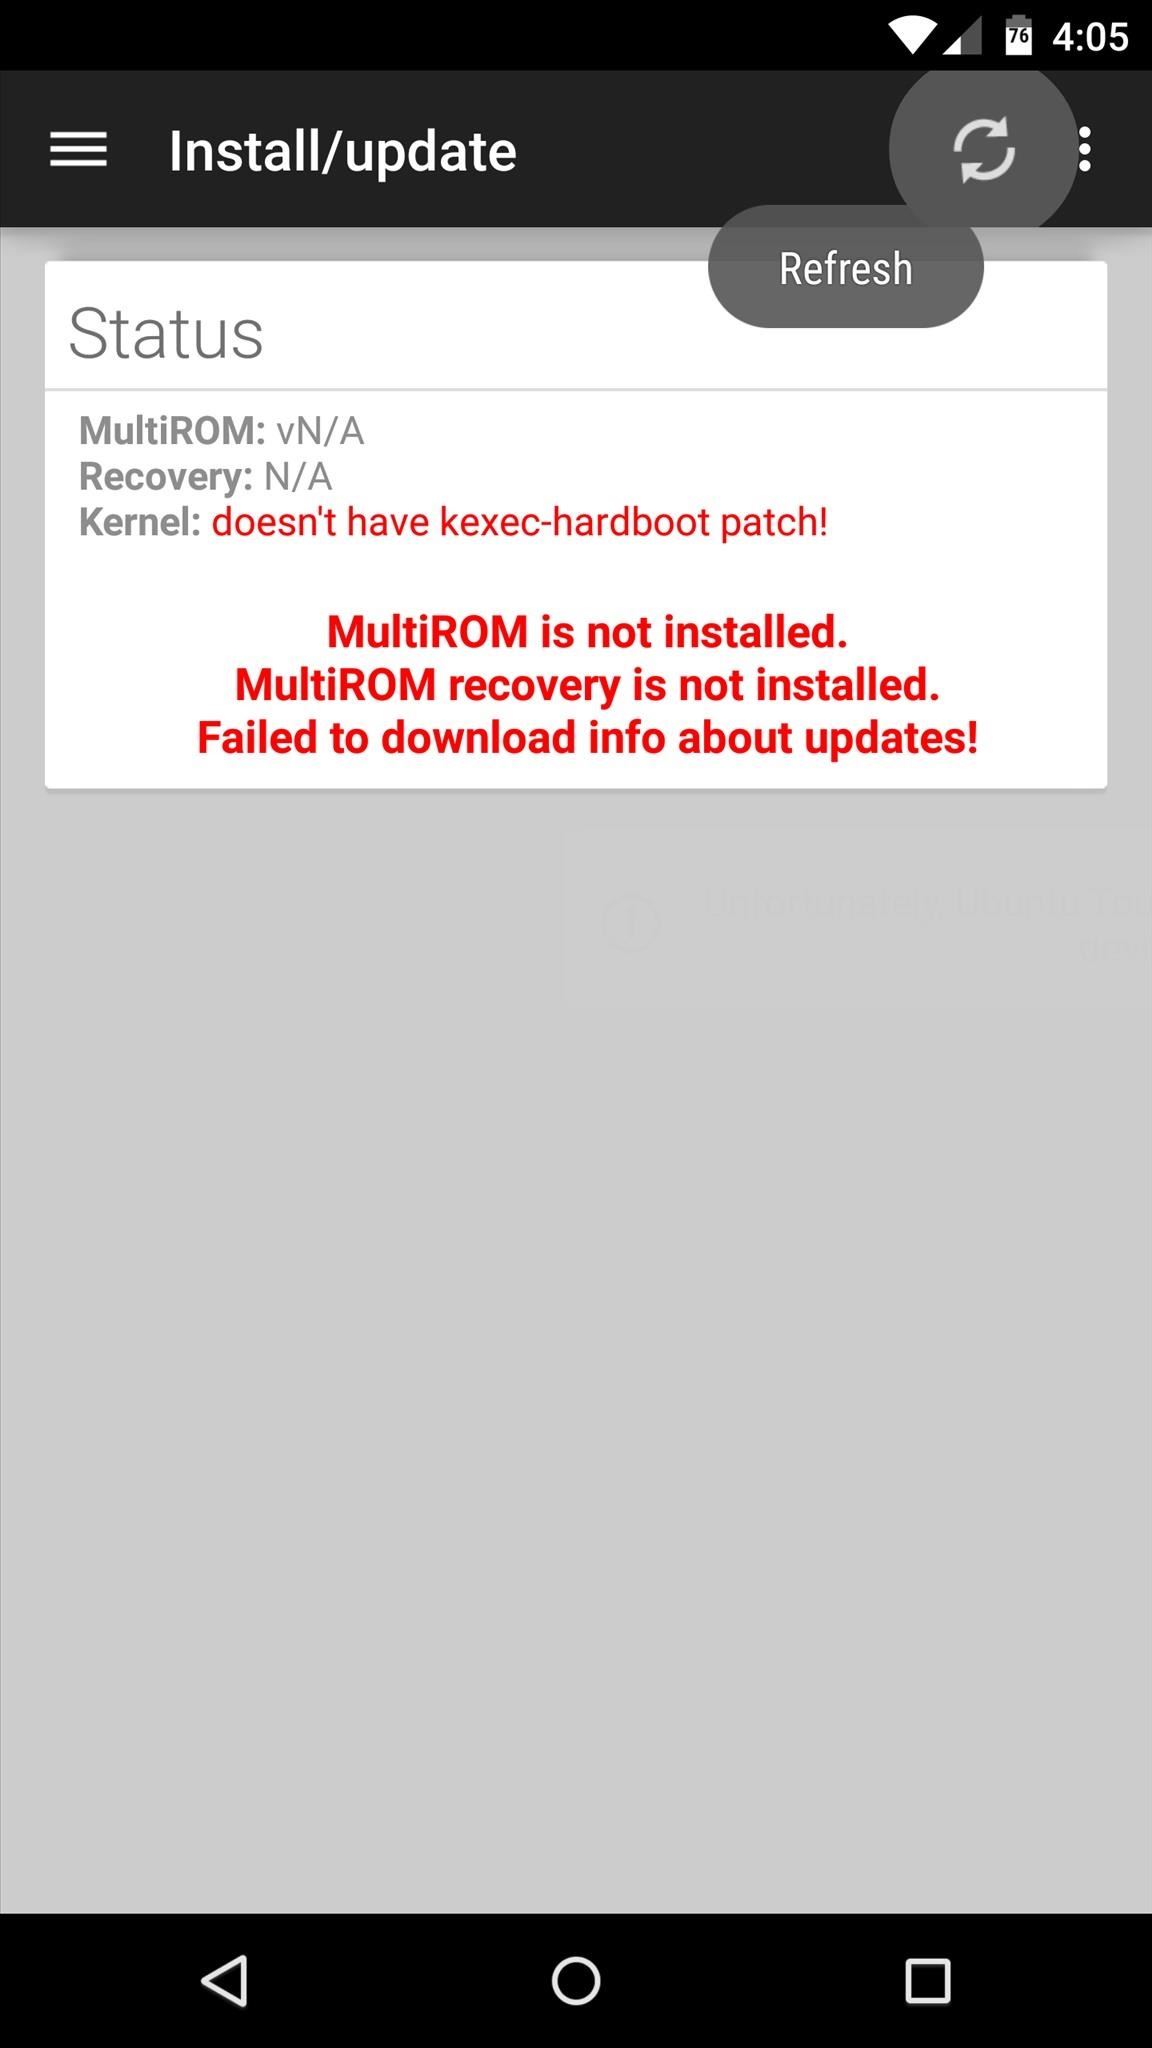
When you first launch MultiROM Manager, the app will ask for Superuser access, so tap "Grant" on the popup. At this point, you'll be taken to the app's main menu, and after a brief scan, MultiROM manager should report that you don't have the necessary patches installed yet and that none are available for download.

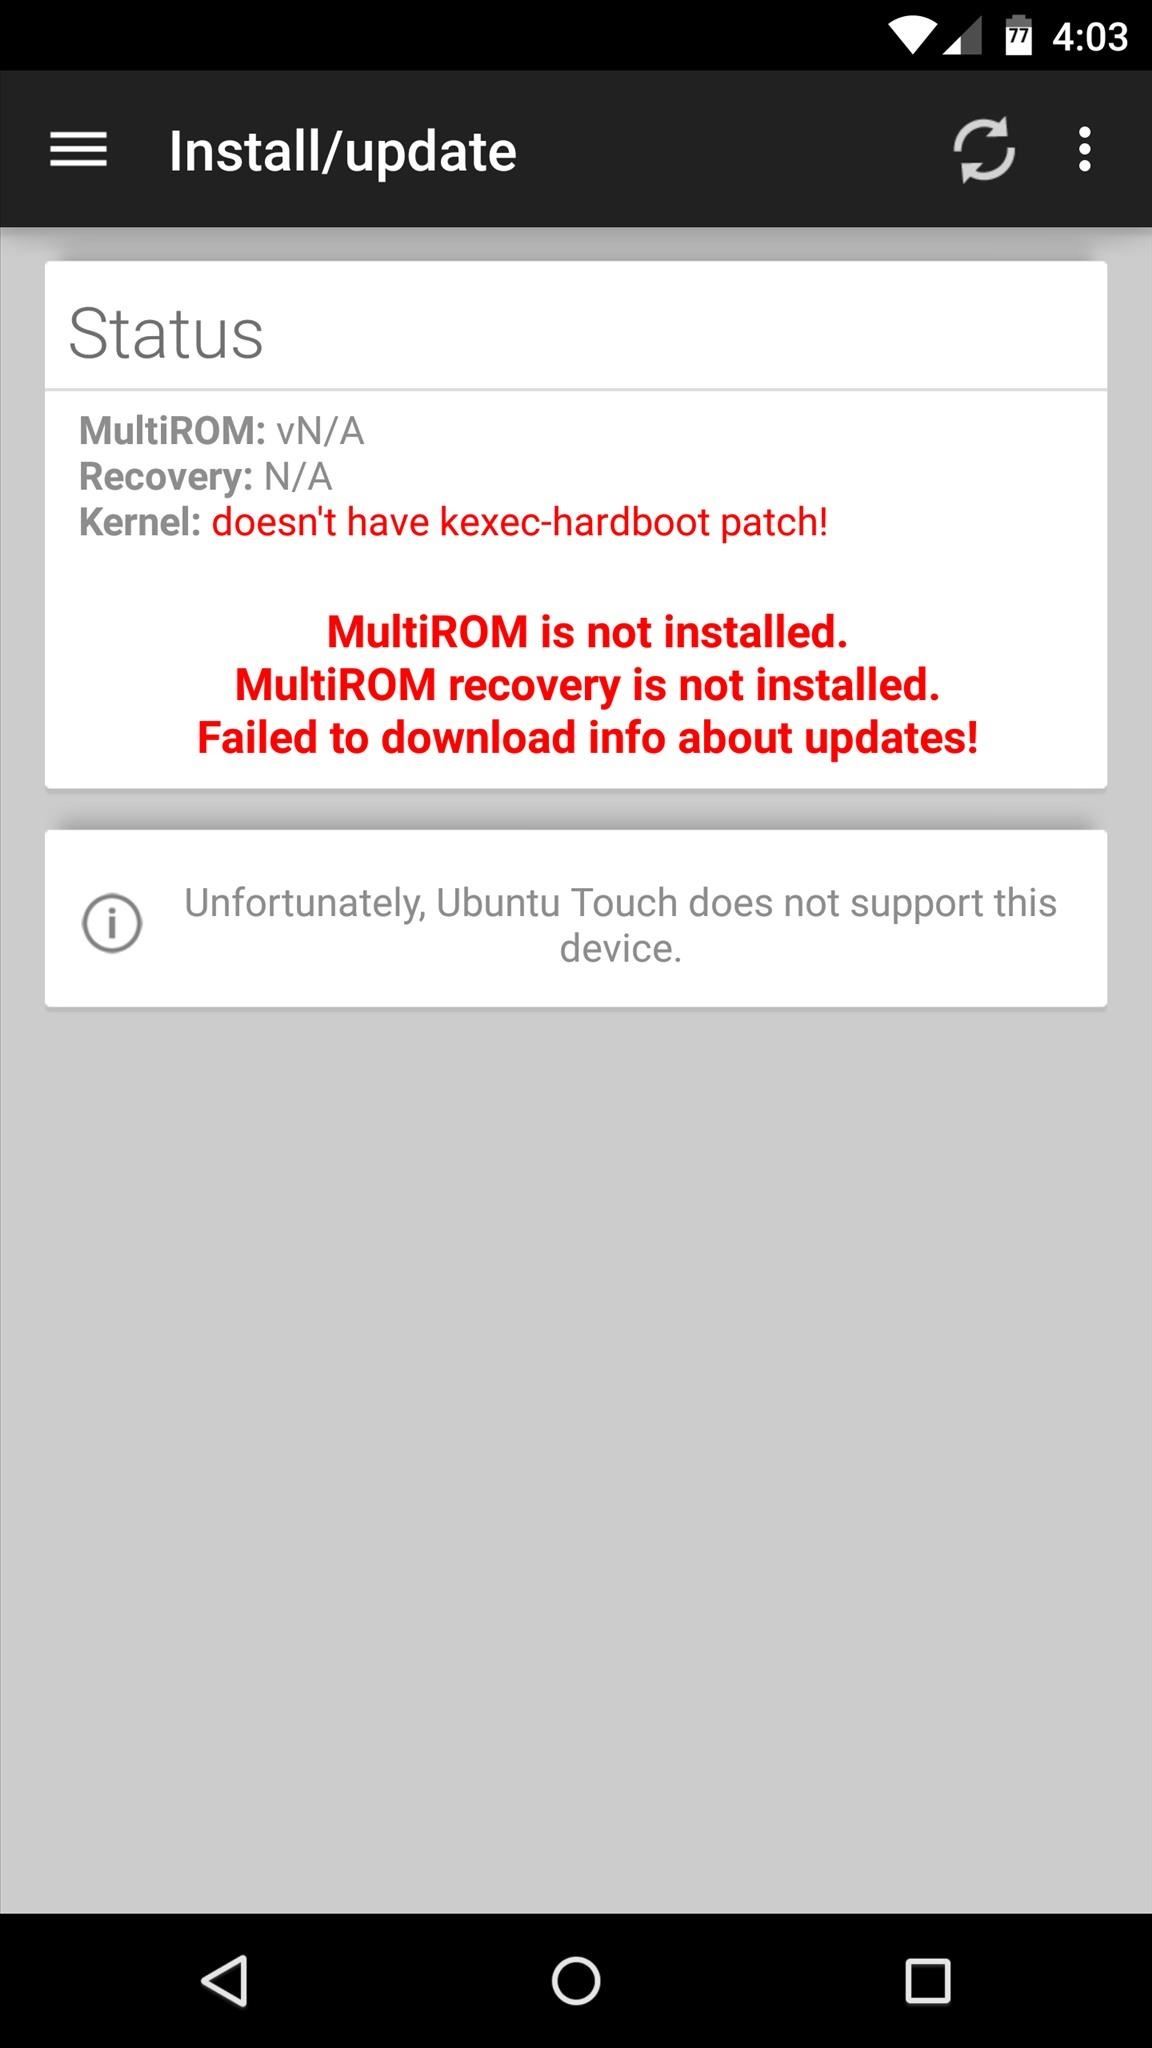
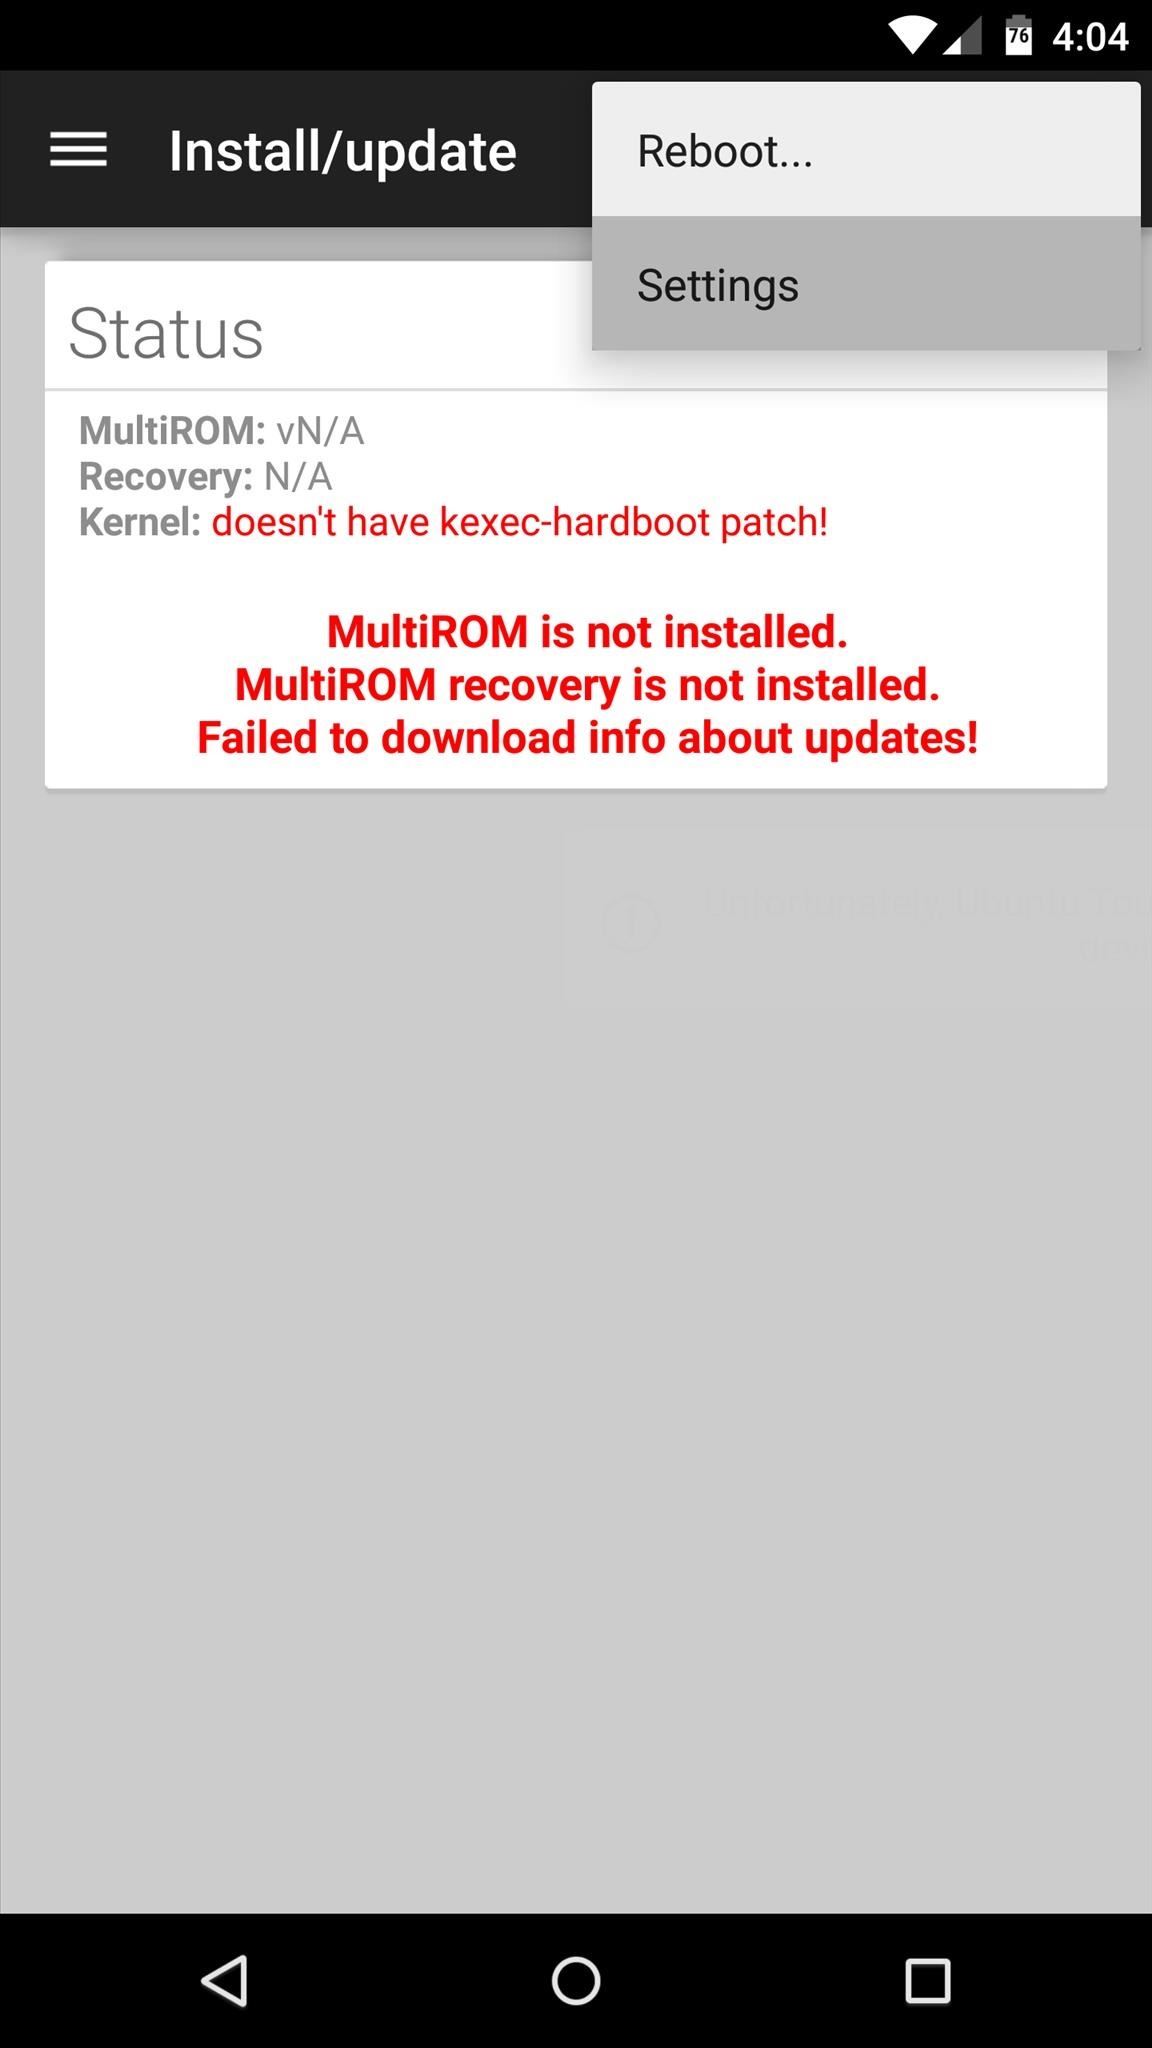
This is because support for the Nexus 6 is still in its testing phases at the moment, so the default settings in MultiROM Manager will need to be changed. Tap the three-dot menu button, then head to "Settings" to take care of this issue.
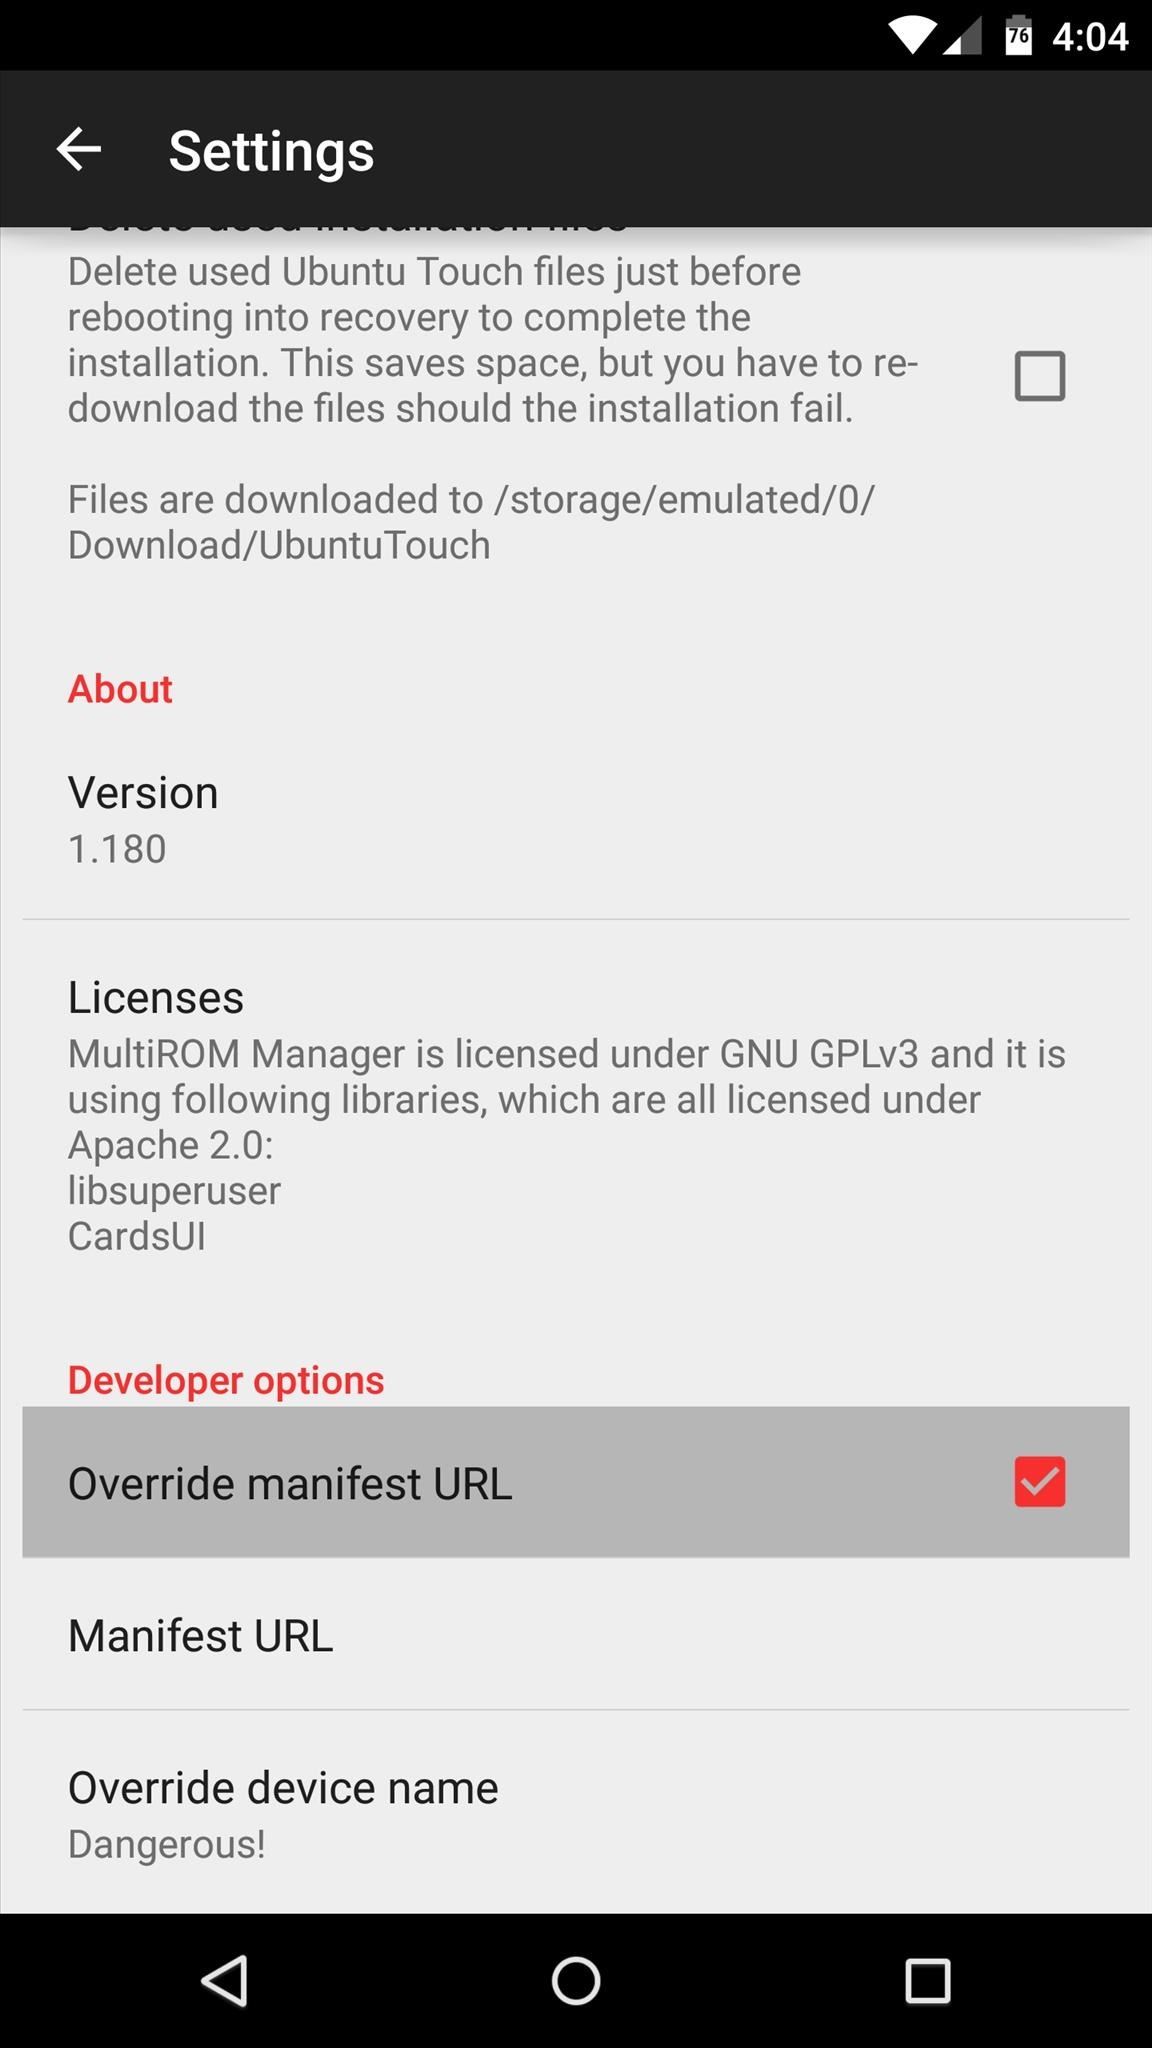
From here, scroll down to the bottom of the page and tap the "Version" entry 7 times in rapid succession. After doing this, you'll get a toast message informing you that you've enabled a set of developer options. So scroll down a bit further to see these new options, and tick the box next to "Override manifest URL."

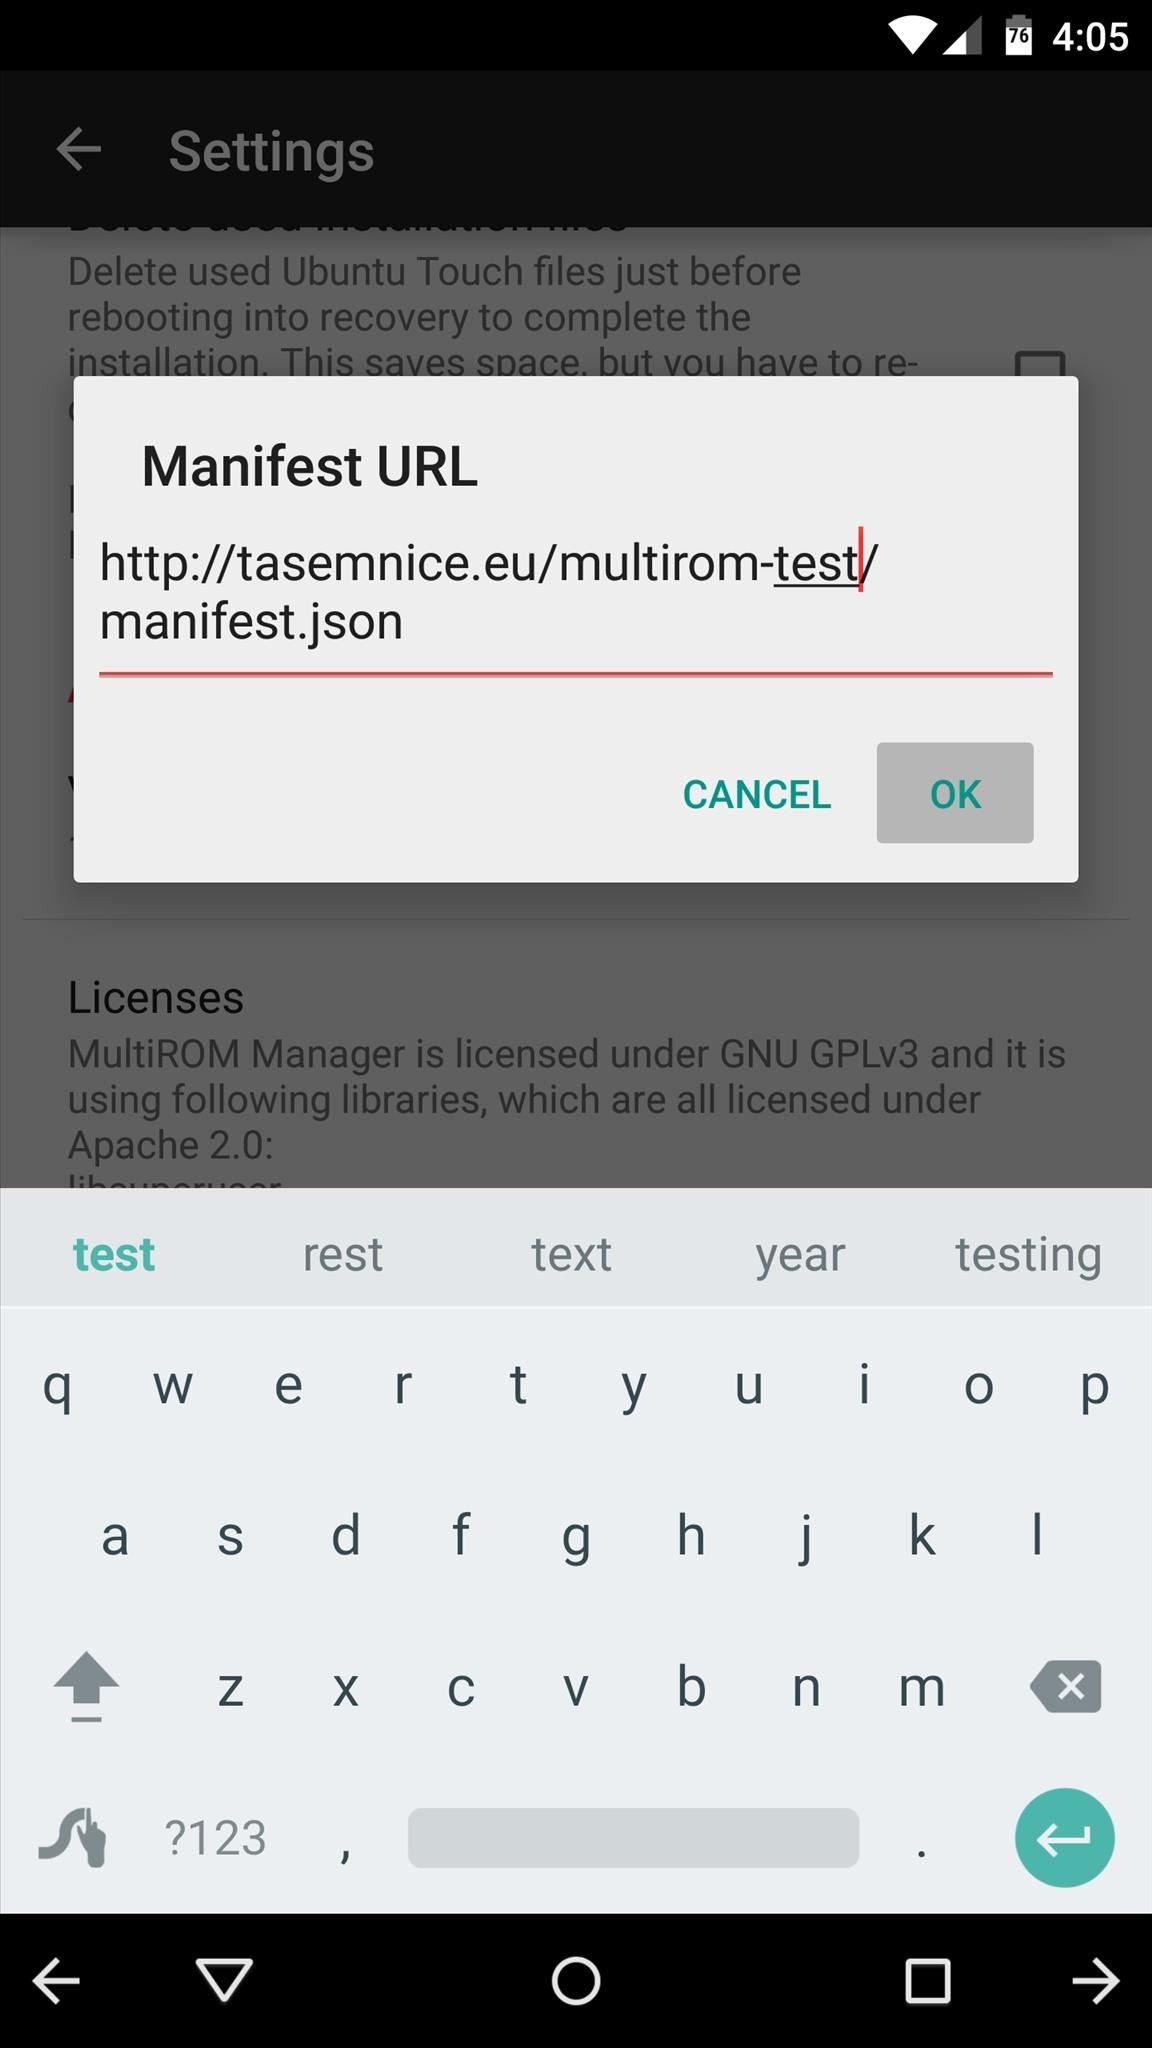
Next, tap the "Manifest URL" entry. From here, add "-test" directly after the "multirom" portion of the address, then press "OK." The URL should now read "http://tasemnice.eu/multirom-test/manifest.json."

Step 3: Install the MultiROM Mod
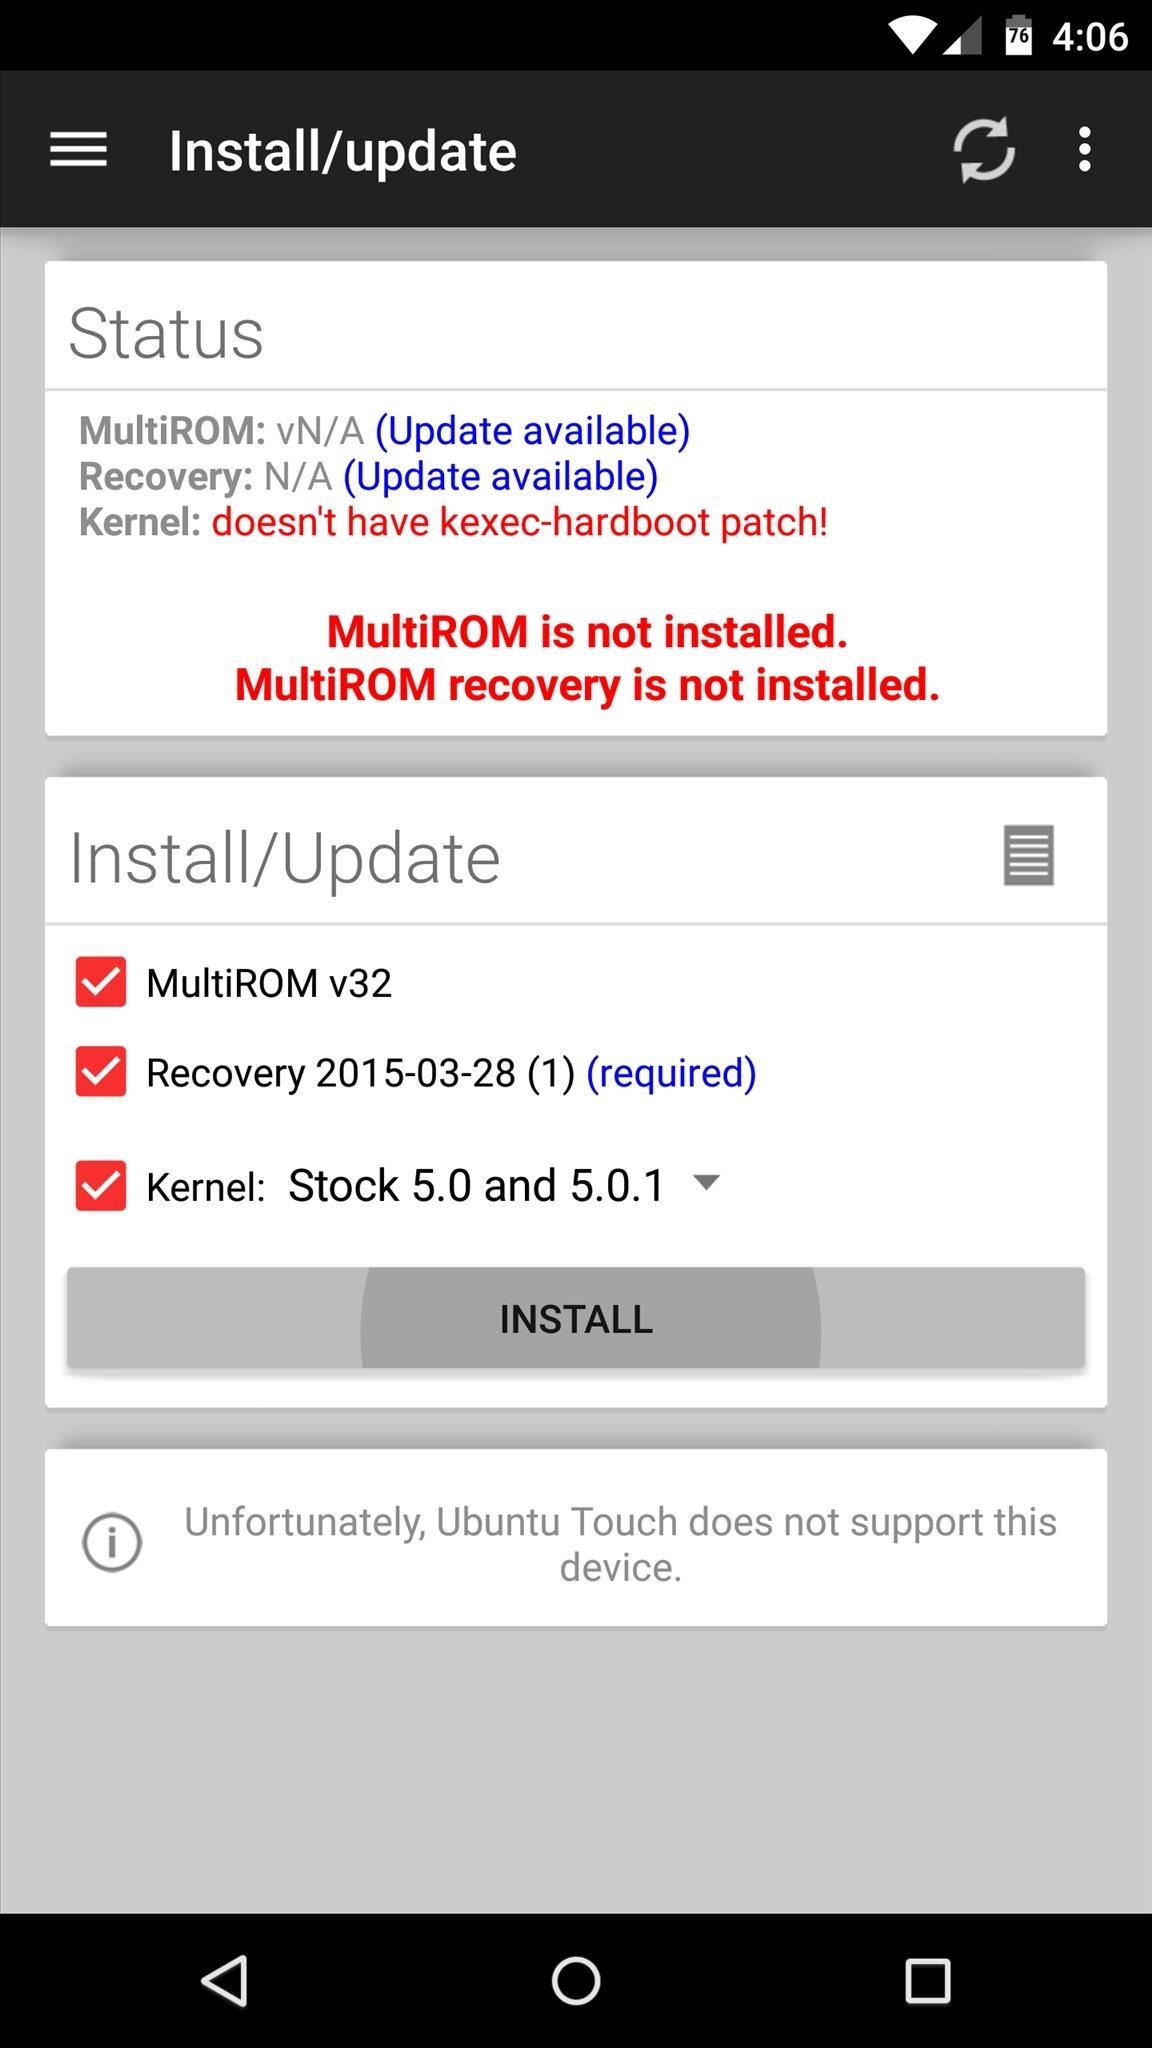
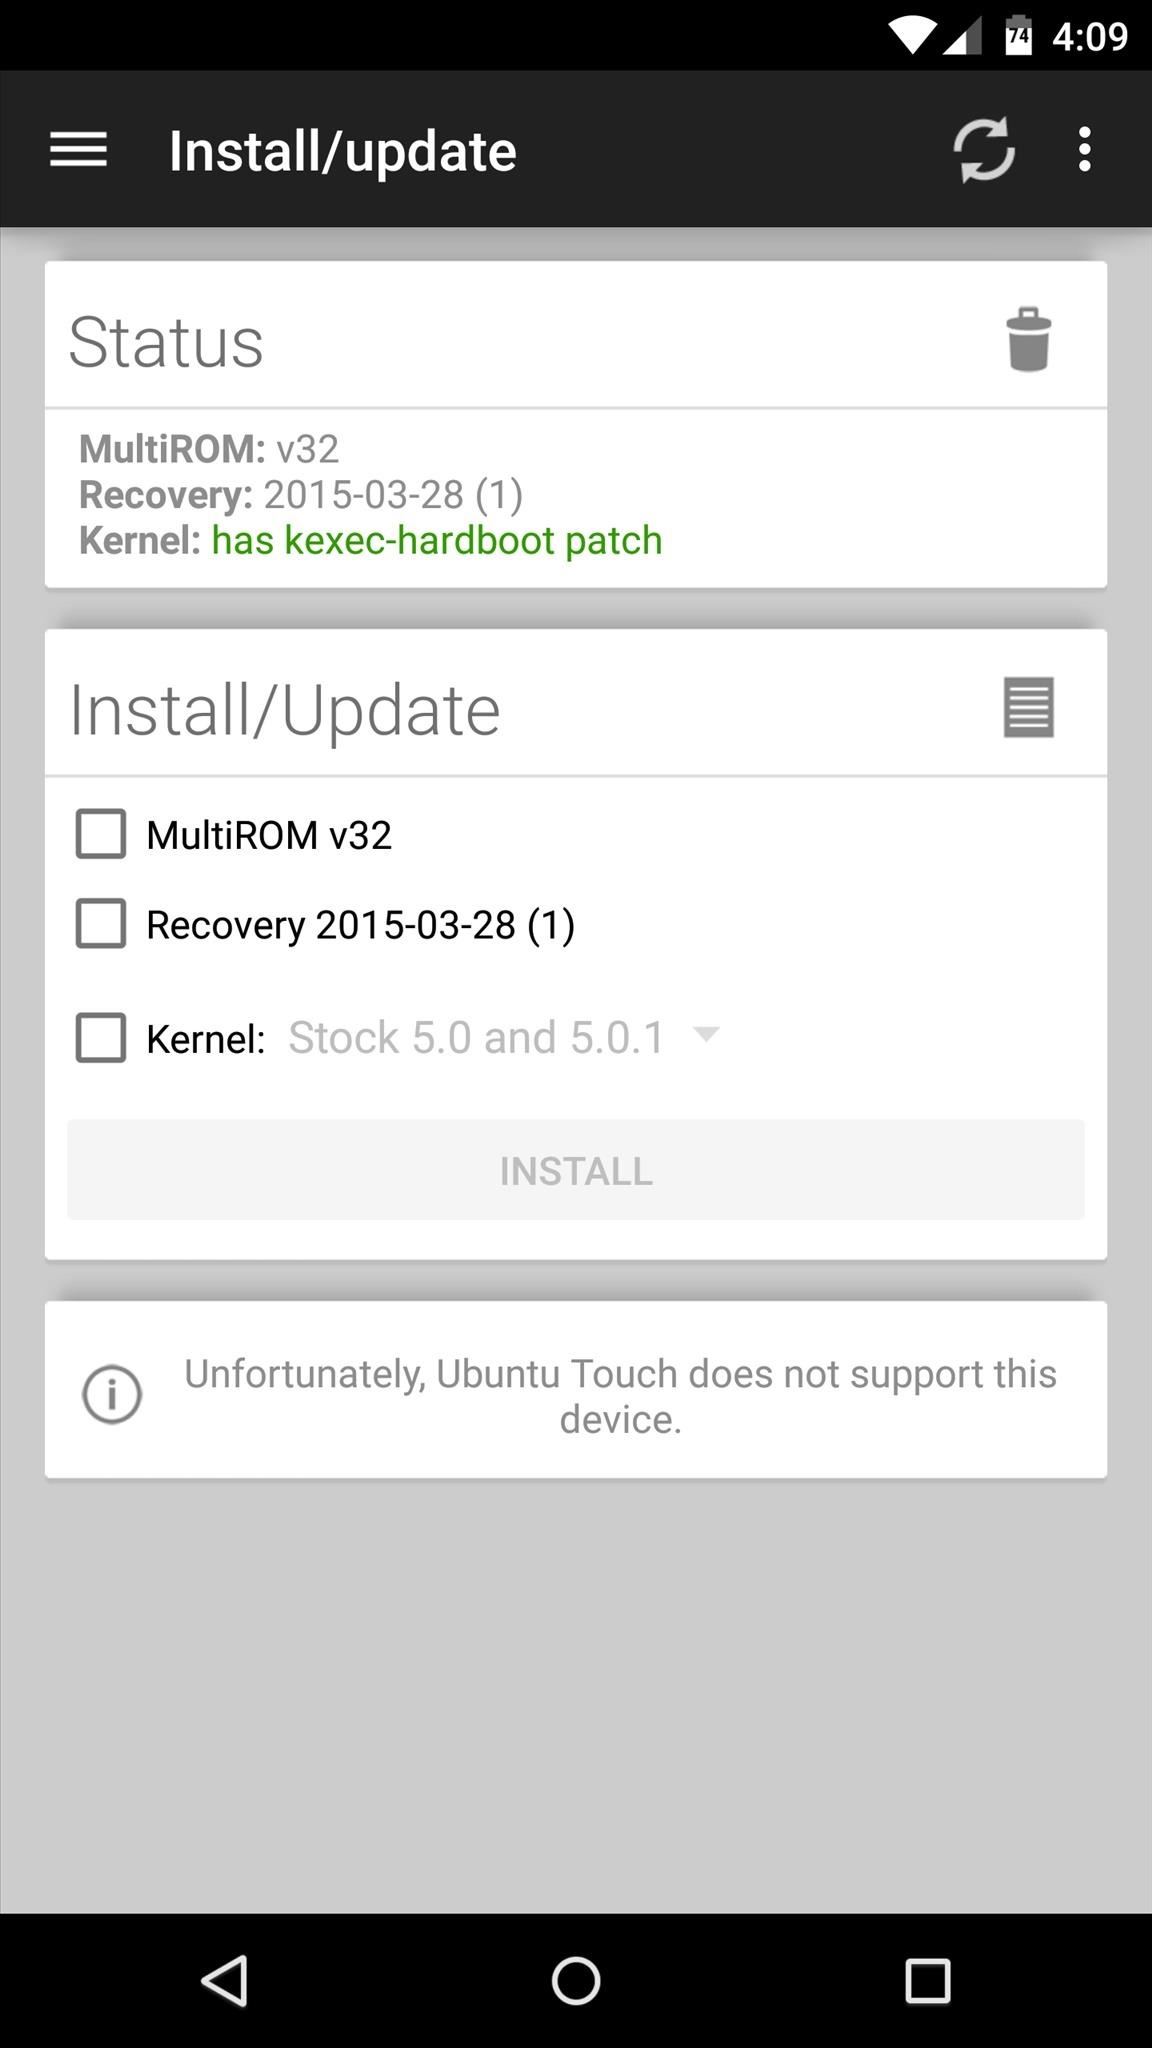
Next, head back to MultiROM Manager's main menu, then tap the refresh button at the top of the screen. At this point, you should see a new "Install/Update" card.
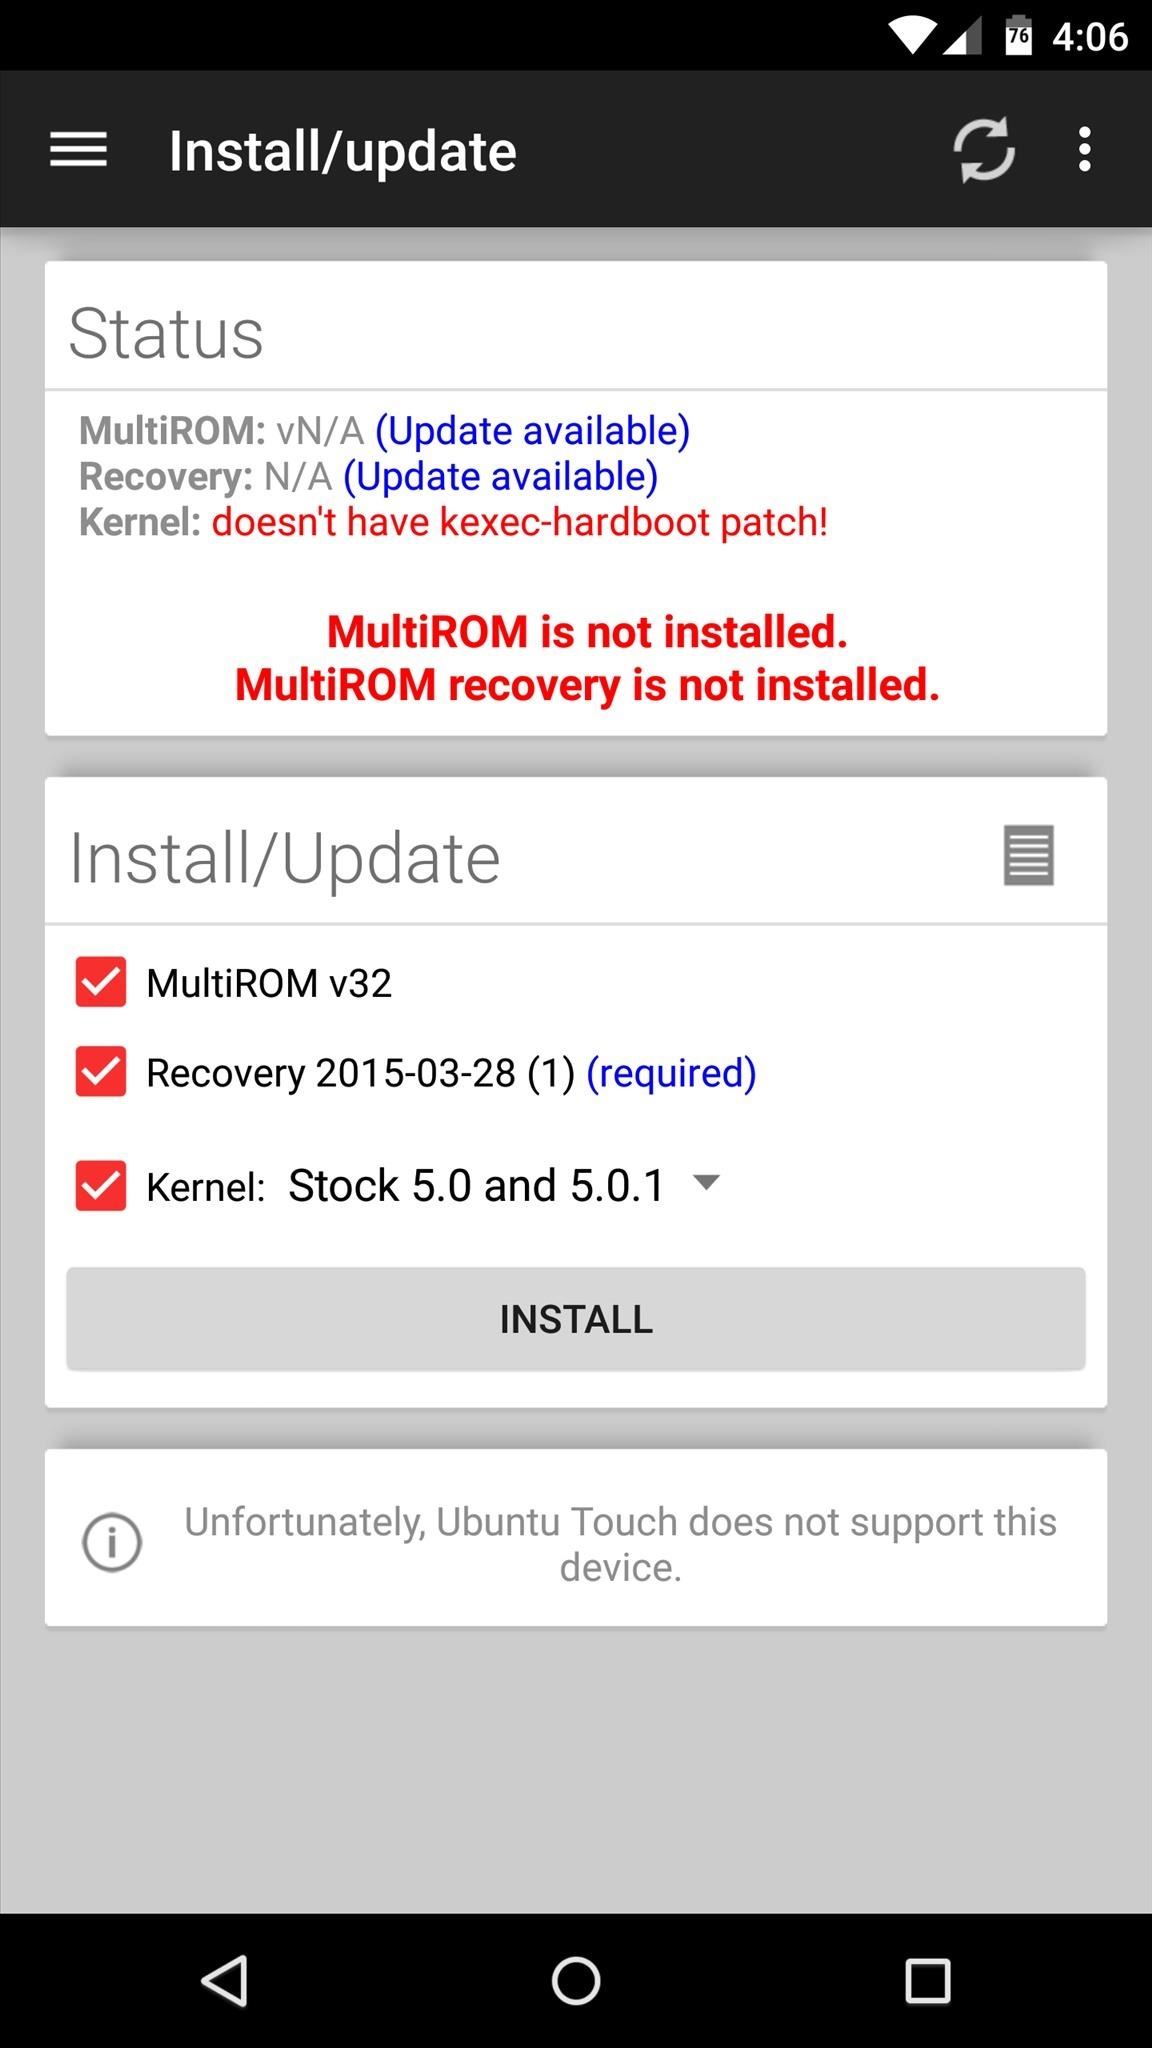
Make sure all 3 options on this card are selected, and verify that the "Kernel" entry matches your current ROM. Next, tap the "Install" button, then MultiROM Manager will begin applying its various patches.
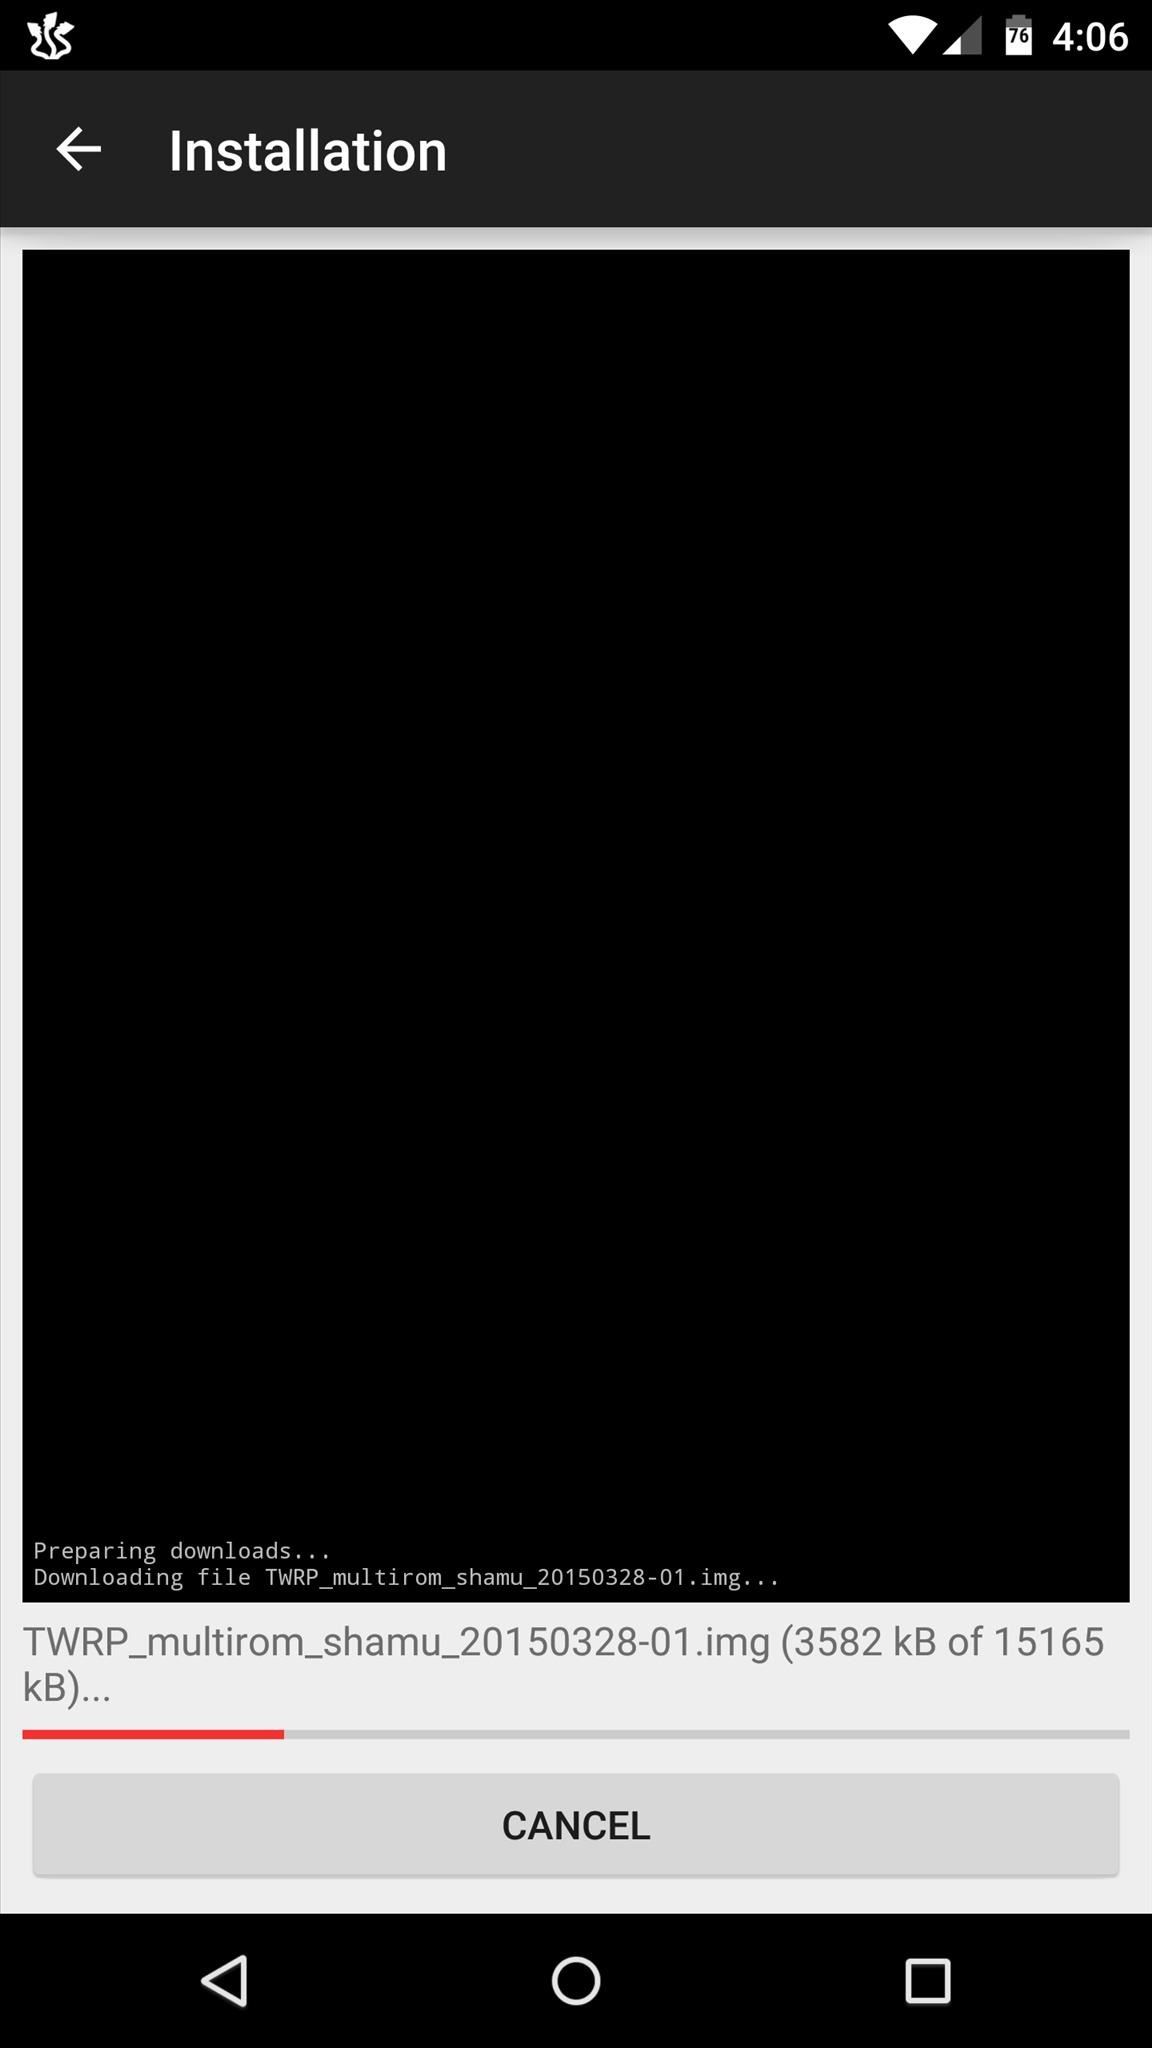
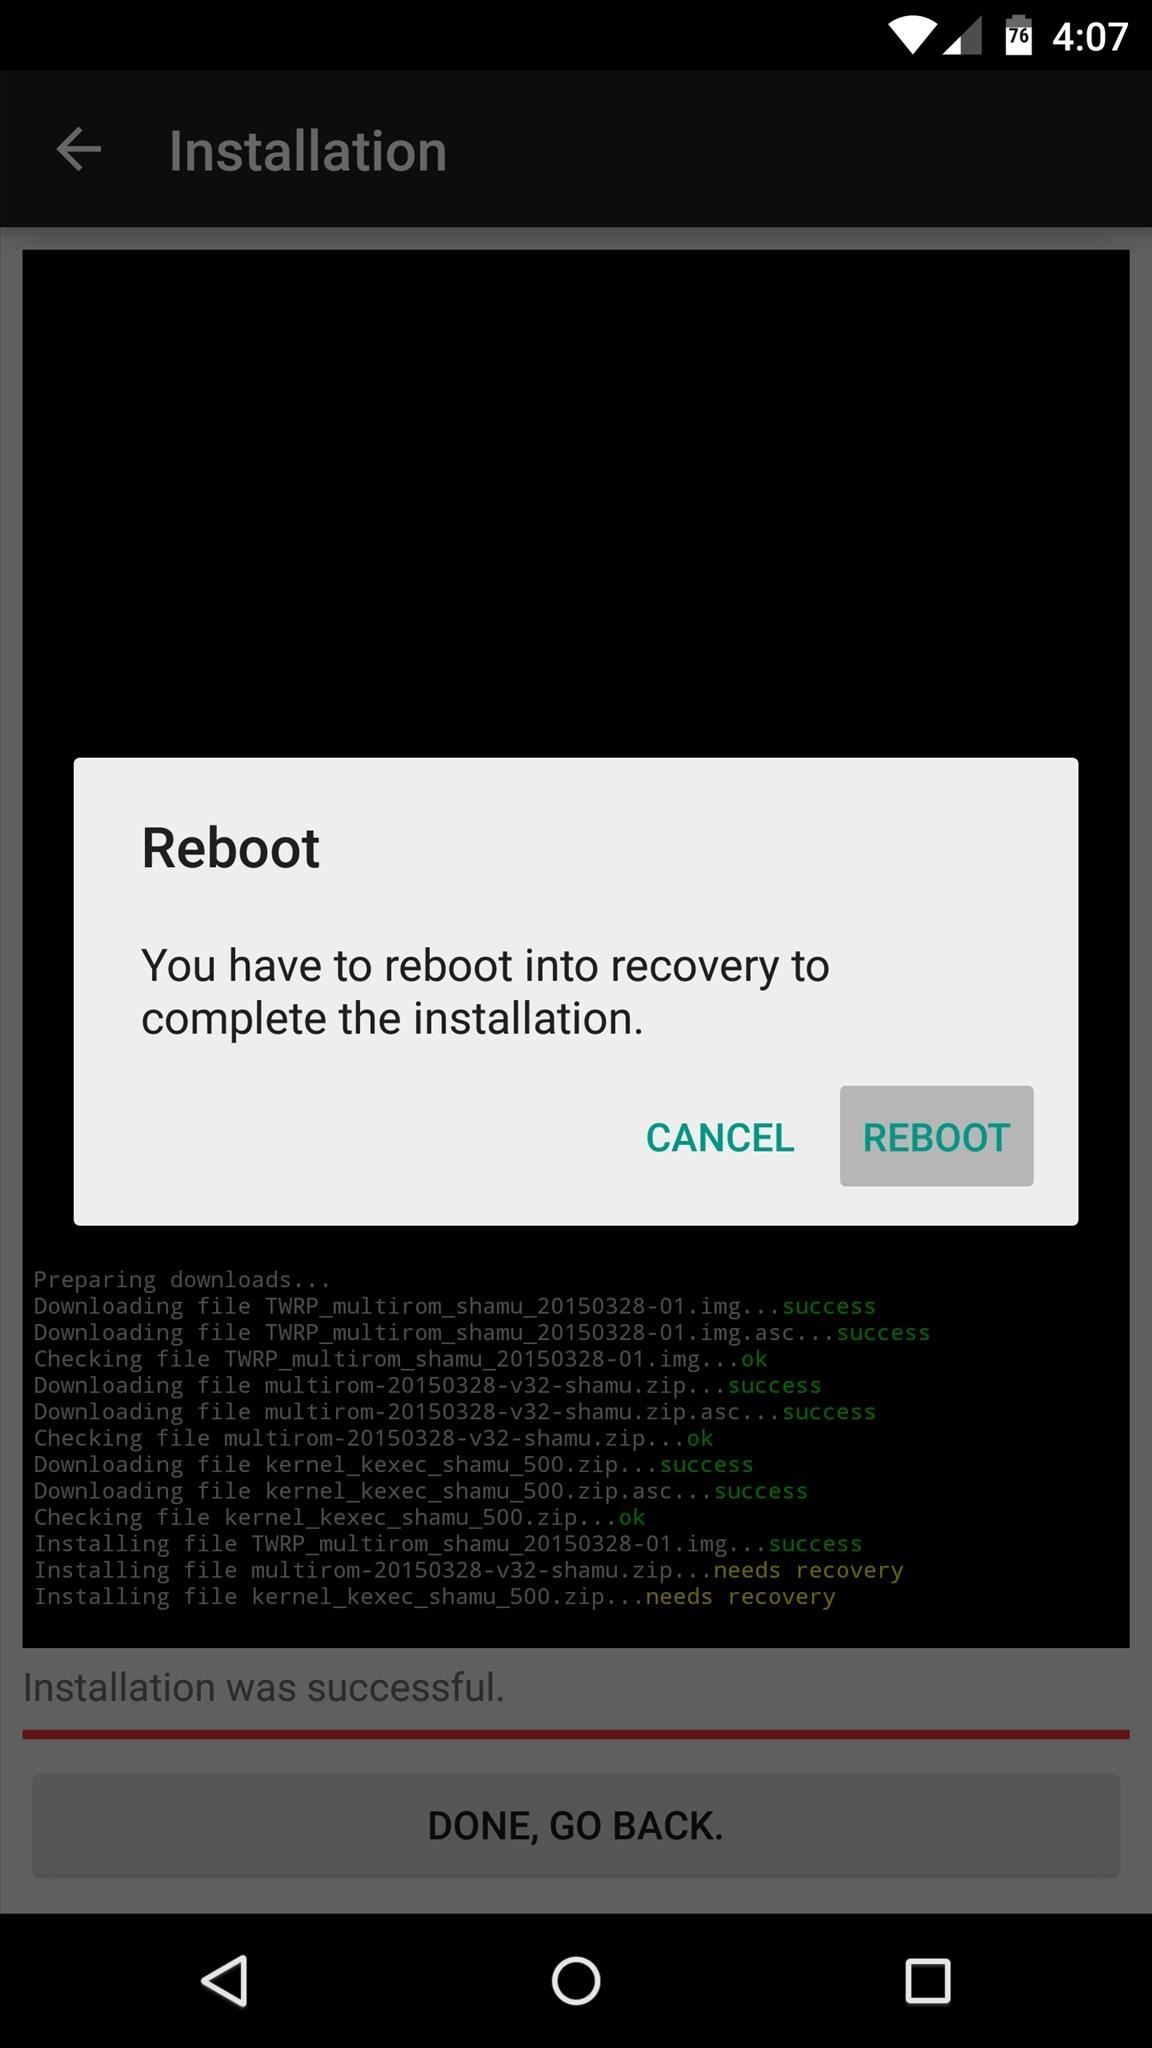
When that's finished, MultiROM Manager will inform you that it needs to boot your phone into custom recovery to apply its last few set of patches. Tap "Reboot" on this message, then an automated script will run and your phone will reboot. When you get back up, verify that the patches were installed properly by running MultiROM Manager again—if the "Status" card has no red text, then you're good to go.
Step 4: Flash a Secondary ROM
Now that you've got the MultiROM patches applied to your system, you can install a secondary ROM. Don't worry, though, your primary ROM will continue to function as normal.
To begin, download all required flashable ZIPs for your secondary ROM. In most cases, this will include the base ROM files and an additional Gapps package. When the files are all saved to your device, boot your phone into custom recovery mode.
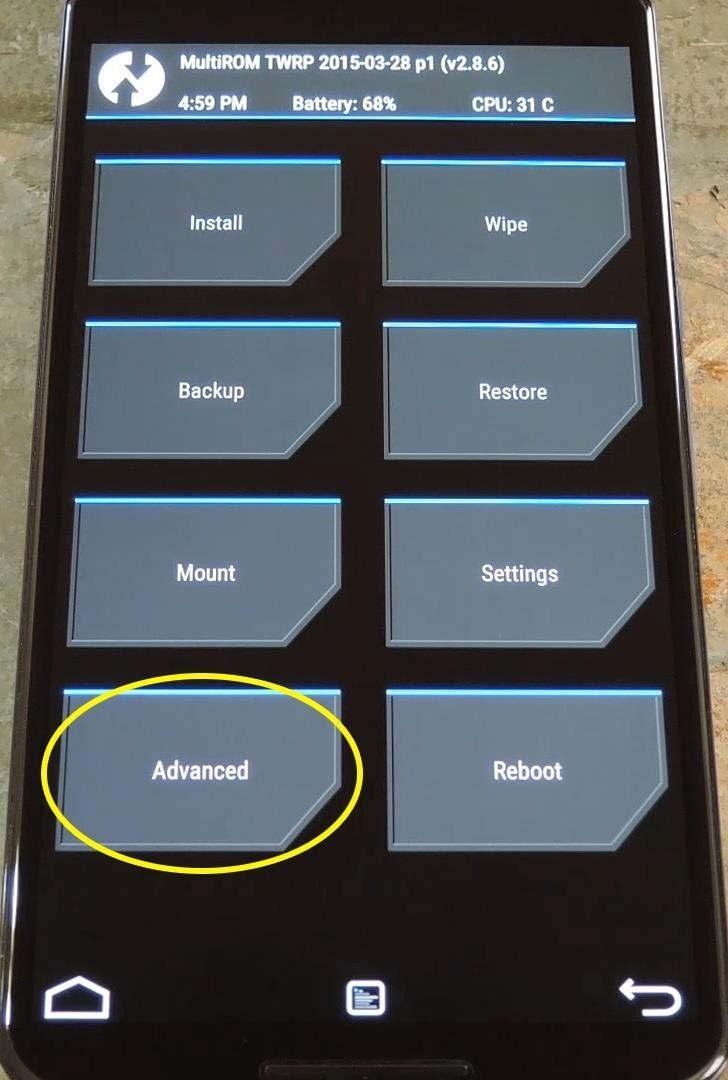
From here, tap the "Advanced" button, then select the "MultiROM" option.

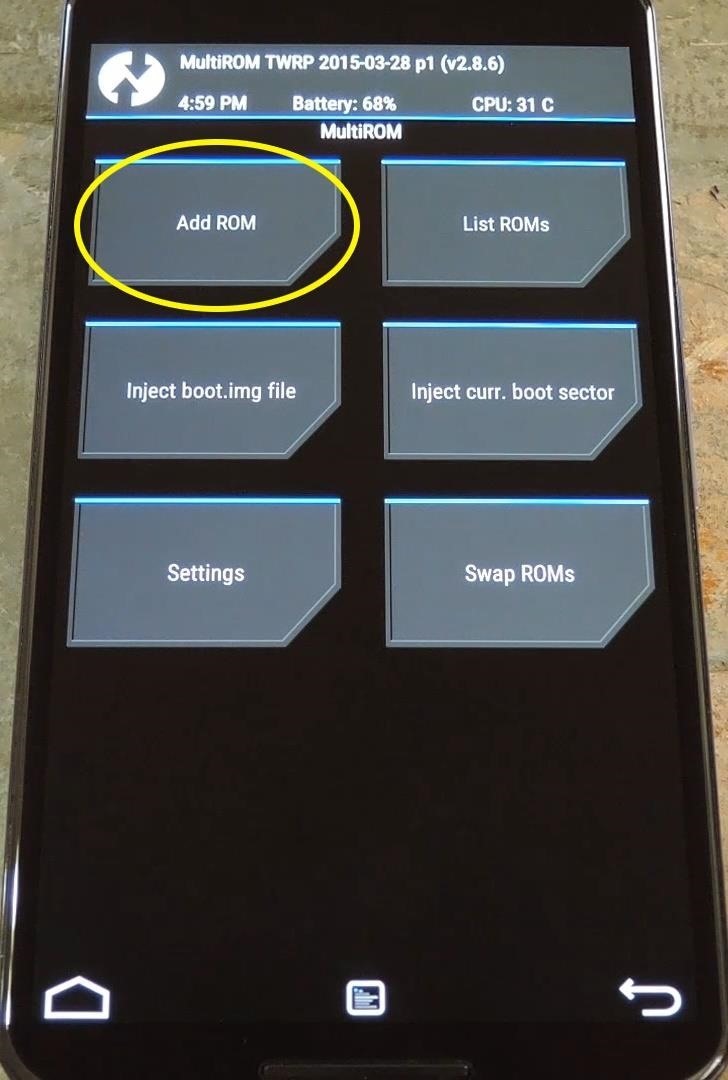
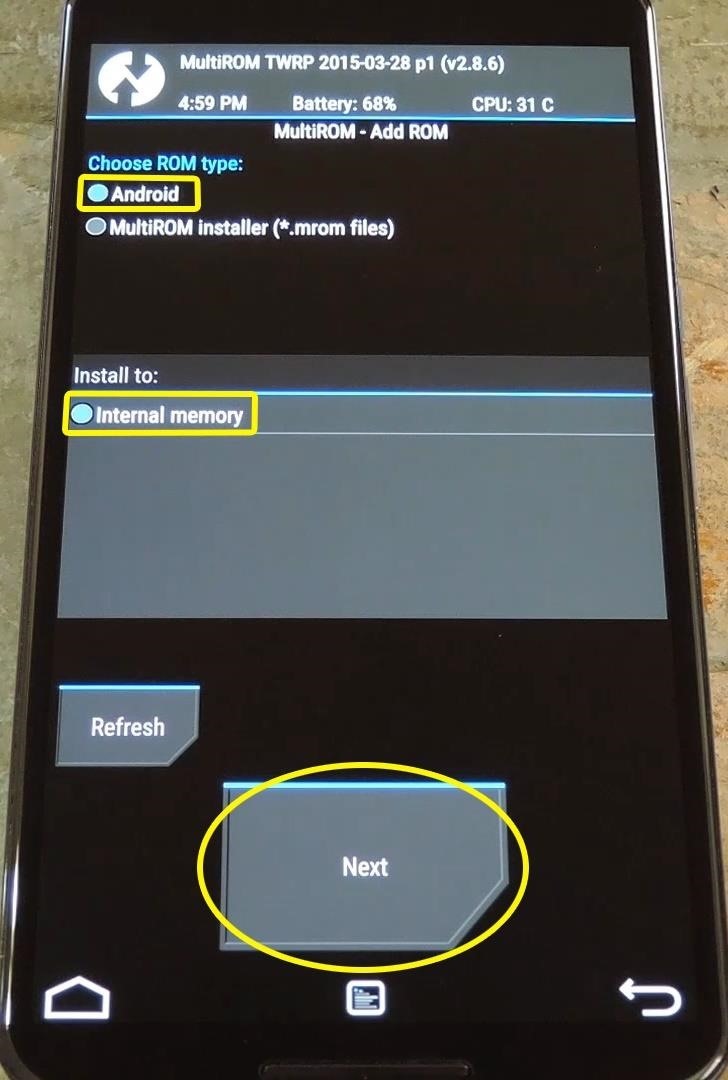
Next, tap "Add ROM," then make sure that "Android" and "Internal Storage" are selected and press "Next."
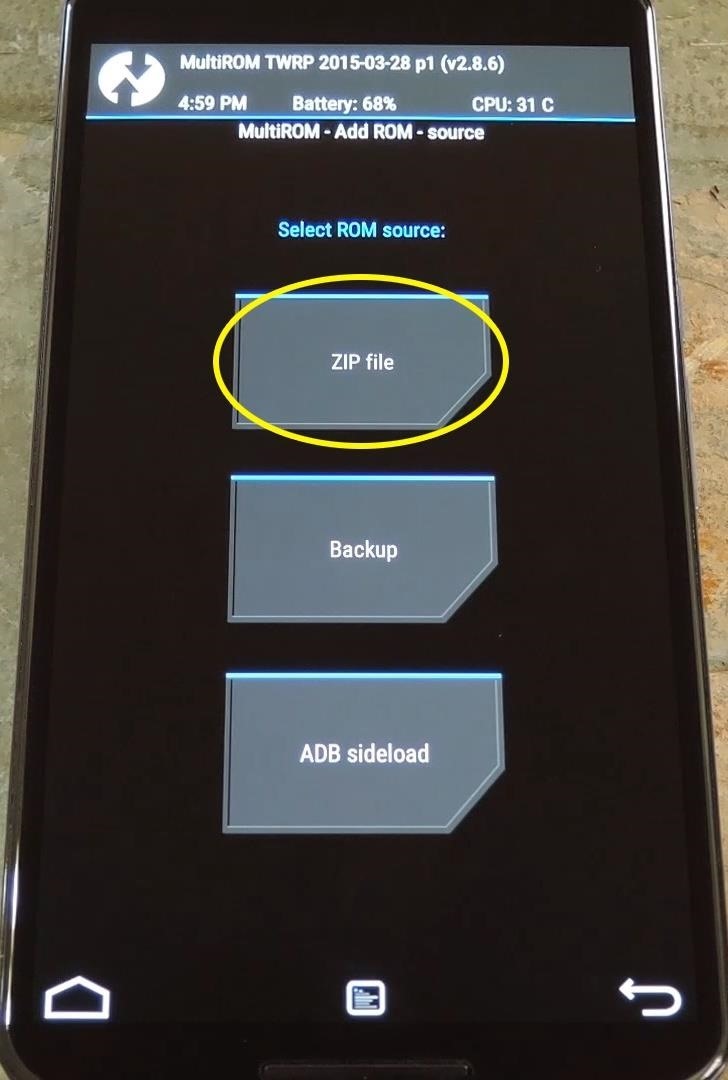
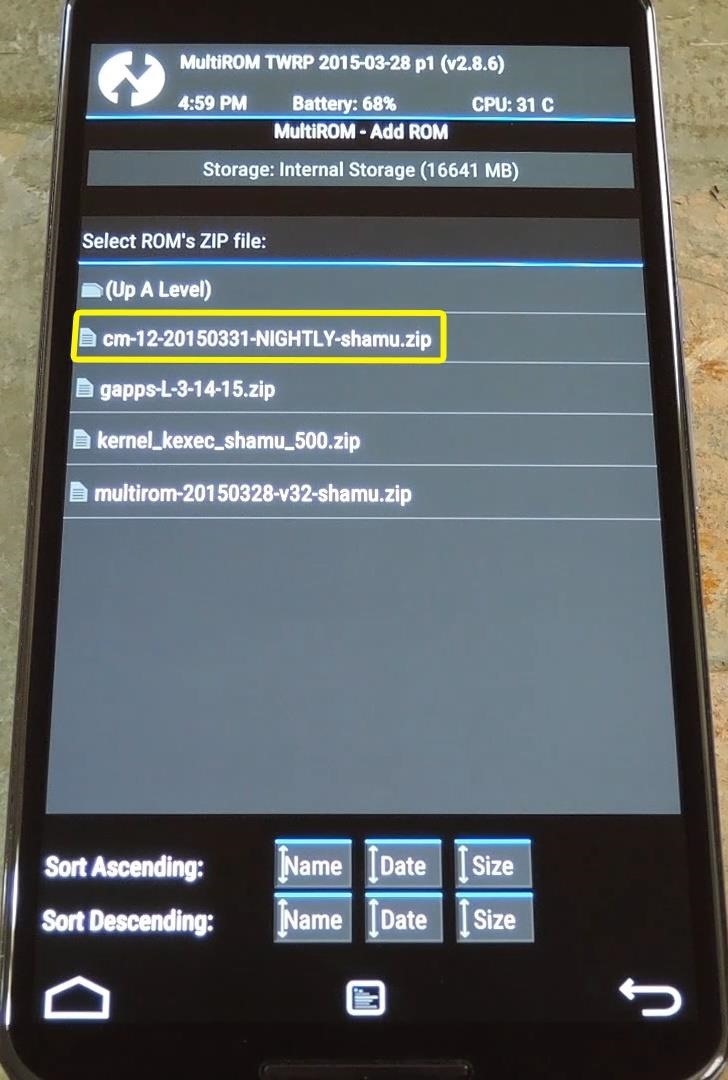
From here, choose "ZIP File," then browse and select the main ZIP for your ROM.
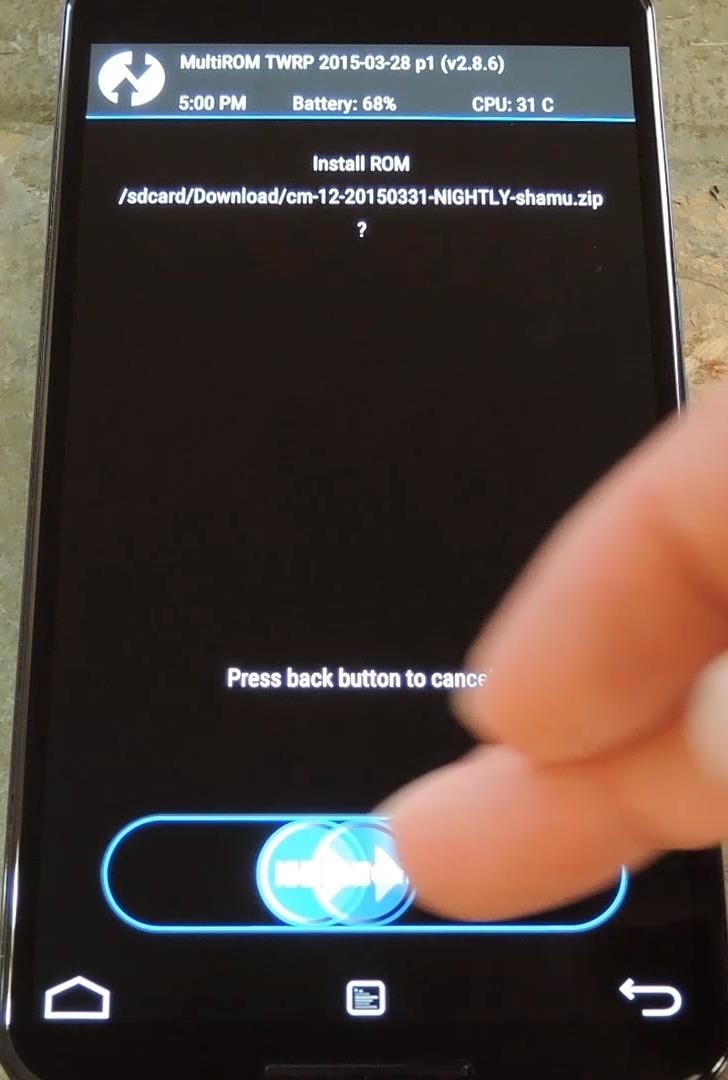
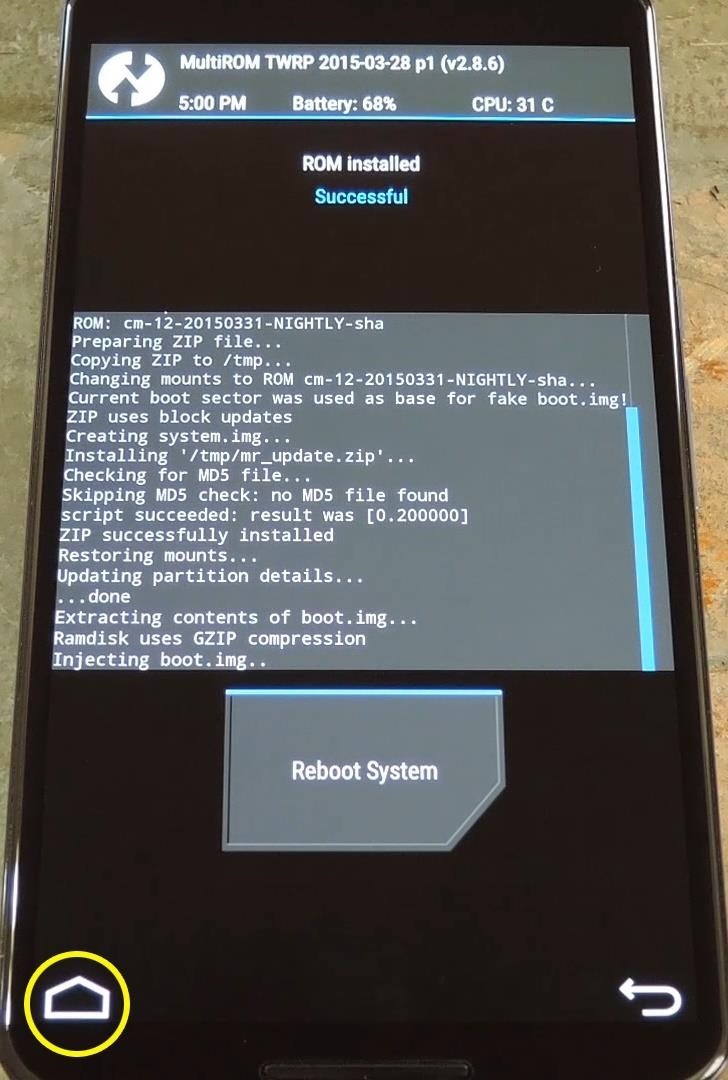
After that, swipe the slider at the bottom of the screen to install your secondary ROM. If you need to flash a Gapps package, tap the "Home" button when the process has finished.
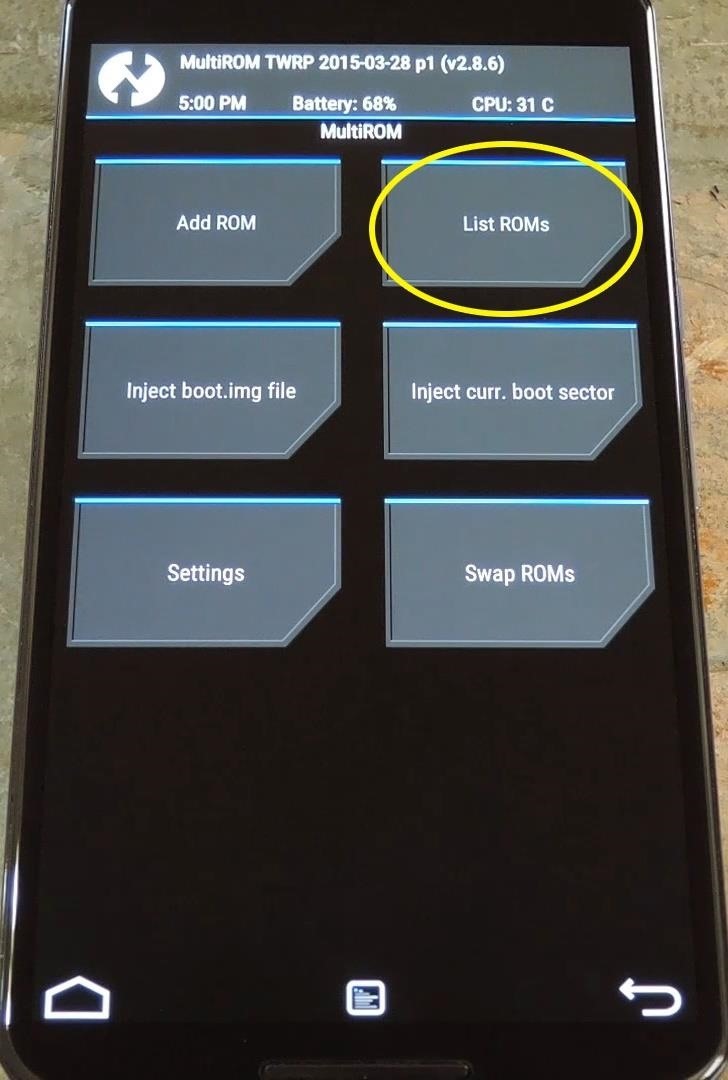
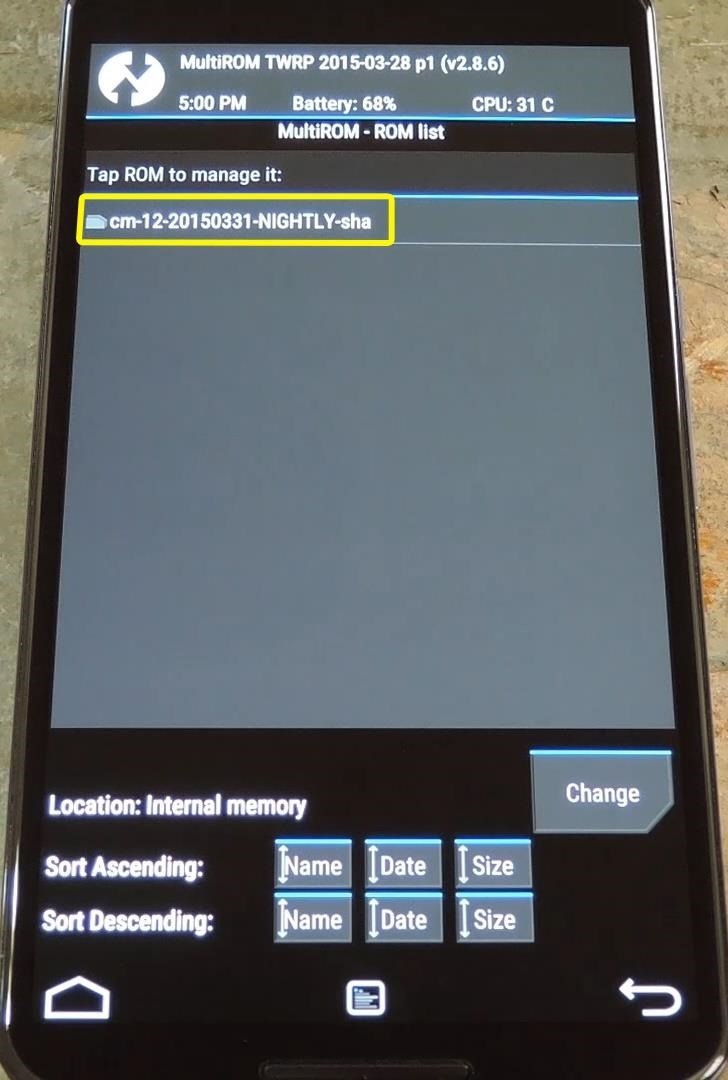
Next, head back to the MultiROM menu again (Advanced -> MultiROM). This time, choose "List ROMs," then select the ROM you just installed.
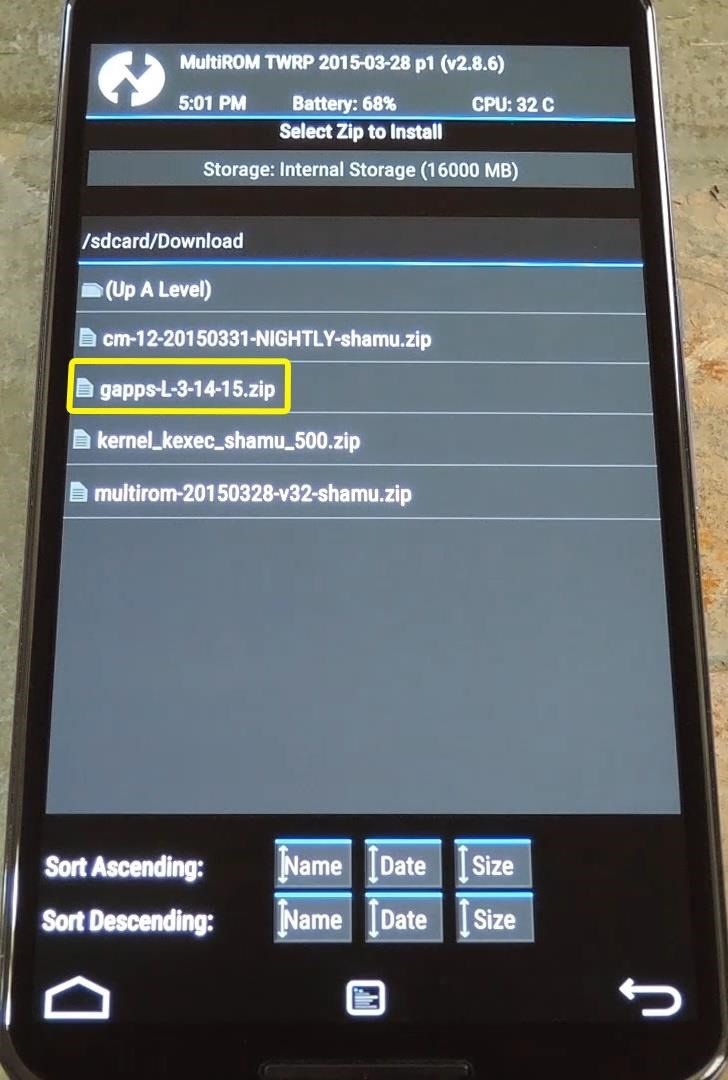
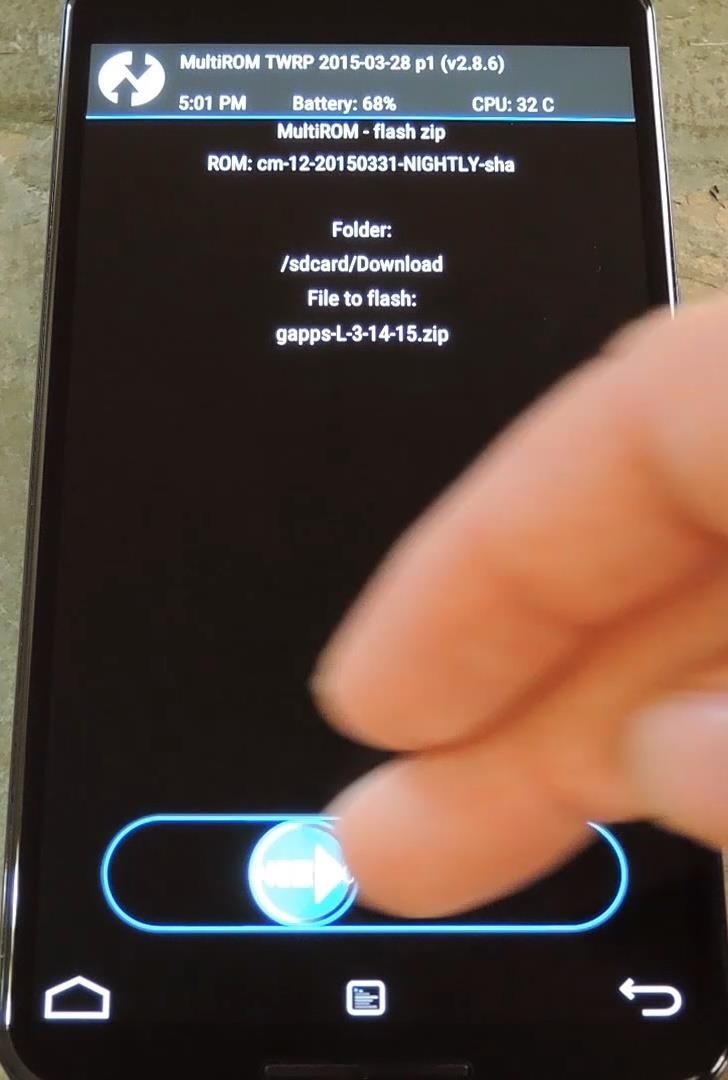
From here, choose "Flash ZIP," then browse and select your Gapps package.

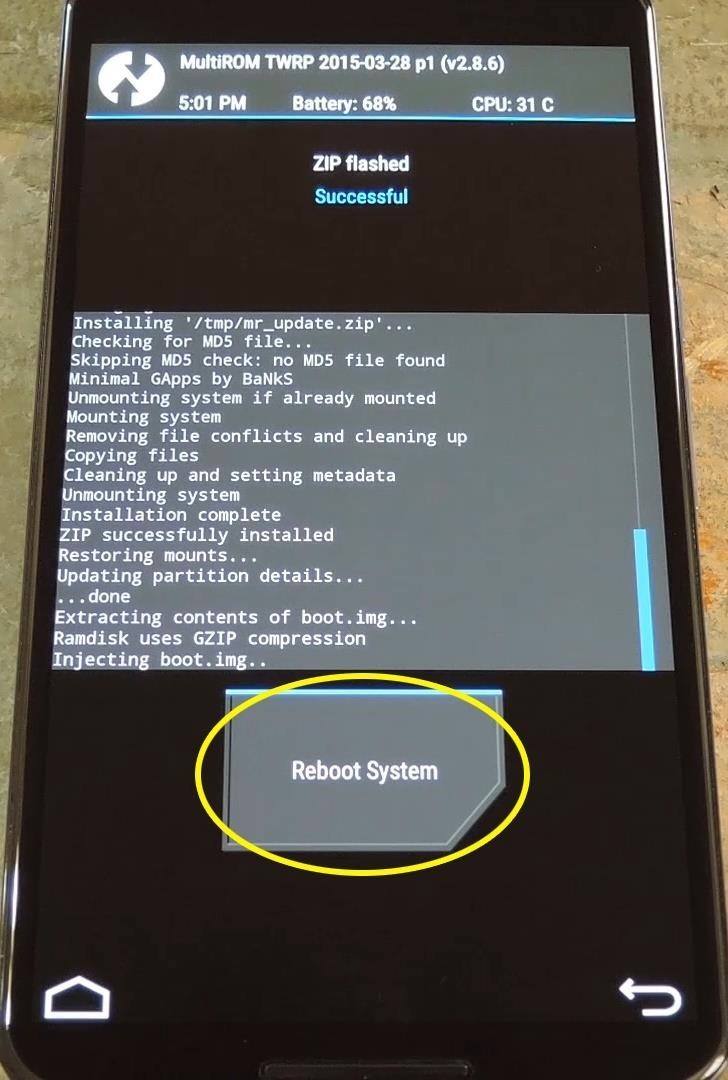
Next, just swipe the slider at the bottom of the screen to install your Gapps package, then tap "Reboot System" when the process has finished.
Step 5: Using the Boot Manager
From now on, you'll see a new boot menu when starting your phone up. If you don't interact with this menu, your primary ROM will start up automatically.
To boot into a secondary ROM, tap the "Cancel" button when you see this menu. From here, tap your secondary ROM twice, and it will boot right up.


You can actually install more than just two ROMs using MultiROM by repeating Step 4 in this tutorial. What ROMs have you installed on your phone using MultiROM? Let us know in the comment section below, or drop us a line on Facebook, Google+, or Twitter.
Just updated your iPhone? You'll find new emoji, enhanced security, podcast transcripts, Apple Cash virtual numbers, and other useful features. There are even new additions hidden within Safari. Find out what's new and changed on your iPhone with the iOS 17.4 update.


2 Comments
Nice work dude
Is this work on nexus 5 ?
Share Your Thoughts